[FastFDS] SpringBoot integration FastDFS actual combat (with complete project source code)
The author personally developed a simple, stable, and scalable delay [message queue] (https://cloud.tencent.com/product/cmq?from=10680) framework under high concurrency scenarios, with precise timing tasks and delay queue processing functions. Since open source for more than half a year, it has successfully provided more than a dozen small and medium-sized enterprises with precise timing scheduling solutions, and has withstood the test of the production environment. In order to benefit more children's shoes, the open source framework address is now given:
https://github.com/sunshinelyz/mykit-delay
PS: Welcome to Star source code, you can also pr your awesome code.
Write in front
In the "**[FastDFS] friends said that building a FastDFS environment on a CentOS 8 server always reports an error? **" and "**[FastDFS] Interviewer: How to realize large-scale distributed storage of files? (Whole combat) **" article, we set up the FastDFS environment in detail. So, now that the environment is there, how to integrate FastDFS into the project? Today, we will talk about this issue together.
Note: The project source code has been submitted to: https://github.com/sunshinelyz/mykit-fastdfs.
Compile the Java client
On the official Github of FastDFS, there is a FastDFS Java client project, the link address is: https://github.com/happyfish100/fastdfs-client-java.
We download the Java client code locally, then enter the project directory, and use Maven to compile, as shown below.
git clone https://github.com/happyfish100/fastdfs-client-java.git
cd fastdfs-client-java
mvn clean install -Dmaven.test.skip=true
Next, we need to compile and install the FastDFS Java client to the local Maven repository.
mvn install:install-file -DgroupId=com.fastdfs -DartifactId=fastdfs-client-java -Dversion=1.29-Dpackaging=jar -Dfile=fastdfs-client-java-1.29-SNAPSHOT.jar
At this point, we have compiled and installed the Java client of FastDFS locally.
Build the project
Edit pom.xml file
We create a Maven project in IDEA and introduce SpringBoot related dependencies and our own compiled FastDFS Java client in the pom.xml file. Finally, the dependencies of the pom.xml file are as follows.
< properties><project.build.sourceEncoding>UTF-8</project.build.sourceEncoding><skip_maven_deploy>false</skip_maven_deploy><java.version>1.8</java.version><logback.version>1.1.7</logback.version><slf4j.version>1.7.21</slf4j.version><common.logging>1.2</common.logging><fastjson.version>1.2.51</fastjson.version><fastdfs.client.version>1.29</fastdfs.client.version></properties><parent><groupId>org.springframework.boot</groupId><artifactId>spring-boot-starter-parent</artifactId><version>2.2.6.RELEASE</version></parent><dependencies><dependency><groupId>org.springframework.boot</groupId><artifactId>spring-boot-starter-test</artifactId></dependency><dependency><groupId>org.springframework.boot</groupId><artifactId>spring-boot-starter-web</artifactId><exclusions><exclusion><groupId>org.springframework.boot</groupId><artifactId>spring-boot-starter-tomcat</artifactId></exclusion><exclusion><groupId>org.springframework.boot</groupId><artifactId>spring-boot-starter-logging</artifactId></exclusion></exclusions></dependency><dependency><groupId>org.springframework.boot</groupId><artifactId>spring-boot-starter-undertow</artifactId></dependency><dependency><groupId>org.springframework.boot</groupId><artifactId>spring-boot-configuration-processor</artifactId><optional>true</optional></dependency><dependency><groupId>commons-logging</groupId><artifactId>commons-logging</artifactId><version>${common.logging}</version></dependency><!-- log --><dependency><groupId>org.slf4j</groupId><artifactId>slf4j-api</artifactId><version>${slf4j.version}</version></dependency><dependency><groupId>ch.qos.logback</groupId><artifactId>logback-classic</artifactId><version>${logback.version}</version></dependency><dependency><groupId>com.alibaba</groupId><artifactId>fastjson</artifactId><version>${fastjson.version}</version></dependency><dependency><groupId>com.fastdfs</groupId><artifactId>fastdfs-client-java</artifactId><version>${fastdfs.client.version}</version></dependency></dependencies>
Create configuration file
(1) Create the SpringBoot configuration file application.yml in the src/main/resources directory of the project. The content of the file is as follows.
server:
 port:9999
 servlet:
 context-path:/resource
 tomcat:
 uri-encoding: UTF-8

spring:
 servlet:
 multipart:
  max-file-size: 1024MB
  max-request-size: 1024MB
 main:
 allow-bean-definition-overriding:true
 profiles:
 include: test
 active: test
 output:
 ansi:
  enabled: detect
The file specifies the port to be monitored after the project is started, the root path of the access, the project code, the size of the file upload, and the runtime environment.
(2) Create a logback-spring.xml log file in the src/main/resources directory of the project, see the source code project for the specific configuration.
(3) Create a fastdfs_client.conf file in the src/main/resources directory of the project, which is mainly used to configure the connection information with FastDFS.
connect_timeout =200
network_timeout =3000
charset = UTF-8
http.tracker_http_port =8080
http.anti_steal_token = no
http.secret_key = FastDFS1234567890
tracker_server =192.168.175.100:22122
At this point, the project is completed. Next, we will implement the functions of the project together.
Project Development
Create tool class
First, we create the FastDFSClientUtils tool class under the io.mykit.fastdfs.utils package of the project. Here, I give the core implementation of the tool class. For other friends, please refer to the source code project.
/**
 * @ author binghe
 * @ description FastDFS distributed file system operation client
 * /publicclassFastDFSClientUtils{privatestatic Logger logger = LoggerFactory.getLogger(FastDFSClientUtils.class);privatestatic TrackerClient trackerClient;publicstaticvoidsetFile(String filePath){try{
   logger.info("Initialize the distributed file system service start...");if(filePath ==null|| filePath.trim().isEmpty()){
    filePath ="fastdfs_client.conf";}
   ClientGlobal.init(filePath);
   TrackerGroup trackerGroup = ClientGlobal.g_tracker_group;
   trackerClient =newTrackerClient(trackerGroup);
   logger.info("Initialize the distributed file system service completed...");}catch(Exception e){
   logger.error("File loading exception:{}",e );}}/**
  * @ param data
  * @ param extName file extension
  * @ return Return id for upload success, null for failure
  * /publicstatic String upload(byte[] data, String extName){
  TrackerServer trackerServer =null;
  StorageServer storageServer =null;
  StorageClient1 storageClient1 =null;try{
   NameValuePair[] meta_list =null;// new NameValuePair[0];

   trackerServer = trackerClient.getTrackerServer();if(trackerServer ==null){
    logger.error("getConnection return null");}
   storageServer = trackerClient.getStoreStorage(trackerServer);
   storageClient1 =newStorageClient1(trackerServer, storageServer);
   String fileid = storageClient1.upload_file1(data, extName, meta_list);return fileid;}catch(Exception ex){
   logger.error("File upload exception:{}", ex);returnnull;}finally{try{
    storageClient1.close();}catch(IOException e){
    e.printStackTrace();}
   storageClient1 =null;}}
Create return entity class
We create a ResourceBean class under the io.mykit.fastdfs.bean package for the SpringBoot interface to return result data, as shown below.
/**
 * @ author binghe
 * @ version 1.0.0
 * @ description Return data after uploading the picture
 * /publicclassResourceBeanimplementsSerializable{privatestatic final long serialVersionUID =-2788538880352897307L;/**
 * File access path
 * /private String fileUrl;/**
 * file name
 * /private String fileName;publicResourceBean(){super();}publicResourceBean(String fileUrl, String fileName){super();this.fileUrl = fileUrl;this.fileName = fileName;}public String getFileUrl(){return fileUrl;}publicvoidsetFileUrl(String fileUrl){this.fileUrl = fileUrl;}public String getFileName(){return fileName;}publicvoidsetFileName(String fileName){this.fileName = fileName;}}
Among them, the access path fileUrl of the file and the name of the file fileName are defined. In other words, after the file is uploaded successfully, we will return the file access path and file name information to the client.
Create constant class
Create the ResourcesConstants constant class under the io.mykit.fastdfs.constants package. The ResourcesConstants class mainly defines the basic path to access the file and the method to obtain the complete access path of the file, as shown below.
/**
 * @ author binghe
 * @ version 1.0.0
 * @ description constant
 * /publicclassResourcesConstants{privatestatic final String BASE_RESOURCES_URL ="http://192.168.175.100/";publicstatic String getResourcesUrl(String fileId){return BASE_RESOURCES_URL.concat(fileId);}}
Create Controller class
Create a ResourceController class under the io.mykit.fastdfs.controller package of the project to define the interface for file upload. The function of this class is also relatively simple, that is, define a file upload interface, receive the file, and call the upload(byte[], String) method of the FastDFSClientUtils tool class to upload the file to FastDFS, as shown below.
/**
 * @ author binghe
 * @ version 1.0.0
 * @ description Upload file interface
 * /
@ RestController
@ RequestMapping(value ="/resources/")publicclassResourceController{

 @ RequestMapping(value={"/upload"}, method=RequestMethod.POST)
 @ ResponseBody
 public ResourceBean upload(@RequestParam("file") MultipartFile file, HttpServletRequest request, HttpServletResponse response){
 String extName ="";
 String fileName ="";
 String originalFilename = file.getOriginalFilename();if(originalFilename.contains(".")){//Split file path
 String[] fileArray = originalFilename.split("\\.");//Get file extension
 extName = fileArray[1];//Get file name
 fileName = fileArray[0];}else{
 fileName = originalFilename;}
 byte[] bytes =null;try{
 bytes = file.getBytes();//Convert the file to byte stream form}catch(IOException e){
 e.printStackTrace();}//Call the specific method of uploading files
 String fileId= FastDFSClientUtils.upload(bytes,extName);returnnewResourceBean(ResourcesConstants.getResourcesUrl(fileId), fileName);}}
Create a startup class
Under the io.mykit.fastdfs package of the project, create the project startup class ResourceStarter, as shown below.
/**
 * @ author binghe
 * @ version 1.0.0
 * @ description start
 * /
@ SpringBootApplication
publicclassResourceStarter{publicstaticvoidmain(String[] args){try{
 String filePath ="fastdfs_client.conf";if(args.length >0){
 filePath = args[0];}
 FastDFSClientUtils.setFile(filePath);
 SpringApplication.run(ResourceStarter.class, args);}catch(Exception e){// TODO Auto-generated catch block
 e.printStackTrace();}}}
As can be seen from the code, in the main method of the ResourceStarter startup class, a default file path is defined for the filePath variable as fastdfs_client.conf. When the project is started, parameters are passed to the main() method, and the first parameter is used Override the default value of filePath, and call the setFile() method of the FastDFSClientUtils class to pass the filePath to the FastDFSClientUtils class for initialization.
Create html file
Finally, we need to create an index.html file to test the file upload operation. The content of the index.html file is also relatively simple, as shown below.
<! DOCTYPE html><html><head><meta charset="utf-8"><title>File upload and download</title></head><body><form action='http://192.168.175.100:9999/resource/resources/upload' method='post' enctype='multipart/form-data'><input type='file' name='file'><button type='submit'>Upload</button></form></body></html>
At this point, our entire project has been developed.
Project Testing
First, we package the mykit-fastdfs project into a mykit-fastdfs.jar file in IDEA, and then upload the mykit-fastdfs.jar file to the server's /usr/local/java directory. At the same time, we will add the project's src/main Copy the fastdfs_client.conf file in the /resources directory to the /usr/local/java directory of the server.
Enter the following command on the server command line to start mykit-fastdfs.jar.
nohup java -jar /usr/local/java/mykit-fastdfs.jar /usr/local/java/fastdfs_client.conf >>/dev/null&
Next, we put the index.html file in the html/test directory under the Nginx installation directory. At this point, enter http://192.168.175.100/test/index.html in the browser address bar to open the page.
After we upload the file to the FastDFS file system through the index.html page, the browser will display the returned result data, one is the file's access path fileUrl, and the other is the file name fileName, as shown below.
{" fileUrl":"http://192.168.175.100/group1/M00/00/00/Ch8FQl9wfkSASTnYAACSPnJ7giA366.jpg","fileName":"QQ screenshot 20200609234534"}
The details are shown in the figure below.

We open the file access path identified by fileUrl, http://192.168.175.100/group1/M00/00/00/Ch8FQl9wfkSASTnYAACSPnJ7giA366.jpg, as shown below.
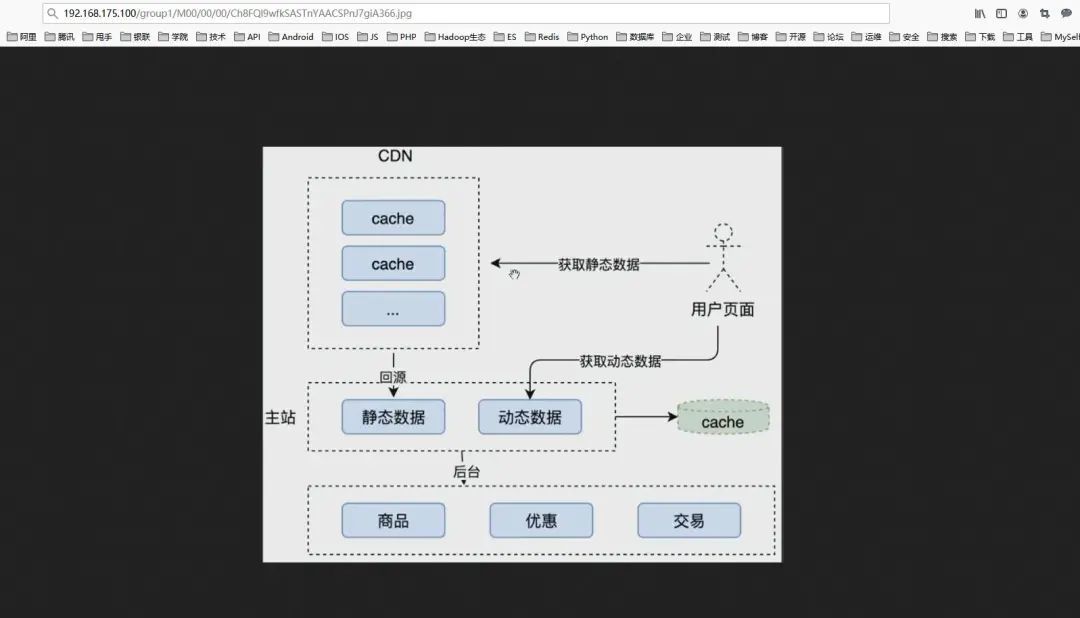
As you can see, the browser can correctly display the uploaded picture, indicating that we have successfully integrated the FastDFS Java client in the project.