ESP8266 flashing MicroPython firmware
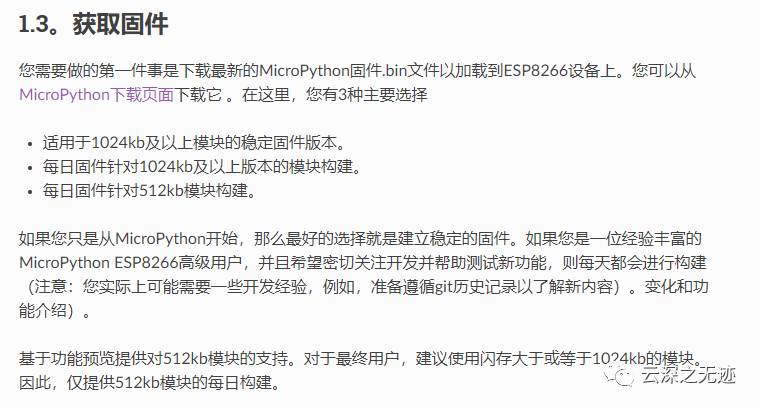
There are many types of firmware
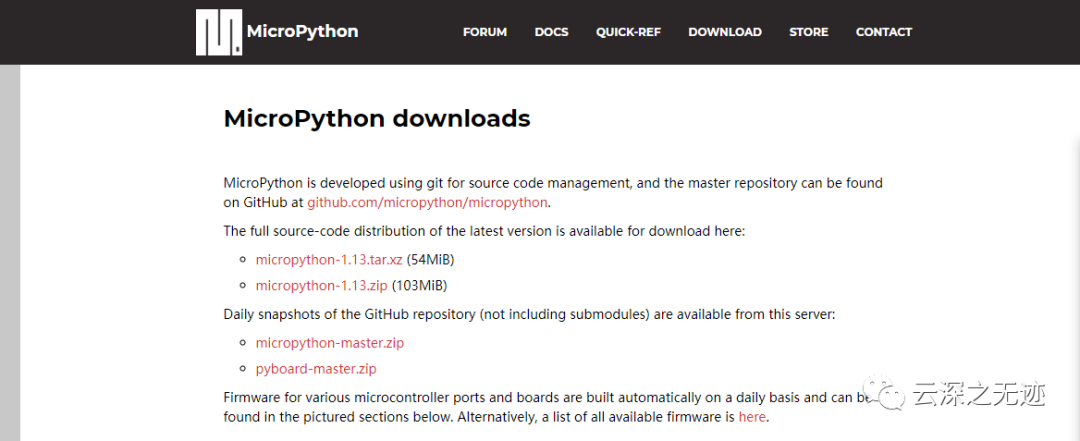
This is the download page
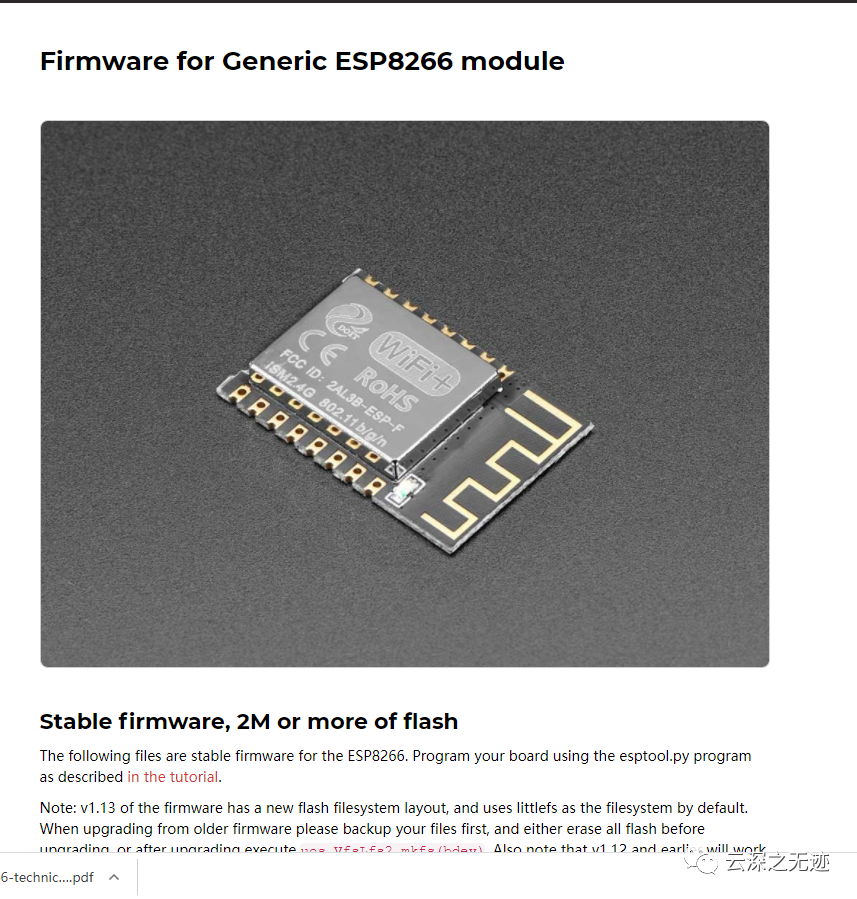
Officially supports ESP8266, it's good to be born with it
- Highly integrated
ESP8266 is the most integrated Wi-Fi chip in the industry, with a minimum package size of only 5mmx5mm. ESP8266 highly integrates antenna switch, radio frequency balun, power amplifier, low noise amplifier, filter and power management module. It only requires a few peripheral circuits and can minimize the PCB space occupied.
- 32 Tensilica MCU
ESP8266 built-in Tensilica L106 32-bit microcontroller (MCU), with ultra-low power consumption and 16-bit RSIC, the clock speed can reach up to 160 MHz. It supports real-time operating system (RTOS). At present, only 20% of MIPS is used in the Wi-Fi protocol stack, and the others can be used for user programming and development.
- Low power consumption
ESP8266 is specially designed for mobile devices, wearable electronics and IoT applications, and achieves the lowest power consumption through a number of proprietary technologies. ESP8266 has three operating modes: active mode, sleep mode and deep sleep mode, which can extend battery life.
- Stable performance
ESP8266 integrates more components, stable performance, easy to manufacture, and the operating temperature range reaches -40°C to +125°C.

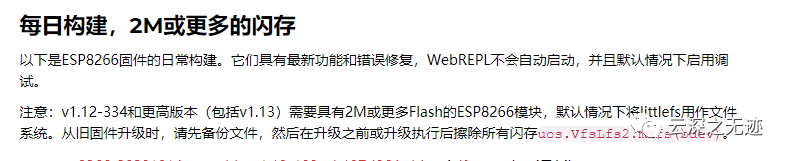


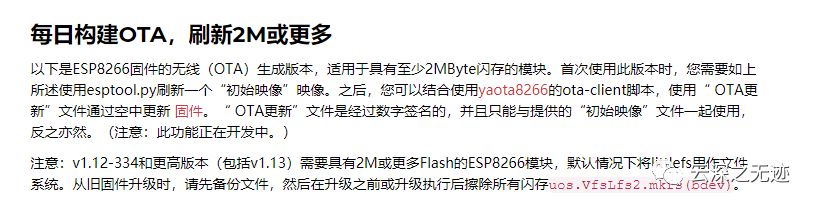
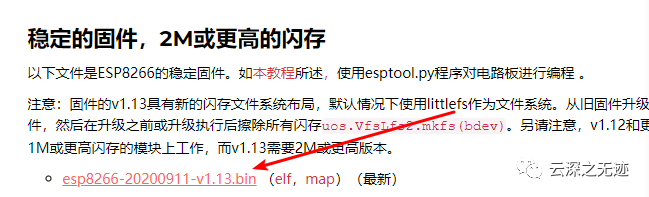
Look at the difference between various firmwares, see the needs for yourself

I downloaded it for stability, stable version
If you just start with MicroPython, then the best option is to build a stable firmware. If you are an experienced MicroPython ESP8266 advanced user and want to pay close attention to development and help test new features, you will build every day (Note: You may actually need some development experience, for example, be prepared to follow git history to understand New content). Introduction of changes and features).
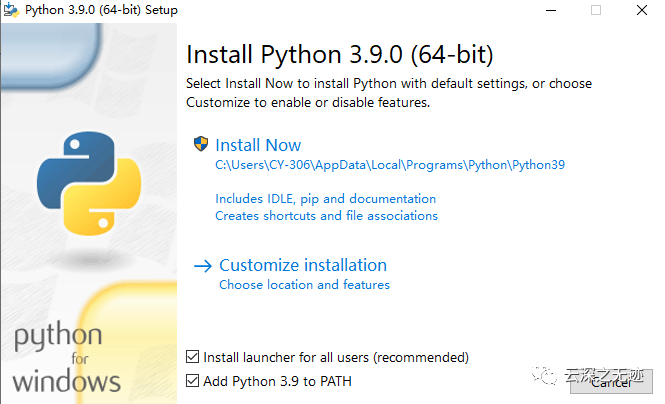
Install Python
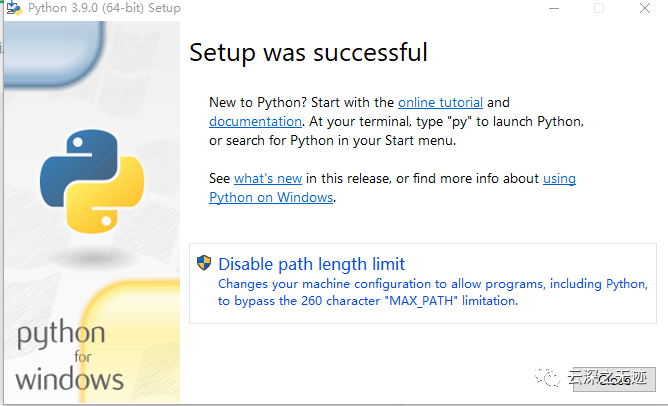
Remove this restriction
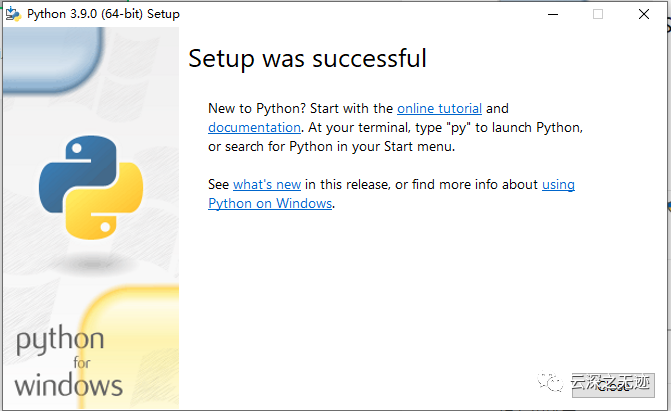
After removal
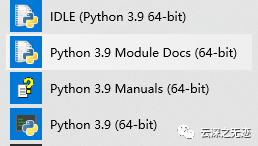
Successful installation
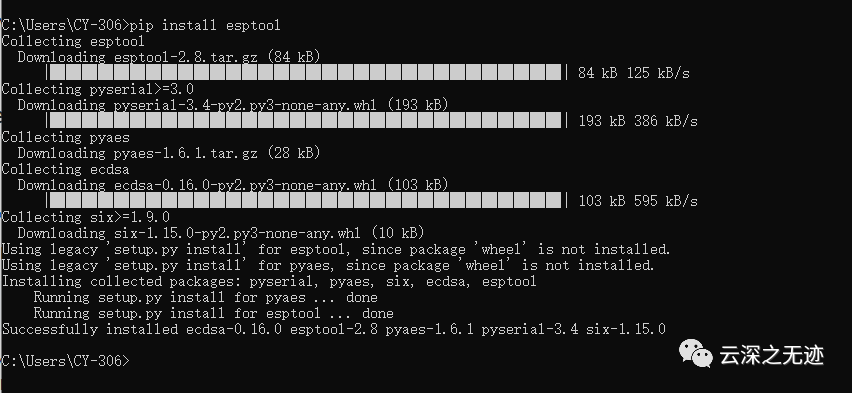
pip arranges the burning tool
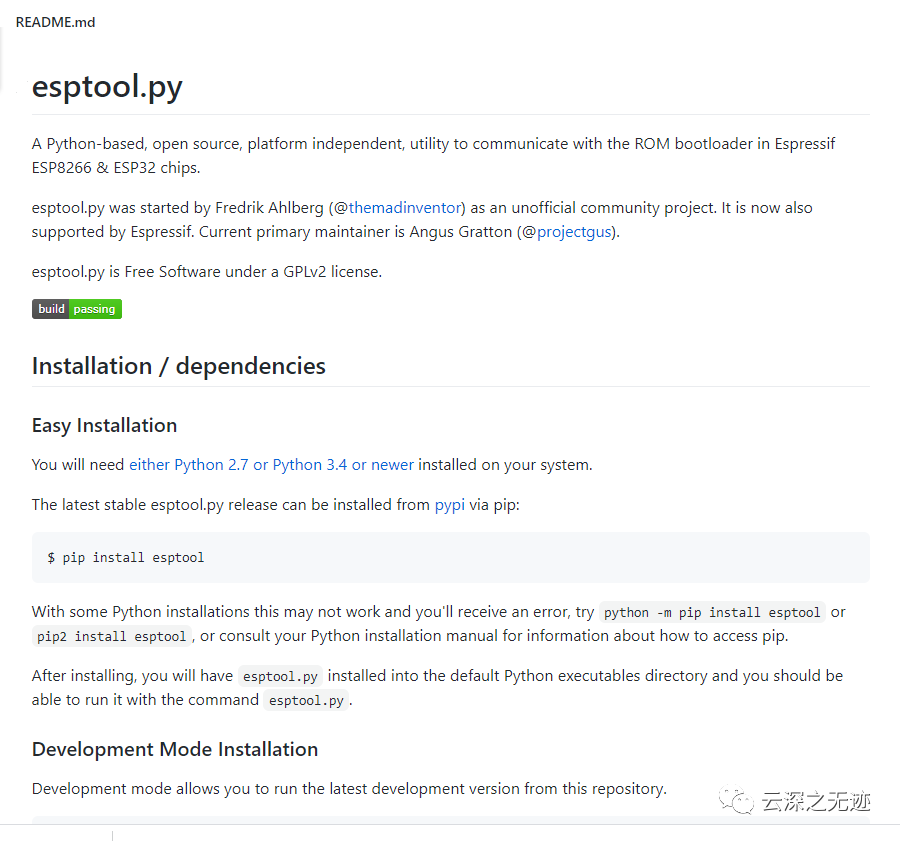
readme file
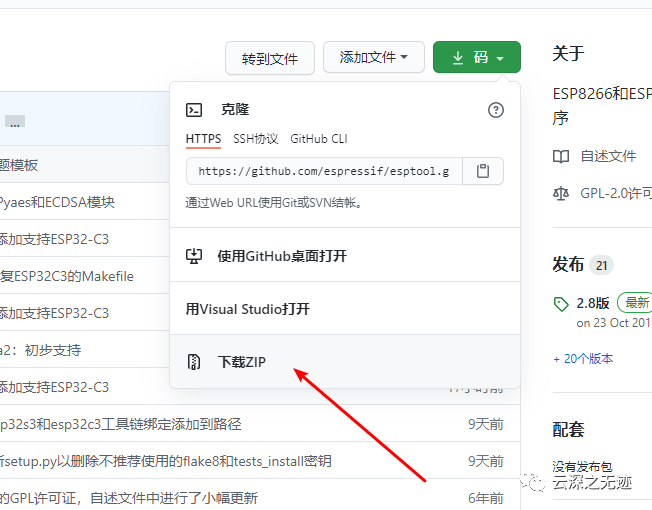
The computer does not have Git, download directly
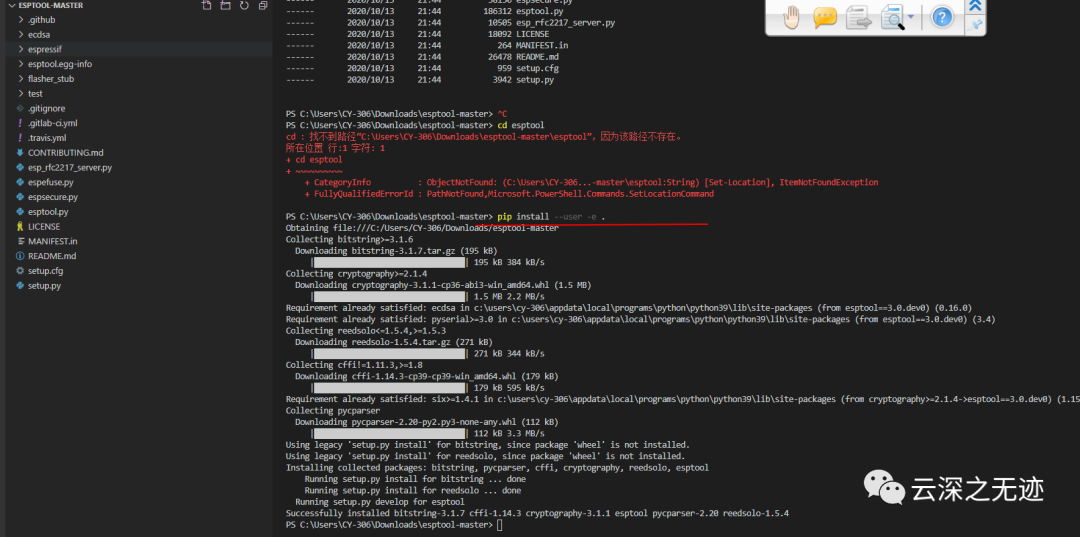
Then unzip and open
This will install esptool's dependencies and create some executable script wrappers in the user's bin directory. The wrapper will directly run the script found in the git working directory, so whenever the content of the working directory changes, it will immediately get the new version.
Using this development mode installer, you can also run the script directly from the working directory.
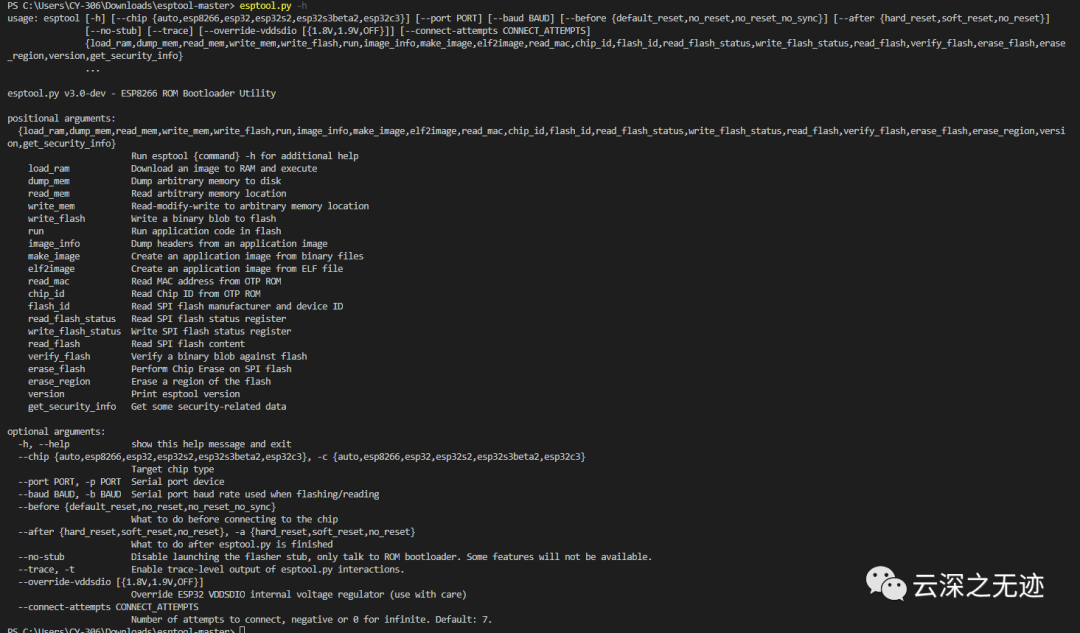
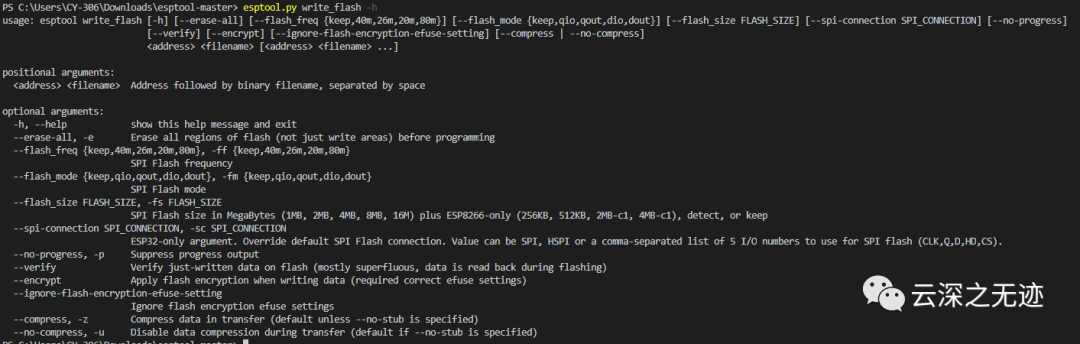
Use esptool.py -h to see a summary of all available commands and command line options.
To view all options of a specific command, append -h to the command name. That is, esptool.py write_flash -h.

Look at your machine serial port in the device manager
Serial port###
- Use (Linux and macOS) or (Windows)
-poptions to select the serial port.-p /dev/ttyUSB0-p COM1 - The default serial port can be specified by setting the
ESPTOOL_PORTenvironment variable. - If the
-poption or theESPTOOL_PORTvalue is not specified,esptool.pywill enumerate all connected serial ports and try each port until it finds the connected Espressif device (new behavior in v2.4.0 ).
If you use Cygwin or WSL on Windows, you must convert the Windows-style name to a Unix-style path (COM1->/dev/ttyS0 etc.). (If you use ESP32's esp-idf in the provided Windows MSYS2 environment, you don't need this environment, which uses native Windows Python and accepts COM ports as is.)
In Linux, the current user may not be able to access the serial port, and a "permission denied" error will appear. In most Linux distributions, the solution is dialout to add the user to the group using commands such as sudo usermod -a -G dialout<USERNAME> . Check the documentation of the Linux distribution for more information.
Baud rate###
The default baud rate of esptool.py is 115200bps. You can use -b 921600 (or other baud rate of your choice) to set a different rate. You can also use the ESPTOOL_BAUD environment variable to specify the default baud rate. This can speed up the write_flash and read_flash operations.
When esptool.py establishes the initial connection, the baud rate is limited to 115200, and higher speeds are only used for data transmission.
Most hardware configurations will work with -b 230400, some with -b 460800, -b 921600 and/or -b 1500000 and above.
The first step is to install the pip tool used: python -m pip install --upgrade pip
The second step is to install the esptool.py burning script: pip install esptool
The third step is to erase the memory: esptool.py --port COM17 erase_flash (COM17 is the port you connect to the development board, you need to check and change it yourself. For example, if you use port 5, change it to esptool.py- -port COM5 erase_flash)
The fourth step is to burn the bin file: esptool.py --port COM17 --baud 460800 write_flash --flash_size=detect 0 pathToYourFile/binaryFile
(The COM port is the same as above, and the last is the location where you store the bin file. For example, my bin file location is F:\esp8266-20191220-v1.12.bin, then esptool.py --port COM17 --baud 460800 write_flash --flash_size=detect 0 F:\esp8266-20191220-v1.12.bin)
PS: The windows system has a small trick, that is, you can pull the file directly to the command line interface, and it will directly add the path of the file.
https://github.com/nodemcu/nodemcu-flasher

http://docs.dfrobot.com.cn/upycraft/

http://download3.dfrobot.com.cn/uPyCraft/uPyCraft_V1.1.exe

https://zh.snipaste.com/

https://www.netsarang.com/zh/xshell/

https://pc.qq.com/detail/4/detail_2644.html

https://www.lanzous.com/b00z9hgeh

https://www.ghpym.com/xshell6.html

https://mobaxterm.mobatek.net/download-home-edition.html
https://www.v1tx.com/post/best-ssh-client/

https://zhuanlan.zhihu.com/p/30969848
The above is the reference link of this article, if necessary, pick it up
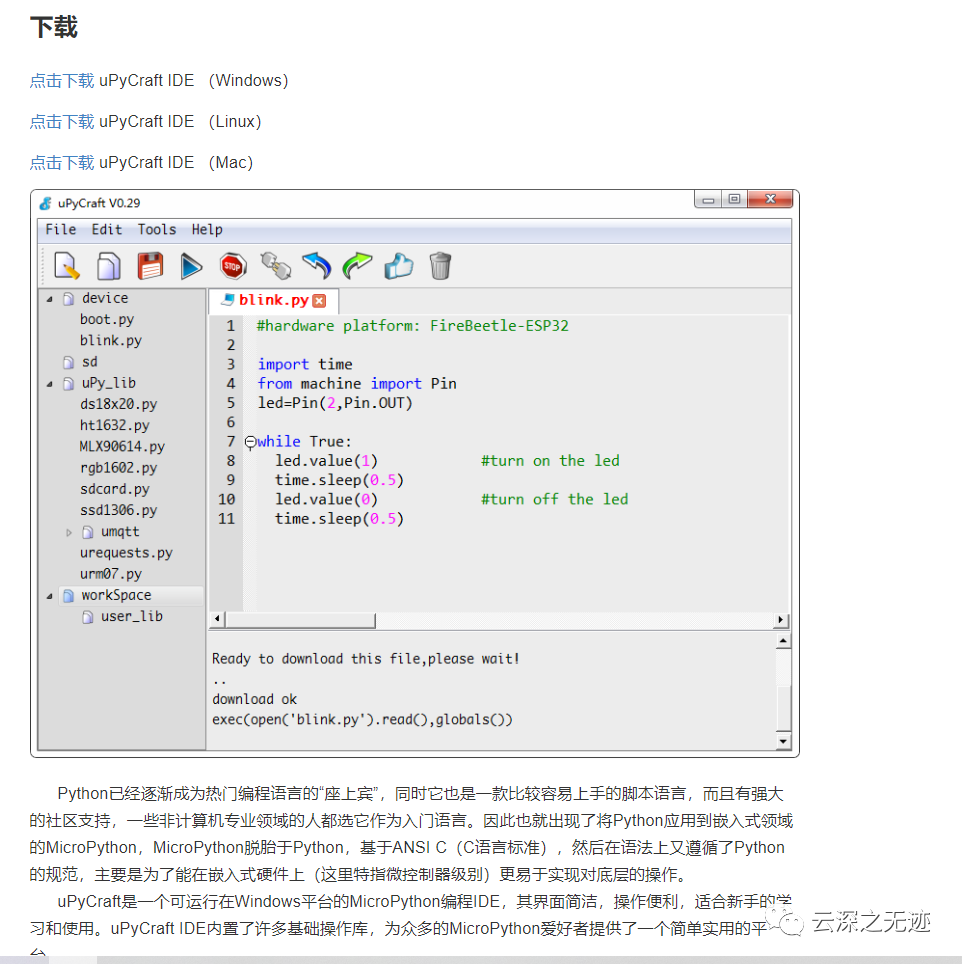
To install this software, you don't actually need to install it. Open it and you can use it
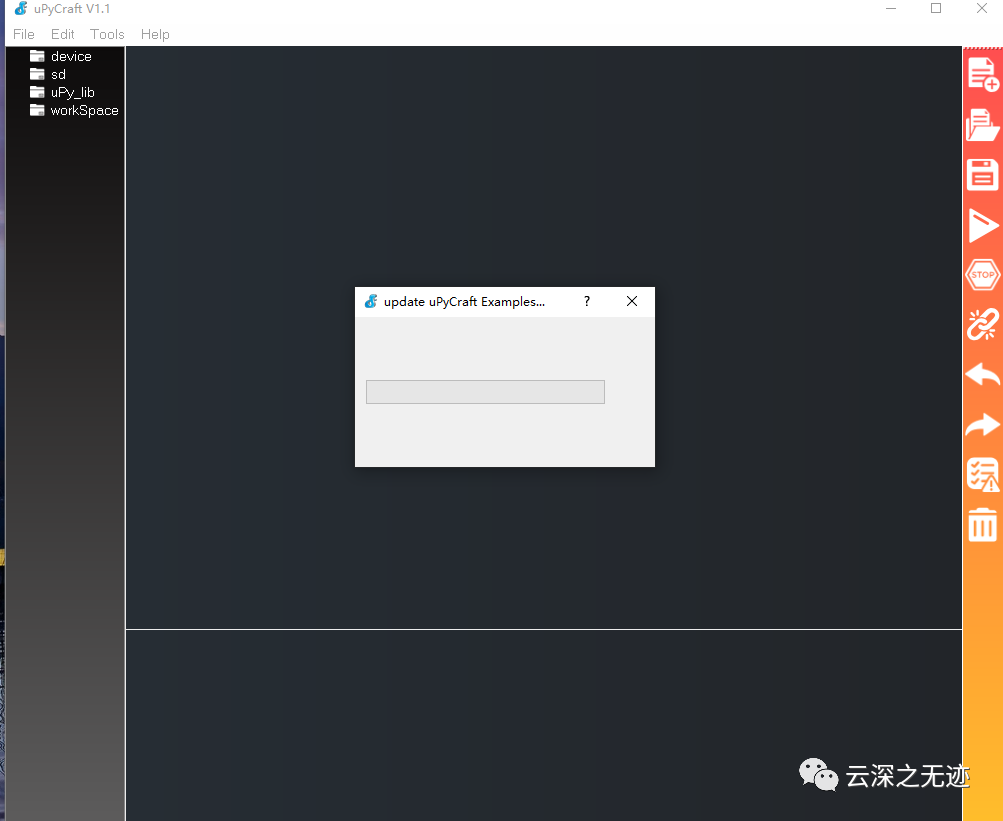
Flash firmware
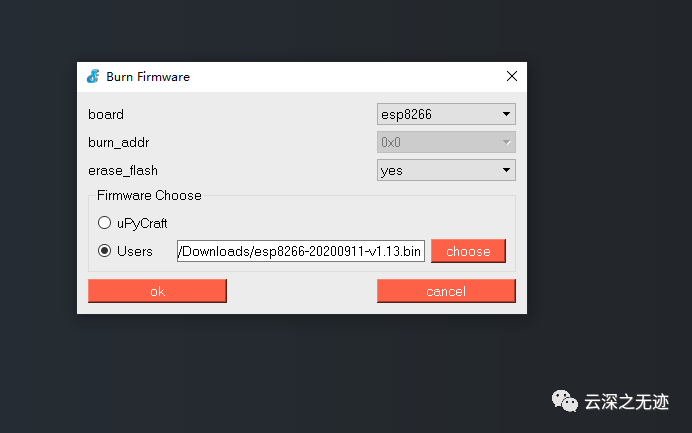
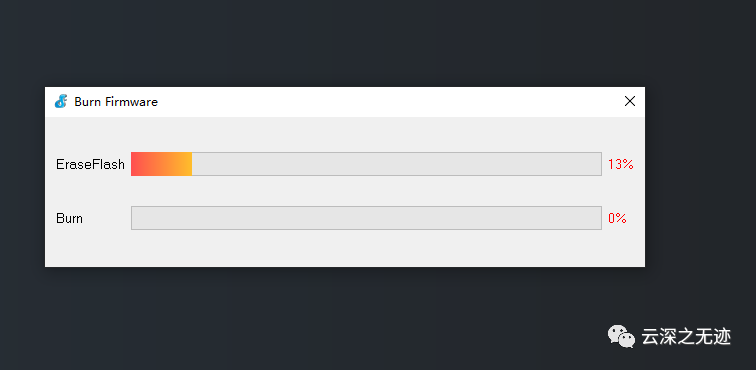
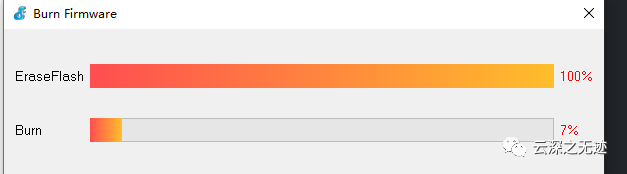
Flashing
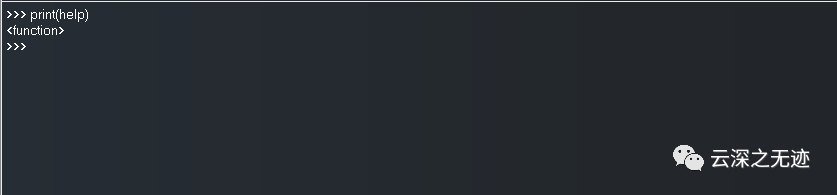
This is success

This icon indicates successful communication

I can't do this for nothing
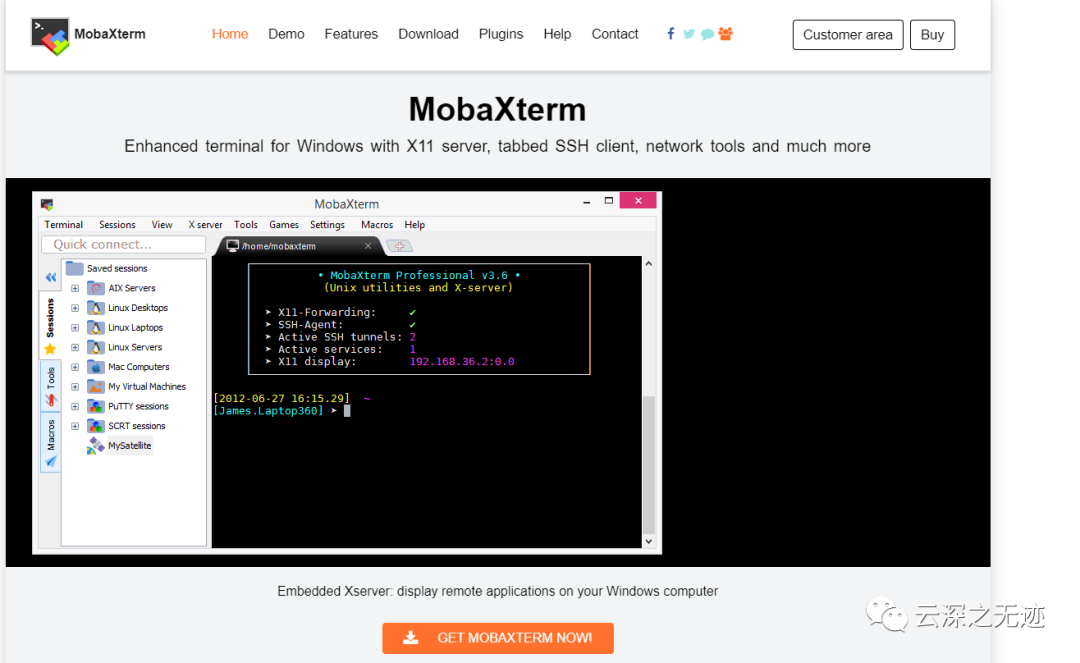
Downloaded this
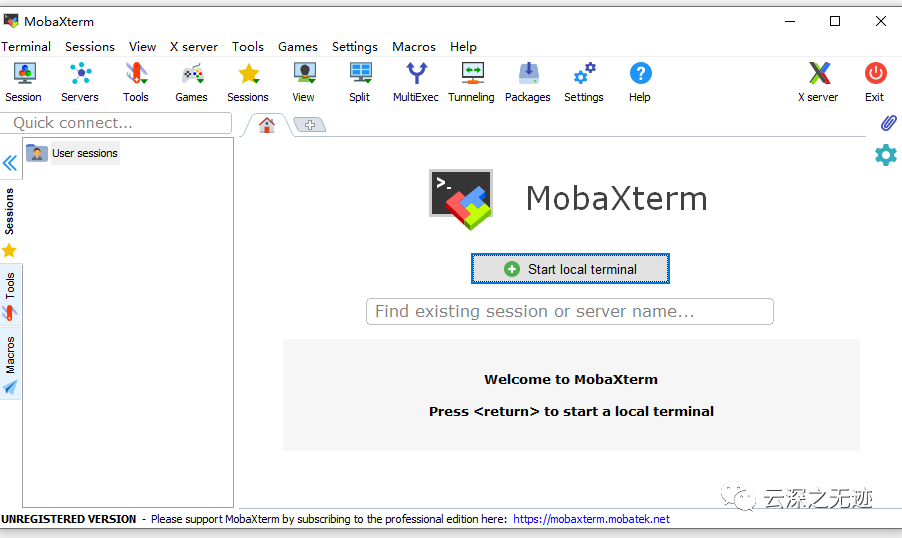
Open page
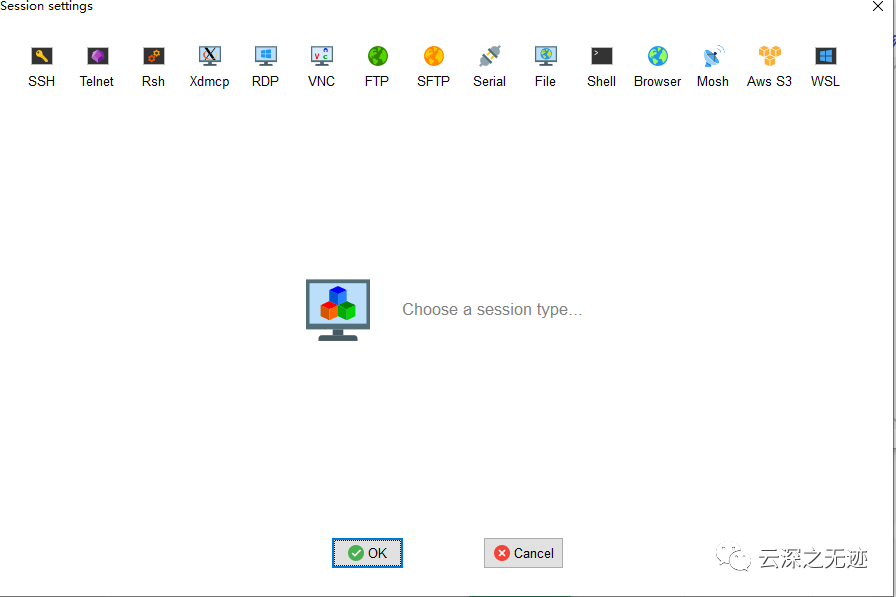
Serial link
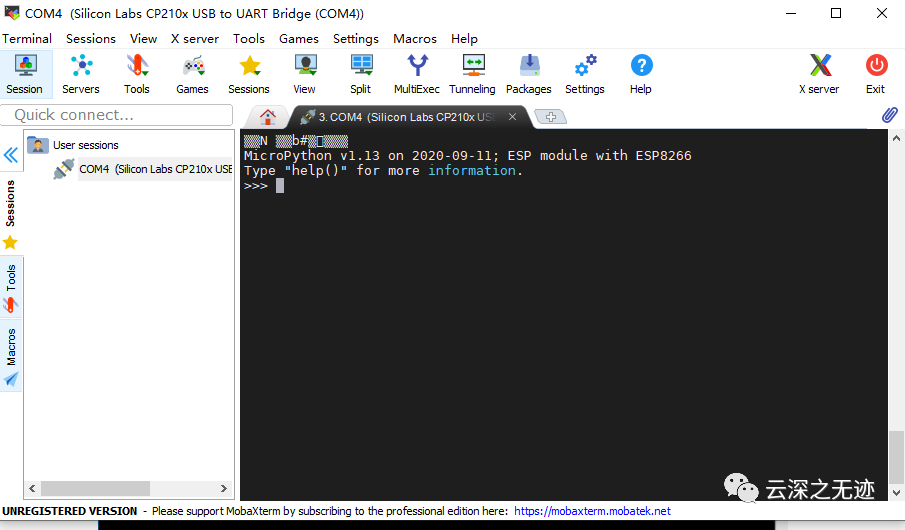
Link successfully
from machine import Pin

p2 =Pin(2, Pin.OUT)
p2.value(0)
The esp8266 comes with a blue LED light, which has been lit at this time if nothing happens. It is also very simple to turn it off, just call p2.value(1).
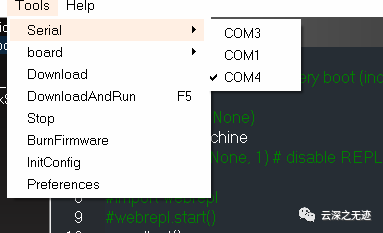
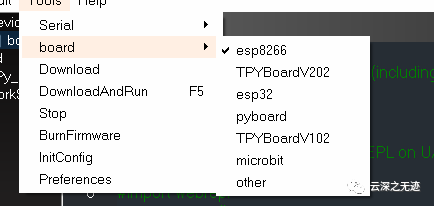
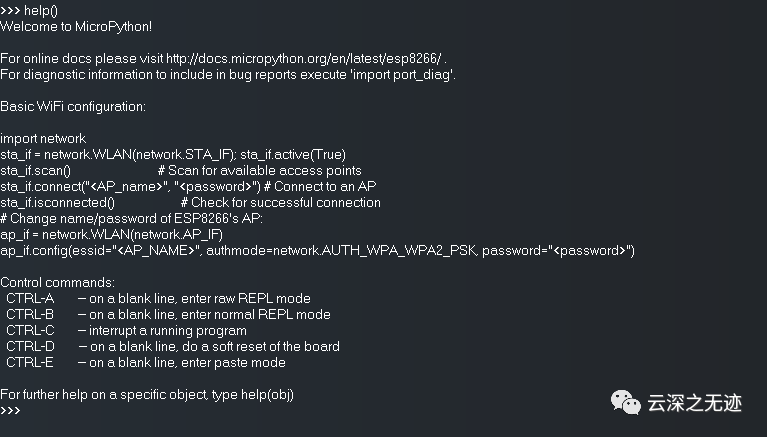
Internal firmware flashed for the first time
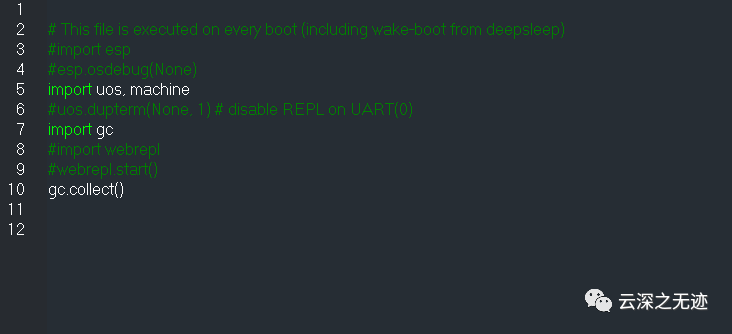
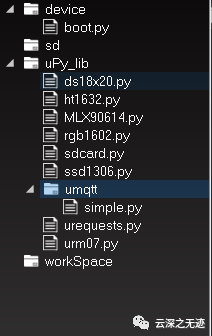
This is the internal directory
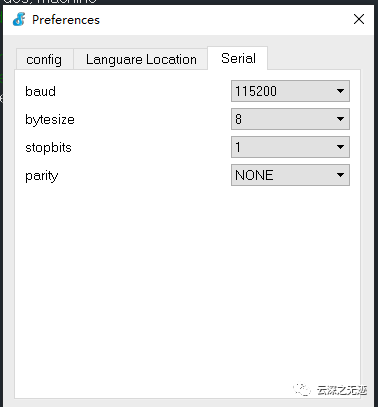
Select the setting content of the link
Flashing light
Directory tree
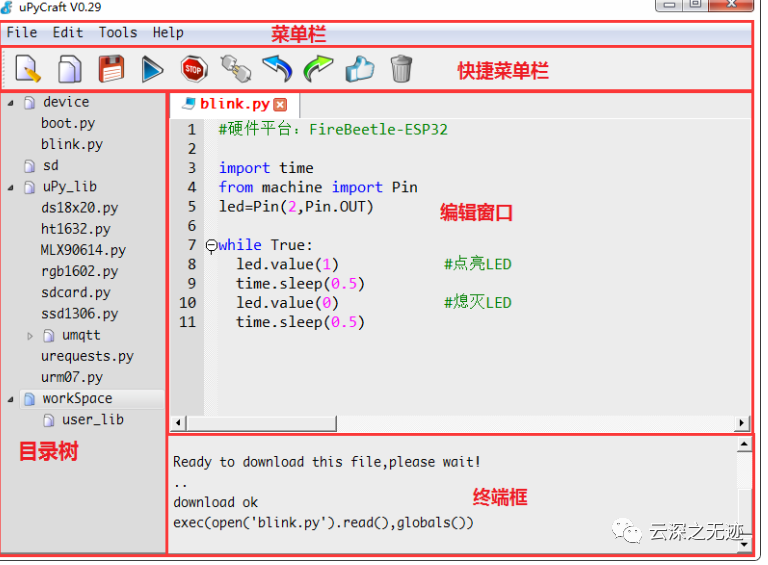
On the left side of the entire interface, you can manage files through different file directories, including directories device, sd, uPy_lib, workSpace, etc. among them
- device: Display the files existing on the connected development board.
- sd: The current version is not yet supported.
- uPy_lib: Display the library files that come with the IDE.
- workSpace: user-defined directory to save user's own files.
From top to bottom, the toolbar is:
1 : New
2 : Open
3 : Save
4 : DownloadAndRun (download and run)
5 : Stop (stop running)
6 : Connect/disconnect (connect or disconnect the USB serial port)
7 : Undo (Undo)
8 : Redo (restore)
9 : SyntaxCheck (Syntax Check)
10 : Clear (clear the terminal)
1. Create a workSpace file directory
uPyCraft can create a workspace directory on the computer to store the user's own files and display it in the directory tree on the left side of the IDE to facilitate users to organize and edit files. After updating uPyCraft, the configuration path and internal files in the workspace will not be lost.
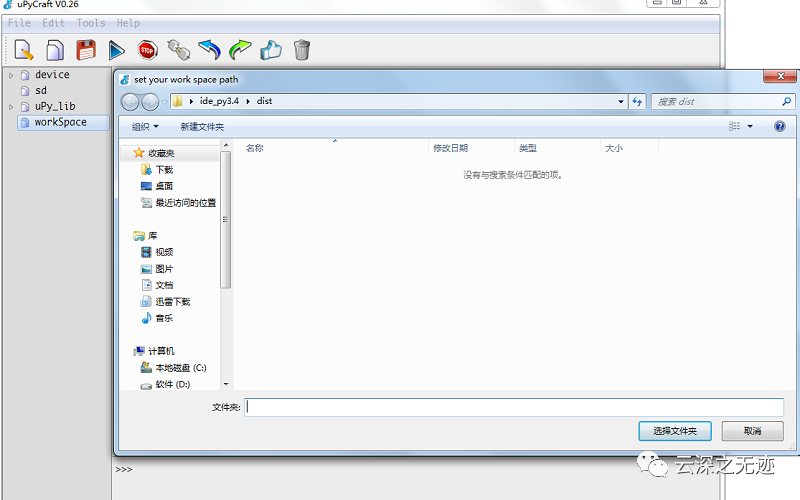
When the uPyCraft IDE is opened for the first time, the workSpace path does not exist. When the user clicks on the workSpace, a path selection dialog box will pop up, select the path to be stored, and click "Select Folder" to create the workSpace directory, as shown below.
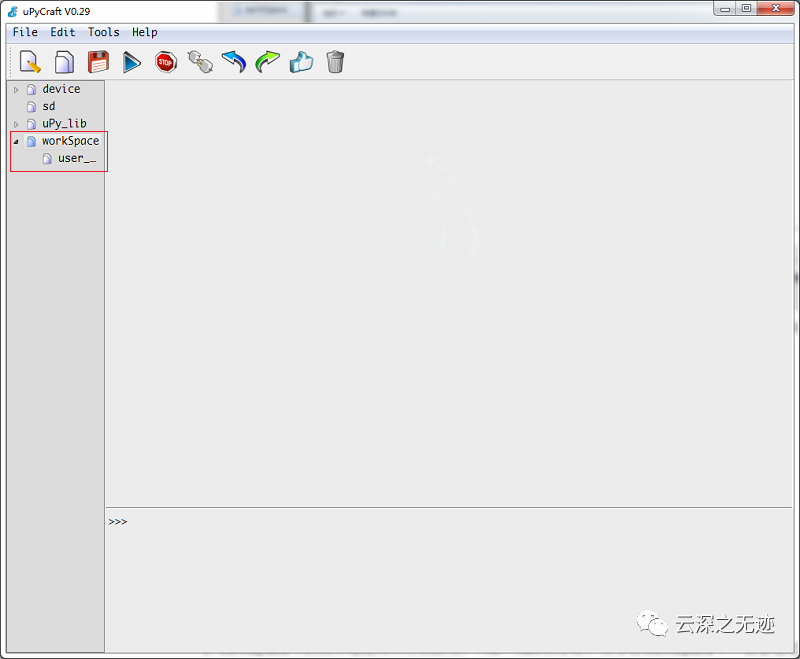
After selecting the path, click the file→Refulsh Directory option in the menu bar to refresh the directory, that is, you can see the workspace folder and the User_lib folder under the folder under the path, as shown in the figure below.
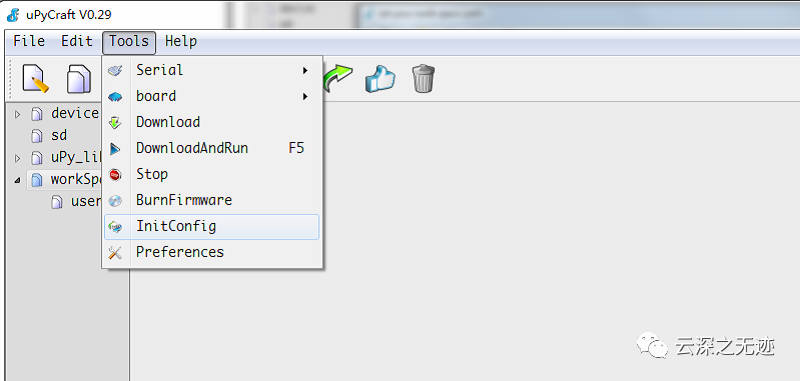
If the user wants to reselect the path of the workSpace, he can select Tools→InitConfig in the menu bar, and then click the workSpace directory to reselect the path, as shown in the figure below.
2. Create a directory under device####
Right-click the device→New Dir option of the directory, enter the name of the directory (such as "mylib") in the pop-up dialog box, click "OK", refresh the directory, and you can see a new mylib folder under device, as shown below. You can create, delete, and modify files in this folder.
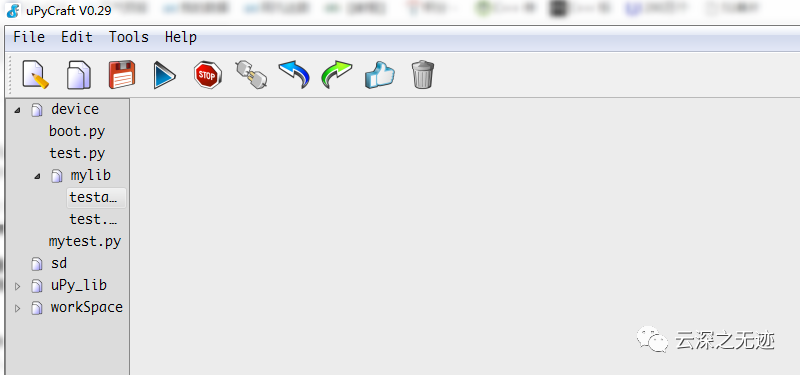
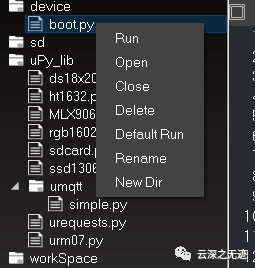
As mentioned earlier, the files in the device are burned to the board. Select a file, click the right mouse button, and operate the file in the pop-up right-click menu, as shown in the figure below.
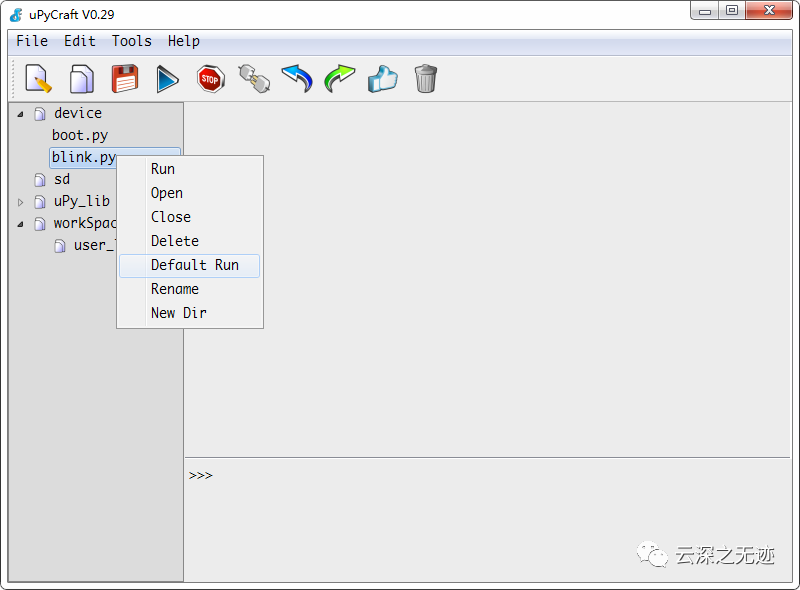
among them
- Run: Run the file
- Open: Open the file in the edit box
- Close: close the file in the edit box
- Delete: delete the file (note: you cannot delete the file being executed)
- Default Run: Run the file by default (that is, run the file automatically after power-on)
- Rename: Rename
- New Dir: Create a directory
2.3.2.2 File operations###
1. create a new file####
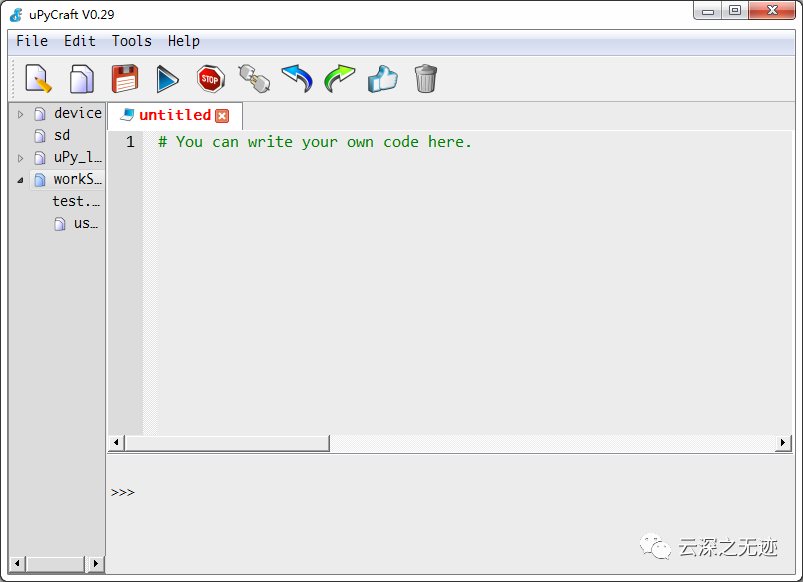
Click the File→New option in the menu bar (shortcut key: Ctrl+N, or click the new file shortcut icon

), a new edit window pops up in the code edit box, named "untitled", you can write code in the edit window interface, as shown in the figure below.
2. Save/Save as file####
save document
After editing an existing file in the directory, if you want to save it, just select the File→Save option in the menu bar (shortcut key: Ctrl+S, or click the save file shortcut icon

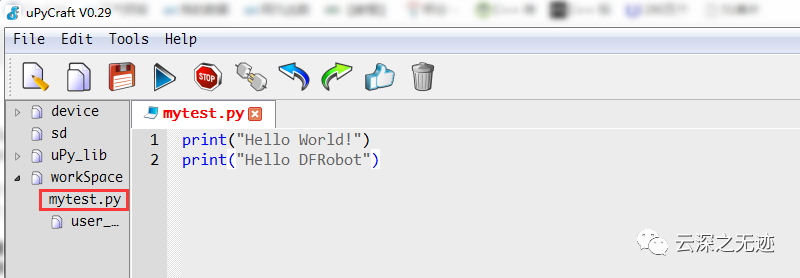
). If you want to save the newly created file, a file name input dialog box will pop up after the save operation, enter the file name (such as "mytest.py"), and click "OK", as shown in the figure below.
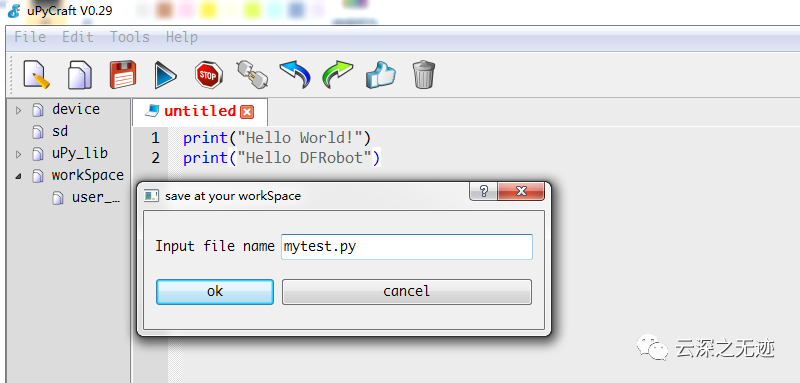
The newly created file is saved in the workspace directory by default, as shown below.
Save as file
Click the left mouse button to select the file to be saved in the directory, select File→Save as option in the menu bar, and reselect the file path to save as in the pop-up dialog box.
3. open a file###
Select the File→Open option in the menu bar (shortcut key: Ctrl+O, or click the open file shortcut icon

), you can open the file on the PC (currently only supports opening *.py, *.txt, *.ini, *.json four kinds of files). To open files in the uPyCraft directory tree, just double-click the files in the directory.
note:
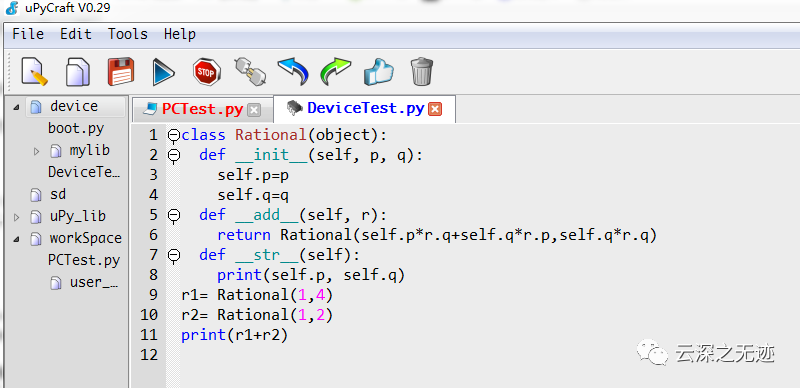
The file tag is used to distinguish whether it is a development board or a file on the PC, as shown in the figure below.
The files in the device directory are the files in the development board, and there are

Icon and the file name is blue.
The files in other directories are the files on the PC, and there is

Icon and the file name is red.
4. Close file
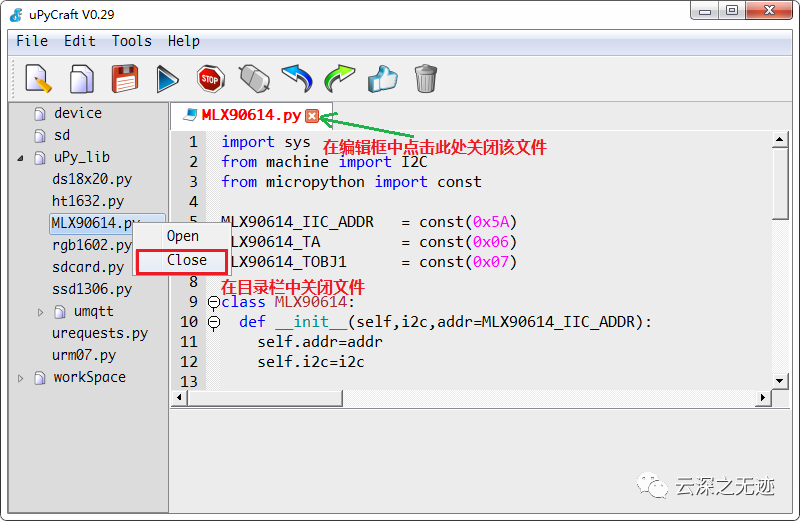
You can close the file directly in the edit box, or you can right-click the file in the directory and select Close, as shown in the figure below.
5. Delete Files####
Select the file to be deleted in the uPycraft directory tree, click the left mouse button and select Delete to delete it.
note:
You cannot delete the file being executed, you must stop the execution before it can be deleted, nor can you delete the library file in uPy_lib.
6. Drag function
Drag and drop to open the file
a. Drag and drop to open the file inside: Drag and drop the file in the IDE directory to the IDE code edit box to open the file.
b. External drag and drop to open the file: Drag and drop the file from other places (such as the desktop) to the IDE code edit box to open the file.
Drag and drop to download files
a. Internal drag and drop to download files: You can drag and drop files in the workSpace and uPy_lib to the device to download (the development board is connected).
b. External drag and drop to download the file: The file on the PC can be downloaded by dragging the file to the device (connected to the development board).
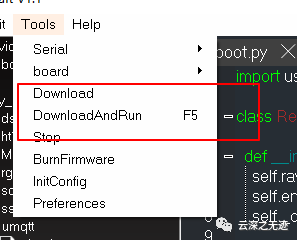
To download files for the development board, the files are divided into two categories, one is library files that do not need to be executed, and the other is files that need to be executed. Therefore, we have implemented three separate functions: download, execute, download and execute.
Drag and drop to open the file
a. Drag and drop to open the file inside: Drag and drop the file in the IDE directory to the IDE code edit box to open the file.
b. External drag and drop to open the file: Drag and drop the file from other places (such as the desktop) to the IDE code edit box to open the file.
Drag and drop to download files
a. Internal drag and drop to download files: You can drag and drop files in the workSpace and uPy_lib to the device to download (the development board is connected).
b. External drag and drop to download the file: The file on the PC can be downloaded by dragging the file to the device (connected to the development board).
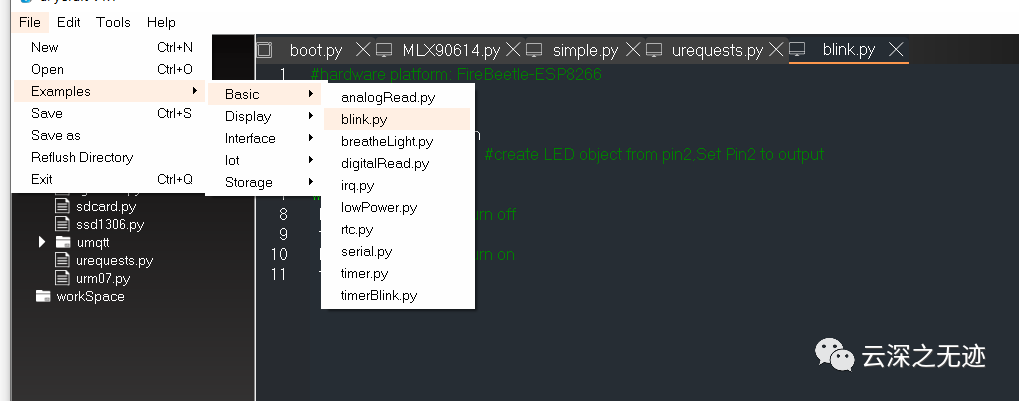
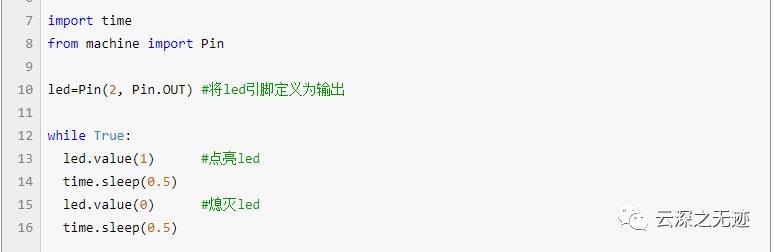

Some examples rely on external libraries. These libraries are stored in the uPy_lib directory in the directory tree on the left of uPyCraft IDE. We need to download the library file to the board, and then use the library file by importing the package.
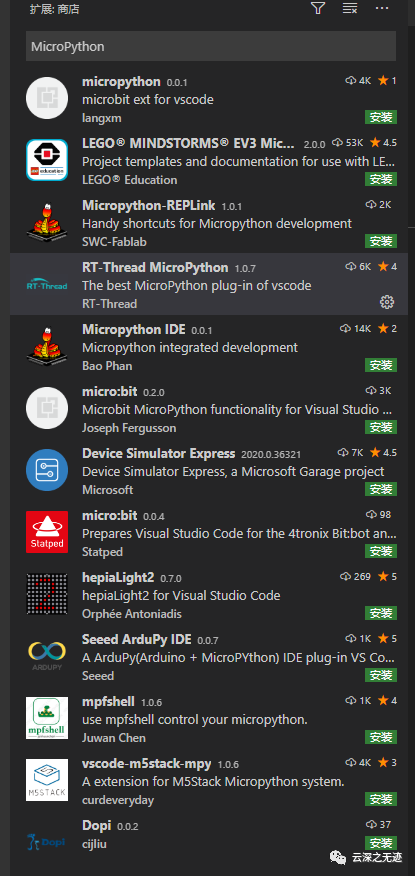
Search and install
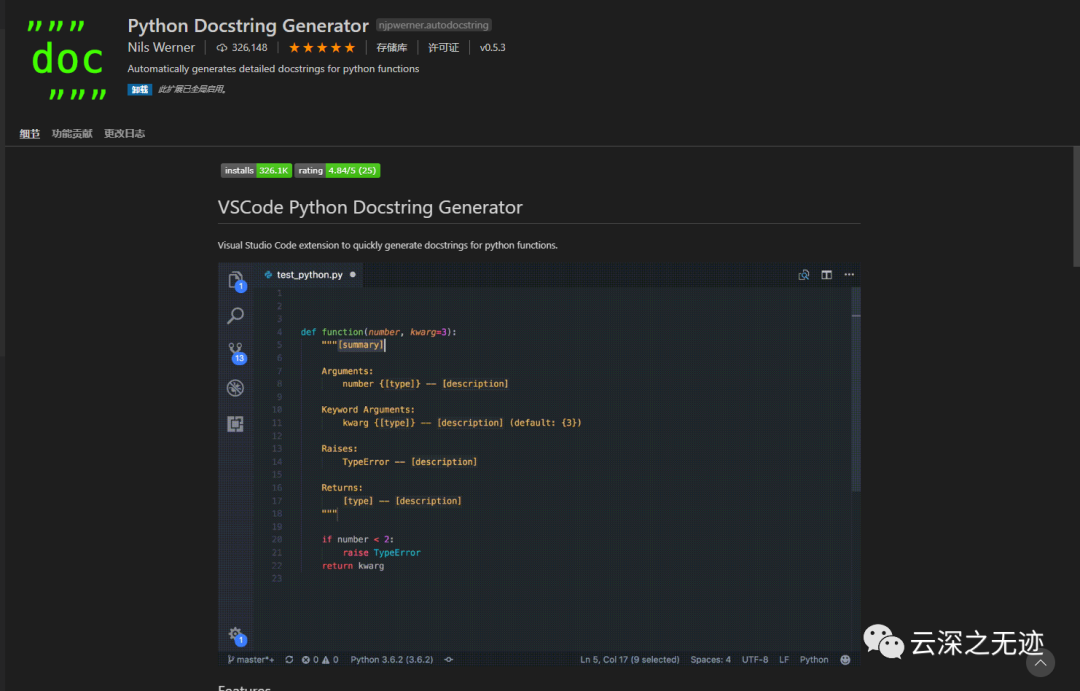
This plugin mentioned earlier, Amway
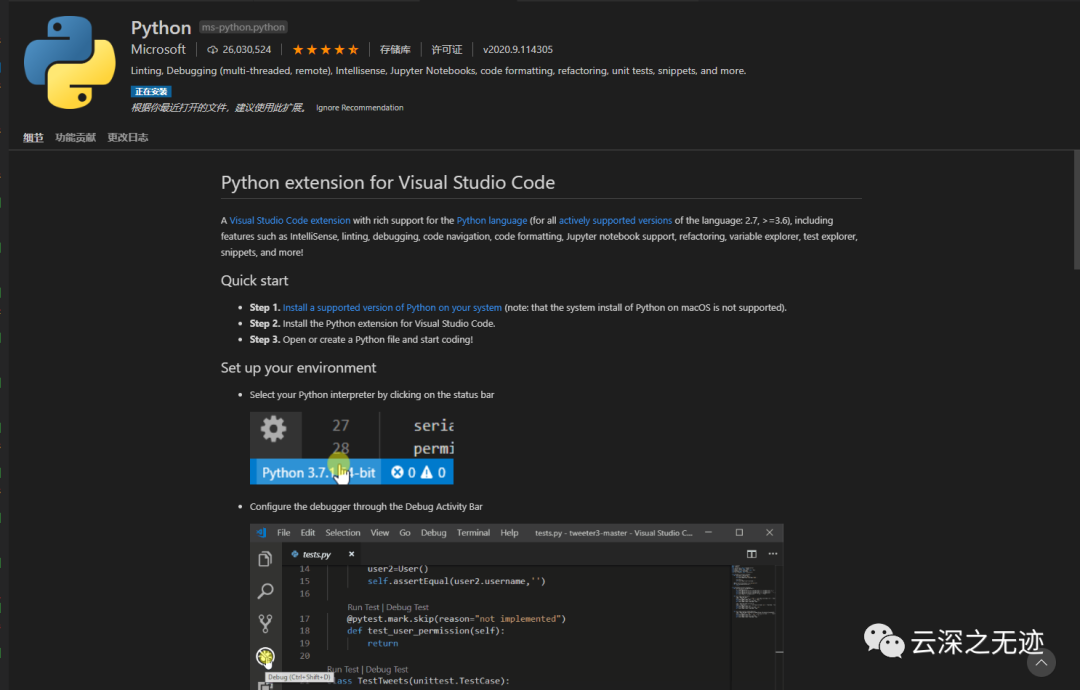
Main plugin
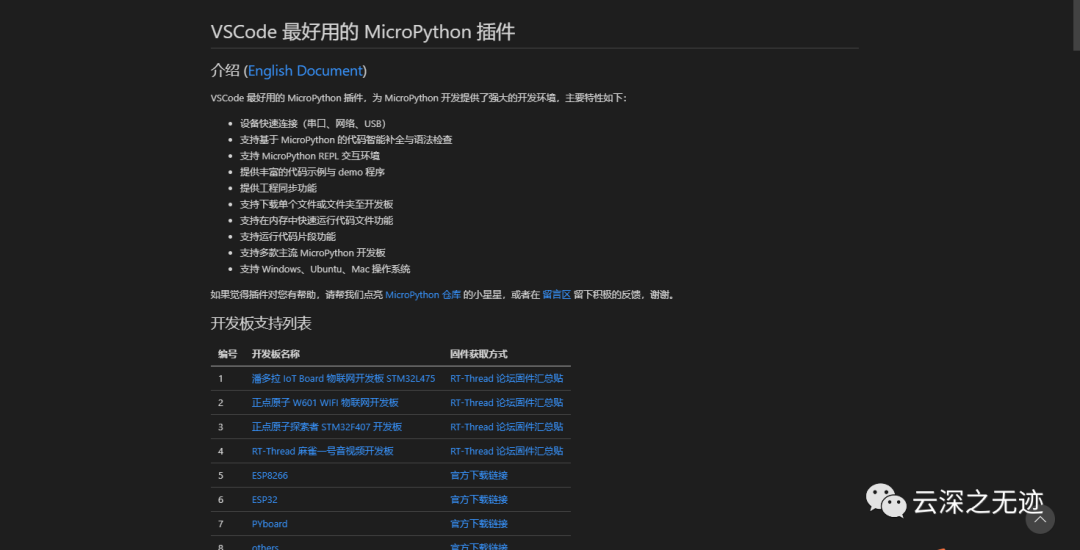
This is a better plug-in
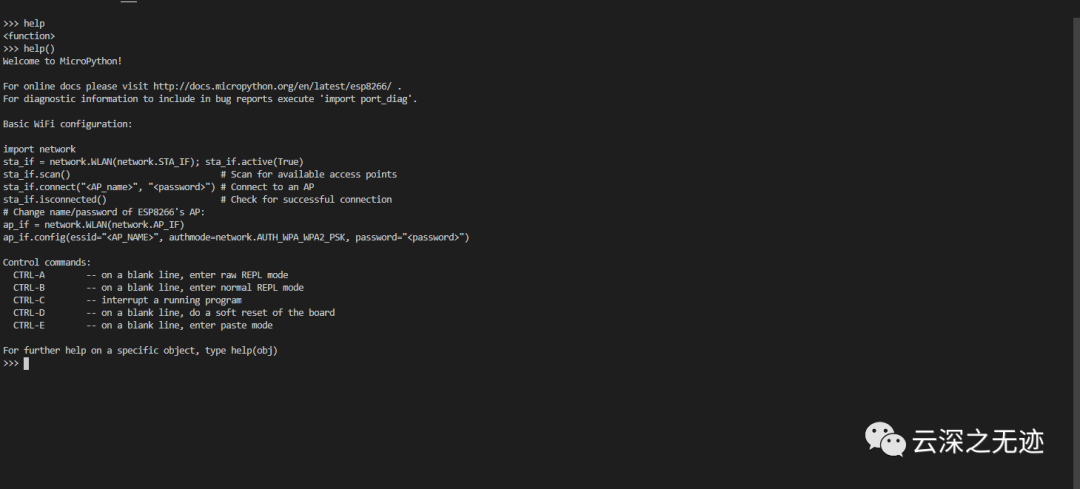
The terminal is taken over by vscode
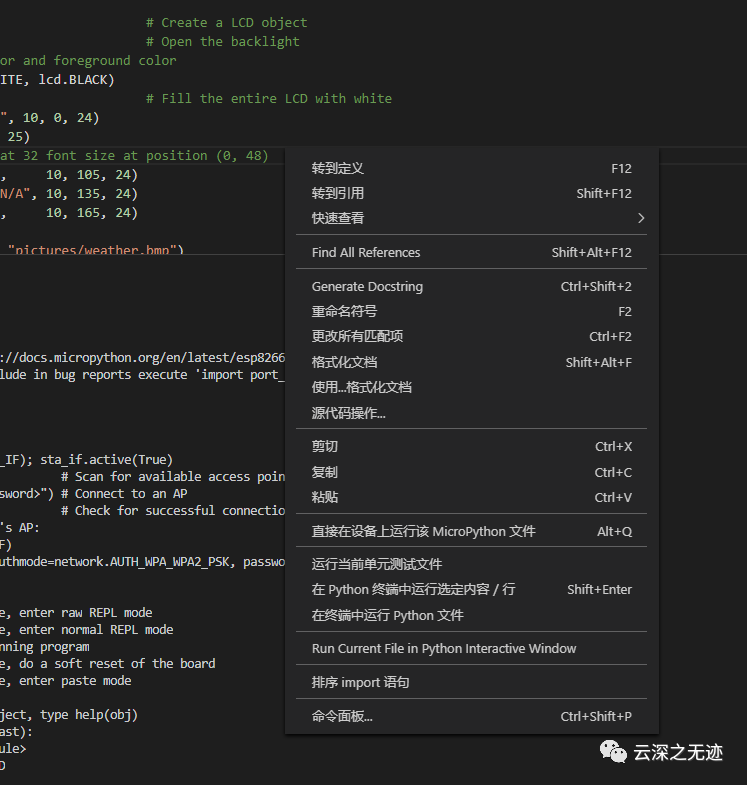
Right click to run
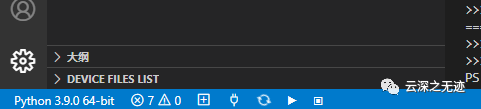
You can see some commonly used link commands
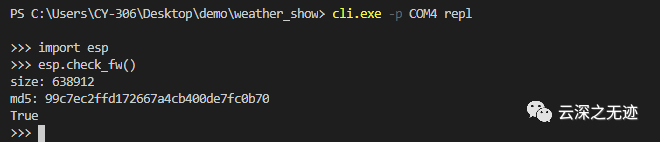
If the last output value is True, the firmware is normal. Otherwise, it is damaged and needs to be refreshed properly.
Recommended Posts