Python from entry to master tutorial | three, novice Jupyter can not use, I will teach you ten tips
@ Author :By Runsen
Last time I taught you how to build Jupyter and learned some conda commands.
If you are a novice, Jupyter can't use it, then I will teach you to disc her.
1、 Official documents
After installing anaconda, everyone should see these things. There is also a spider I deleted. If you have Pycharm, you don’t need the spider. My jupyter here sets deeplearn as the default environment, so there is more deeplearn behind jupyter.
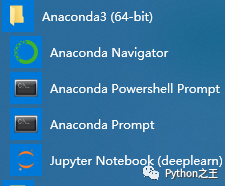
We click on the Navigator, and the picture below will be available later.
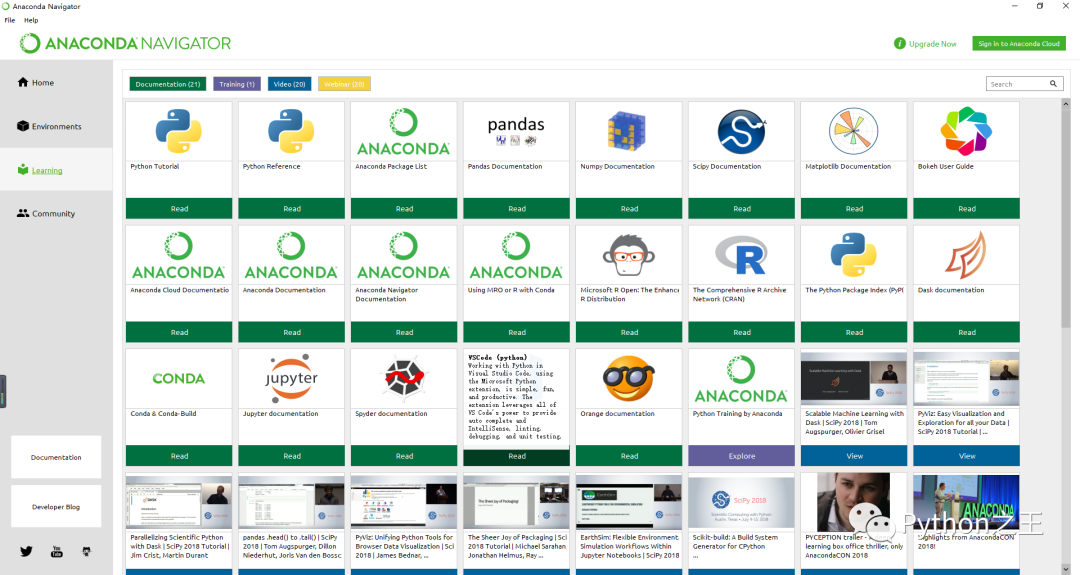
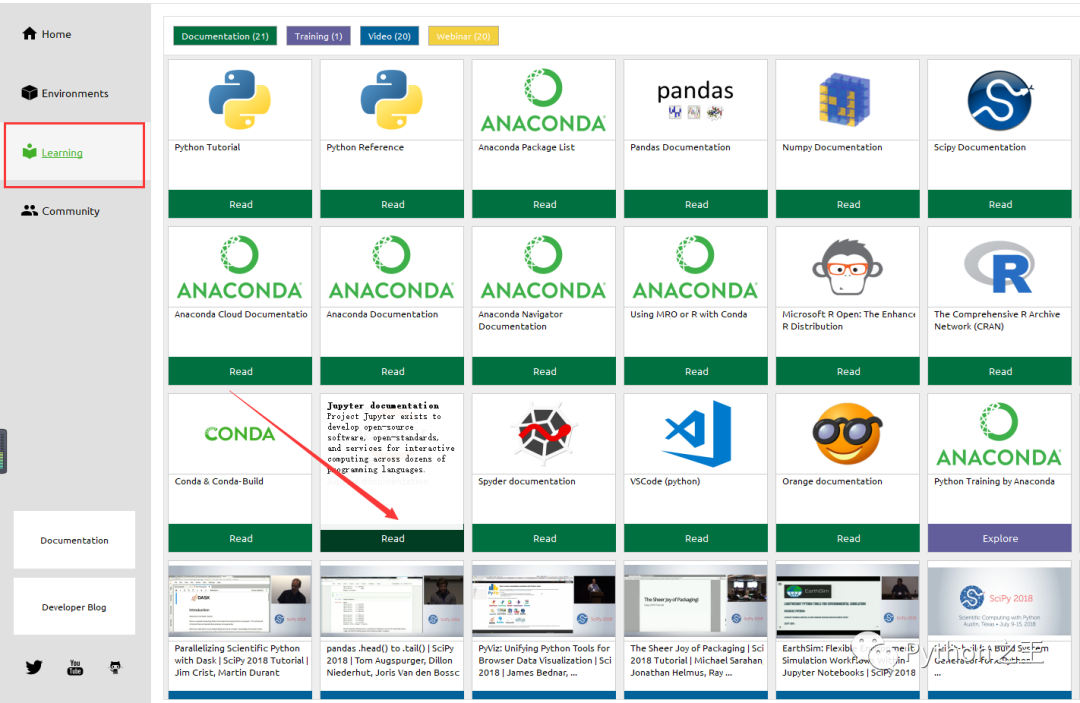
We choose learning and click on jupyter to read the document. This is how everyone learns, first go to the official document.
The browser is here: https://jupyter.org/documentation.html
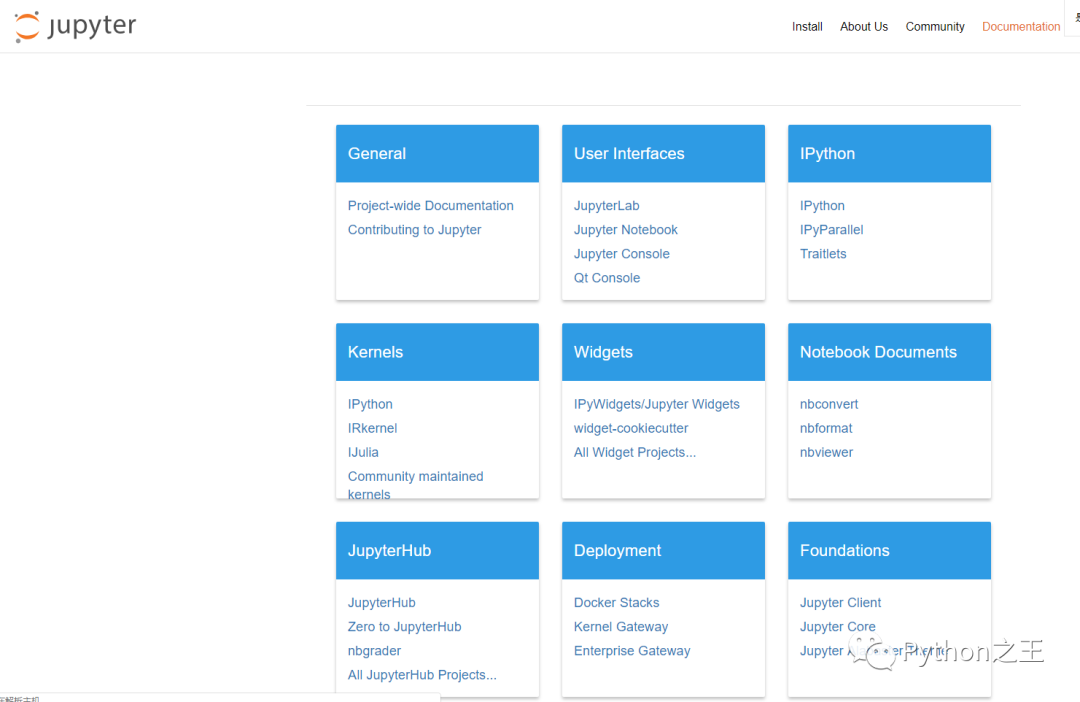
Then, we click on jupyter notebook
Come to the official document: https://jupyter-notebook.readthedocs.io/en/stable/
It’s not possible to read English. I suggest you install Chrome and translate directly to Chinese simplified.
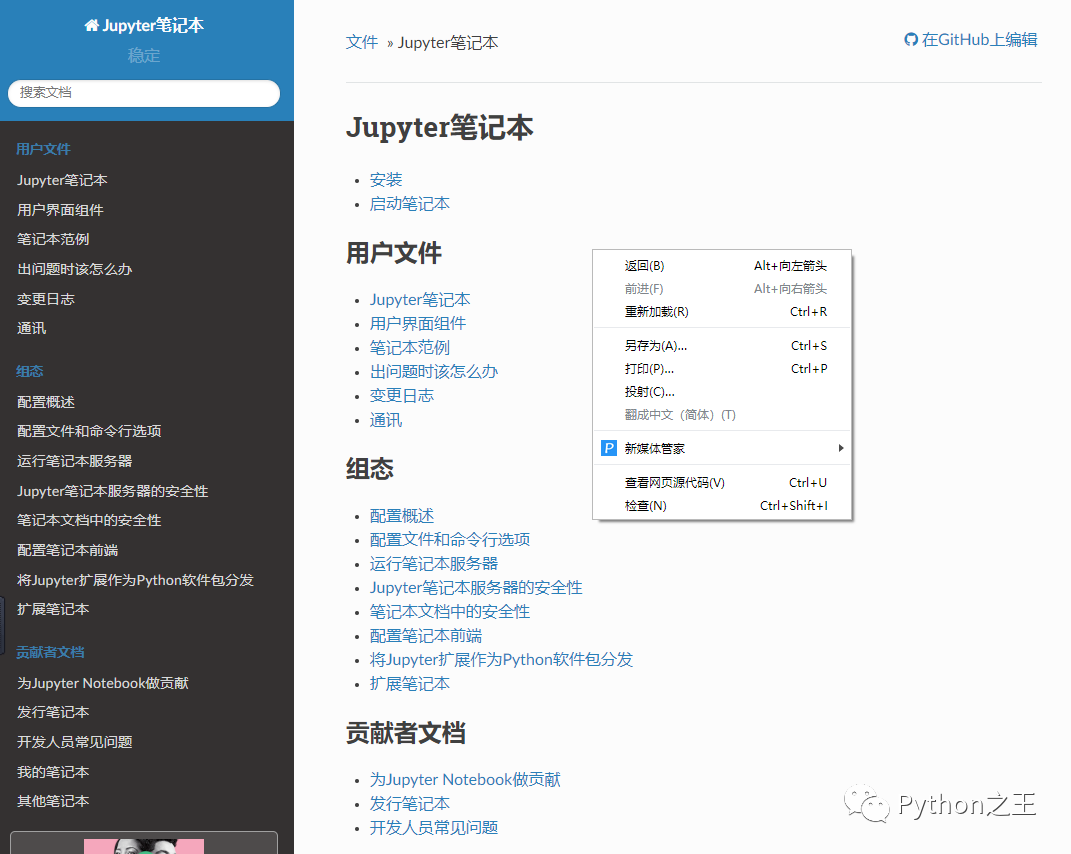
It is recommended to stay for ten minutes, everyone read the official jupyter documentation, and then continue to read below.
2、 Create a jupter notebook
Next, we will really start learning Jupyter. I don't want to copy the official documents, so I just put out my own experience.
This page is the page that opens by default after startup. We can see the existing files in the current directory, you can view the existing jupyter files (gray means not running, green means running), you can click to view the contents of the subdirectory, jupyter accesses port 8888 by default
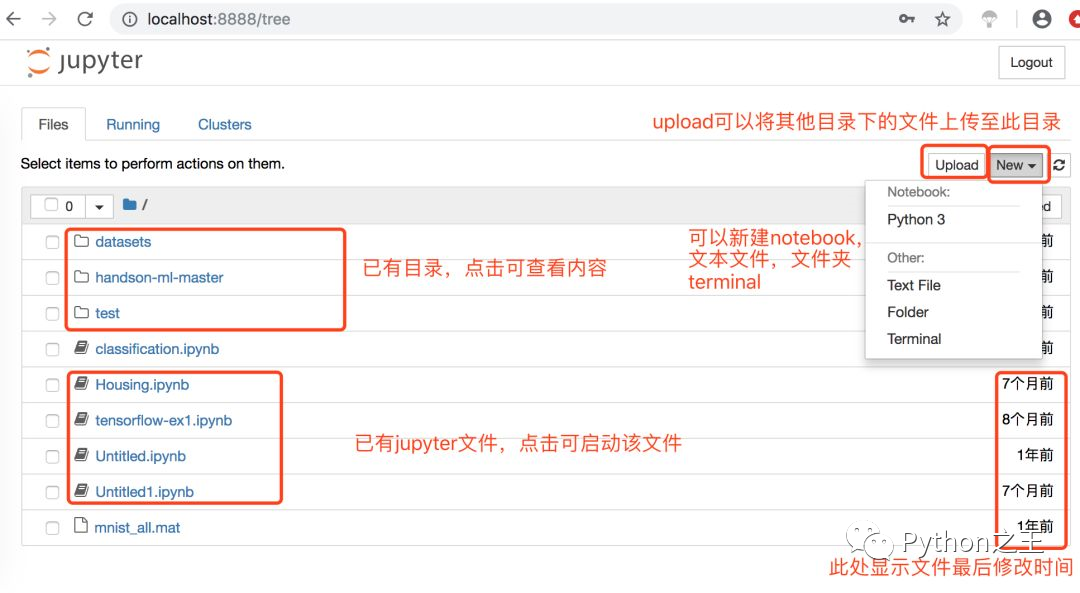
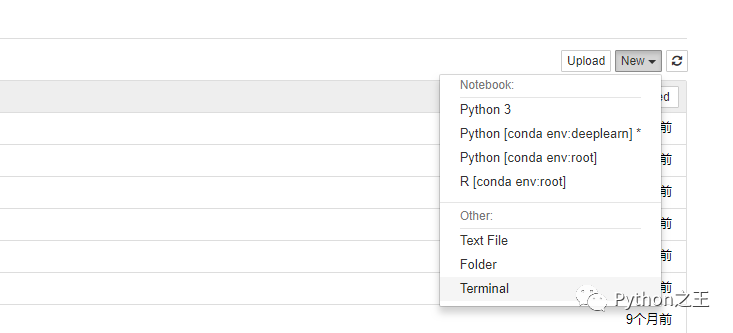
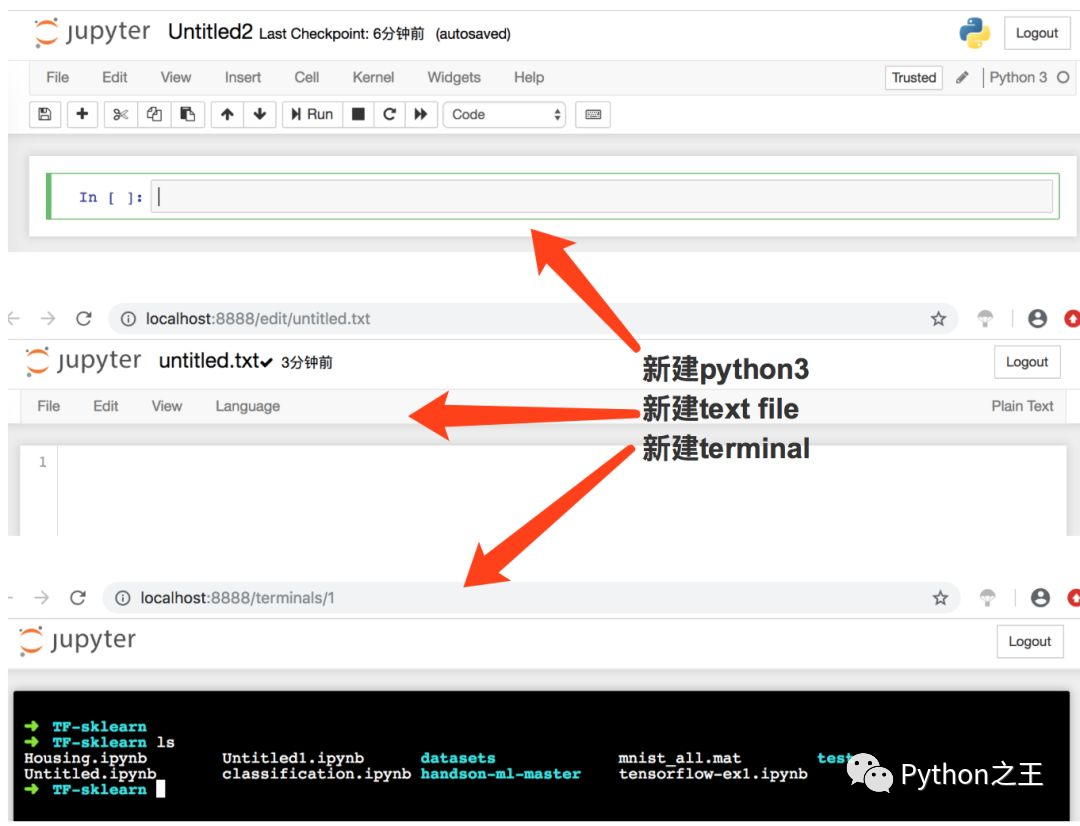
Creating a jupter notebook is very simple. Click New on the right, select Python3 to create an unnamed notebook file in the new page, select Text File to create an unnamed txt file in the new page, and select Folder will Create an unnamed folder in the current page, and select Terminal to create a Terminal in the new page.
The following is the newly created content
Just click on the file name to rename it.
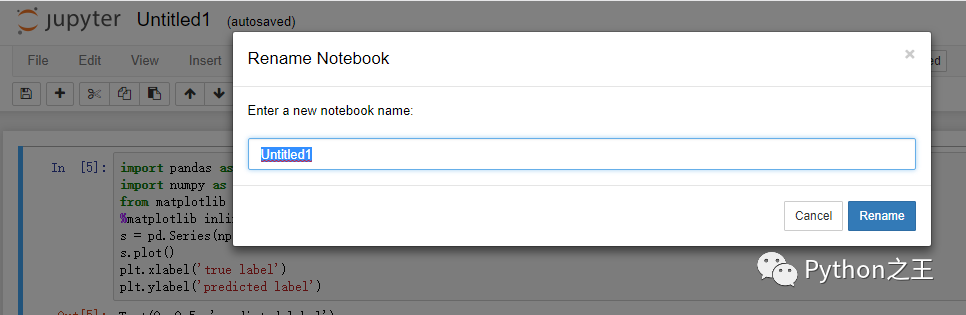
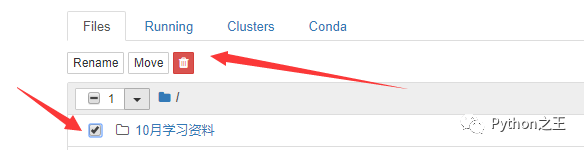
You can check on the left to rename, move or delete folders, copy, rename, move, edit and delete files.
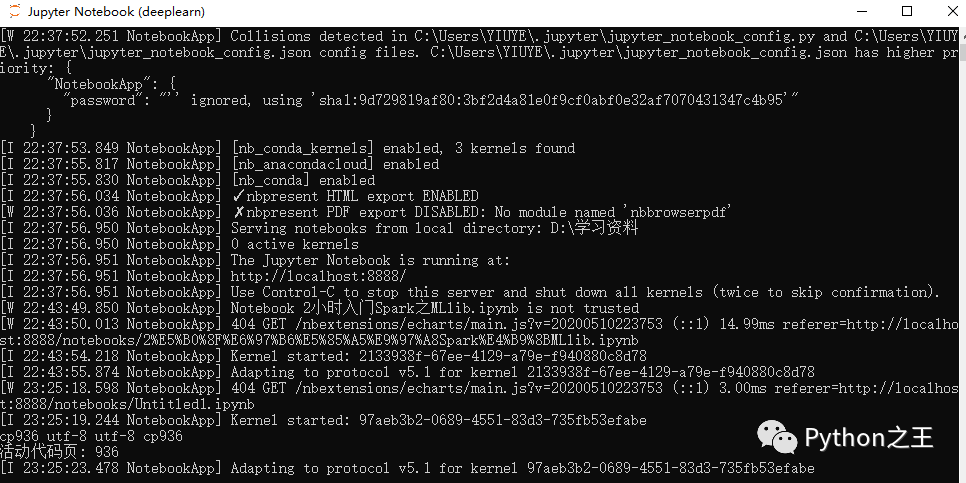
If this background is deleted, then you will not be able to access your jupyter.
3、 Notebook use
Next, I will teach you how to use Notebook,
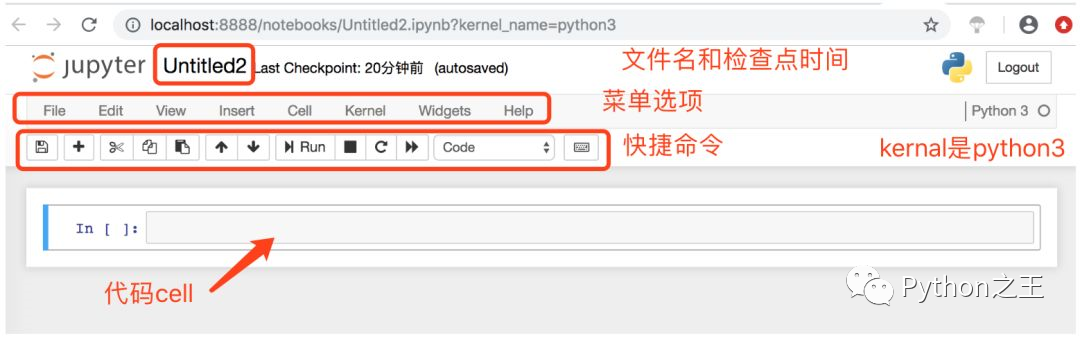
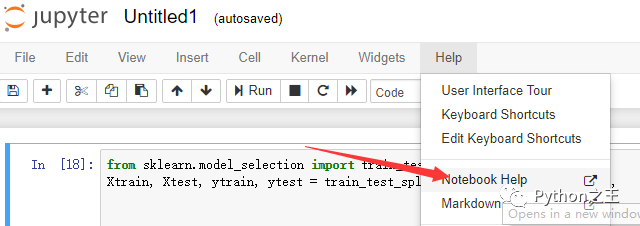
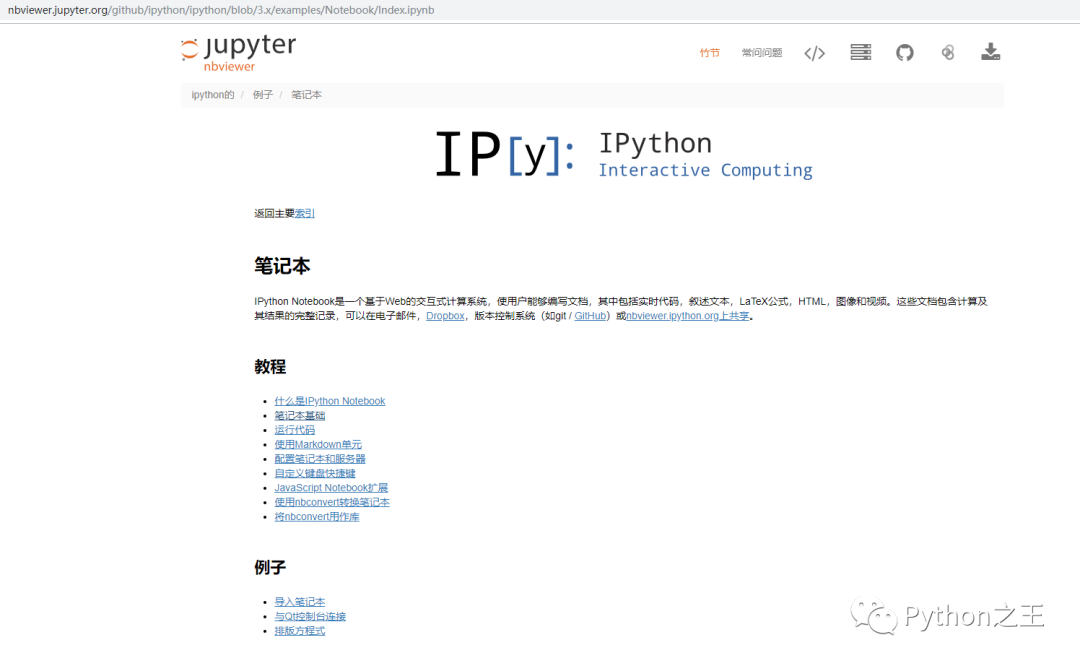
Now we click Notebook help in the help, and come to the official tutorial, I suggest you take a look.
Official tutorial page
4、 Edit mode
Each cell has two modes: command mode and edit mode.

As shown in the figure below: the blue bar on the far left is the command mode, and the green bar represents the editing mode (the cursor is in the cell at this time, and you can write code). In command mode, press enter or click the code box with the mouse to enter edit mode. In edit mode, press esc or click the left area of the code box to enter command mode.

In edit mode, press and hold SHIFT+ENTER to run the code.
5、 Command mode
The command mode is to use Markdown.


In command mode, you can hold down the following keys to achieve the following effects.
- Press A: increase the blank cell upward
- Press B: increase the blank cell downward
- Press D twice (DD): delete the cell
- Press X: cut and paste the cell
- Press V: paste the cell
- Press L: open and close the line number
- Press M: enter Markdown mode
- Press Y: Exit Markdown mode and return to code editing mode
When entering Markdown mode, the In [] on the left of the cell will disappear
6、 Markdown syntax
I brought you the Markdown on CSDN directly.
The following are common shortcuts
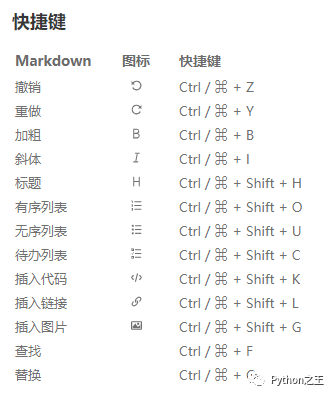
Table of contents, headings and text styles
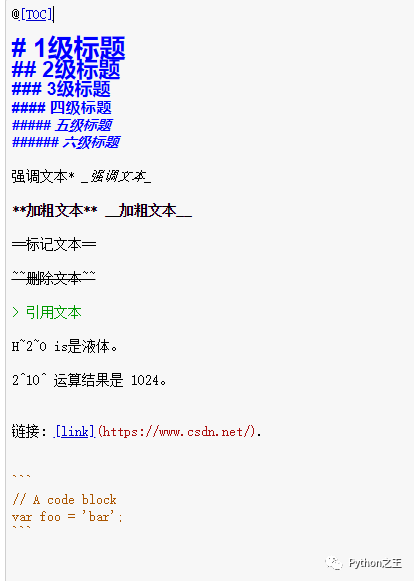
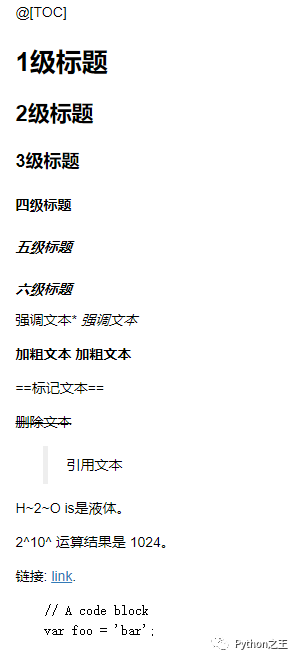
I think you still write a blog and just look at the help documentation of CSDN.
6、 Latex Math Formula
I don’t want to write Latex, just look at my previous article
Teach you how to insert math formulas. Mom no longer has to worry that I can’t write a paper
7、 Notebook tips
This article is well written, summarizing the 27 tips of the notebook, the article link: http://liuchengxu.org/pelican-blog/jupyter-notebook-tips.html. This is original, don’t read those reprinted.
8、 save document
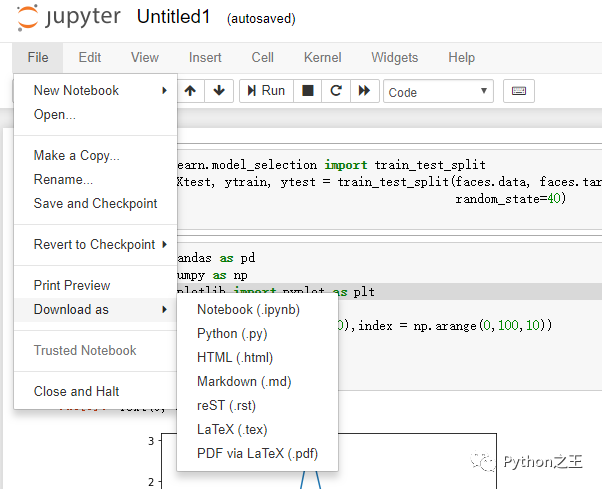
Our new name is ipynb. Why I like to use Jupyter is that it can save many types of files, such as pdf, html, markdowm, latex.
9、 How to restore by mistake
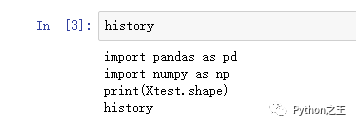
Enter directly in a cell: history (as shown in the figure), the history code will be displayed (provided that you have run it before, otherwise it will not be printed)
10、 Big move
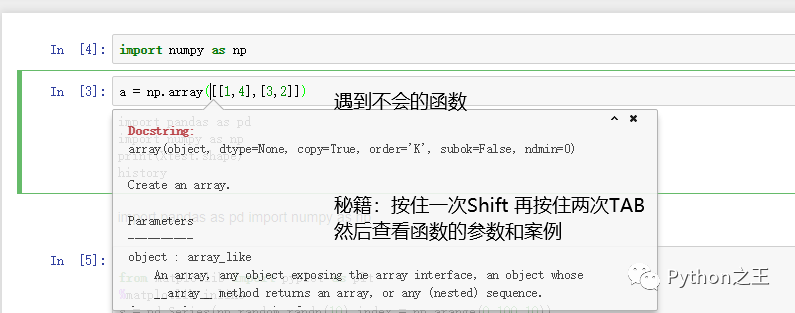
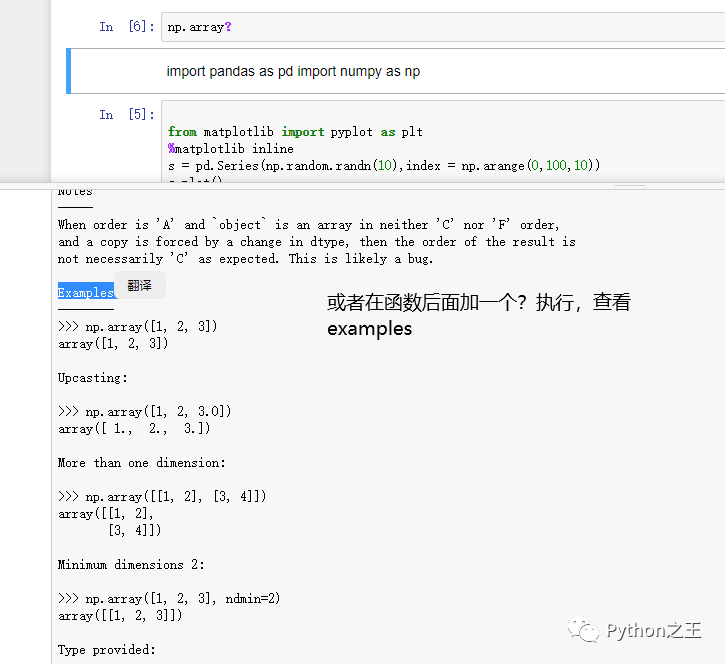
I leave the big trick at the end, what should you do if you encounter a module that you can’t
What if you encounter the code?
Today’s article is over here. If you like this article, please come to a wave of Quality Three Consecutive and give me some support (Follow, watch, like).
- END -