Ubuntu\Win import CUDA project
Copyright statement: This article is the original article of the blogger and may not be reproduced without the permission of the blogger. https://blog.csdn.net/FishSeeker/article/details/79466703
Ubuntu
Using Ubuntu16.04, CUDA 9.0, import the srad of AXBench, this is the link
The source code of the downloaded project is shown in the figure:
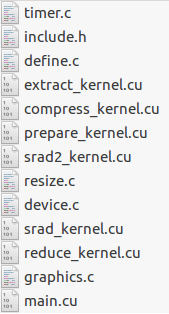
If you copy all the code directly to the nsight project, it will report an error and cannot be compiled (of course, you can also make it directly in the folder), so we have to perform a series of operations to correctly import the srad project and compile and execute it.
- Create a new cuda runtime project in nsight
- Create a folder, put all the code except the main function in this folder, call it code temporarily
- Right-click the project, select Properties, and select C/C++ General> Path and Symbols> CUDA C on the left, as shown in the figure below
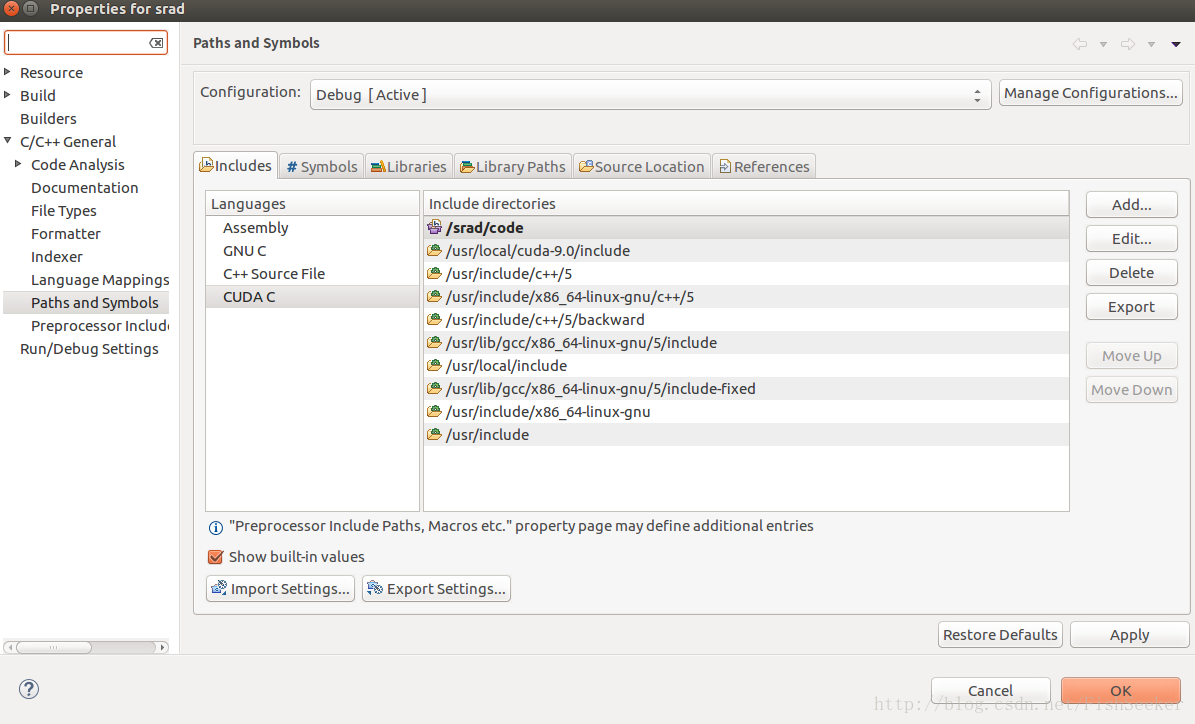
Here click the add button on the right, select the workspace button, and then select the code folder you just created, it will be added as shown in the figure above
- For some projects, this is not enough, you need to select the Source Location tab here and add the code folder again. That's it
- Some projects need to be associated with the Inc folder of sample, just select file system in add and add the corresponding folder.
Windows
The environment here is win10, vs2015, cuda 9.1
- Here is also the srad project, which is the same idea as under ubuntu, that is, the main function needs to be proposed separately. Therefore, a project needs to be established, and then only the file with the main function is imported, as shown in the figure:
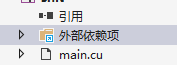
- The main.cu alone is impossible to run, so you need to add other files to the external dependencies, right-click the project>Properties>CUDA C/C++>Common, add the project source code directory and dependent directories in Source Dependencies and Additinal Include Directories ,as the picture shows:
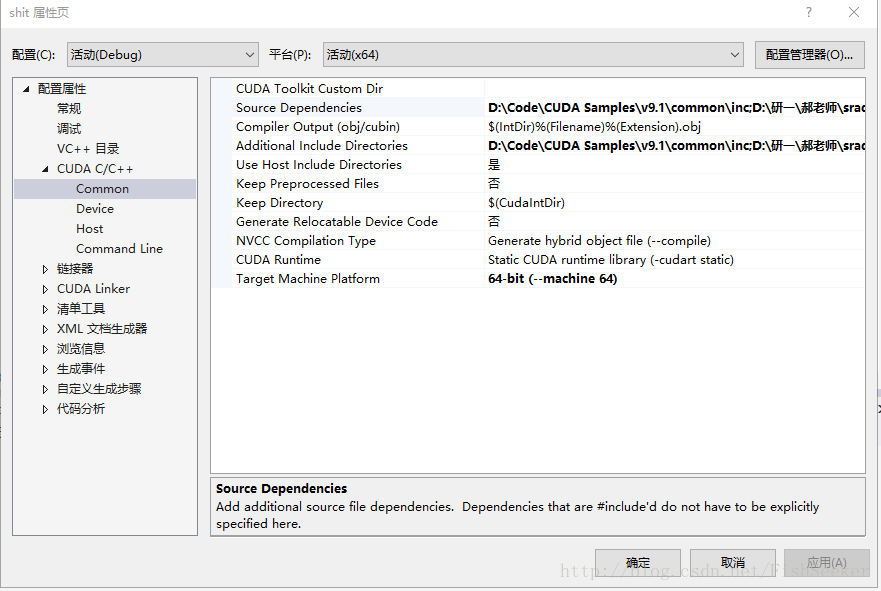
This will successfully compile, generate and run
- If you want to modify the content, you can find the source code file from the external dependencies and modify it directly
Recommended Posts