Industrial Control Penetration Framework ISF Research: Information Collection
Framework introduction
Statement: The ISF framework is a set of industrial control penetration framework developed by Beijing Andy Technology based on the open source framework. It is only used for industrial control safety teaching and the company's laboratory box product safety research. The company is not responsible for any consequences arising from illegal operations using this framework. .
The framework is mainly developed using the Python language. By integrating the Fuzzbunch attack framework, the NSA tool released by ShadowBroker, a framework suitable for industrial control vulnerability exploitation is developed. Since the Fuzzbunch attack framework is only applicable to Python 2.6, many core functions are encapsulated into DLLs, which are called through functions, which is not convenient for later porting and use. However, Fuzzbunch's command line is indeed very convenient to use, so there is now this framework suitable for industrial control vulnerability exploitation, named isf.
Environmental preparation
| Environmental Description | Software Name/Version |
|---|---|
| Operating System | Centos8 x64 |
| Locale | Python2.7.16 |
| Tools | pip2 |
| Dependent library | gnureadline |
| pycrypto |
Note: If you want to install on the windows platform, in addition to the other two dependencies: pypiwin32, dnet==1.12, there is no difference between the use of the windows platform and the linux platform.
**Command line start: **
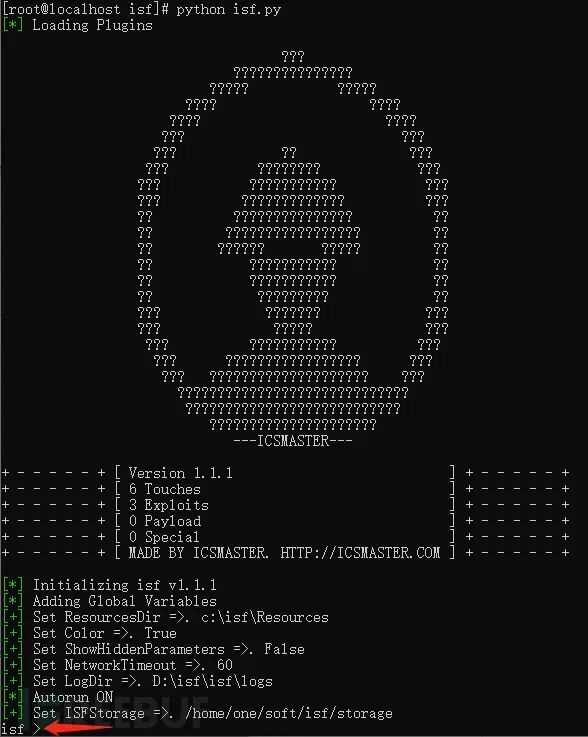
The installation mentioned here is actually the installation and configuration of the environment required by the tool. When the running environment is configured, you only need to download the tool from the website [https://github.com/w3h/isf], and then in the project directory Just run python2 isf.py. The following figure shows that the installation is successful.
WEB start
The framework can be operated not only through the command line, but also through the WEB mode, which can achieve the effect of deploying only one environment and multiple people at the same time, and other people do not need to install and configure , You only need to have a set of industrial control agent framework through the browser.
There are two types of WEB startup, one is to deploy through a docker container, and the other is to run directly on host. The two methods are essentially the same, but the running host is different.
**Docker deployment: **
If you don't understand docker, please look down at the host deployment chapter
mkdir -p /root/isfdockercd /root/isfdockerwget https://github.com/w3h/isf/raw/master/docker/Dockerfiledocker build -t isf:v1 . #Build an isf:v1 docker container, and use Dockerfile to install related dependencies docker run--net=host isf:v1 butterfly.server.py --host='0.0.0.0' –unsecure#or the new version of docker use the following command docker run--network=host isf:v1 butterfly.server.py --host='0.0.0.0' –unsecure
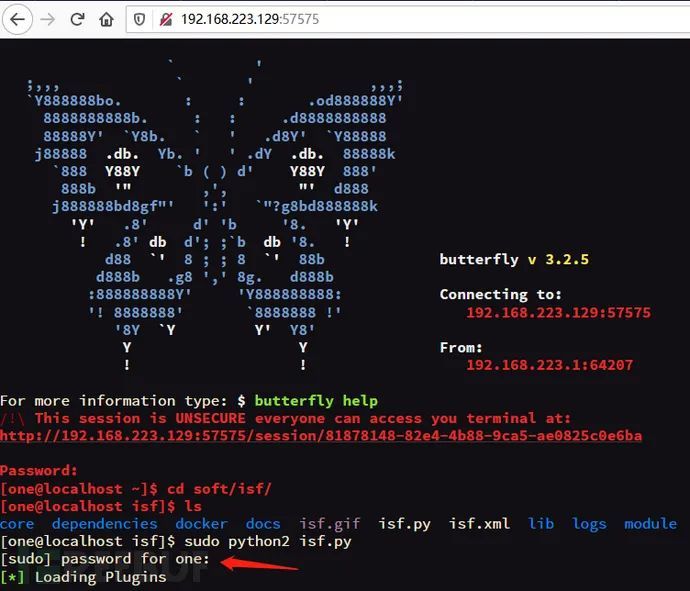
After running the above command, enter http://192.168.223.129:57575 in the browser (replace ip here with your own) and enter the default password: 123456 to log in, as shown in the following figure:
Host deployment
If you are deploying through the docker method above, you only need to execute the command, and all the required dependencies will be installed through the Dockerfile. If you want to use the WEB console directly on the host to access, you need to install the butterfly dependency, command pip2 instll butterfly, after installation, go through butterfly.server.py —host=”0.0. 0.0” —port=”55555” Start the WEB console. Then it is accessed through a browser in the same way as docker.
**Code explanation: **
—Host=”0.0.0.0” is enabled on all network cards
—Port=”55555” access through port 55555 (the default is 57575)
isf use
Regardless of whether it is the docker method or the host method, as long as it can run normally, it will be used in exactly the same way as the "command line startup" in the above chapter. After the introduction of various installation methods, let's take a look at the specific functions of isf and how to use it.
help
Although the tool is not big, it has a lot of functions, so one chapter cannot fully grasp all its functions, we decided to divide the use of the tool into multiple chapters to explain.
First of all, use the help command to see what functions isf has:
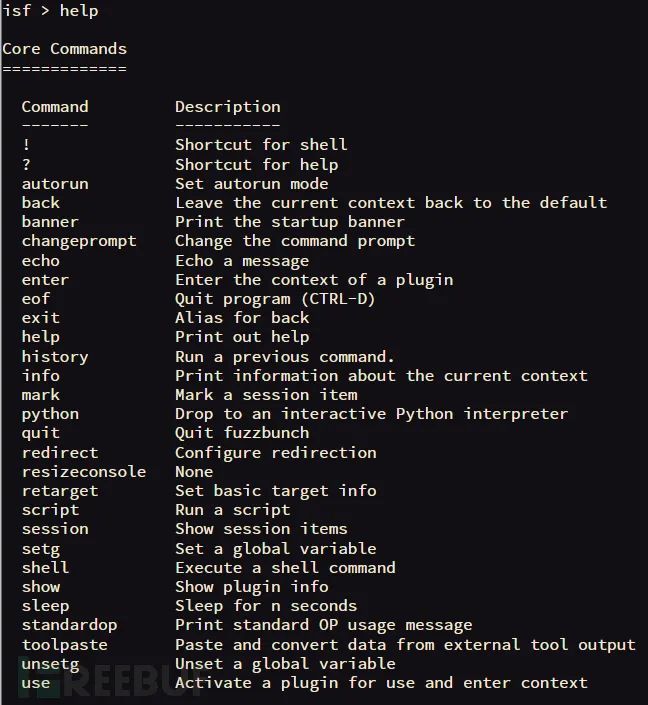
Was it a pleasant surprise, it was so versatile! Don't worry, friends, through the following chapters, we will explain the purpose of each command one by one.
Today we will use an example to demonstrate the simple usage of this framework and its practical role in the industrial control system.
use
You can view the available modules by adding the tab key to use. The current version has 9 functional modules. If you are an industrial control security expert, then you can also enrich the attack surface of the framework by contributing various exp to the framework.

use plcscan
Let’s try plcscan first
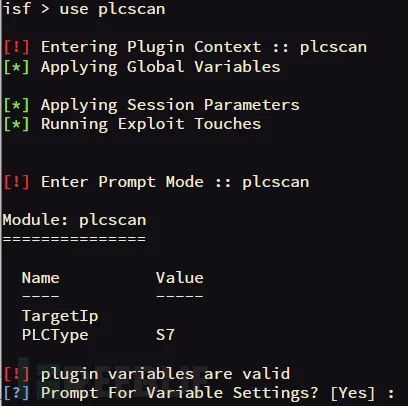
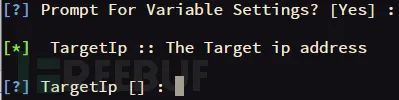
After entering use plcscan, it prompts us whether to set the variable. Of course, we must first yes, because we have not set the value of targetIp yet, how does it know which target to scan? So after pressing the Enter key, we are prompted to enter targetIp.
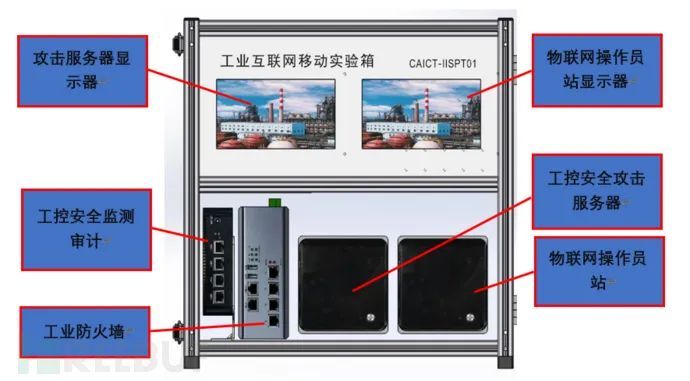
Here we take the company's self-developed industrial control experiment box as the attack target, and scan the relevant information of the target system in the experiment box. The following figure is a schematic diagram of the company's self-developed industrial control experiment box:
Enter the target system IP address (192.168.1.100), as shown in the figure below:
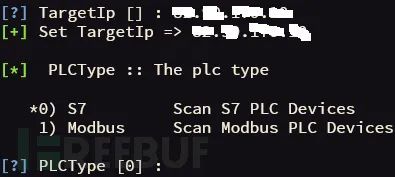
Because currently our tool only integrates Siemens and modbus devices, so it requires you to select the brand of the target device, here we choose 0, that is, directly press enter.
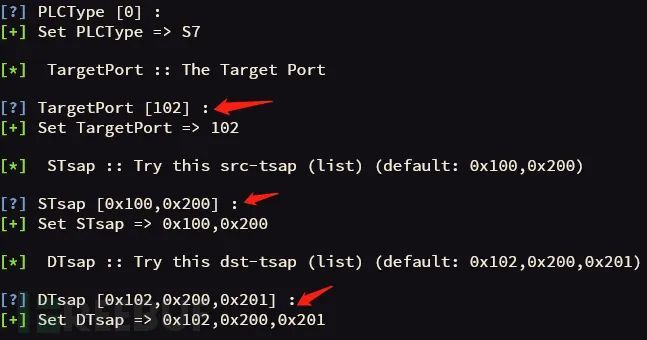
You will need to set the port number of the target system later. Siemens defaults to 102. Just press Enter here. There are a few more parameters in the back, presumably many people don’t know what these parameters are. Don’t worry about it for now. Later, as you understand the industrial control system, you will know the meaning of each parameter. Here we choose all the defaults. .
After the last press Enter is typed, the system will list all the parameters you just entered. If there is no error, press Enter to start scanning.
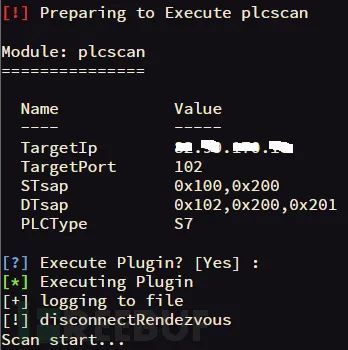
After the scan result, the system will return the detailed information of the target device, or fail.
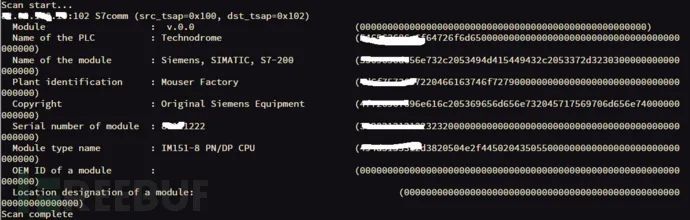
Here we have successfully identified the detailed information of the target system, such as the brand is Siemens, the model is S7-200, etc. Is it convenient? Speaking of this, some people may ask, what can be done after identifying the information of the target system? It seems that you are not doing security. Anyone who is doing security knows how important the early information collection is. After knowing the brand, model and other information of the target system, you can use open or undisclosed vulnerabilities to attack.