ubuntu20.04でLNMP環境を構築する手順
簡単な説明
以前はCentos7で構築し、後にubuntu 20.04システムを個人開発環境として使用したので、ubuntuでも環境を構築したいと思います。Centosとは若干の違いがありますので、学習用です。
インストール前の準備
ソフトウェアのダウンロード:
php:7.3.18
nginx:1.18.0
mariadb:10.5.4
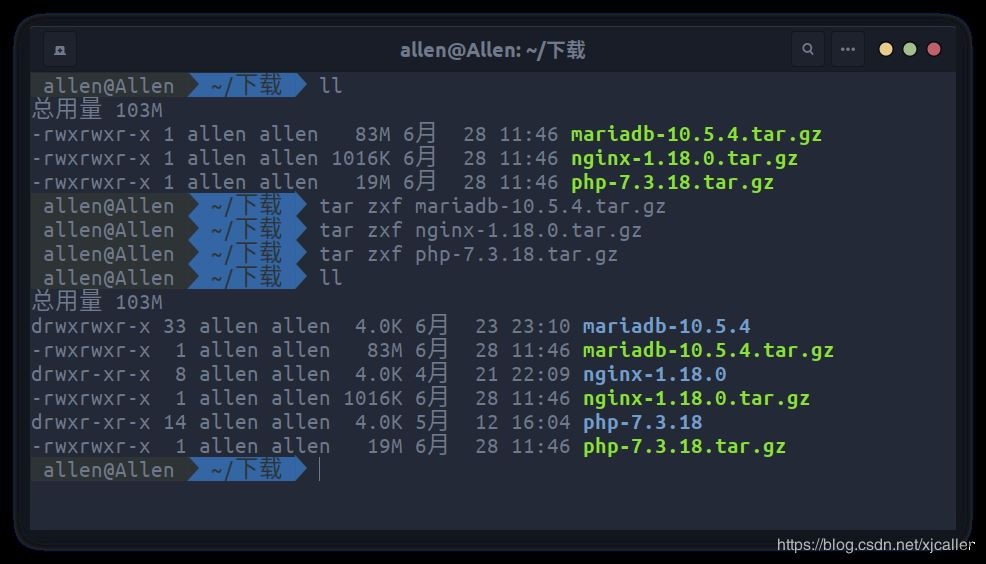
ファイルを解凍します:
tar zxf php-7.3.18.tar.gz
tar zxf mariadb-10.5.4.tar.gz
tar zxf nginx-1.18.0.tar.gz
**Nginx **をインストールします
sudo groupadd -r nginx && sudo useradd -r -g nginx -s /sbin/nologin -d /usr/local/nginx nginx
sudo apt install -y libpcre3-dev zlib1g-dev
cd /home/allen/ダウンロード/nginx-1.18.0./configure --user=nginx --group=nginx
make -j 4&& sudo make install
sudo /usr/local/nginx/sbin/nginx -t
# nginx: the configuration file /usr/local/nginx/conf/nginx.conf syntax is ok
# nginx: configuration file /usr/local/nginx/conf/nginx.conf test is successful
sudo mv /usr/local/nginx/conf/nginx.conf /usr/local/nginx/conf/nginx.conf.back
sudo vim /usr/local/nginx/conf/nginx.conf
user nginx;
worker_processes 4;
events {
worker_connections 1024;}
http {
include mime.types;
default_type application/octet-stream;
sendfile on;
keepalive_timeout 65;
log_format main '$remote_addr || $remote_user || $time_local || $request || $status || $body_bytes_sent || $http_referer || $http_user_agent || $http_x_forwarded_for';
include /data/www/*/*.conf;
}
sudo chown -R nginx:nginx /usr/local/nginx
sudo vim /lib/systemd/system/nginx.service
[ Unit]
Description=nginx
After=network.target
[ Service]
Type=forking
ExecStart=/usr/local/nginx/sbin/nginx
ExecReload=/usr/local/nginx/sbin/nginx -s reload
ExecStop=/usr/local/nginx/sbin/nginx -s quit
PrivateTmp=true
[ Install]
WantedBy=multi-user.target
sudo systemctl enable nginx
# Created symlink /etc/systemd/system/multi-user.target.wants/nginx.service → /lib/systemd/system/nginx.service.
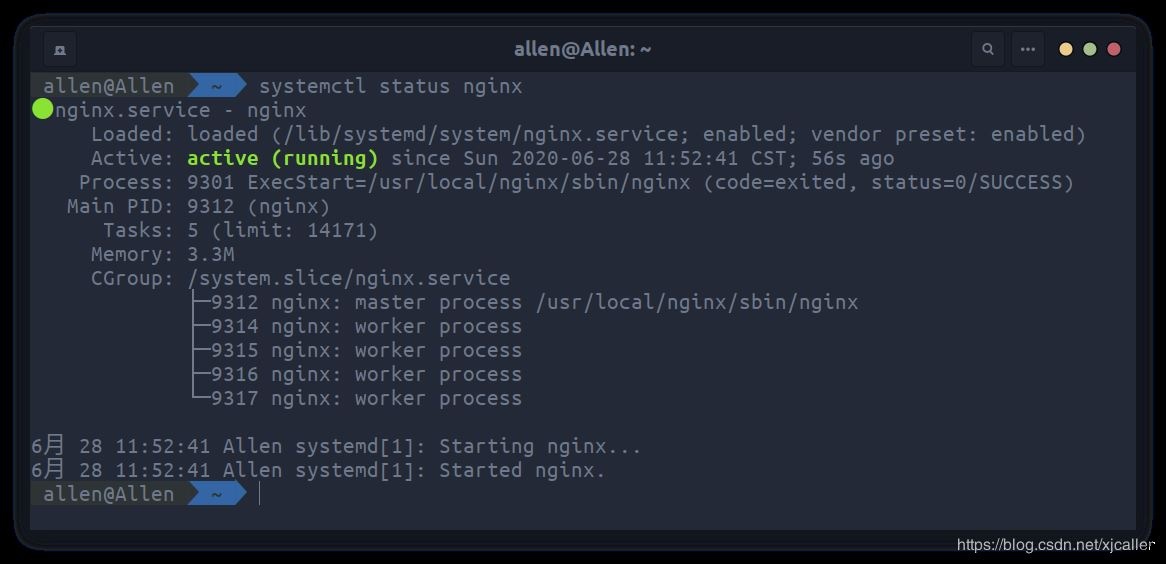
reboot
再起動後、起動が成功するかどうかを確認します
Mariadbをインストール
sudo rm -rf /etc/mysql
sudo apt remove -y mysql-common
sudo apt autoremove -y
sudo apt install -y cmake libncurses5-dev libgnutls28-dev
sudo groupadd -r mysql && sudo useradd -r -g mysql -s /sbin/nologin -d /usr/local/mariadb mysql
sudo mkdir -p /data/db /var/log/mariadb
cd /home/allen/ダウンロード/mariadb-10.5.4/
cmake .-DCMAKE_INSTALL_PREFIX=/usr/local/mariadb -DMYSQL_DATADIR=/data/db -DSYSCONFDIR=/etc -DWITHOUT_TOKUDB=1-DMYSQL_UNIX_ADDR=/tmp/mysql.sock -DDEFAULT_CHARSET=utf8mb4 -DDEFAULT_COLLATION=utf8mb4_general_ci
make -j 4&& sudo make install
sudo /usr/local/mariadb/scripts/mysql_install_db --user=mysql --datadir=/data/db
sudo vim /etc/my.cnf
[ mysqld]
datadir =/data/db
socket =/tmp/mysql.sock
# シンボリックリンクを無効にすることをお勧めします,さまざまなセキュリティリスクを防止する
symbolic-links =0
collation-server = utf8mb4_general_ci
init-connect ='SET NAMES utf8mb4'
character-set-server = utf8mb4
[ mysql]default-character-set= utf8mb4
[ client]
port =3306
socket =/tmp/mysql.sock
default-character-set= utf8mb4
[ mysqld_safe]
log-error =/var/log/mariadb/mariadb.log
pid-file =/var/run/mariadb/mariadb.pid
sudo cp /usr/local/mariadb/support-files/mysql.server /etc/init.d/mariadb
sudo vim /etc/profile.d/mariadb.sh
export PATH=$PATH:/usr/local/mariadb/bin/
sudo chmod 0777/etc/profile.d/mariadb.sh
source /etc/profile.d/mariadb.sh
sudo /etc/init.d/mariadb start
# Starting mariadb(via systemctl): mariadb.service.
sudo /usr/local/mariadb/bin/mysql_secure_installation
# NOTE: RUNNING ALL PARTS OF THIS SCRIPT IS RECOMMENDED FOR ALL MariaDB
# SERVERS IN PRODUCTION USE! PLEASE READ EACH STEP CAREFULLY!
# In order to log into MariaDB to secure it, we'll need the current
# password for the root user. If you've just installed MariaDB, and
# haven't set the root password yet, you should just press enter here.
# Enter current password forroot(enter for none):
# OK, successfully used password, moving on...
# Setting the root password or using the unix_socket ensures that nobody
# can log into the MariaDB root user without the proper authorisation.
# You already have your root account protected, so you can safely answer 'n'.
# Switch to unix_socket authentication [Y/n] y
# Enabled successfully!
# Reloading privilege tables..
# ... Success!
# You already have your root account protected, so you can safely answer 'n'.
# Change the root password?[Y/n] y
# New password:
# Re-enter newpassword:
# Password updated successfully!
# Reloading privilege tables..
# ... Success!
# By default, a MariaDB installation has an anonymous user, allowing anyone
# to log into MariaDB without having to have a user account created for
# them. This is intended only for testing, and to make the installation
# go a bit smoother. You should remove them before moving into a
# production environment.
# Remove anonymous users?[Y/n] y
# ... Success!
# Normally, root should only be allowed to connect from'localhost'. This
# ensures that someone cannot guess at the root password from the network.
# Disallow root login remotely?[Y/n] n
# ... skipping.
# By default, MariaDB comes with a database named 'test' that anyone can
# access. This is also intended only for testing, and should be removed
# before moving into a production environment.
# Remove test database and access to it?[Y/n] y
# - Dropping test database...
# ... Success!
# - Removing privileges on test database...
# ... Success!
# Reloading the privilege tables will ensure that all changes made so far
# will take effect immediately.
# Reload privilege tables now?[Y/n] y
# ... Success!
# Cleaning up...
# All done! If you've completed all of the above steps, your MariaDB
# installation should now be secure.
# Thanks for using MariaDB!
sudo systemctl enable mariadb
sudo chown mysql:mysql -R /usr/local/mariadb /data/db /var/log/mariadb
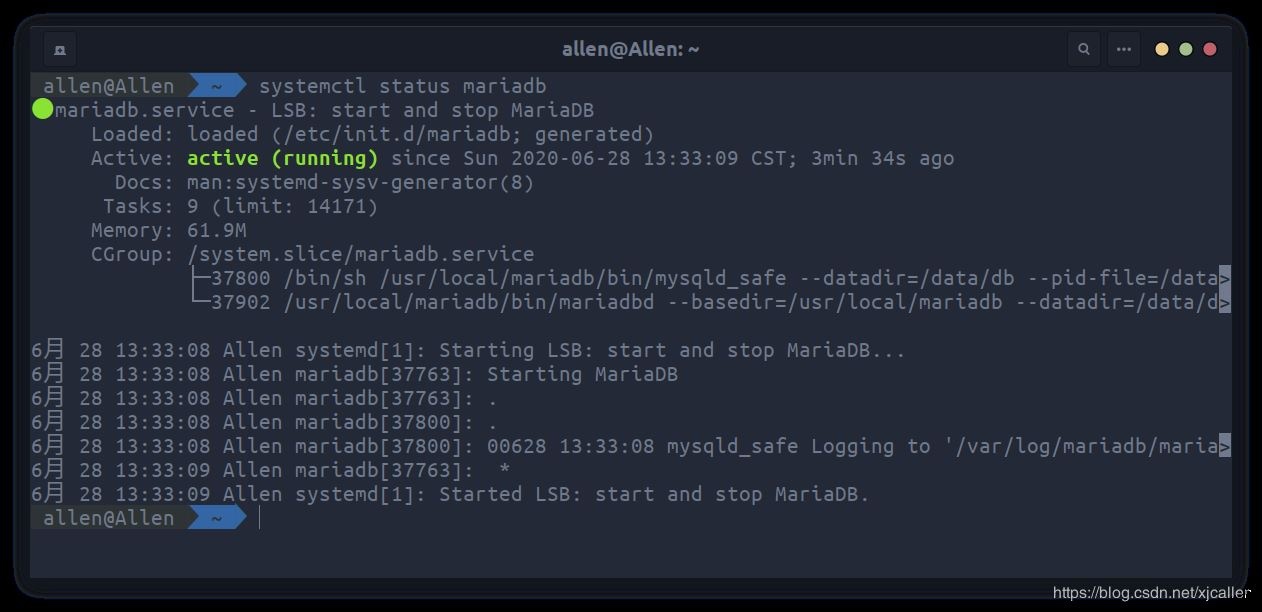
reboot
再起動後、起動が成功するかどうかを確認します
PHPをインストール
sudo apt install -y libxml2-dev libssl-dev libbz2-dev libcurl4-gnutls-dev libjpeg-dev libpng-dev pkg-config libxslt1-dev libzip-dev libfreetype6-dev libfontconfig1-dev autoconf
sudo groupadd -r php && sudo useradd -r -g php -s /sbin/nologin -d /usr/local/php php
sudo vim /etc/sudoers
php   ALL=(ALL:ALL) ALL
cd /home/allen/ダウンロード/php-7.3.18/./configure --prefix=/usr/local/php \--exec-prefix=/usr/local/php --with-fpm-user=php --with-fpm-group=php --enable-zip --with-curl --with-gettext --with-iconv-dir --with-kerberos --with-libdir=lib64 --with-mysqli --with-openssl --with-pdo-mysql --with-pdo-sqlite --with-pear --with-xmlrpc --with-xsl --with-zlib --with-bz2 --with-mhash --enable-bcmath --enable-inline-optimization --enable-mbregex --enable-mbstring --enable-opcache --enable-pcntl --enable-shmop --enable-soap --enable-sockets --enable-sysvsem --enable-sysvshm --enable-xml --enable-fpm --with-freetype-dir --with-gd --with-libxml-dir --with-pcre-regex --enable-libxml --enable-zip --with-png-dir --with-jpeg-dir
エラーがあります:
configure: error: freetype-config not found.
解決:
それは言われています:https://www.doopsky.com/ops/981.html
これは、Ubuntu19.04にapt-getによってインストールされたlibfreetype6-devのバージョンが2.9.1-3であるためです。
http://changelogs.ubuntu.com/changelogs/pool/main/f/freetype/freetype_2.9.1-3/changelog
変更ログに記載されています:The `freetype-config’ script is no longer installed by default
( Closes: #871470, #886461). All packages depending on libfreetype6-dev
should use pkg-config to find the relevant CFLAGS and libraries.
freetype-configはpkg-configに置き換えられ、新しいバージョンはpkg-configを使用してCFLAGSとライブラリを管理します。
したがって、解決策は次のとおりです。
主なアイデアは、freetype-configの代わりにpkg-configを使用することです。 pkg-configをインストールします。上にインストールしました
cat ./configure | grep "freetype-config"-n
34847: if test -f "$i/bin/freetype-config"; then
34849: FREETYPE2_CONFIG="$i/bin/freetype-config"34855:   as_fn_error $?"freetype-config not found.""$LINENO"536568:if test -f "$i/bin/freetype-config"; then
36570: FREETYPE2_CONFIG="$i/bin/freetype-config"36576:   as_fn_error $?"freetype-config not found.""$LINENO"5
sed -i "s/freetype-config/pkg-config/g"./configure
cat ./configure | grep "FREETYPE2_CONFIG --cflags"-n
34858: FREETYPE2_CFLAGS=`$FREETYPE2_CONFIG --cflags`36579:  FREETYPE2_CFLAGS=`$FREETYPE2_CONFIG --cflags`
sed -i "s/FREETYPE2_CONFIG --cflags/FREETYPE2_CONFIG freetype2 --cflags/g"./configure
cat ./configure | grep "FREETYPE2_CONFIG --libs"-n
34859: FREETYPE2_LIBS=`$FREETYPE2_CONFIG --libs`36580:  FREETYPE2_LIBS=`$FREETYPE2_CONFIG --libs`
sed -i "s/FREETYPE2_CONFIG --libs/FREETYPE2_CONFIG freetype2 --libs/g"./configure
cat ./ext/gd/config.m4 | grep "freetype-config"-n
188: if test -f "$i/bin/freetype-config"; then
190: FREETYPE2_CONFIG="$i/bin/freetype-config"196:AC_MSG_ERROR([freetype-config not found.])
sed -i "s/freetype-config/pkg-config/g"./ext/gd/config.m4
再コンパイルしてインストールすればOKです
Thank you for using PHP.
make -j 4&& sudo make install
sudo cp php.ini-production /usr/local/php/lib/php.ini
sudo cp /usr/local/php/etc/php-fpm.conf.default/usr/local/php/etc/php-fpm.conf
sudo cp /usr/local/php/etc/php-fpm.d/www.conf.default/usr/local/php/etc/php-fpm.d/www.conf
vim /usr/local/php/etc/php-fpm.d/www.conf
listen.mode =0666
pm.max_children =128
pm.start_servers =20
pm.min_spare_servers =5
pm.max_spare_servers =35
pm.max_requests =10000
slowlog = log/$pool.log.slow
rlimit_files =1024
sudo vim /etc/profile.d/php.sh
export PATH=$PATH:/usr/local/php/bin/
sudo chmod 0777/etc/profile.d/php.sh && source /etc/profile.d/php.sh
sudo cp sapi/fpm/php-fpm.service /etc/systemd/system/php.service
**xdebug **をインストールします
xdebughttp://pecl.php.net/get/xdebug-2.9.6.tgzをダウンロードします
cd /home/allen/ダウンロード
tar zxf xdebug-2.9.6.tgz
cd xdebug-2.9.6
phpize
. /configure --with-php-config=/usr/local/php/bin/php-config
make -j 4&& sudo make install
**Apcu **をインストールします
Apcuをダウンロードhttp://pecl.php.net/get/apcu-5.1.18.tgz
cd /home/allen/ダウンロード
tar zxf apcu-5.1.18.tgz
cd apcu-5.1.18
phpize
. /configure --with-php-config=/usr/local/php/bin/php-config
make -j 4&& sudo make install
PHP.INIを編集する
sudo
vim /usr/local/php/lib/php.ini
date.timezone = Asia/Shanghai
expose_php = off
max_execution_time =0
memory_limit = 4096M
display_errors = On
cgi.fix_pathinfo=0
extension_dir ="/usr/local/php/lib/php/extensions/no-debug-non-zts-20180731/"
extension=pgsql
extension=apcu
zend_extension=/usr/local/php/lib/php/extensions/no-debug-non-zts-20180731/xdebug.so
[ xdebug]
xdebug.var_display_max_children=10240
xdebug.var_display_max_data=20480
xdebug.var_display_max_depth=50
起動
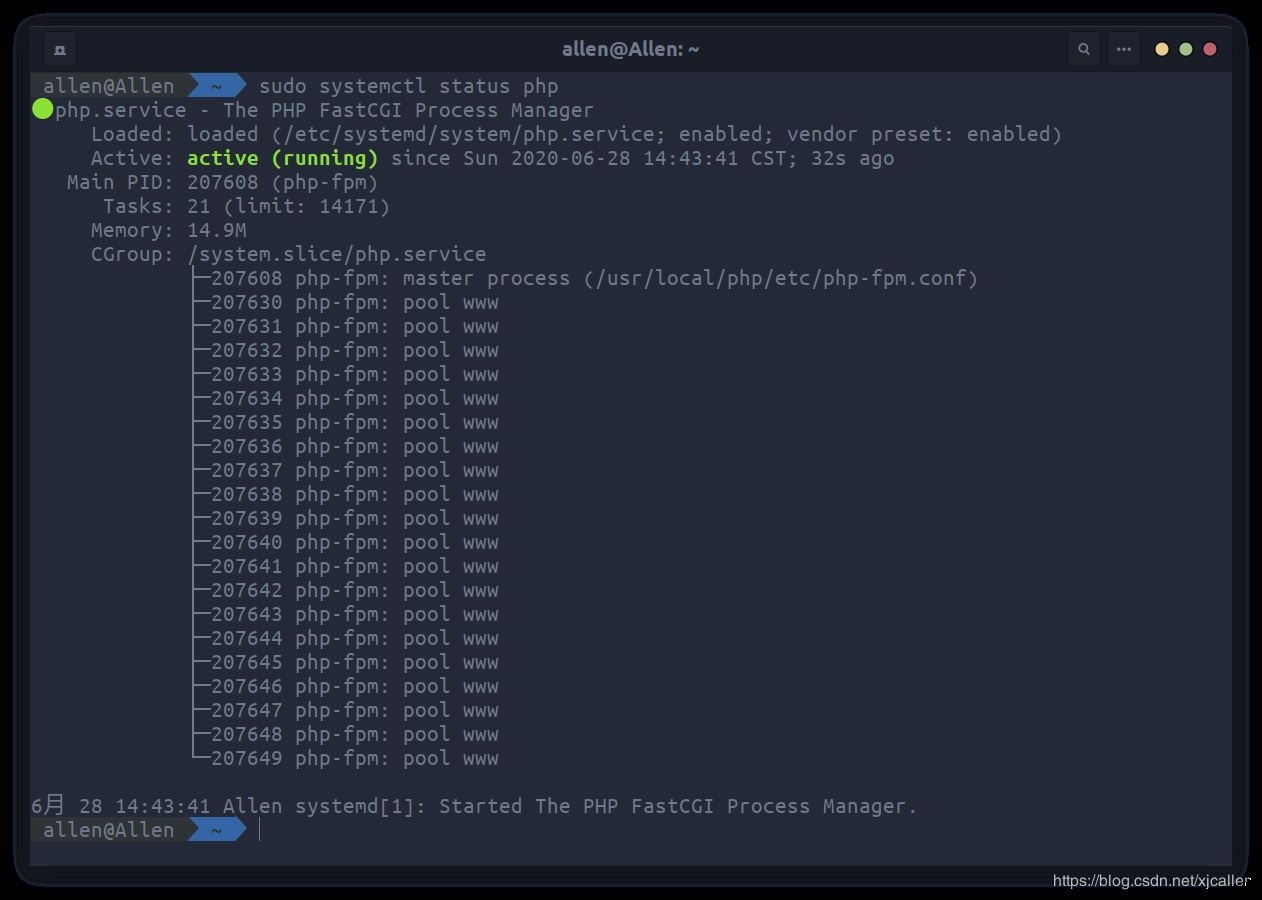
sudo systemctl enable php-fpm
sudo chown -R mysql:mysql /usr/local/mariadb
sudo chown -R nginx:nginx /usr/local/nginx
sudo chown -R php:php /usr/local/php
reboot
Recommended Posts