Ubuntu16.04.5 installs full records in lvm mode
**Operating system version: **
root@openstack-computer:~# more /etc/os-release
NAME="Ubuntu"
VERSION="16.04.5 LTS (Xenial Xerus)"
ID=ubuntu
ID_LIKE=debian
PRETTY_NAME="Ubuntu 16.04.5 LTS"
VERSION_ID="16.04"
HOME_URL="http://www.ubuntu.com/"
SUPPORT_URL="http://help.ubuntu.com/"
BUG_REPORT_URL="http://bugs.launchpad.net/ubuntu/"
VERSION_CODENAME=xenial
UBUNTU_CODENAME=xenial
The operating system version is 16.04.5 server version
**Contents of this article: **
-
Operating system installation
-
System Optimization
**Media of this article: **
Link: https://pan.baidu.com/s/1LenCI68uacAE-U_uIj1ecg
Extraction code: dbfr
16.04.5 Download link for each version: http://nl.releases.ubuntu.com/16.04/?_ga=2.15533814.1988147862.1543216875-909190780.1539682835
Part1 Operating system installation
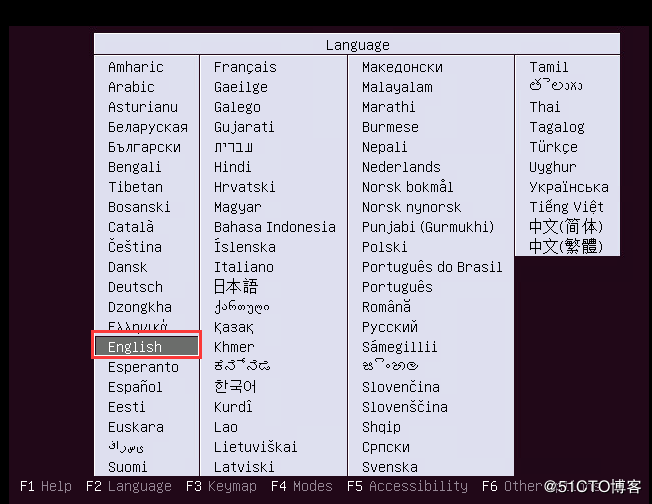
Choose'English' as the language, if you choose'Chinese (Simplified)' for version 16.04, an error will be reported during the installation process'Cannot install busybox-initramfs', it seems that this is a bug
Carriage return
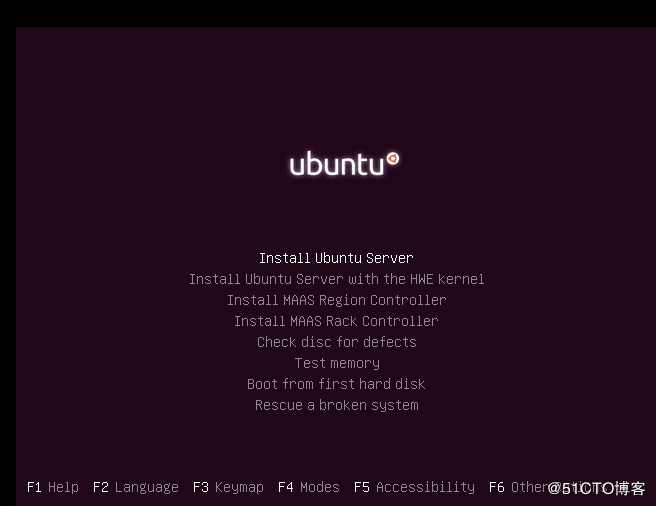
Select'English'
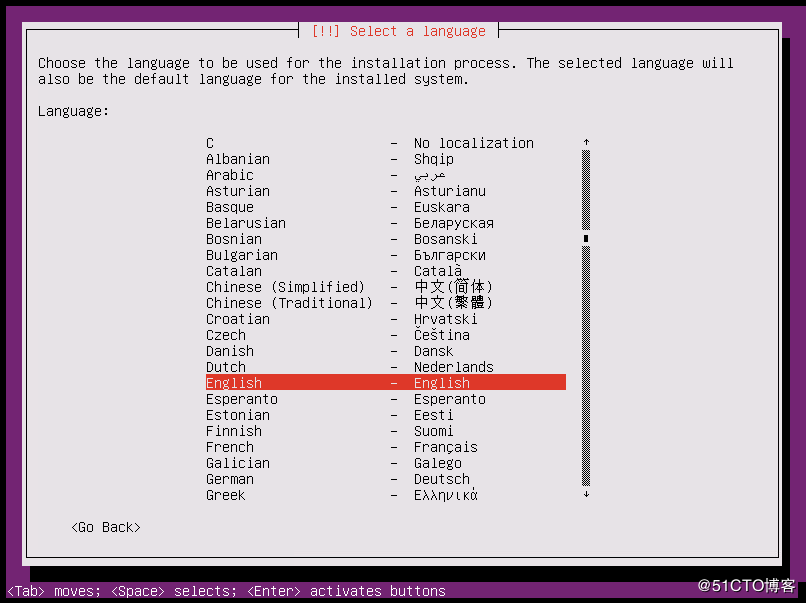
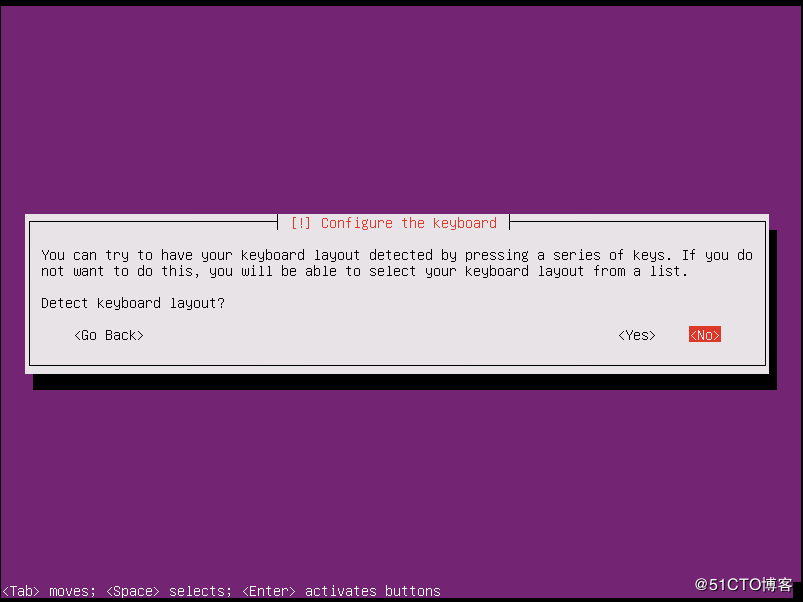
As shown, press Enter
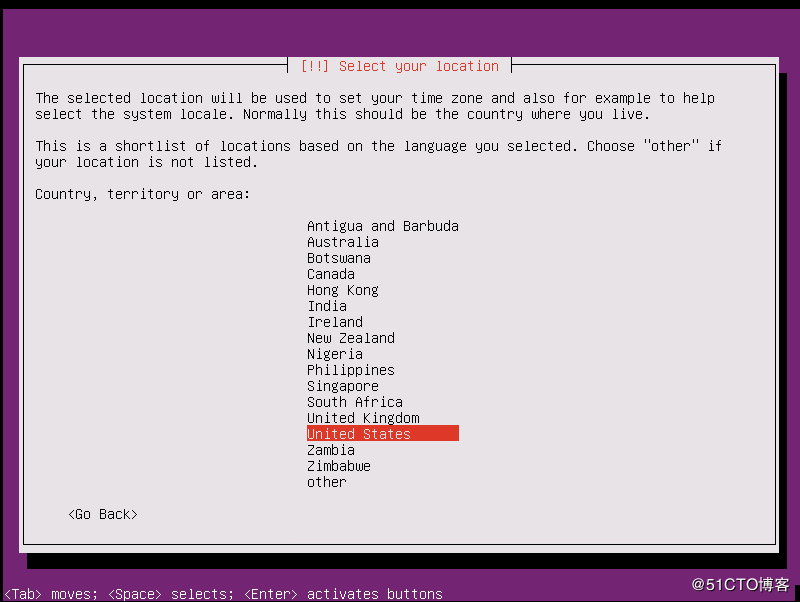
Choose'No' and press Enter
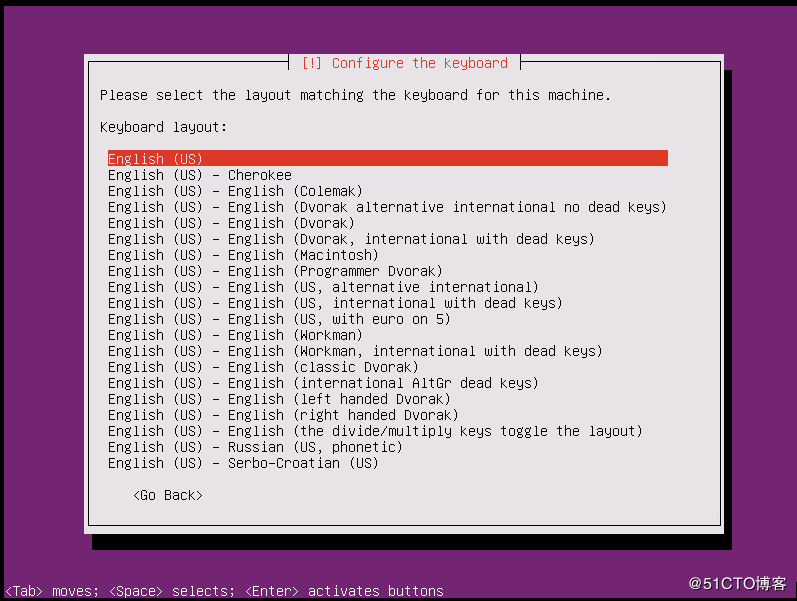
Choose as shown in the figure, press Enter
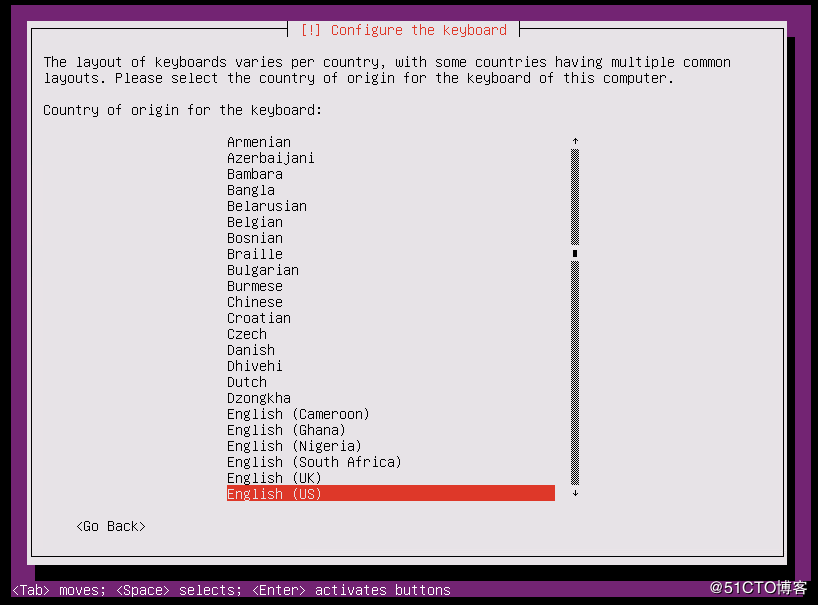
Carriage return
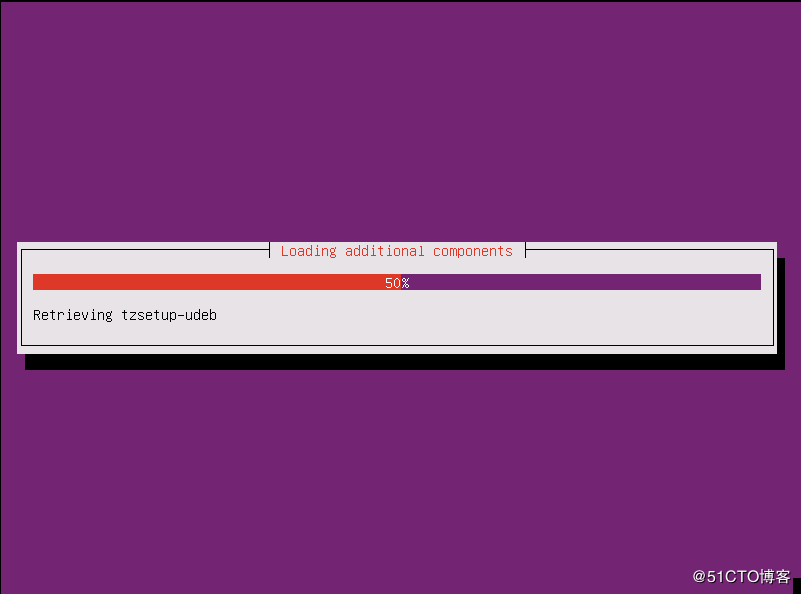
installing
Choose a network card
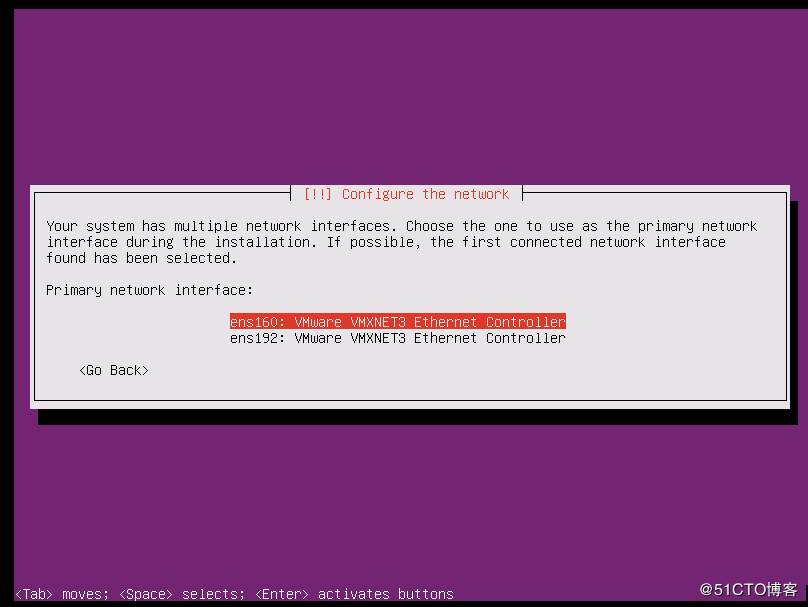
Configure the network
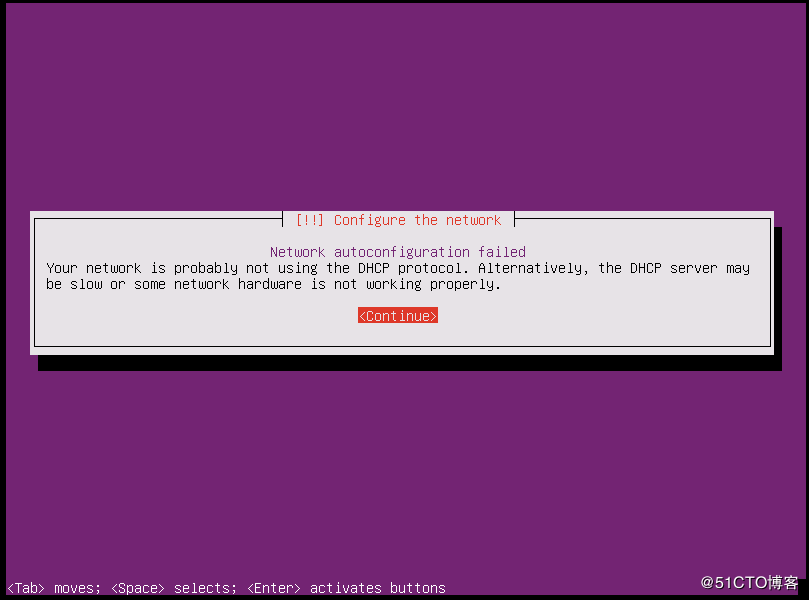
DHCP configuration failed, press Enter
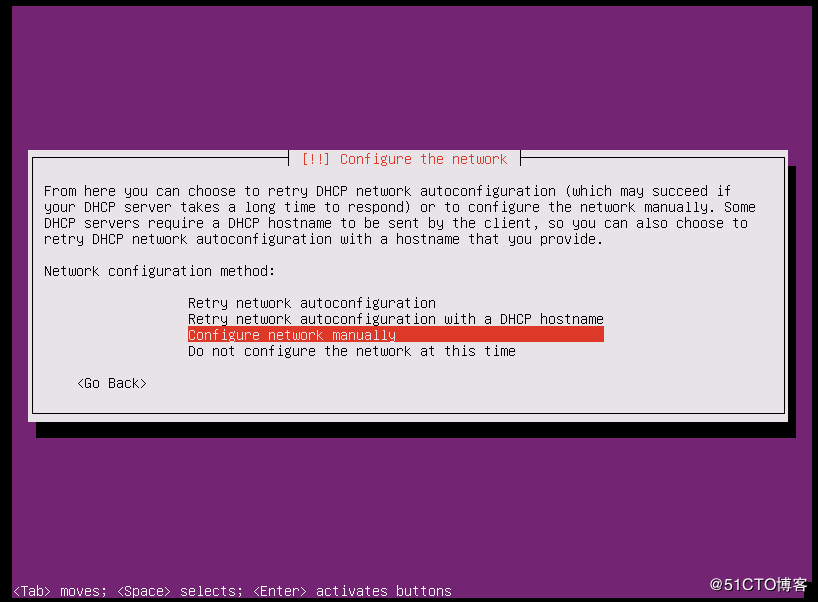
Manually configure the network
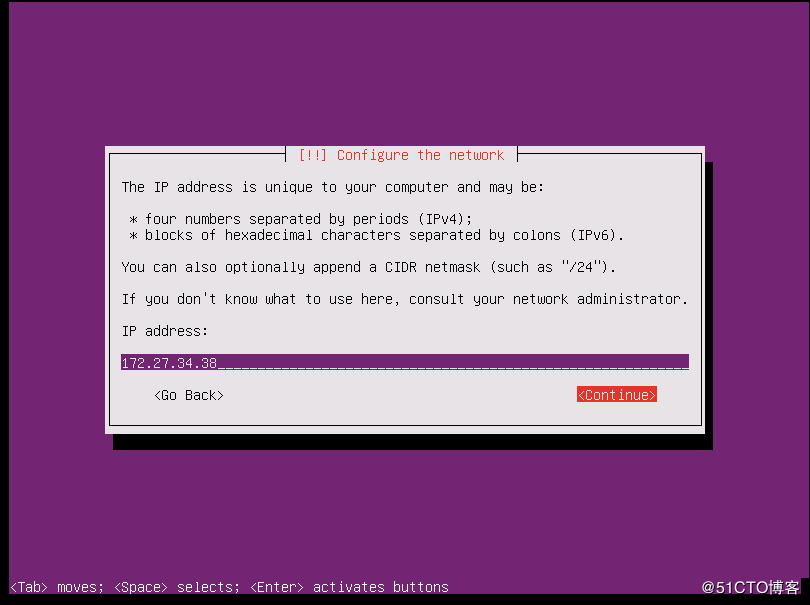
Configure ip
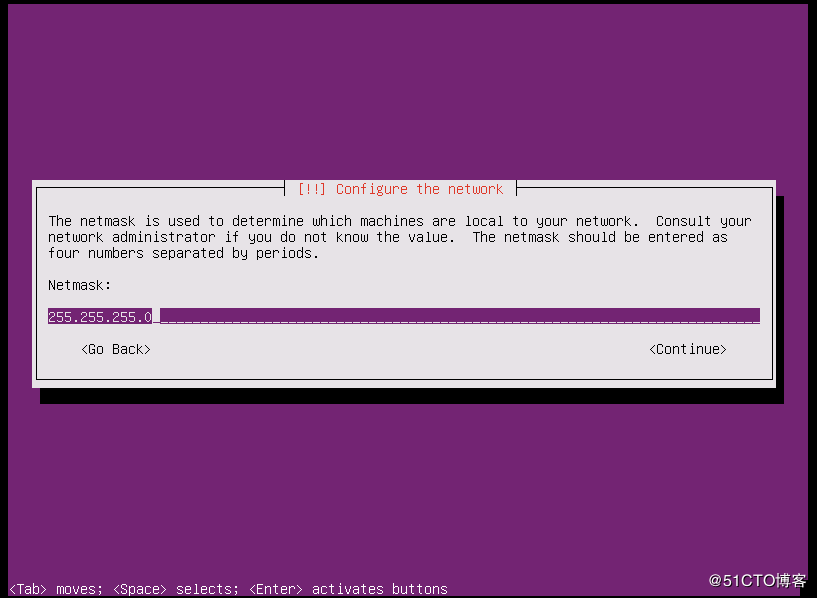
Mask
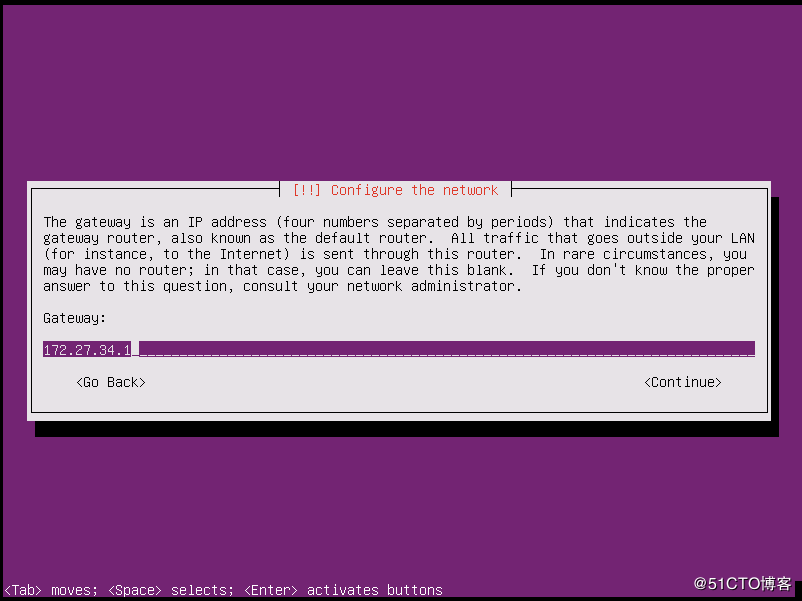
Gateway
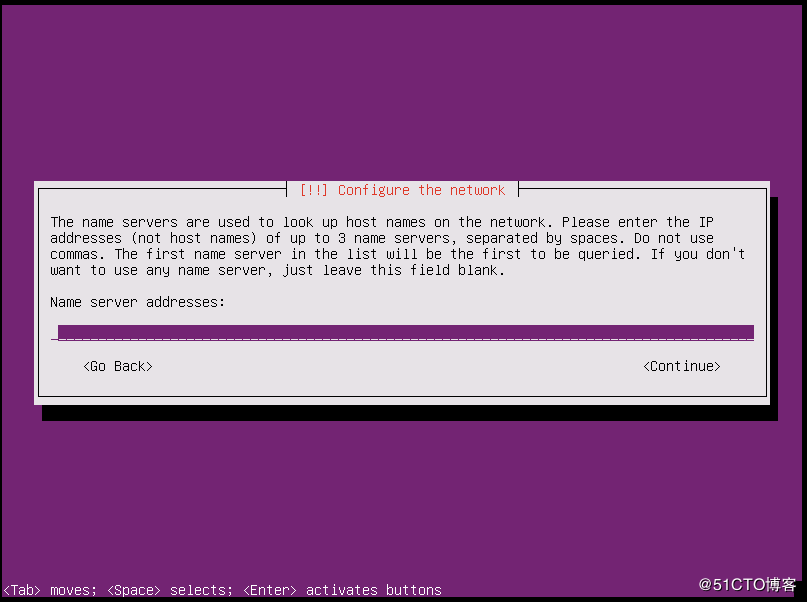
name server is empty
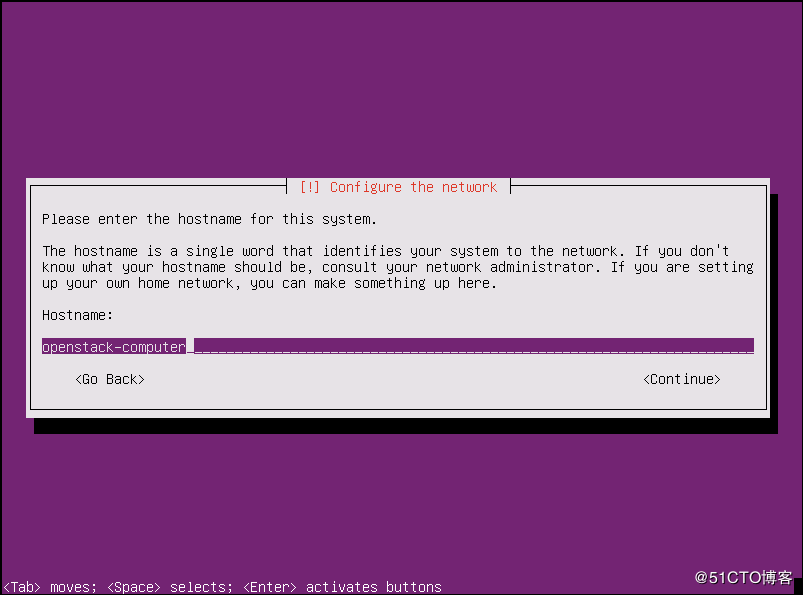
CPU name
domain is empty

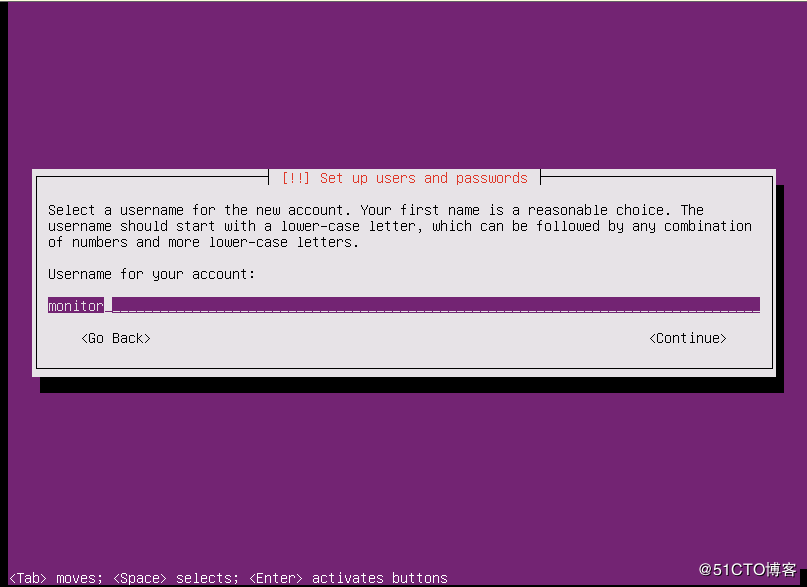
New user monitor
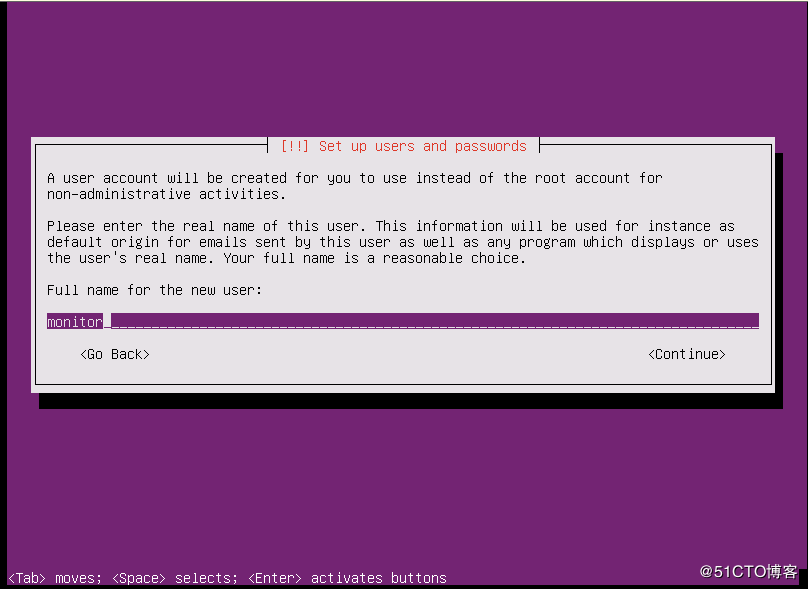
Press enter, next step
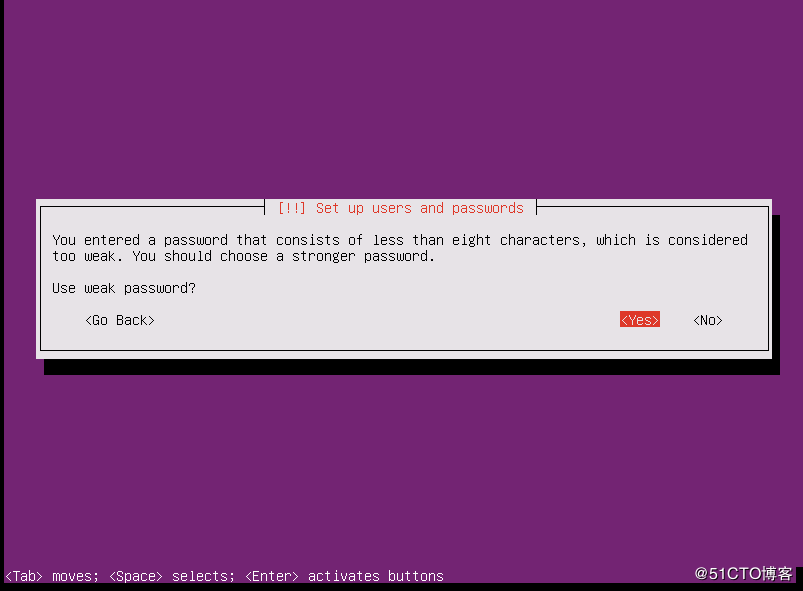
Set password, press enter
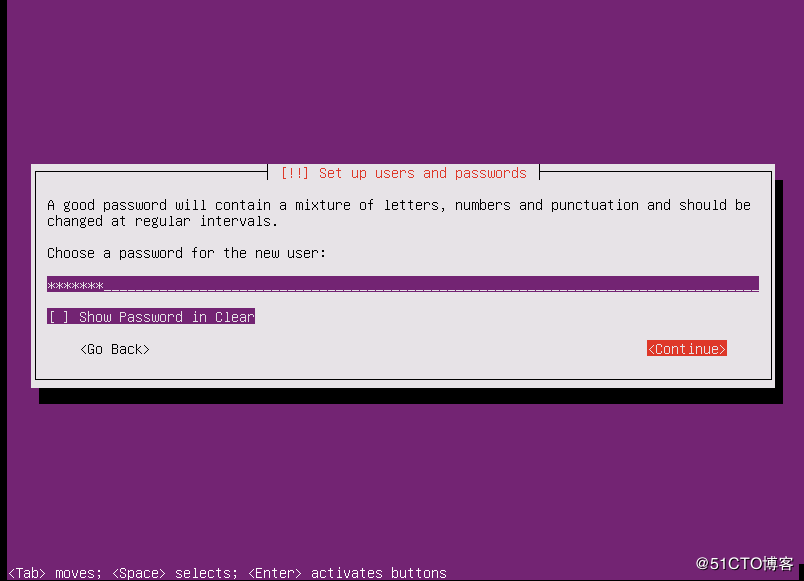
Confirm password, press enter

Select Yes to enable weak password
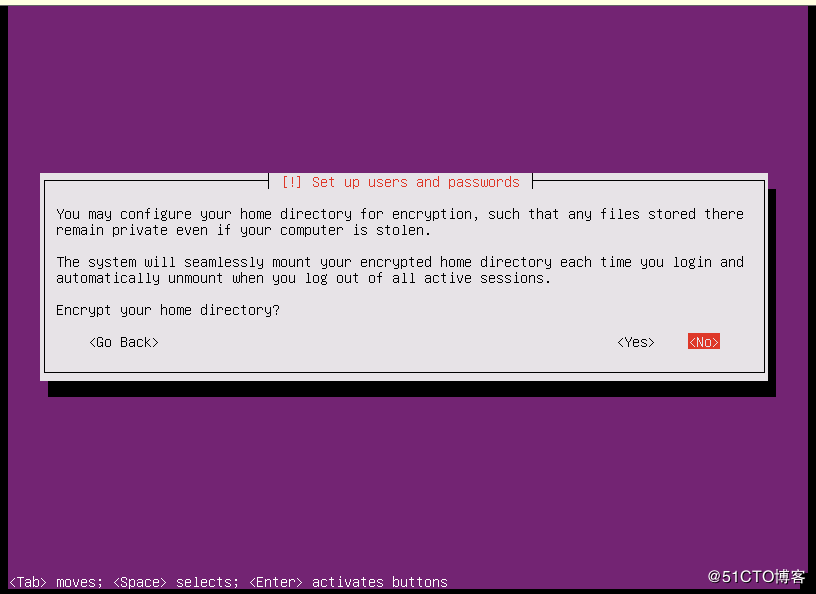
Select No, do not encrypt the home directory
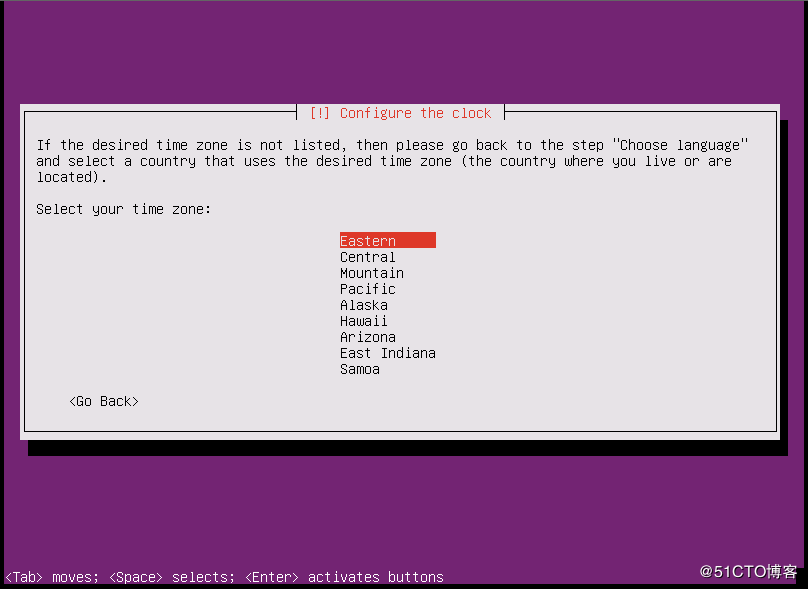
Time zone selection, you can choose one at random, you can modify it after the system is installed
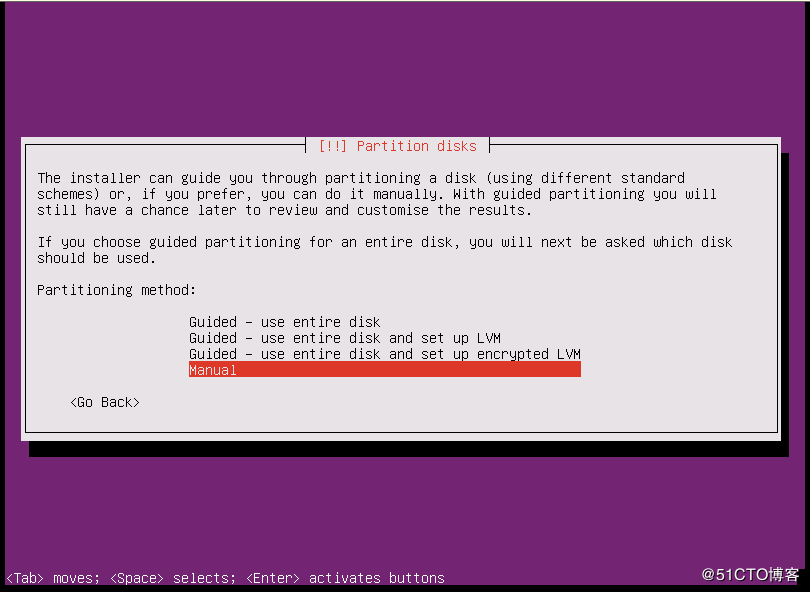
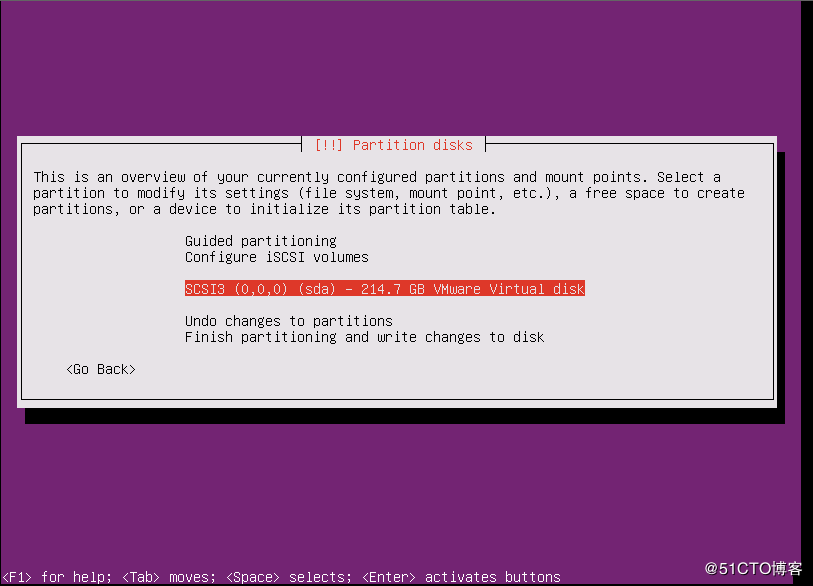
Partition settings, select manual
Select disk
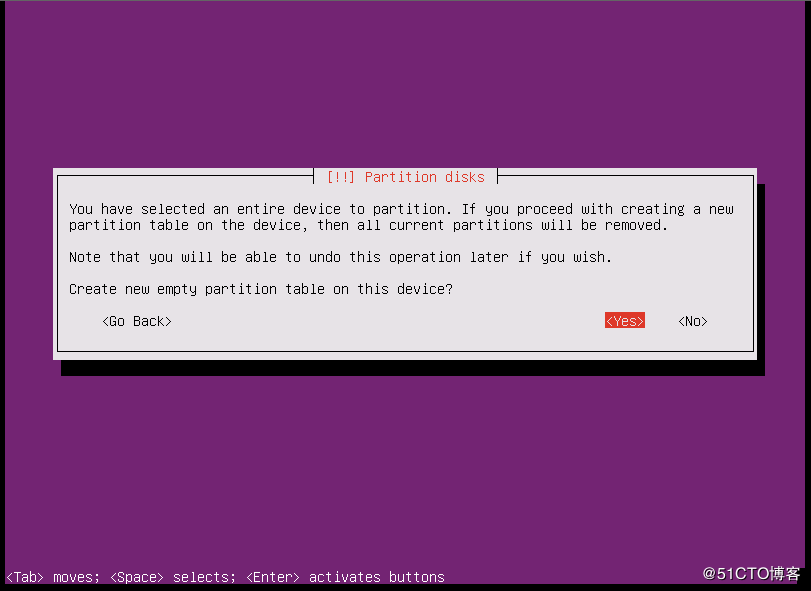
Choose Yes
Select the disk, prepare partition settings
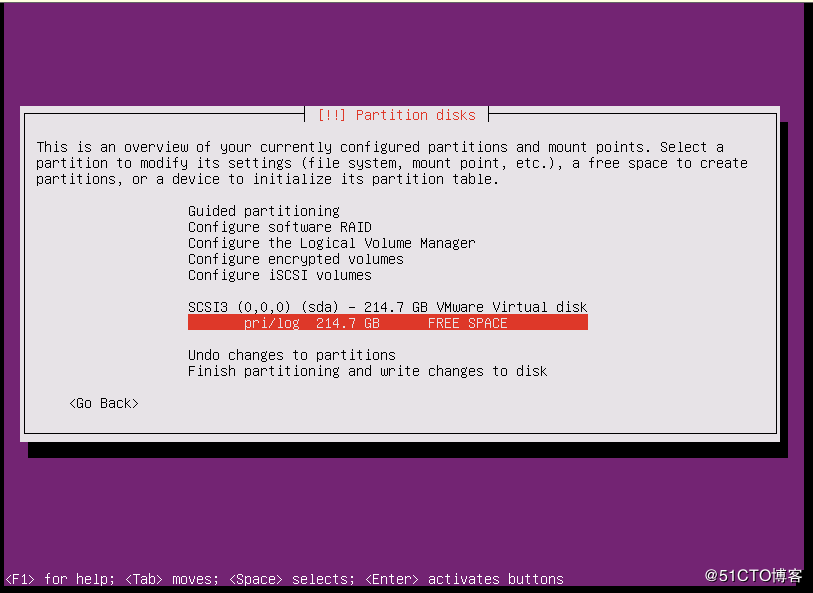
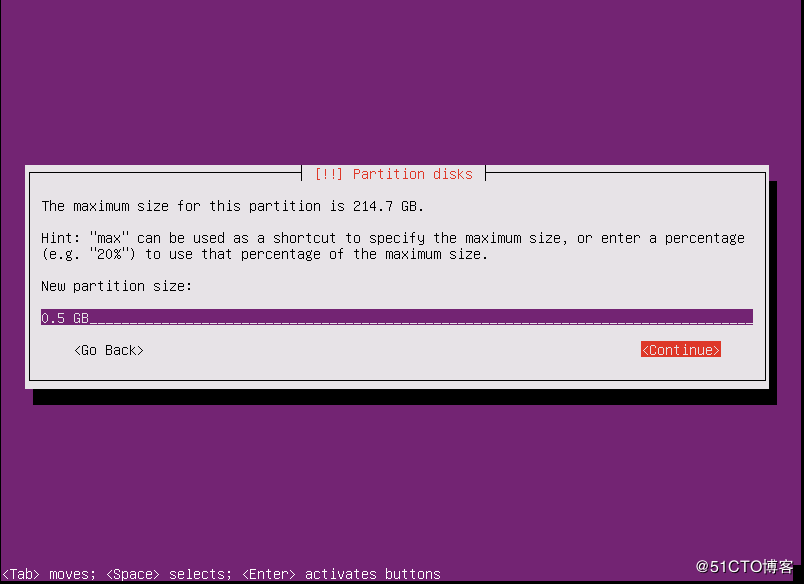
Create a new zone
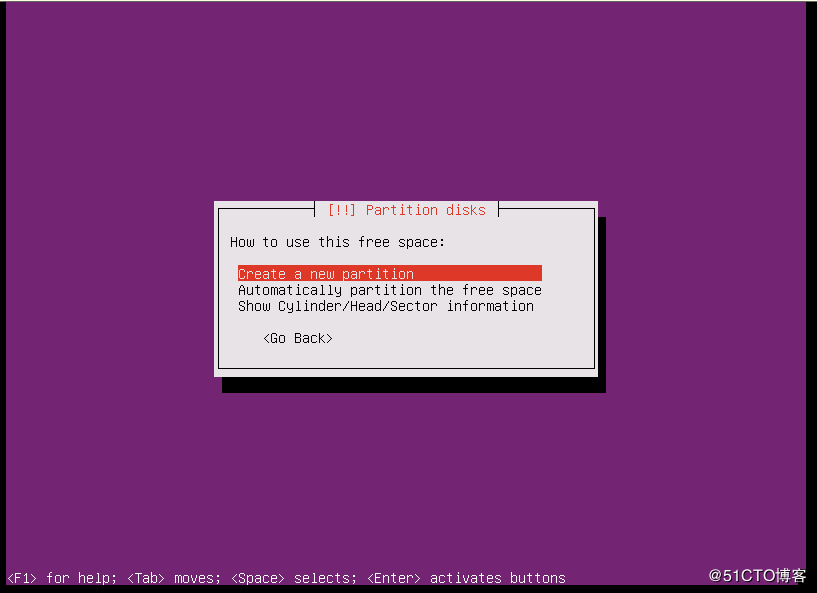
The size is 500M
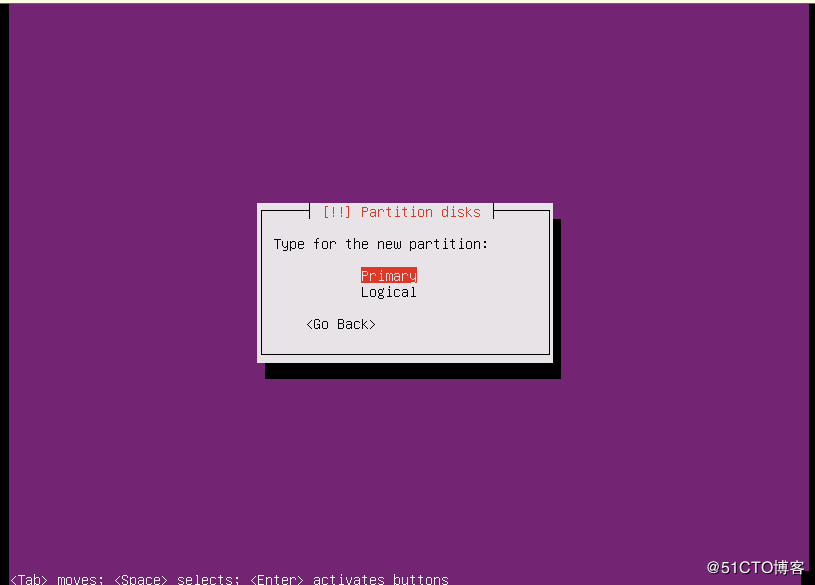
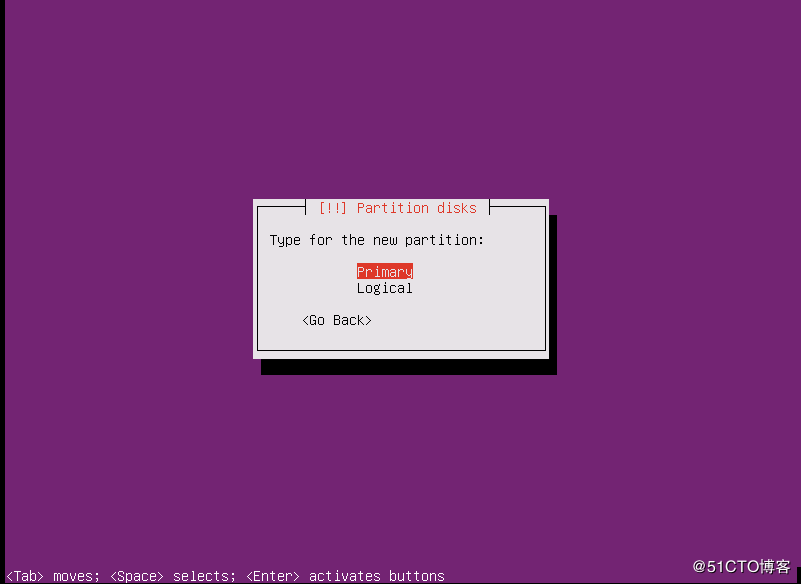
Select primary partition
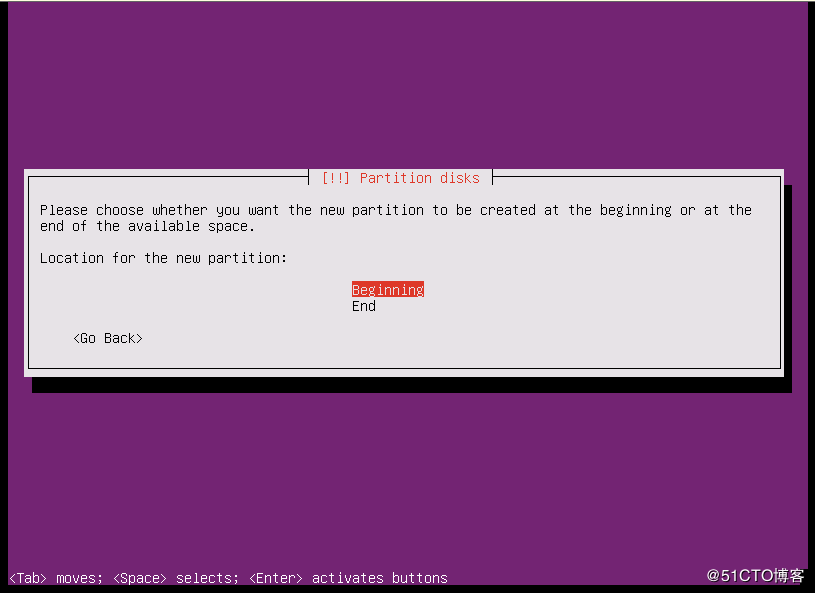
Choose Beginning
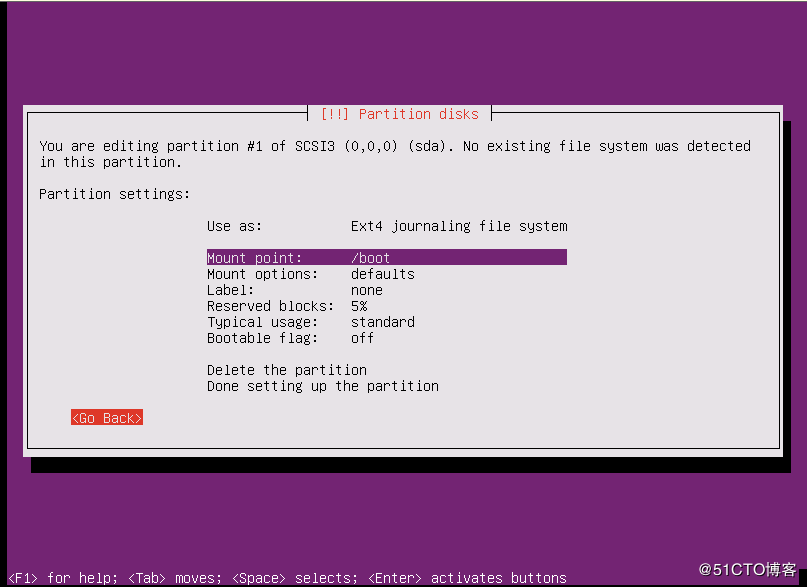
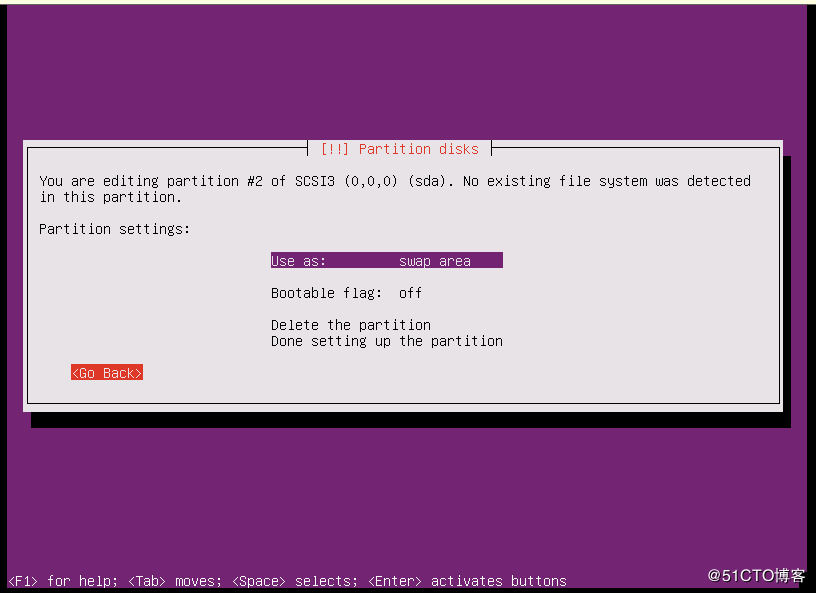
Prepare to set the file system format and mount point
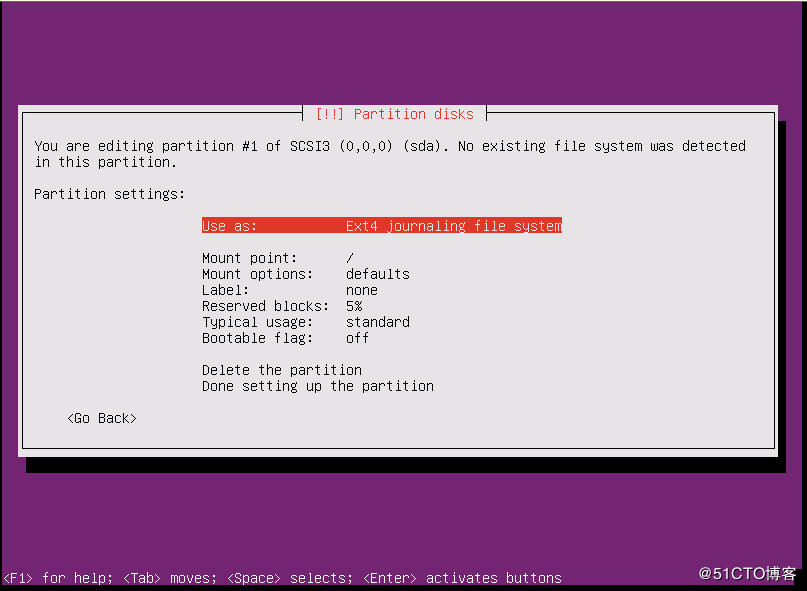
File system format is Ext4
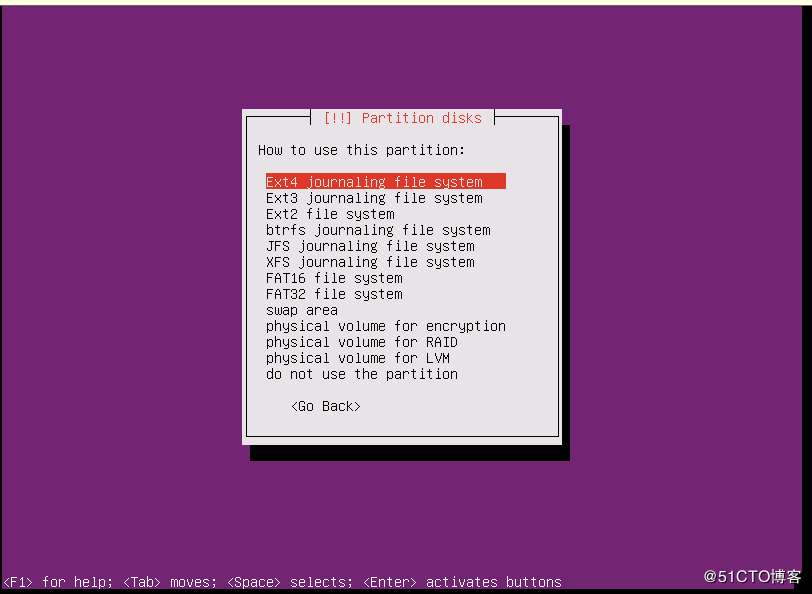
The mount point is boot
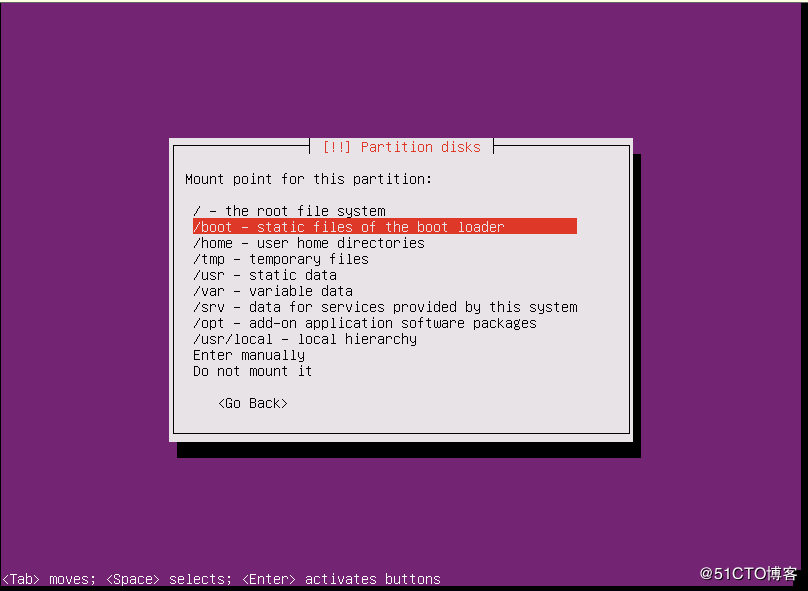
go back
Continue to partition, press enter
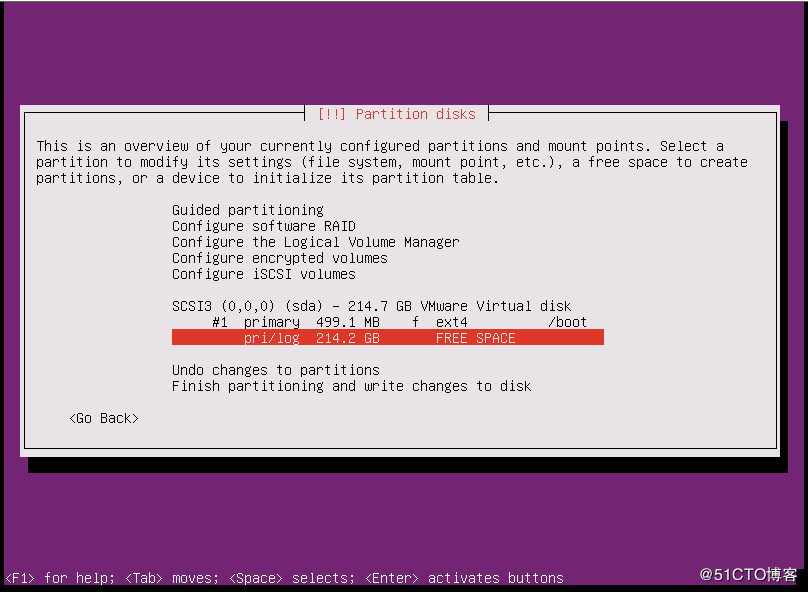
In the same way, create the swap partition of the primary partition, the size is 8GB, and the file system format is swap.
![]()
return
Create volume groups and logical volumes
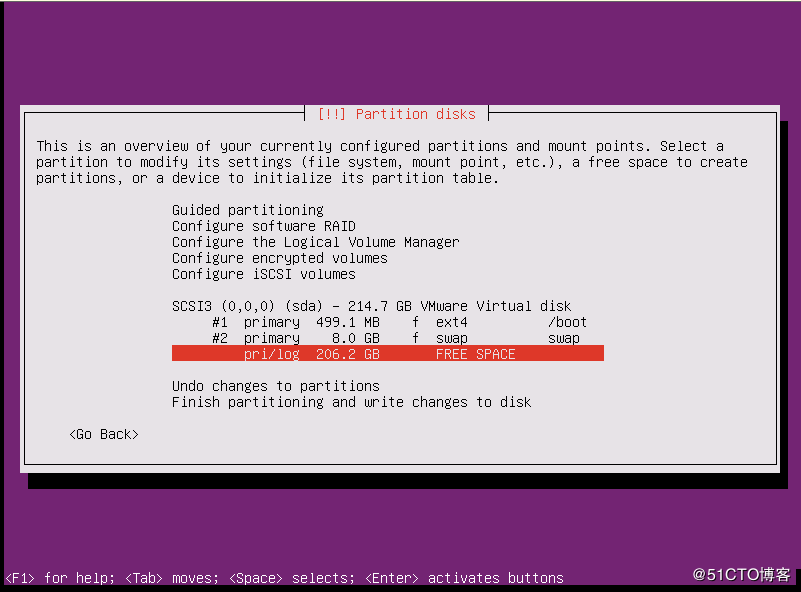
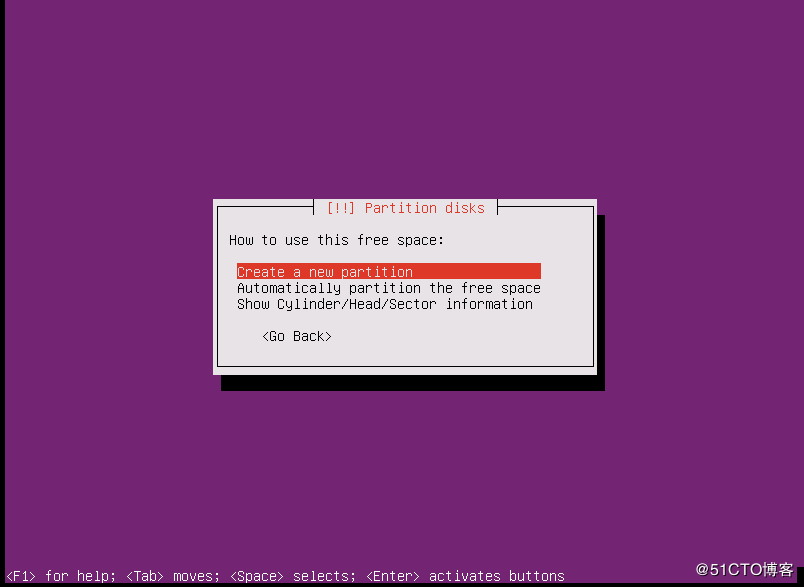
Use all remaining disk space
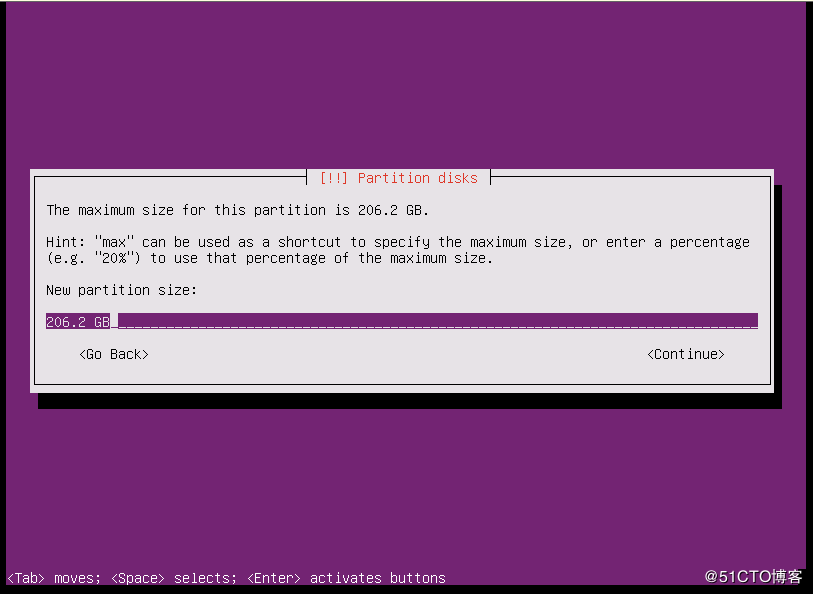
Select primary partition
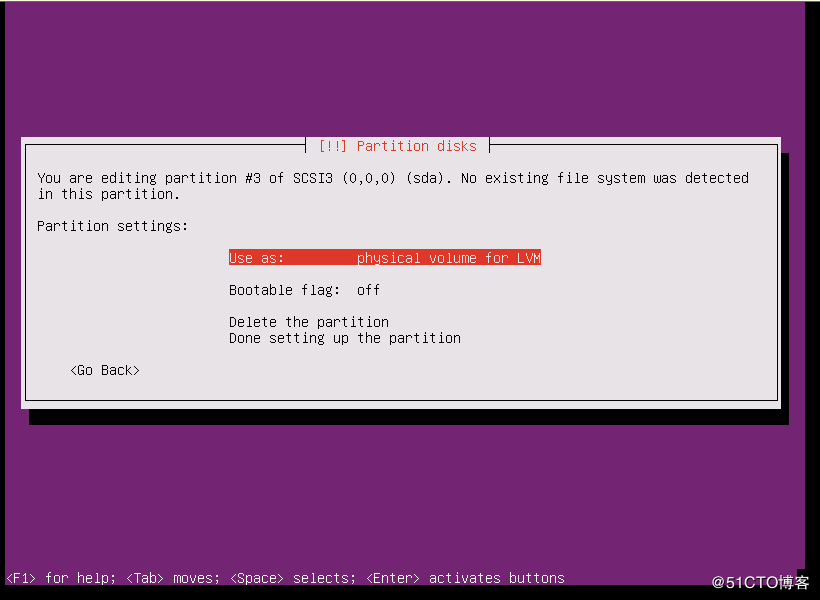
File system type is lvm
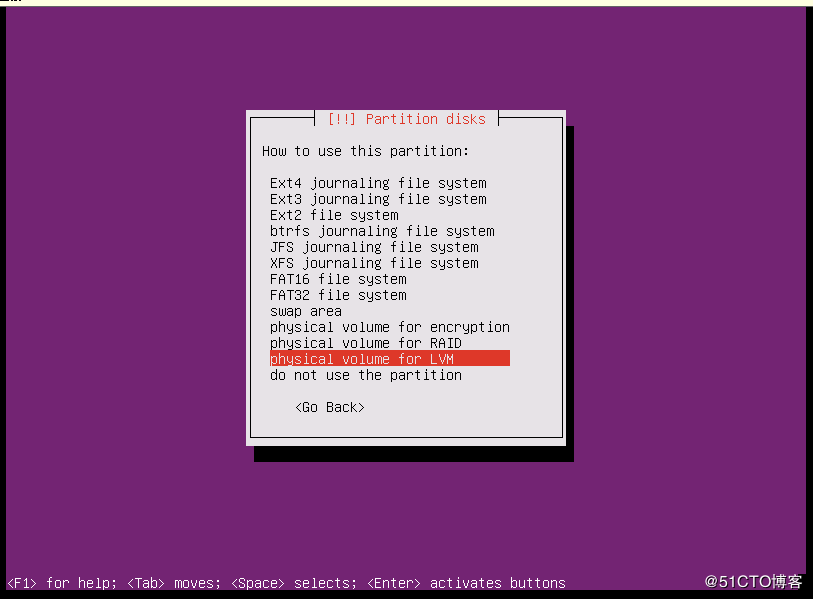
return
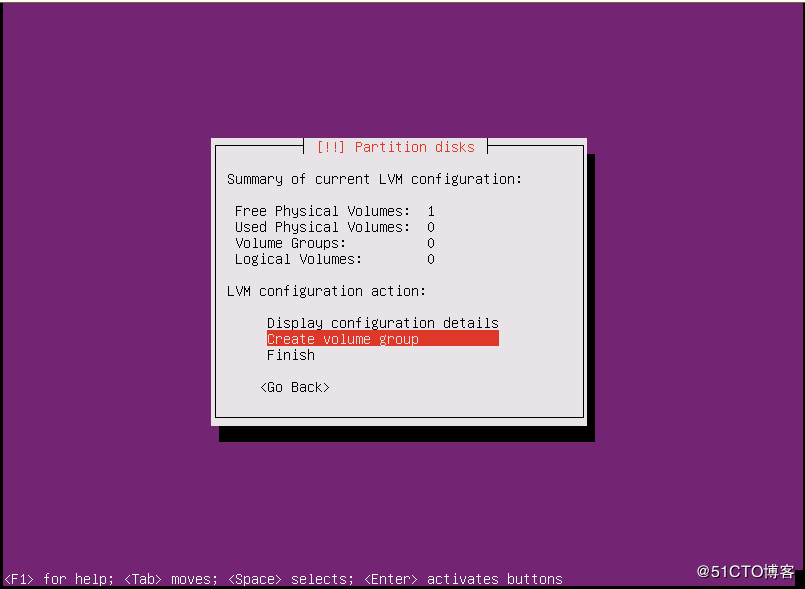
Configure Volume Group Logical Volume
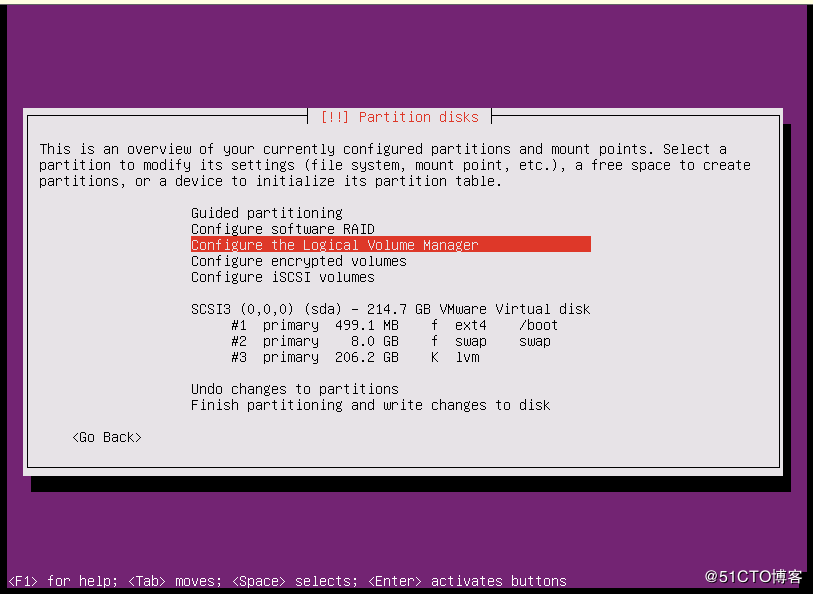
Choose Yes
Create volume group
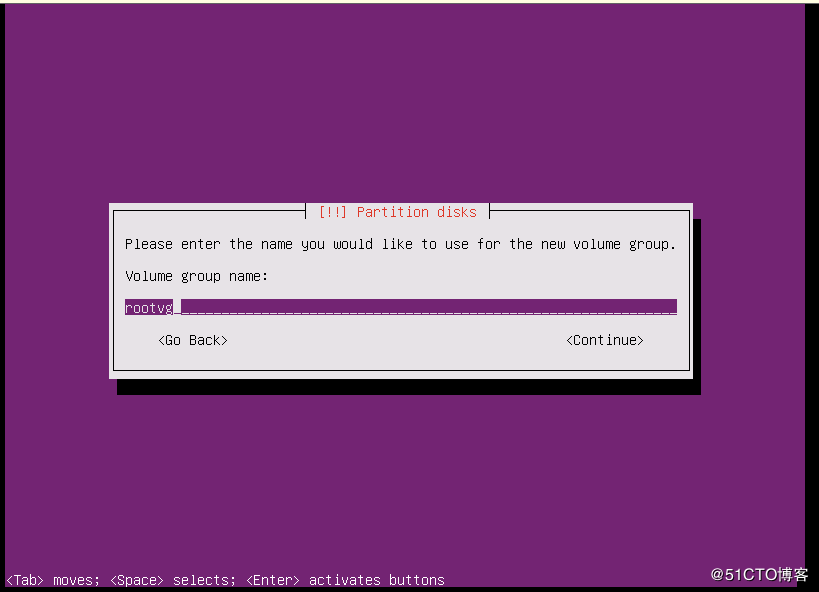
The volume group is named rootvg
Disk selection /dev/sda3

Start creating logical volume
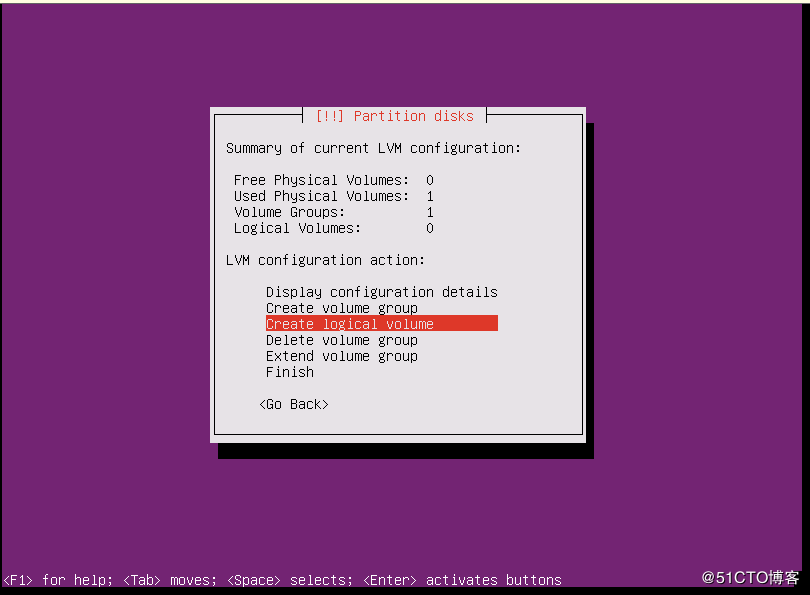
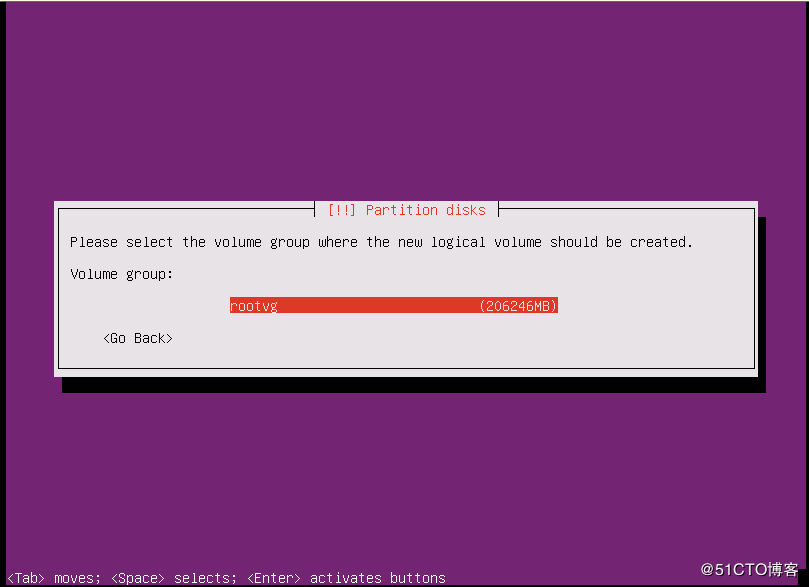
Select the only vg rootvg, press enter
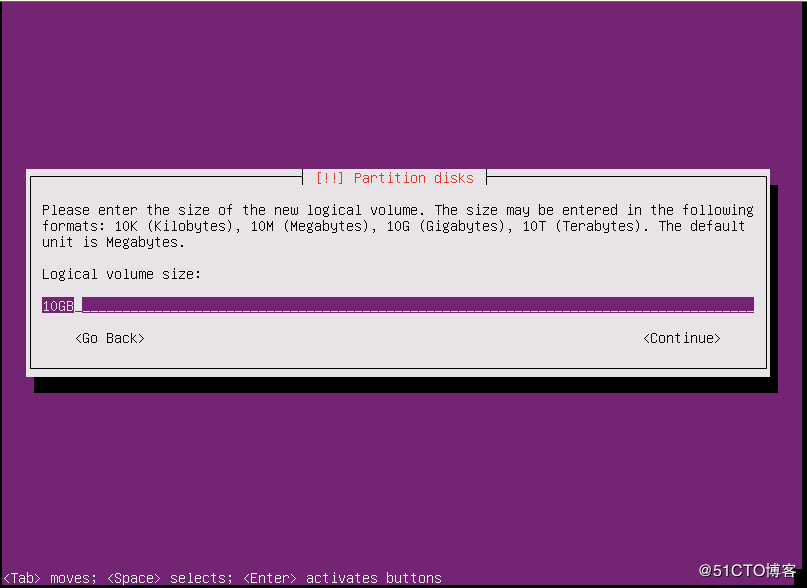
The logical volume is named root

10GB in size
Similarly, create logical volumes such as opt, var, usr, tmp, and home
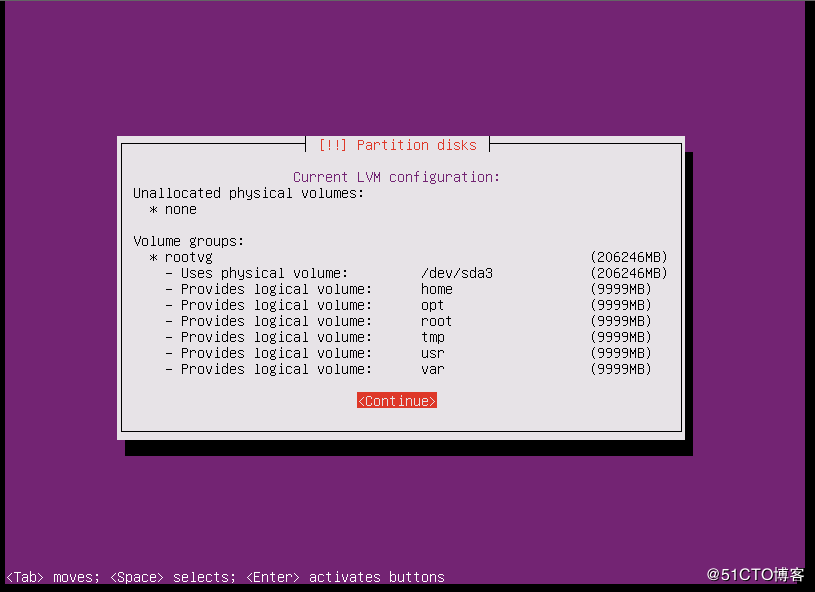
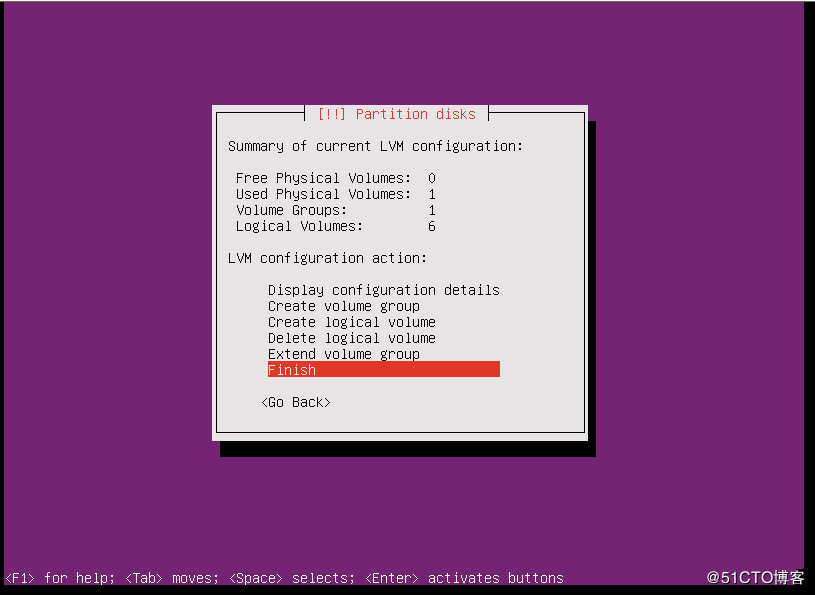
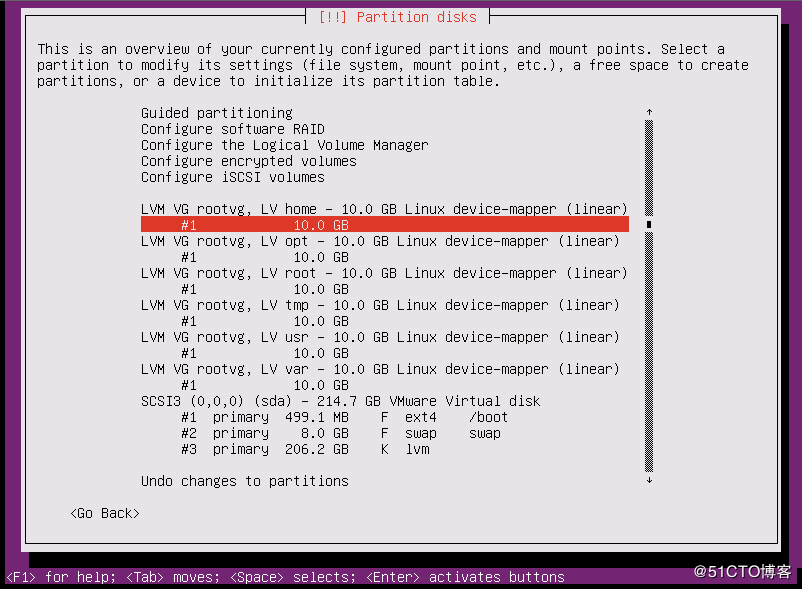
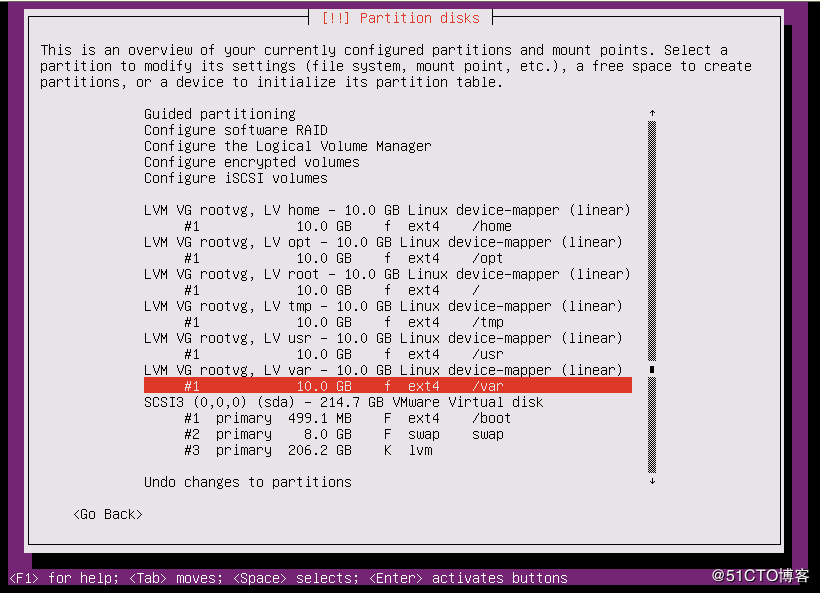
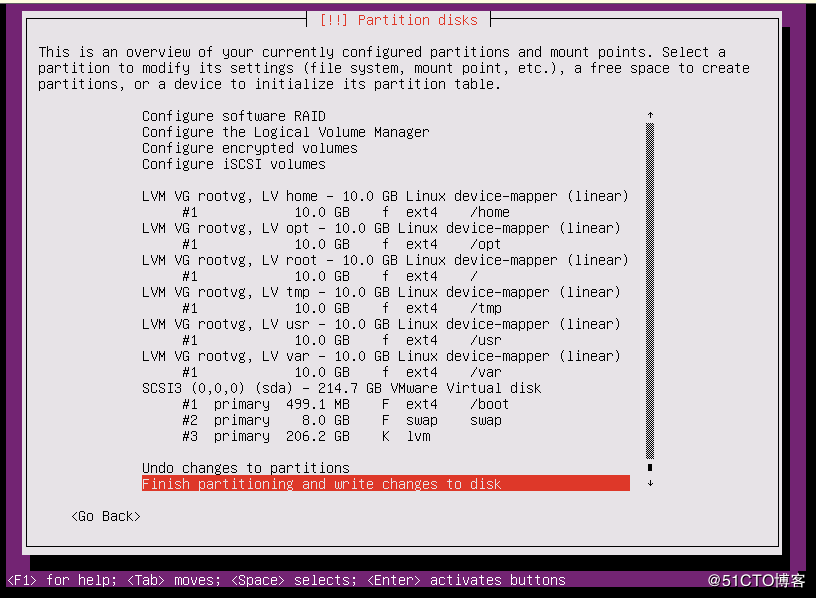
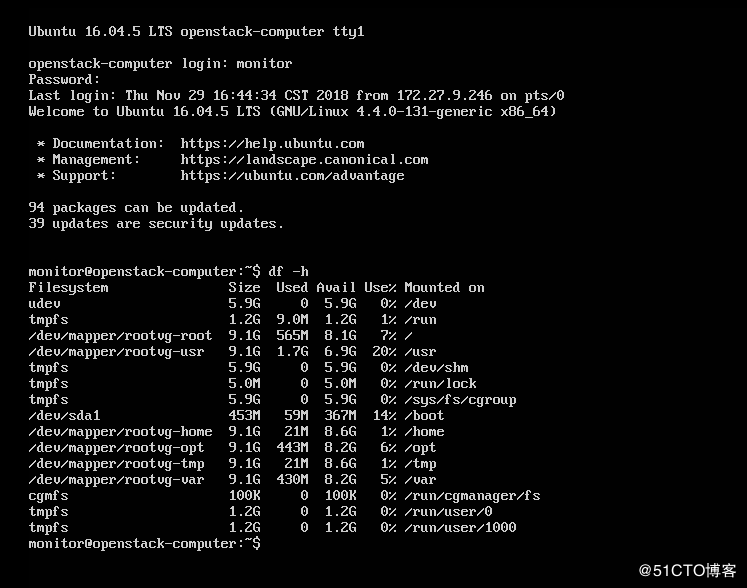
View the created logical volume
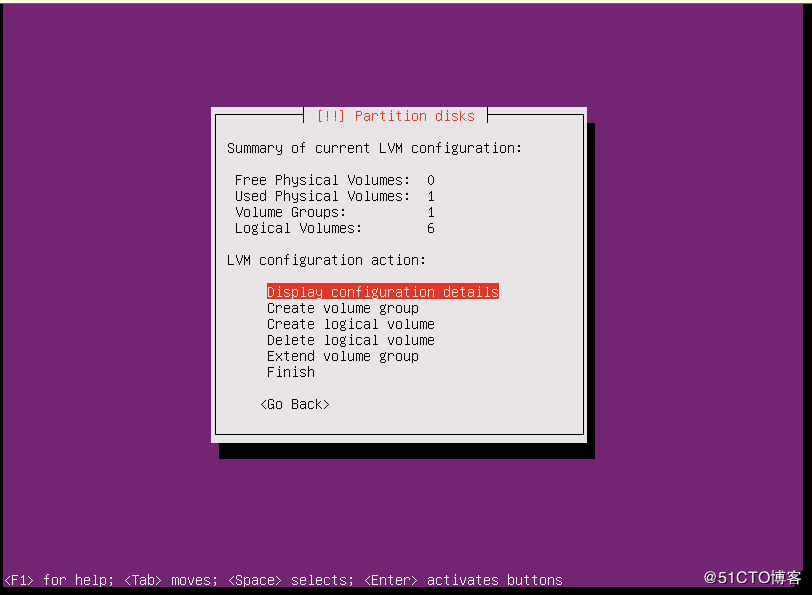
Select Finish, ready to mount the logical volume
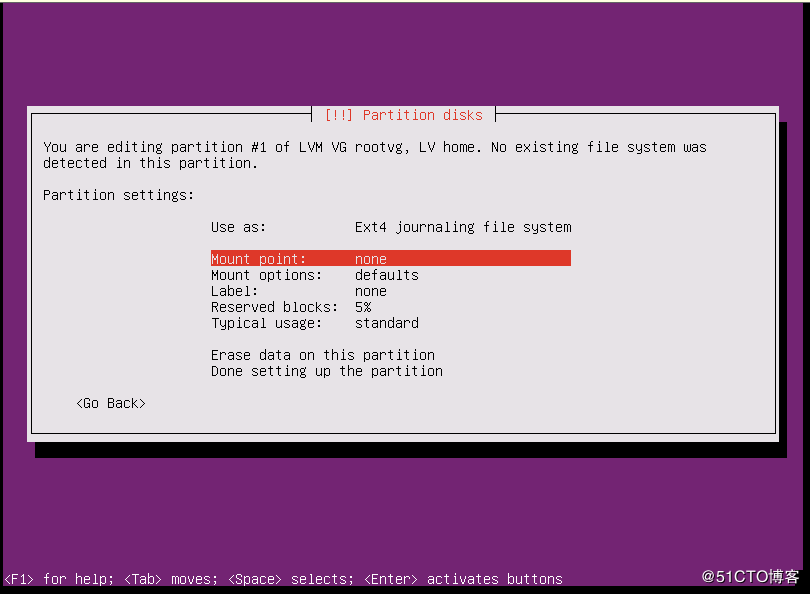
Select the logical volume home, as shown in the figure
The default is not used
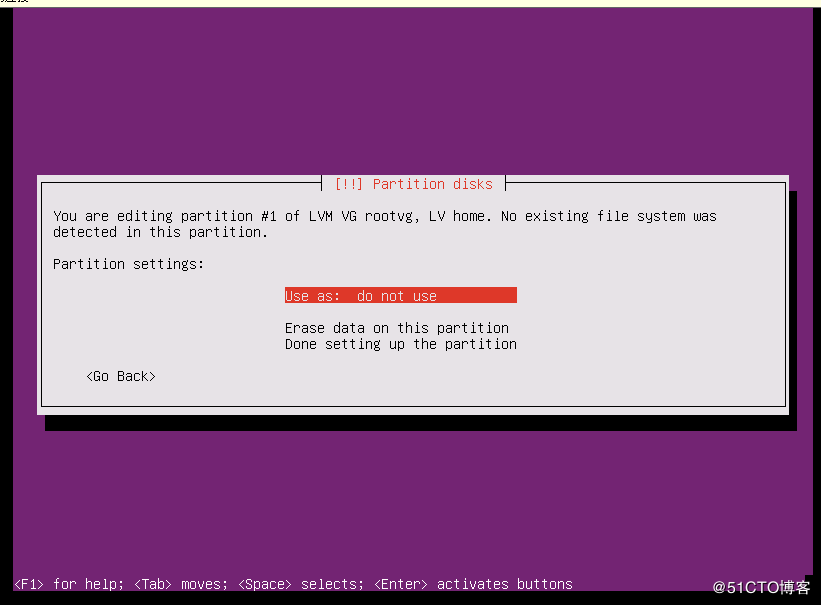
File system selection Ext4
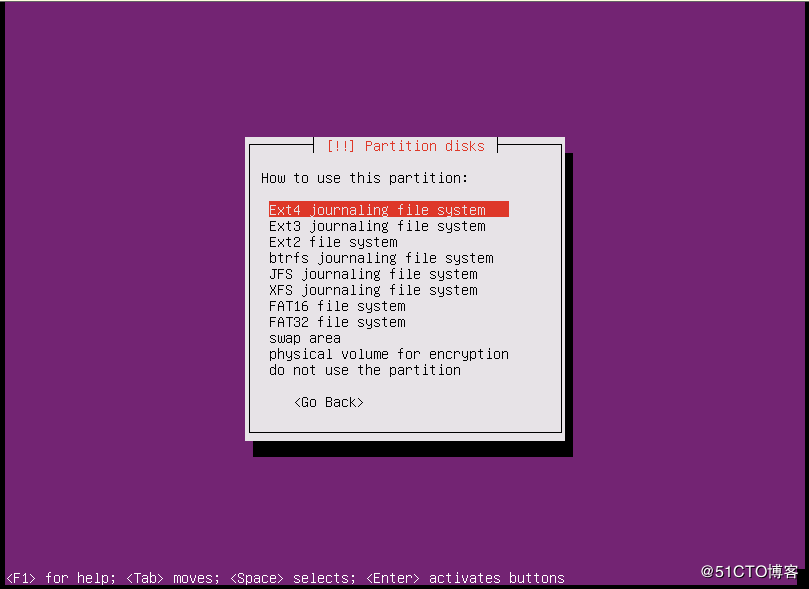
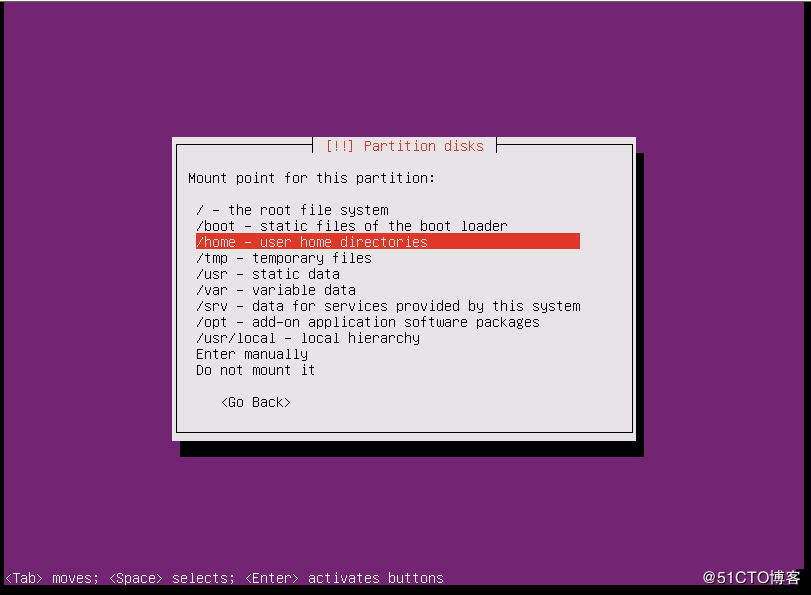
The mount point is empty by default, select /home
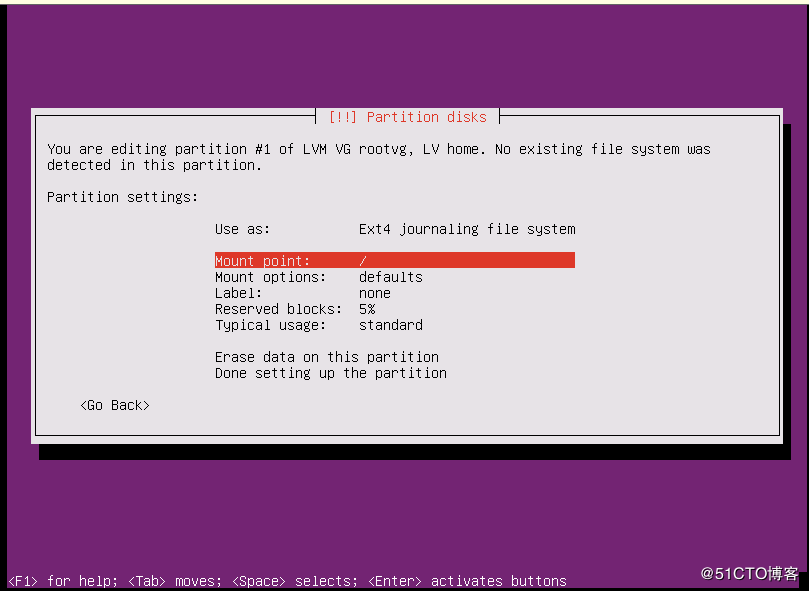
Mount other logical volumes in the same way
The configuration is complete as shown in the figure
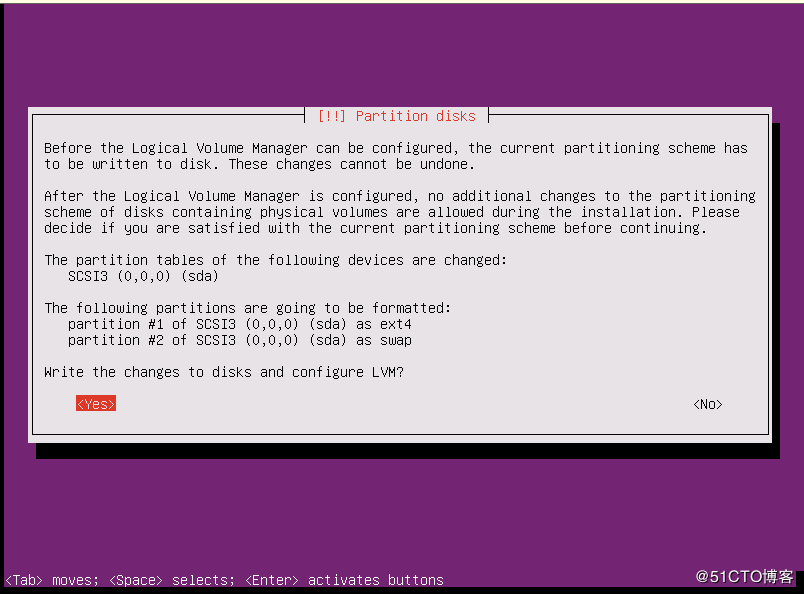
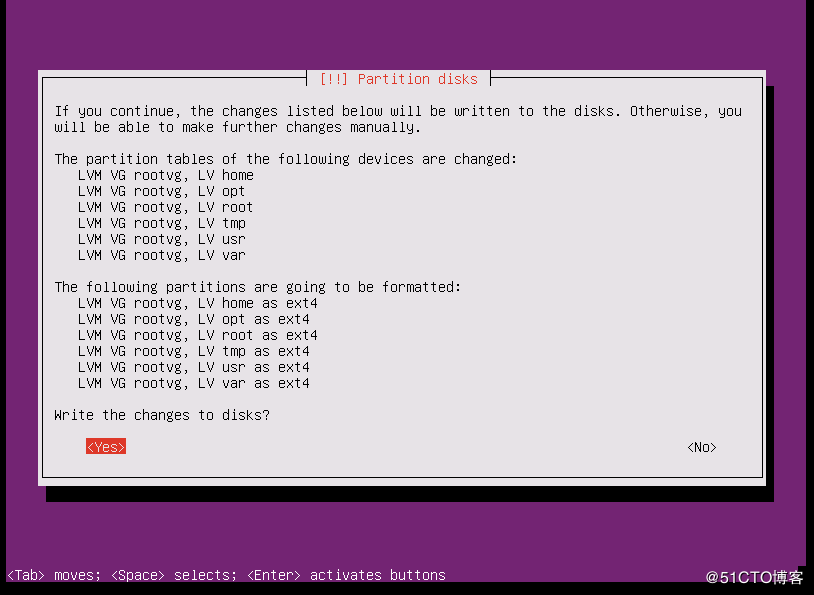
Complete partition and write to disk
Choose Yes
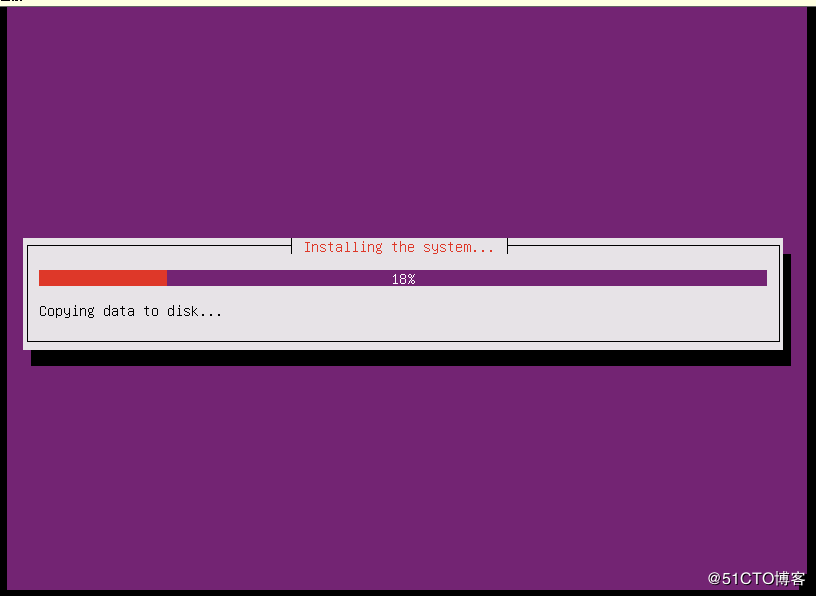
System installation
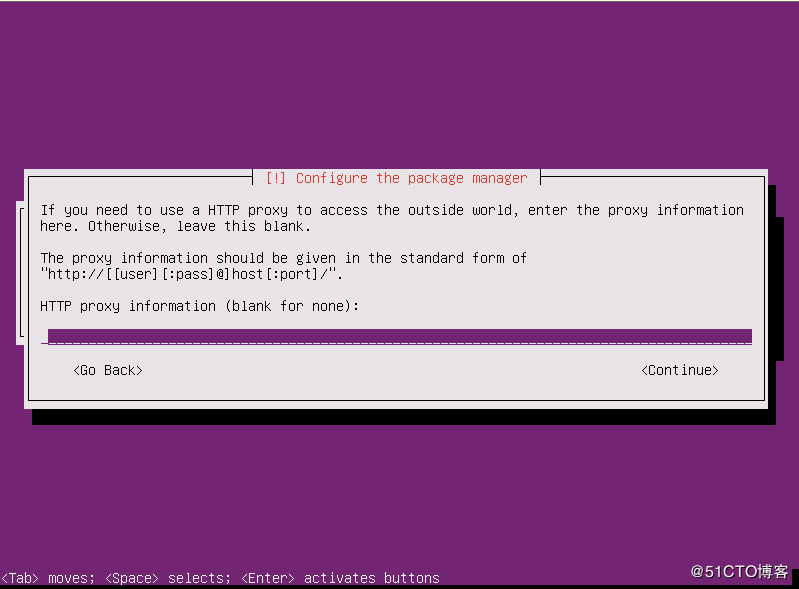
Empty, continue
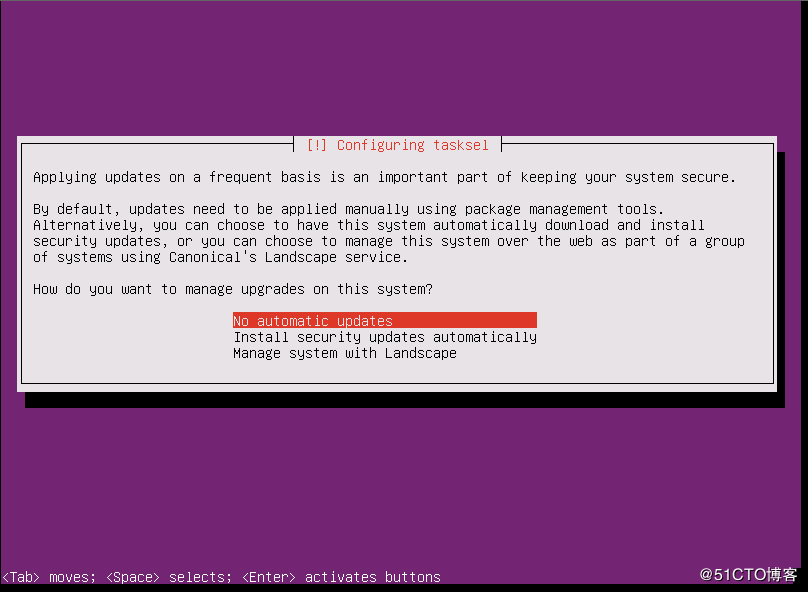
Do not update
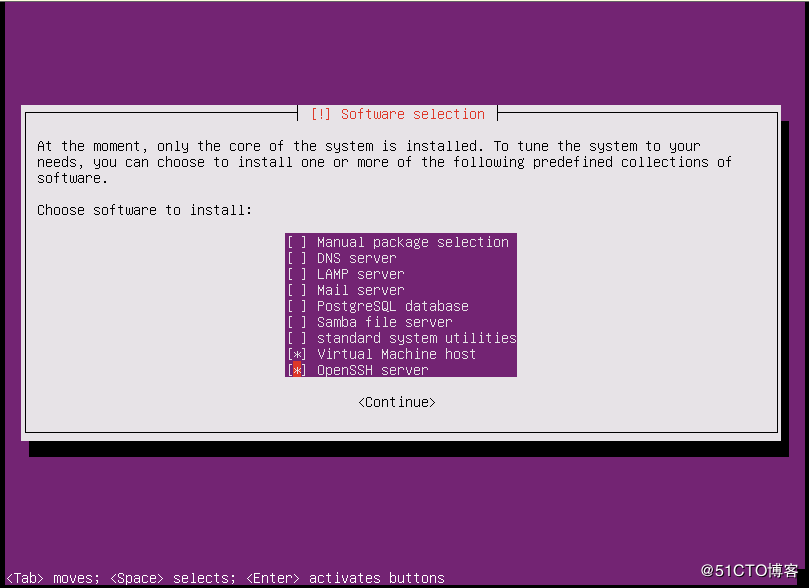
Installation package selection, here choose ssh and virtual machine host, ssh is to facilitate remote login, and virtual machine host is kvm service
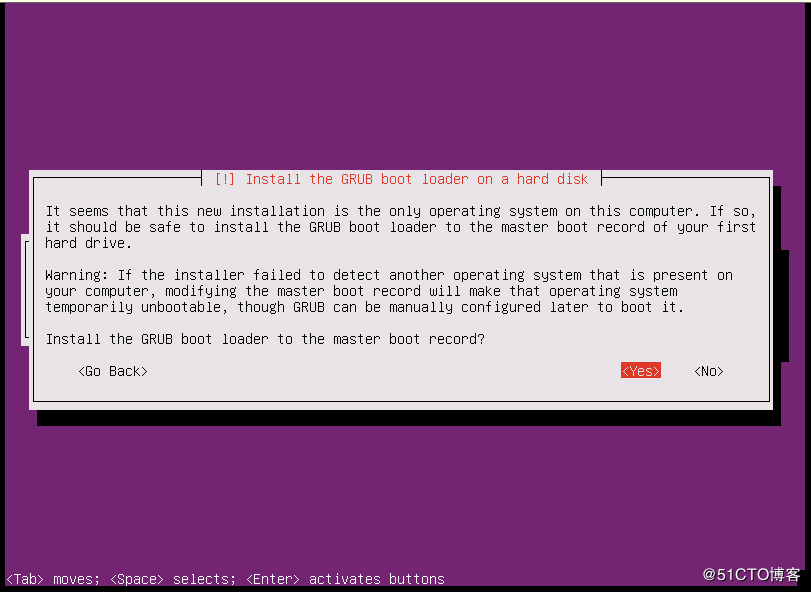
Choose Yes
Eject the disk and continue
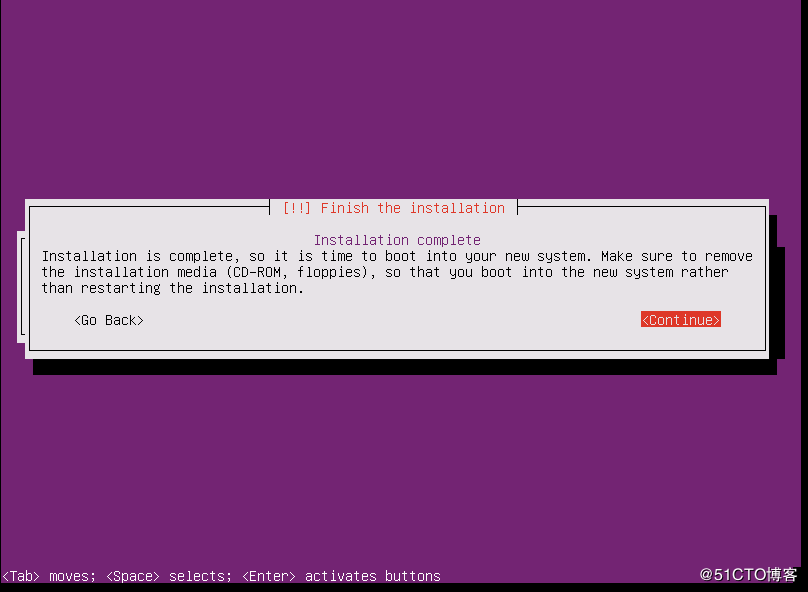
Complete the installation and log in with the monitor account
Part2 system optimization
The system has been installed, you can log in remotely through crt, putty and other tools
1. Allow root login and set root password
monitor@openstack-computer:~$ sudo view /etc/ssh/sshd_config
PermitRootLogin yes
PasswordAuthentication yes
monitor@openstack-computer:~$ sudo service ssh restart
Set root password
monitor@openstack-computer:~$ sudo su - root
root@openstack-computer:~# passwd root
Enter newUNIX password:
Retype newUNIX password:
passwd: password updated successfully
2. Configure ip and dns
root@openstack-computer:~# view /etc/network/interfaces
# This file describes the network interfaces available on your system
# and how to activate them. For more information, see interfaces(5).

source /etc/network/interfaces.d/*

# The loopback network interface
auto lo
iface lo inet loopback

# The primary network interface
auto ens160
iface ens160 inet static
  address 172.27.34.38
  netmask 255.255.255.0
  network 172.27.34.0
  broadcast 172.27.34.255
  gateway 172.27.34.1
  dns-nameserver 218.104.111.122
  dns-search foo.org.bar.co
root@openstack-computer:~# service networking restart
Please fill in dns-nameserver according to the actual situation, and restart the network service after configuration
3. Configure apt source
root@openstack-computer:~# view /etc/apt/sources.list
deb http://mirrors.aliyun.com/ubuntu/ xenial main restricted universe multiverse
deb http://mirrors.aliyun.com/ubuntu/ xenial-security main restricted universe multiverse
deb http://mirrors.aliyun.com/ubuntu/ xenial-updates main restricted universe multiverse
deb http://mirrors.aliyun.com/ubuntu/ xenial-proposed main restricted universe multiverse
deb http://mirrors.aliyun.com/ubuntu/ xenial-backports main restricted universe multiverse
root@openstack-computer:~# apt update
Set source as Ali source and update
4. Modify time zone
View current time zone
root@openstack-computer:~# date -R
Thu,29 Nov 201803:53:49-0500
Modify time zone
root@openstack-computer:~# cp /usr/share/zoneinfo/Asia/Shanghai /etc/localtime
verification
root@openstack-computer:~# date -R
Thu,29 Nov 201816:58:15+0800
Time zone modification completed
This completes the installation of the Ubuntu16.04.5 operating system