Production environment deployment of ubuntu Django + Uwsgi + Nginx
I. Overview
Using runserver can make our django project run locally, but this can only be accessed within the local area network. If you deploy django in a production environment, you must consider some more issues. For example, static file processing, security, efficiency, etc., this article summarizes the deployment of django project production environment based on uwsgi+Nginx
uWSGI is a [Web server] (https://baike.baidu.com/item/Web%E6%9C%8D%E5%8A%A1%E5%99%A8), which implements the WSGI protocol, uwsgi, http and other protocols. The function of HttpUwsgiModule in Nginx is to exchange with uWSGI server.
Pay attention to the distinction between the three concepts of WSGI / uwsgi / uWSGI.
- WSGI is a communication protocol.
- uwsgi is a wire protocol rather than a communication protocol, and is often used here for data communication between the uWSGI server and other network servers.
- And uWSGI is a web server that implements both uwsgi and WSGI protocols.
The uwsgi protocol is a unique protocol of the uWSGI server. It is used to define the type of information to be transmitted. The first 4 bytes of each uwsgi packet are the description of the type of information to be transmitted. Compared with WSGI, it is a different thing.
Preparation conditions
By default ubuntu already has python3, but pip is not installed.
apt-get install -y python3-pip
Install virtual environment
pip3 install virtualenv
Create a virtual environment
sudo mkdir /virtualenvs
cd /virtualenvs
sudo /usr/local/bin/virtualenv -p /usr/bin/python3 --no-site-packages venv
Install django
/virtualenvs/venv/bin/pip3 install django
Two, run the django project
Create django project
root@ubuntu:~# mkdir /www
root@ubuntu:~# cd /www/
root@ubuntu:/www# /virtualenvs/venv/bin/django-admin startproject mysite1
root@ubuntu:/www# cd mysite1/
root@ubuntu:/www/mysite1# /virtualenvs/venv/bin/python manage.py startapp blog
root@ubuntu:/www/mysite1# mkdir static
Edit configuration file
root@ubuntu:/www/mysite1# vim mysite1/settings.py
Allow listening to all IPs, note:'*' must be enclosed in quotation marks
ALLOWED_HOSTS =['*']
Native startup method
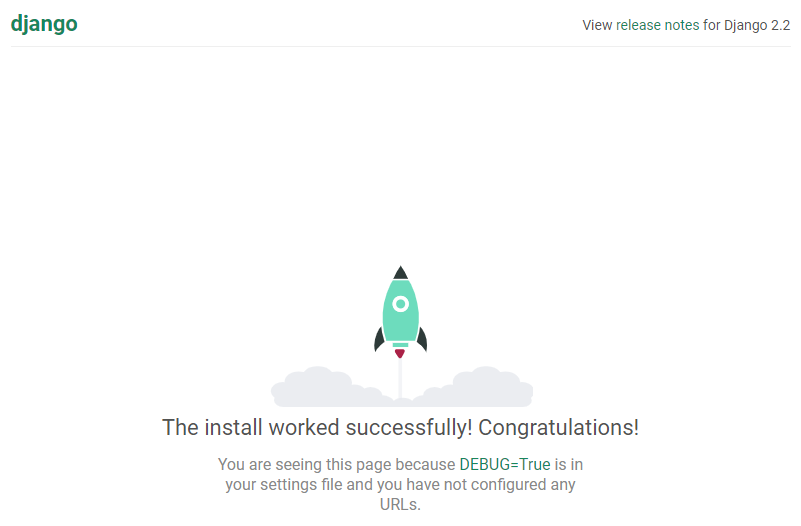
/virtualenvs/venv/bin/python manage.py runserver 0.0.0.0:8000
Visit page
The effect is as follows:
3. Implementation based on uwsgi+django
Install uwsgi
/virtualenvs/venv/bin/pip3 install uwsgi
Use the command to start uwsgi
First close the Django project started above and use Ctrl+c to cancel.
The first step: enter the django project
cd /www/mysite1/
Step 2: Command test start
/virtualenvs/venv/bin/uwsgi --http 0.0.0.0:8000--file mysite1/wsgi.py --static-map=/static=static
Parameter Description:
-
- http This specifies the IP port like runserver
-
- file There is a reflection in this file. If you do not specify Web Server when you call it, use the default
Note: mysite1 is a relative path. --file its absolute path is /www/mysite1/mysite1/wsgi.py
-
- static Make a mapping and specify static files.
At this time, visit http://192.168.10.104:8000/
If the access is normal, the project started successfully
uwsgi configuration file
Use Ctrl+c to cancel uwsgi startup.
Step 1: Create a uwsgi directory in the same level directory of the django project to store related files
cd /www/mysite1mkdir uwsgi
The project structure is as follows:
mysite1/
├── blog
│   ├── admin.py
│   ├── apps.py
│   ├── __init__.py
│   ├── migrations
│   │   └── __init__.py
│   ├── models.py
│   ├── tests.py
│   └── views.py
├── db.sqlite3
├── manage.py
├── mysite1
│   ├── __init__.py
│   ├── settings.py
│   ├── urls.py
│   └── wsgi.py
├── uwsgi
└── static
Step 2: Enter the script directory and create a uwsgi.ini file
cd /www/mysite1/uwsgi
vim uwsgi.ini
Edit the contents of the uwsgi.ini file as follows:
[ uwsgi]

# Django-related settings
# the base directory(full path)
chdir           =/www/mysite1
# Django's wsgi file
module          = mysite1.wsgi
# the virtualenv(full path)
home            =/virtualenvs/venv
# process-related settings
# master
master          =true
# maximum number of worker processes
processes       =1
# pid file
pidfile         =/www/mysite1/uwsgi/uwsgi.pid
# The address and port of the monitor
http            =:8000
# clear environment on exit
vacuum          =true
# The process runs in the background and types the log to the specified log file
daemonize       =/www/mysite1/uwsgi/uwsgi.log
Pay attention to several very important parameters
chdir project directory, write absolute path
module Django's wsgi file, which means mysite1/wsgi.py
home virtual environment directory, write absolute path
The daemonize process runs in the background and prints the log to the specified log file
Start the django project
root@ubuntu:~# cd /www/mysite1/
root@ubuntu:/www/mysite1# /virtualenvs/venv/bin/uwsgi --ini uwsgi/uwsgi.ini
[ uWSGI] getting INI configuration from uwsgi/uwsgi.ini
check the file
root@ubuntu:/www/mysite1# ll uwsgi/
Total amount 20
drwxr-xr-x 2 root root 40968 Mar 1011:47./
drwxr-xr-x 6 root root 40968 Mar 1011:27../-rw-r--r--1 root root 7178 1011:41 uwsgi.ini
- rw-r-----1 root root 20218 October 1011:47 uwsgi.log
- rw-rw-rw-1 root root 68 Oct 1011:47 uwsgi.pid
Refresh the page to see if the access is normal.
uwsgi commonly used startup commands
uwsgi --ini uwsgi.ini #start up
uwsgi --reload uwsgi.pid #Reboot
uwsgi --stop uwsgi.pid #shut down
Fourth, Nginx proxy uwsgi
Install nginx
apt-get install -y nginx
Edit configuration file
cd /etc/nginx/sites-enabled
vim mysite1.conf
The content is as follows:
server {
 listen 8000;
 server_name localhost;

 # Specify the project path uwsgi
 location /{
  include uwsgi_params; #Import a Nginx module which is used to communicate with uWSGI
  uwsgi_connect_timeout 30; #Set the timeout for connecting to uWSGI
  uwsgi_pass unix:/www/mysite1/uwsgi/mysite1.sock; #All dynamic requests for the specified uwsgi sock file will be directly thrown to him
    }

 # Specify static file path
 location /static/{
  alias /www/mysite1/static/;}}
Change uwsgi configuration
Change to socket mode
cd /www/mysite1/uwsgi
vim uwsgi.ini
The content is as follows:
[ uwsgi]

# Django-related settings
# the base directory(full path)
chdir           =/www/mysite1
# Django's wsgi file
module          = mysite1.wsgi
# the virtualenv(full path)
home            =/virtualenvs/venv
# process-related settings
# master
master          =true
# maximum number of worker processes
processes       =1
# pid file
pidfile         =/www/mysite1/uwsgi/uwsgi.pid
# socket file path(full path)
socket          =/www/mysite1/uwsgi/mysite1.sock
# clear environment on exit
vacuum          =true
# The process runs in the background and types the log to the specified log file
daemonize       =/www/mysite1/uwsgi/uwsgi.log
Reload uwsgi
/virtualenvs/venv/bin/uwsgi --reload uwsgi.pid
Load nginx configuration file
nginx -s reload
Check the port, 8000 has been taken over by nginx
root@ubuntu:/etc/nginx/sites-enabled# netstat -anpt|grep 8000
tcp        000.0.0.0:80000.0.0.0:*               LISTEN      18895/nginx -g daem
tcp        00192.168.10.102:8000192.168.10.105:52556    ESTABLISHED 19135/nginx: worker
tcp        00192.168.10.102:8000192.168.10.105:52557    ESTABLISHED 19135/nginx: worker
Refresh the page, the effect is the same as above!
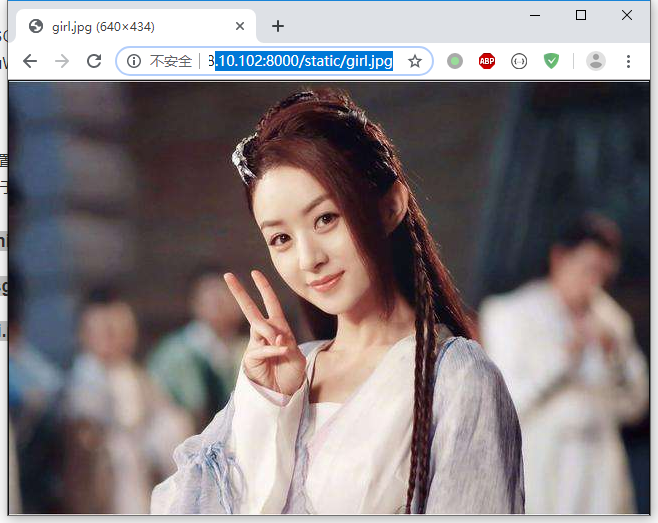
Enter the directory /www/mysite1/static and put a picture girl.jpg
Access picture
http://192.168.10.102:8000/static/girl.jpg
The effect is as follows:
Reference link for this article:
http://www.py3study.com/Article/details/id/323.html
https://www.jianshu.com/p/07458e99198a
Recommended Posts