C # construction procedure using Visual Studio Code on Mac
In a previous post, I was frustrated trying to build a Java environment using the Vim editor.
Therefore, I decided that the vim editor would not be suitable for programming, so I decided to choose a different editor.
The reason I didn’t use an IDE was because I wanted to make it a little lighter (so I wanted to choose vim).
So, even though I only use the editor, it took 4 to 5 hours from compilation to execution, so I will leave it as a memorandum.
Installation etc.
As expected, it is omitted.
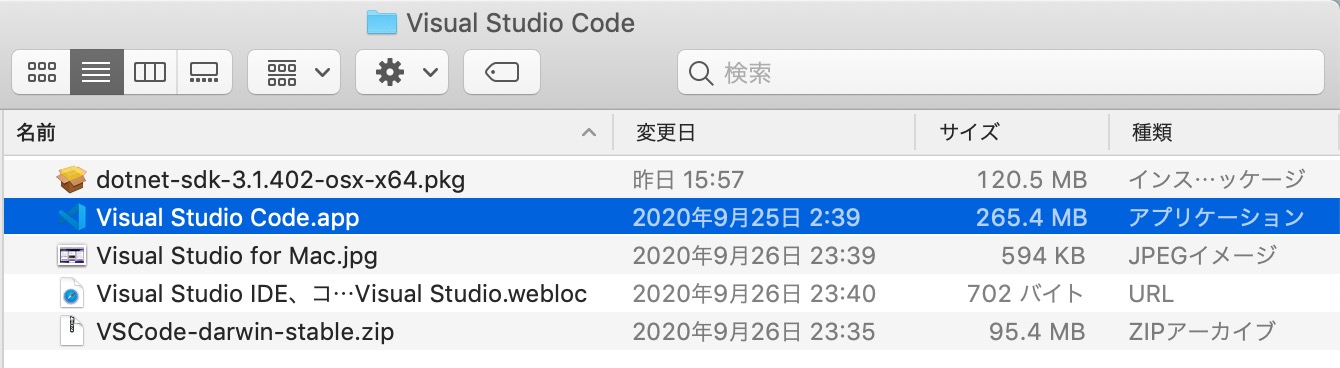
If you get it from Visual Studio for Mac, you should be able to use it as it is.
And in the case of CSharp, .Net Core 3.1 SDK or later is required.
Start-up
All you have to do is hit Visual Studio Code.app, so don’t worry.
Add workspace folder
In an IDE, you would use the expression of project creation.
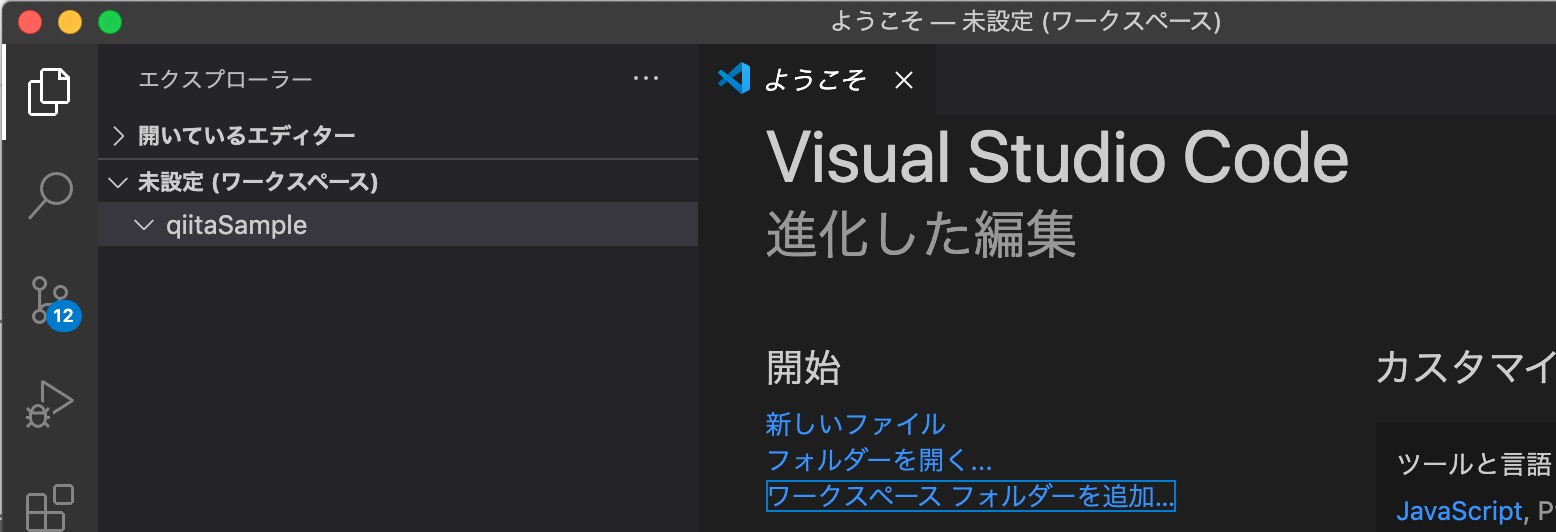
If you don’t have a “Welcome” tab, what do you do?
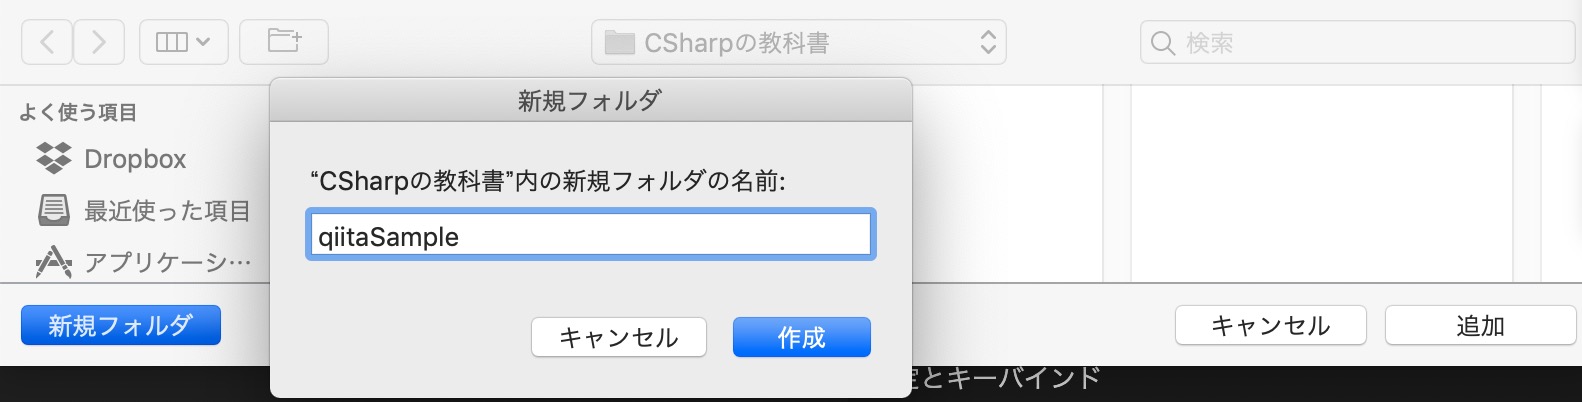
The created folder is displayed (because it was created) in the workspace.
A derailed story.
Personally, I think the folder macron is a bad idea. In the first place violation of naming convention, but …
If the word has three or more sounds, do not add a long note at the end.
See also: Three-sound rule-proper use of macrons at the end-.
Microsoft decided to add a macron.
Is it an event in 2008 from now? It was older than I expected.
Creating a base for dot net
Type dotnet new console at the command prompt (displayable with the Control + ` symbol) to create a “.NET Core console app” project.
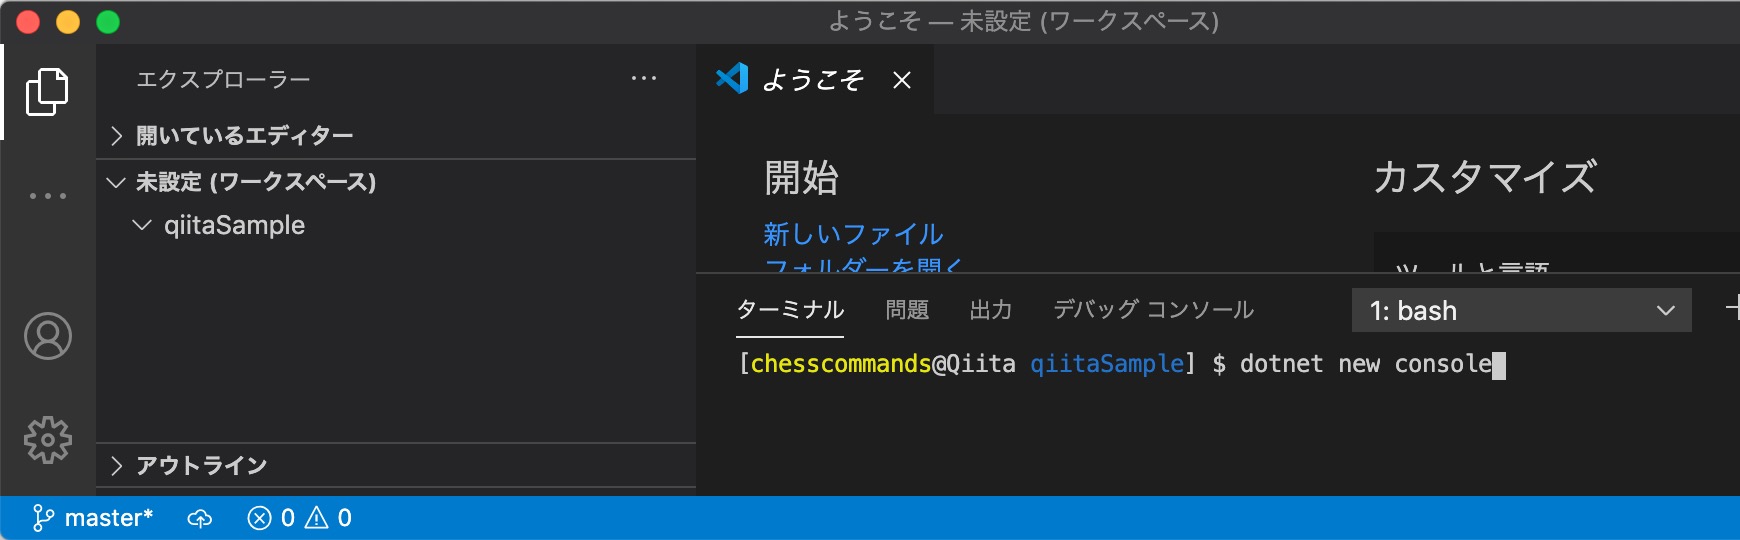
By executing it, the necessary files are automatically generated.
Introducing C # to Visual Studio Code
The C # file (* .cs) is also automatically generated by the above command, so open it.
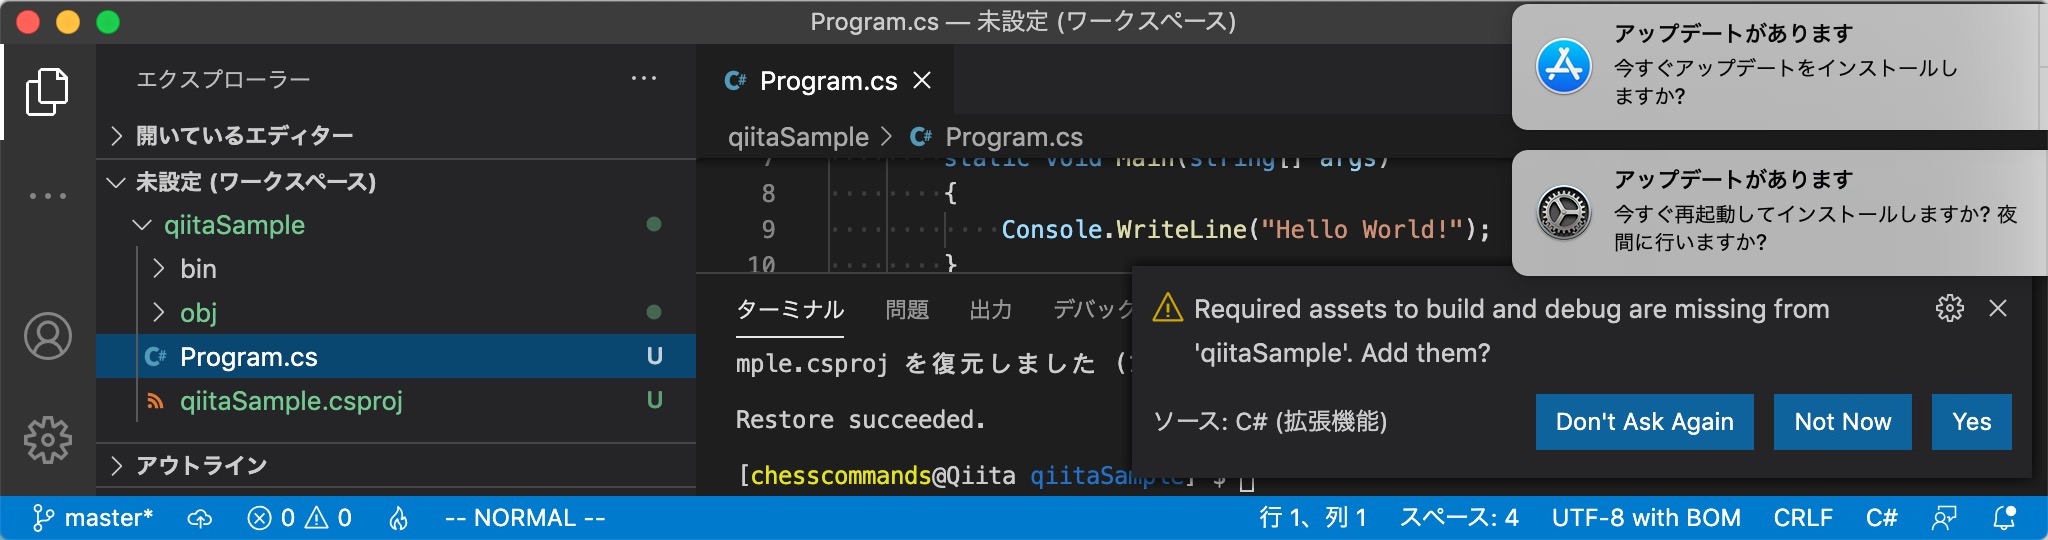
In that case, you will be asked if you want to extend it for C #, so press the ** “Yes” ** button.
- After a certain period of time, this confirmation dialog disappears.
Try it out
It is said that the introduction of software for C # in Visual Studio Code is called “extending the application”.
This allows you to compile and run C # files.
Again, run dotnet run on the command prompt.
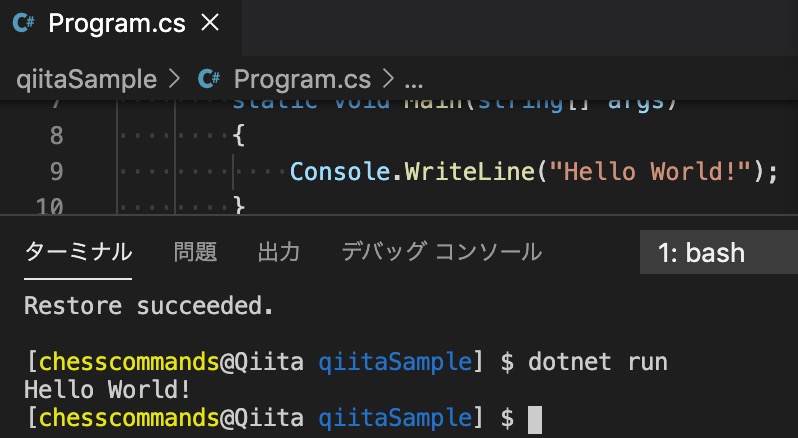
“Hello World!” Was displayed at the prompt.
Ready to debug
There is .vscode as a hidden directory under the qiitaSample directory created at the beginning.
There is a launch.json file in this, and you can debug it by rewriting the contents.

Before change: “console”: “internalConsole”,
After change: “console”: “integratedTerminal”,
debug
This time, you can debug by pressing the button with the triangle and the bug picture on the left side, not from the prompt.

Make sure that “.NET Core Launch (console) [workspace folder name (?)]” Is selected in the pull-down menu.
The workspace folder name in this case is “qiitaSample”.
In the middle of debugging
This time, a breakpoint was set on the 10th line.
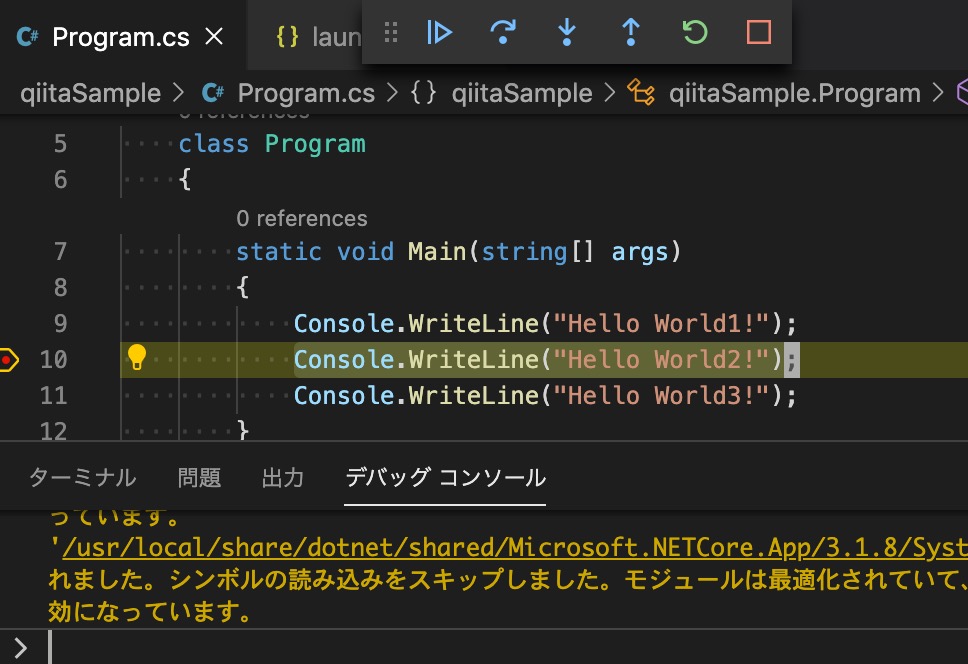
Breakpoints can be set by clicking to the left of the line number.
Step execution etc.
After that, you can debug as you like.
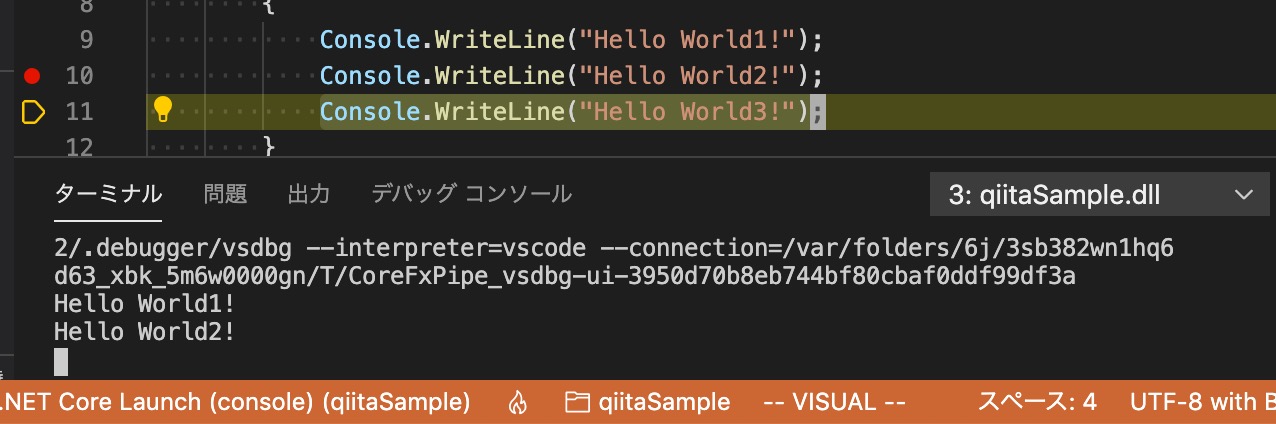
The image below shows the process running to the end.
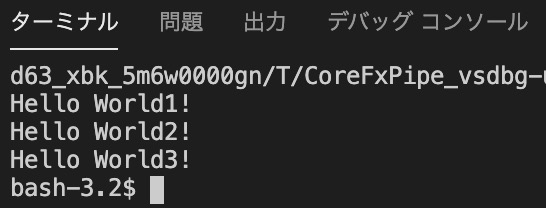
that’s all.
I’ve summarized the procedure, but I don’t think I’ve really stumbled upon such a procedure.
Therefore, when I was playing with the environment, it became the correct environment, and it seems that I could not reproduce the stumbled part and ended up smoothly.
I’m glad I was able to build the environment safely, but I can’t help it.
I’m sorry, but I’m glad to say that the result is all right.
■ Official page
Tutorial: Create a .NET Core Console Application Using Visual Studio Code
Tutorial: Debug .NET Core Console Application Using Visual Studio Code