How to make a gif image to paste into a Qiita article within 2 minutes
flow
- Record (time required 1 minute)
- Convert .mov to .gif (1 minute required)
1, record.
Press 1, Shift + Command + 5 (condition: macOS 10.14 Mojave or above) at the same time to start screen recording. Otherwise, launch Quick Time Player.
The famous screenshot command is Shift + Command + 3 or 4 (3 is normal and 4 is the selection).
Shift + Command + 5 shortcuts have been added in macOS 10.14 Mojave and above.
Because it looks like this
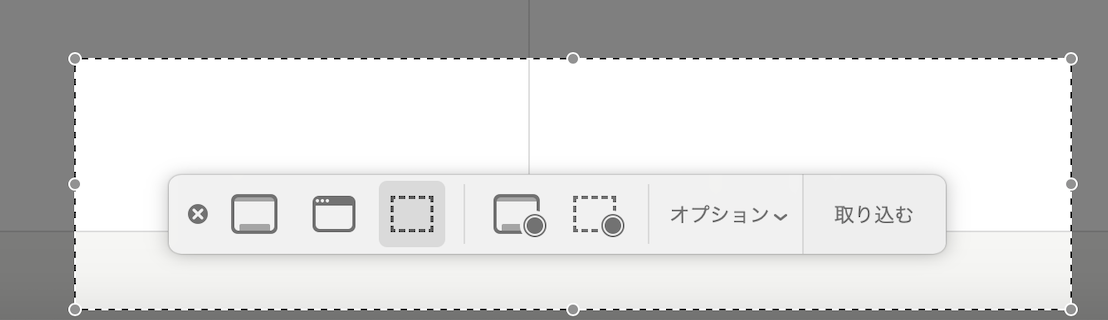
If you select this,
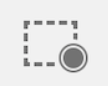
Since “Import” in the above image changes to ** “Record” **,

Press ** “Record” ** to start shooting.
When stopped, a .mov file will be created.
2, convert .mov to .gif
Since .mov cannot be placed on Qiita as it is, convert it to .gif.
#Install with homebrew
brew install ffmpeg

#Convert
ffmpeg -i hoge.mov fuga.gif

# (application)If you want smooth movement, increase the frame rate with the r option.(Number of frames per second)
ffmpeg -i hoge.mov -r 10 fuga.gif
When completed, a gif will be created and you can paste it like this.

Supplement
FFmpeg is a free video and audio encoder.
It can be used on Linux, Windows and Mac.
Official site:
https://www.ffmpeg.org/download.html