Build Zabbix server at explosive speed (CentOS 7)
Today’s goal
Organize the procedure to build Zabbix server
environment
CentOS7
Zabbix 4.0
SElinux disabled
vi /etc/selinux/config

SElinux=disabled
Reboot for the settings to take effect.
# reboot
Zabbix installation
# yum update
This time, install the Zabbix 4.0 RPM repository.
# rpm -Uvh https://repo.zabbix.com/zabbix/4.0/rhel/7/x86_64/zabbix-release-4.0-2.el7.noarch.rpm
# yum clean all
Install this tool at the same time
# yum -y install yum-utils
# yum-config-manager --enable rhel-7-server-optional-rpms
# yum -y install zabbix-server-mysql zabbix-proxy-mysql zabbix-web-mysql zabbix-agent
Install DB
# yum install mariadb mariadb-server
Set Maria DB to autostart.
# systemctl enable mariadb.service
# systemctl start mariadb.service
Initialize the DB.
# mysql_secure_installation

Enter current password for root (enter for none):
Set root password? [Y/n] Y
New password:Something appropriate
Re-enter new password:Something appropriate
Remove anonymous users? [Y/n] Y
Disallow root login remotely? [Y/n] n
Remove test database and access to it? [Y/n] Y
Reload privilege tables now? [Y/n] Y
mysql -uroot -p
Enter password:

MariaDB [(none)]> create database zabbix character set utf8 collate utf8_bin;

Query OK, 1 row affected (0.01 sec)

grant all privileges on zabbix.* to zabbix@localhost identified by 'password'; --Somehow a password

MariaDB [(none)]> quit;
Bye
Import initial data and schema
zcat /usr/share/doc/zabbix-server-mysql*/create.sql.gz | mysql -uzabbix -p zabbix
Enter password: #Password above
Set database of Zabbix server
vi /etc/zabbix/zabbix_server.conf
DBPassword= #Enter the above password
Set timezone for Zabbix front end
# vi /etc/httpd/conf.d/zabbix.conf
↓ changed to good
php_value date.timezone Asia/Tokyo
Zabbix server restart
systemctl restart zabbix-server httpd zabbix-agent
systemctl enable zabbix-server httpd zabbix-agent
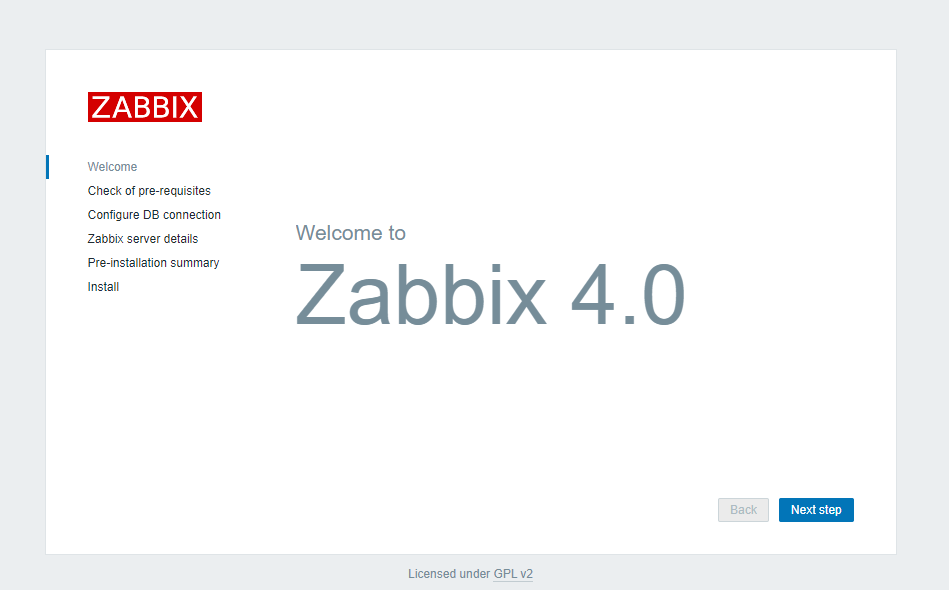
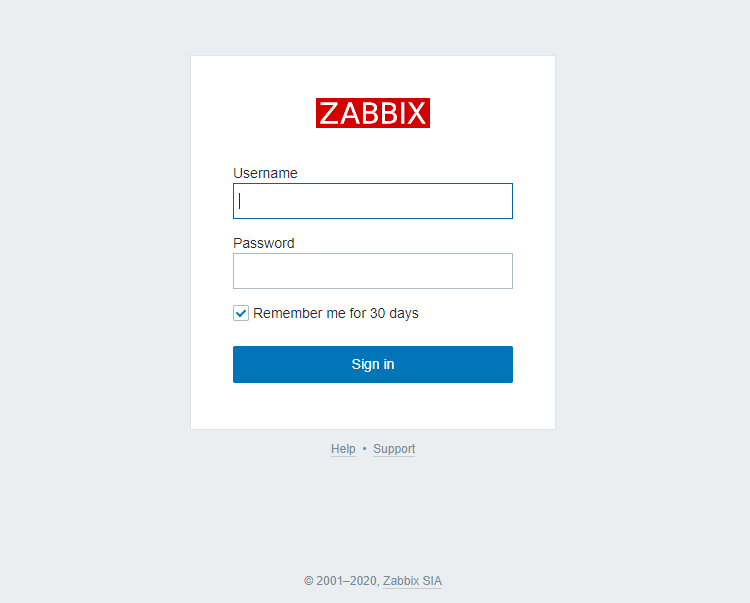
Access Zabbix
http://YOUR_IP/zabbix/
Enter the DB password (set password)
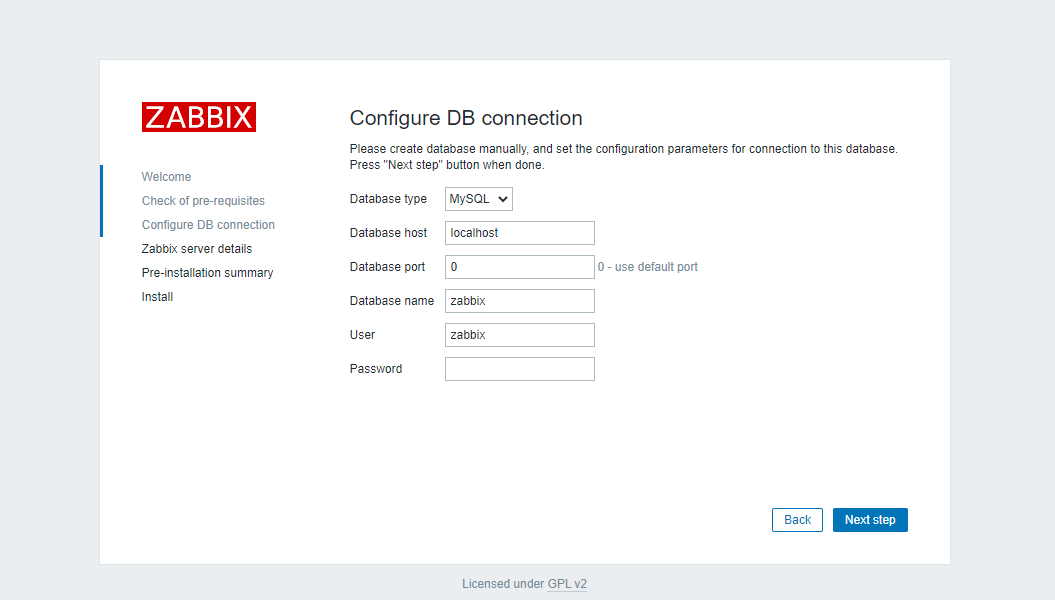
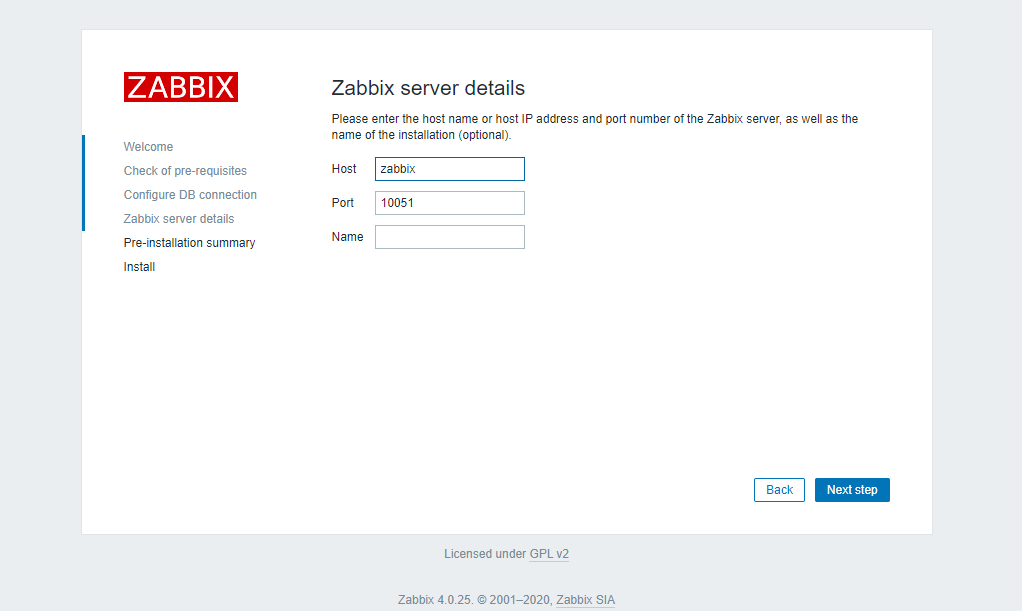
The default is the host name “localhost” but changed to “zabbix”
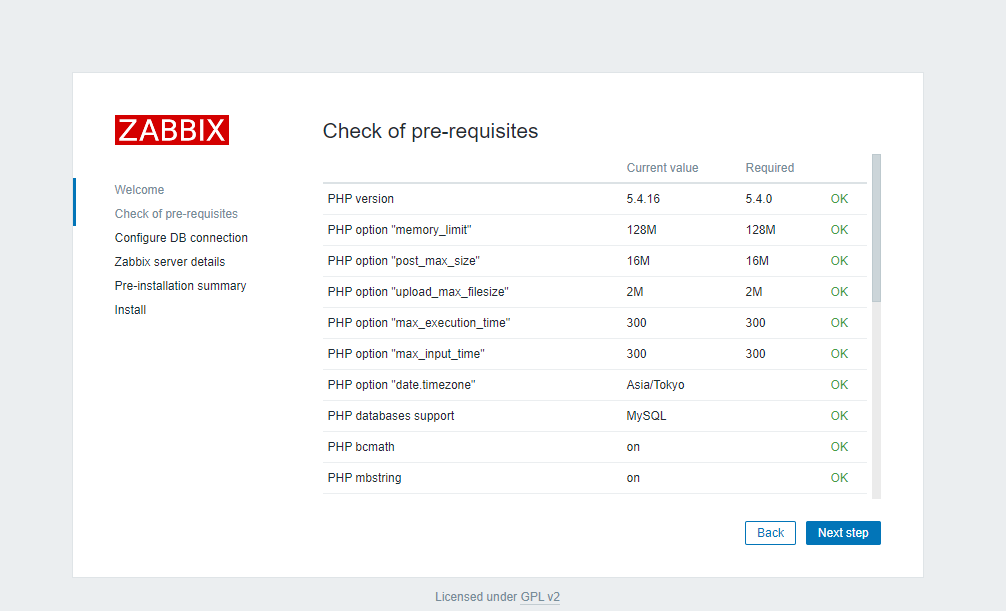
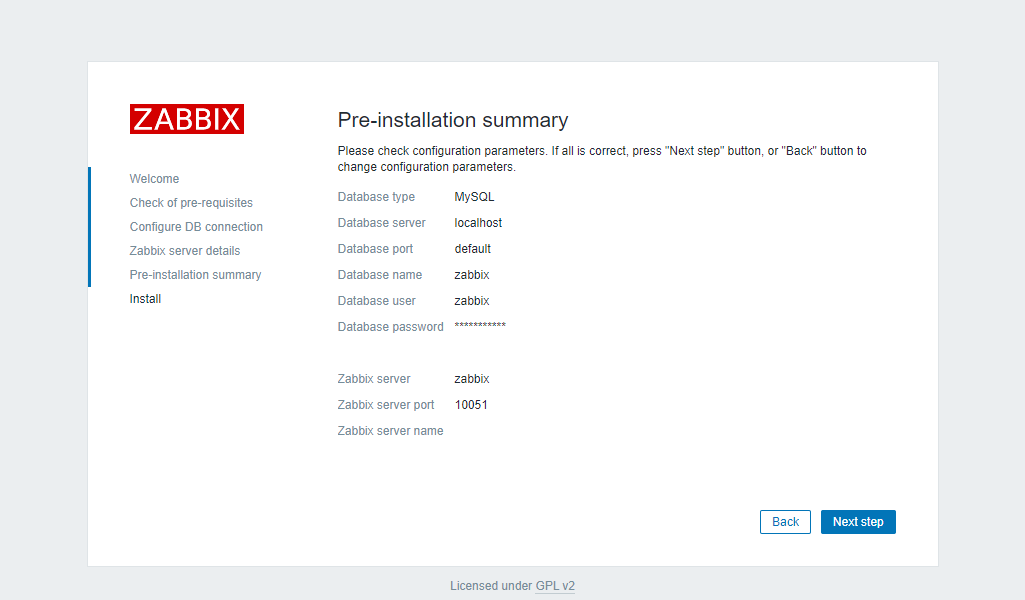
Check the settings
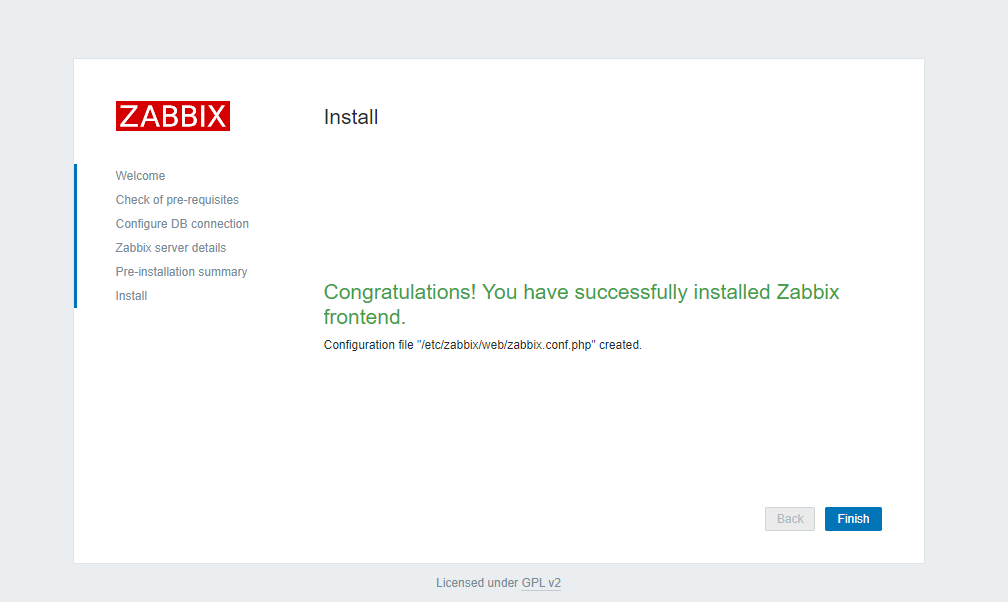
Confirm that the installation was successful
Username Admin Password zabbix by default
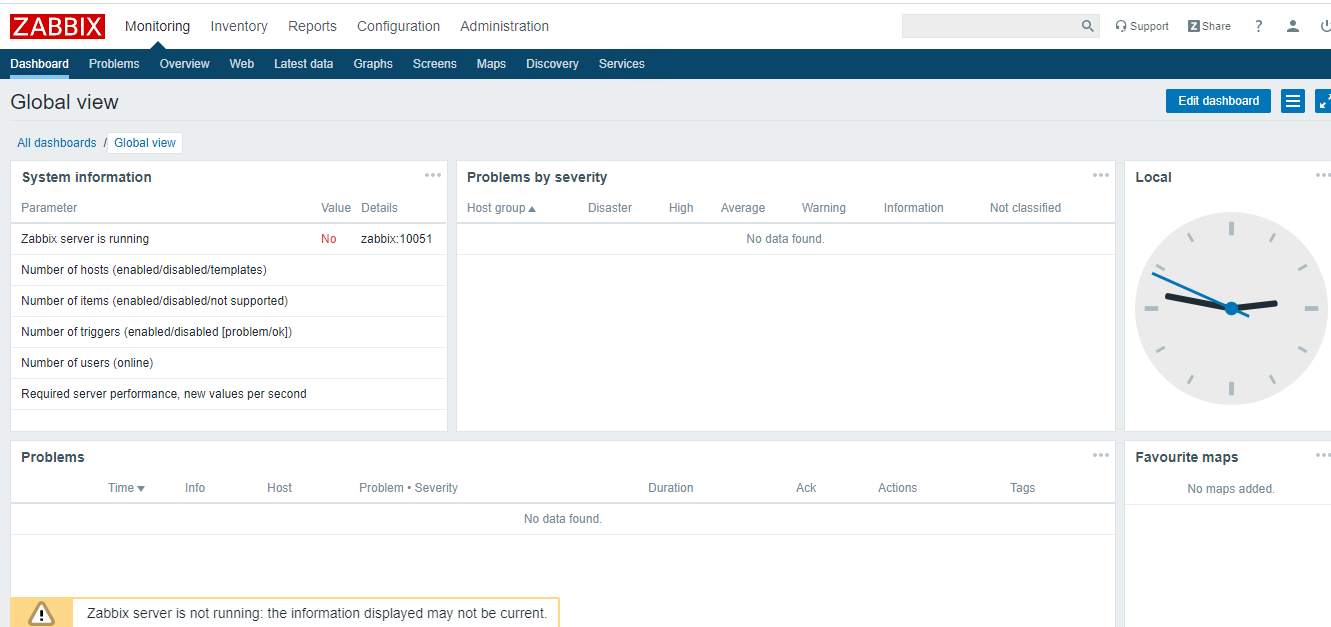
Hooray!
References