centos6.5インストールzabbix4.4
1.インストール環境#
この環境では、スタンドアロン展開が使用されます。
オペレーティングシステム:centos 7.5 x64
zabbix-server、Mysql、php、nginxはすべて同じサーバー上にあります。それらはすべてYumを使用してインストールされます!
公式インストールドキュメント:
https://www.zabbix.com/download?zabbix=4.4&os_distribution=centos&os_version=7&db=mysql
ここでは、Nginxは主にフロントエンドページの公開に使用されます
2つ目は、Mysqlをインストールする#
mysql5.6をインストールして起動し、データベース情報を初期化します
# rpm -ivh http://repo.mysql.com/yum/mysql-5.6-community/el/6/x86_64/mysql-community-release-el6-5.noarch.rpm
# yum install -y mysql-community-server
# systemctl start mysqld
# /sbin/chkconfig mysqld on #ブート
# service mysqld start  #データベースを起動します
データベース情報を初期化する
# mysql_secure_installation #データベース情報を初期化する
出力:

NOTE: RUNNING ALL PARTS OF THIS SCRIPT IS RECOMMENDED FOR ALL MySQL
  SERVERS IN PRODUCTION USE!  PLEASE READ EACH STEP CAREFULLY!In order to log into MySQL to secure it, we'll need the currentpassword for the root user.  If you've just installed MySQL, andyou haven't set the root password yet, the password will be blank,so you should just press enter here.

Enter current password forroot(enter for none): #初めてEnterキーを押してOK, successfully used password, moving on...

Setting the root password ensures that nobody can log into the MySQL
root user without the proper authorisation.

Set root password?[Y/n] #ルートユーザーパスワードを設定するかどうか、yを入力してEnterキーを押すか、直接Enterキーを押します新しいパスワード: #ルートユーザーReのパスワードを設定します-enter newpassword: #もう一度設定したパスワードを入力してくださいパスワードは正常に更新されました!Reloading privilege tables..... Success!By default, a MySQL installation has an anonymous user, allowing anyone
to log into MySQL without having to have a user account created forthem.  This is intended only for testing, and to make the installation
go a bit smoother.  You should remove them before moving into a
production environment.

Remove anonymous users?[Y/n] #匿名ユーザーを削除するかどうか,実稼働環境では削除することをお勧めしますので、Enterキーを直接押してください
 ... Success!Normally, root should only be allowed to connect from'localhost'.  This
ensures that someone cannot guess at the root password from the network.

Disallow root login remotely?[Y/n] #ルートリモートログインを禁止するかどうか,必要に応じてYを選択してください/nとEnterキーを押します,禁止の提案
 ... Success!By default, MySQL comes with a database named 'test' that anyone can
access.  This is also intended only for testing, and should be removed
before moving into a production environment.

Remove test database and access to it?[Y/n] #テストデータベースを削除するかどうか,直接入力- Dropping test database...
ERROR 1008(HY000) at line 1: Can't drop database 'test'; database doesn't exist
 ... Failed!  Not critical, keep moving...- Removing privileges on test database...... Success!Reloading the privilege tables will ensure that all changes made so far
will take effect immediately.

Reload privilege tables now?[Y/n] #権限テーブルをリロードしてEnterキーを押すかどうか
 ... Success!All done!  If you've completed all of the above steps, your MySQLinstallation should now be secure.

Thanks for using MySQL!
3つ目は、zabbixサーバーをインストールして構成する#
Zabbixリポジトリをインストールします
# rpm -Uvh https://repo.zabbix.com/zabbix/4.4/rhel/7/x86_64/zabbix-release-4.4-1.el7.noarch.rpm
# yum clean all
Zabbixサーバー、フロントエンド、プロキシをインストールします
# yum -y install epel-release
# yum -y install zabbix-server-mysql zabbix-web-mysql zabbix-agent zabbix-nginx-conf
# yum clean all
初期データベースを作成する
# mysql -uroot -p
password
mysql> create database zabbix character set utf8 collate utf8_bin;
mysql> grant all privileges on zabbix.* to zabbix@localhost identified by 'password';
mysql> quit;
注:ここで指定するzabbixユーザーパスワードはパスワードです。実際の状況に応じて変更してください。
初期構造とデータをインポートします。新しく作成したパスワードを入力するように求められます。
# zcat /usr/share/doc/zabbix-server-mysql*/create.sql.gz | mysql -uzabbix -p zabbix
データベースの構成
ファイル/etc/zabbix/zabbix_server.confを編集します
DBPassword=password
**php **を構成します##
ファイル/etc/php.iniを編集します
date.timezone = Asia/Shanghai
**nginx **を構成します##
構成ファイル/etc/nginx/nginx.confを編集します
デフォルト設定をコメントアウトする
 # server {
 # listen       80 default_server;
 # listen       [::]:80 default_server;
 # server_name  _;
 # root         /usr/share/nginx/html;

 # # Load configuration files for the default server block.
 # include /etc/nginx/default.d/*.conf;

 # location / {
    #    }

 # error_page 404 /404.html;
 #  location = /40x.html {
    #    }

 # error_page 500 502 503 504 /50x.html;
 #  location = /50x.html {
    #    }
    #}
zabbixサーバーとエージェントのプロセスを開始します
zabbixサーバーとエージェントのプロセスを開始し、システムの起動時に開始します。
# systemctl restart zabbix-server zabbix-agent nginx php-fpm
# systemctl enable zabbix-server zabbix-agent nginx php-fpm
これで、zabbixサーバーが稼働しています。
第4に、Zabbixフロントエンドを構成します#
新しくインストールされたzabbixフロントエンドに接続します:http:// server ip
zabbixのドキュメントに記載されている手順に従います。フロントエンドをインストールします
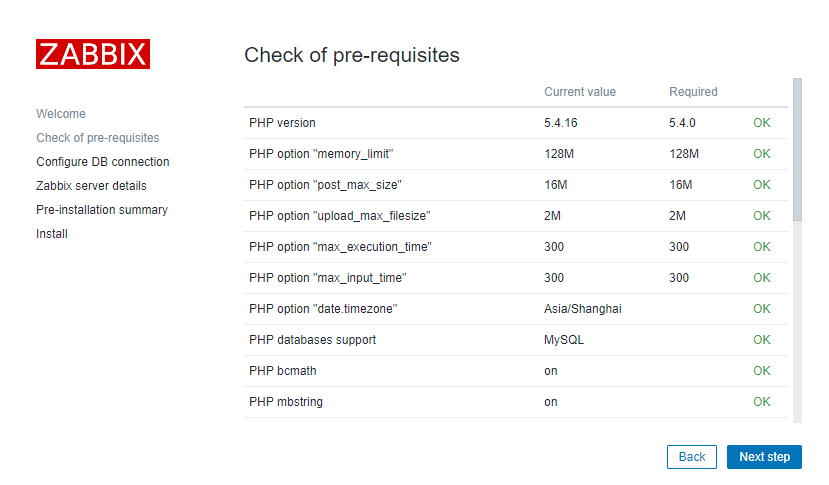
構成が渡されていることを確認します
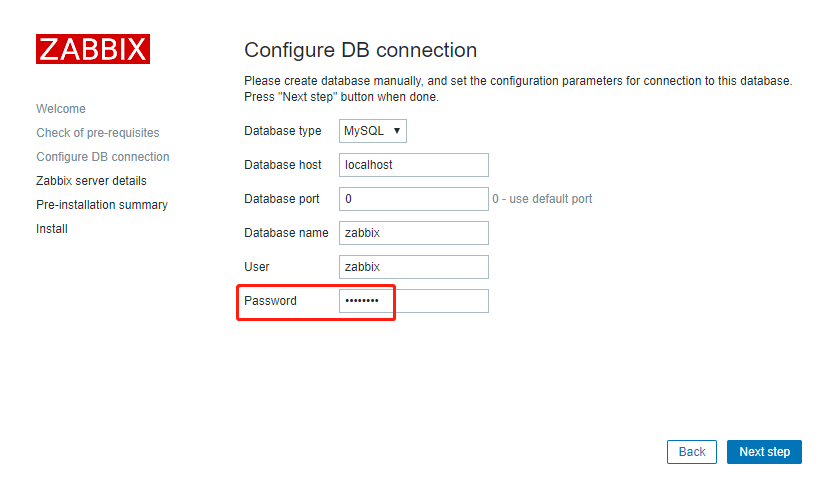
zabbixユーザーのデータベースパスワードを入力します
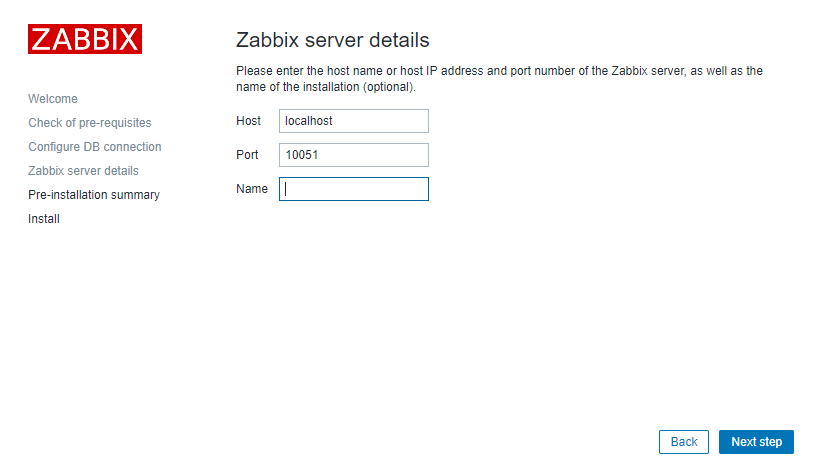
デフォルトのままにする
5、zabbixの使用を開始します#
デフォルトのユーザー名:Admin、パスワード:zabbix
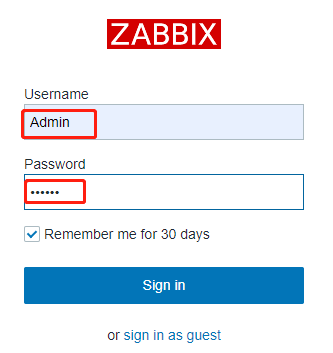
ログイン後の効果は次のとおりです。

右側の小さな男のアイコンをクリックして、言語を中国語に設定します
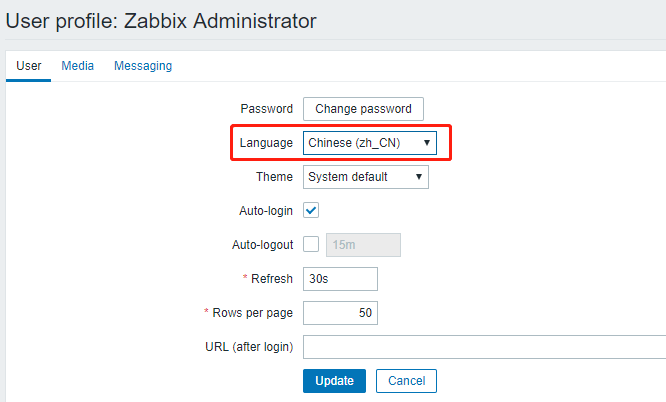
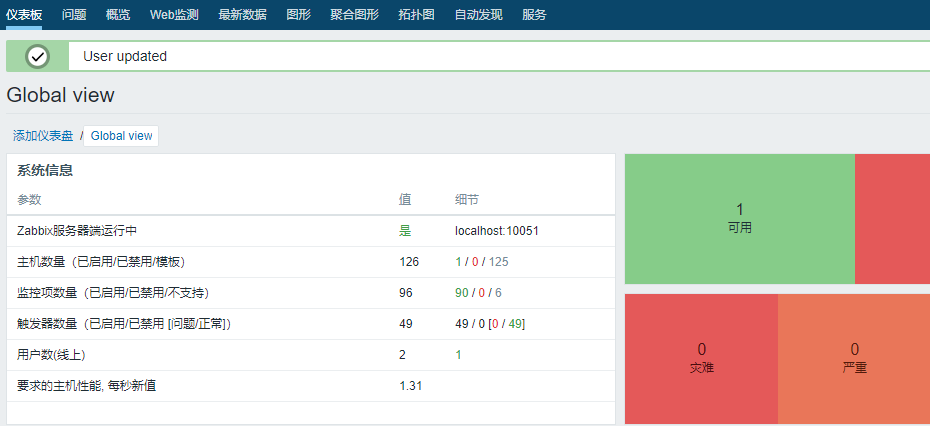
効果は次のとおりです。
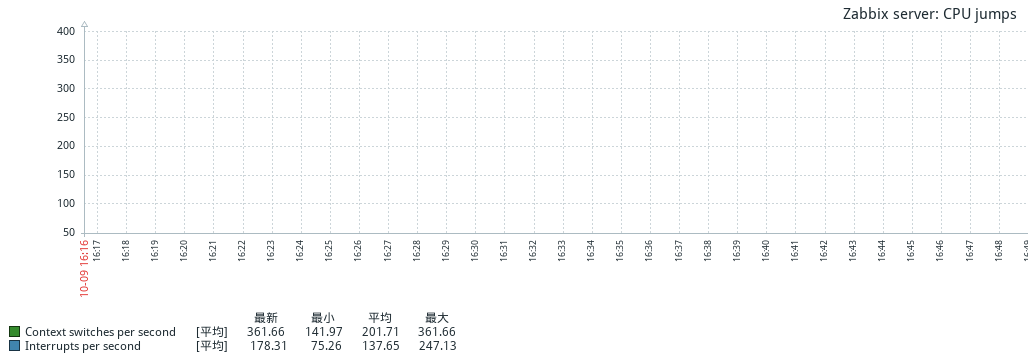
6、監視チャートの中国語の文字化けした文字の解決策#
# yum -y install wqy-microhei-fonts
# \ cp /usr/share/fonts/wqy-microhei/wqy-microhei.ttc /usr/share/fonts/dejavu/DejaVuSans.ttf
zabbix-serverとnginxを再起動します
# systemctl restart zabbix-server
# systemctl restart nginx
チャートをチェックして、中国人が正常かどうか
この記事の参照リンク:
https://www.zabbix.com/download?zabbix=4.4&os_distribution=centos&os_version=7&db=mysqlhttps://blog.csdn.net/qq_32786873/article/details/78846008https://blog.csdn.net/solaraceboy/article/details/84974363
Recommended Posts