A few things to do after installing Ubuntu 18.04
Copyright statement: This article is the original article of the blogger, please indicate the source for reprinting. https://blog.csdn.net/u011054333/article/details/82901838
Ubuntu 18.04 is the latest long-term release of the Ubuntu series. Students who need to use Ubuntu can install it. Although many software and tools have not yet supported Ubuntu 18.04, as a long-term support version, it will not take long for most software to support it. So we can wait patiently.
Password-free operation##
You need to enter the current user password when performing sudo operations. If it is used too much, it will be annoying. This thing can also be turned off. Enter sudo nano /etc/sudoers, find the sudo line, and modify it to look like the following.
%sudo ALL=(ALL:ALL) NOPASSWD:ALL
Then press Ctrl+X to save. After that, all users in the sudo user group do not need to enter a password when performing privilege escalation operations. If you are afraid of insecurity, you can also start a new line in the file and only add the password-free operation of the current user.
Your username ALL=(ALL:ALL) NOPASSWD:ALL
Install Gnome optimization tool##
sudo apt install gnome-tweak-tool
After the installation is complete, you can enter gnome-tweak-tool from the terminal to open it, or you can search for tools -> optimization from the software list to open it.
Configure Gnome extension##
First install the browser plug-in, find your browser version from here, and then install it.
Then use the following command to install the background service.
sudo apt-get install chrome-gnome-shell
After the installation is complete, open the Gnome extension website, you can find that there will be an extra switch for the extension on this website. Click this switch to directly install the extension into the system. I prefer the Dash to Dock plugin, which is easier to use than Gnome's default Dock.
Install oh-my-zsh
First install a few packages:
sudo apt install zsh git curl
After the installation is complete, use one of the following two commands to install oh-my-zsh.
sh -c "$(wget https://raw.githubusercontent.com/robbyrussell/oh-my-zsh/master/tools/install.sh -O -)"

sh -c "$(wget https://raw.githubusercontent.com/robbyrussell/oh-my-zsh/master/tools/install.sh -O -)"
If necessary, you can also install several oh-my-zsh auto-completion, suggestions and syntax highlighting plugins.
cd .oh-my-zsh/plugins
git clone https://github.com/zsh-users/zsh-autosuggestions
git clone https://github.com/zsh-users/zsh-syntax-highlighting.git
git clone https://github.com/zsh-users/zsh-completions
After cloning these packages, you need to open the .zshrc configuration file, and then add these plug-ins to the configuration file.
plugins=(
 git zsh-autosuggestions  zsh-syntax-highlighting zsh-completions
)
Install themes##
This article lists 10 good-looking themes, which I feel are good. The installation method is described in the project page of each theme. For example, to install the matcha theme, you can install it using PPA with the following command:
sudo add-apt-repository ppa:ryu0/aesthetics
sudo apt-get update
sudo apt install matcha-theme
After the installation is complete, enable the theme in the Tweak Tool.
Install Sogou input method##
First, you need to install the basic framework fcitx:
sudo apt install fcitx
Then download and install [Sogou input method for Linux] (https://pinyin.sogou.com/linux/?r=pinyin), restart the system, select fcitx in Settings -> Region and Language -> Manage installed languages -> Keyboard input method system, you can use Sogou input method to input Chinese Up!
Install NetEase Cloud Music##
This article was not finished at the beginning, because NetEase Cloud Music could not be opened after installation, so I thought that the problem was solved and I continued to write. As a result, I did not expect that after so many days, there is still no good solution.
First go to Official Website to download the Ubuntu 16.04 version of NetEase Cloud Music, and then install it. After the installation is complete, open it from the icon. If there is no accident, you will definitely not be able to open it. There are two solutions here. Let me talk about the first one, which is to open from the command line with root privileges:
sudo netease-cloud-music
Although this method is a bit cumbersome, it can be simplified with command-line alias. If you use zsh, add the following in .zshrc:
alias music="sudo netease-cloud-music &"
In this way, just enter music in the terminal to start NetEase Cloud Music.
The above method is a bit troublesome, so there is a second more perfect method, which is metaphysics (fog). The method is very simple. First click the NetEase Cloud Music icon, and then click the shutdown button on the right side of the top bar of the system to select shutdown, but you don’t need to actually shut down, wait a few seconds and click Cancel, and then click NetEase Cloud Music. NetEase Cloud Music can come out. I tossed it four or five times and it was successful. After that, it seems to be available all the time (the next time I start it is still available).
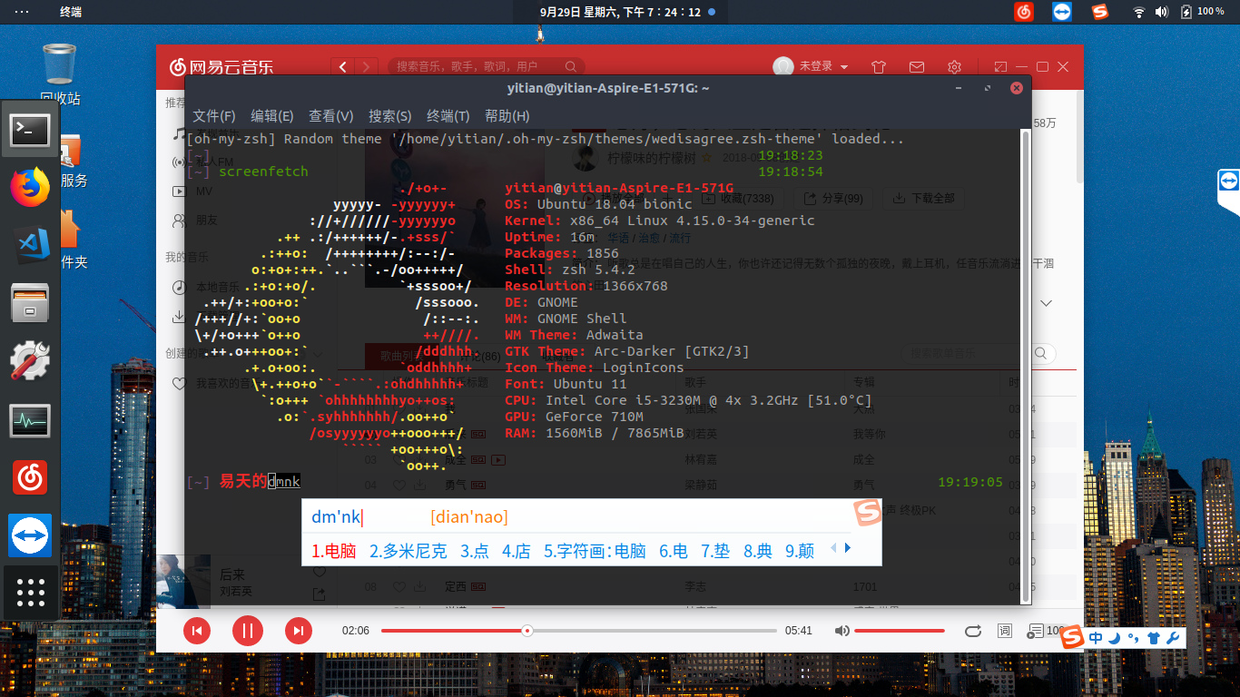
Finally put a screenshot as usual, the screenshot may not be clear, because the remote screenshot of the TeamViewer used.
Recommended Posts