CentOS 7.2 deploy website access log analyzer-Piwik
Copyright statement: This article is an original article by Shaon Puppet. Please indicate the original address for reprinting. Thank you very much. https://blog.csdn.net/wh211212/article/details/52996699
1. Introduction to Piwik##
-
Piwik is a PHP and MySQL open source web statistics software. It gives you some useful statistical reports about your website, such as the number of web page visitors,
The most visited pages, search engine keywords, etc...
Piwik has many plug-ins with different functions. You can add new functions or remove functions you don't need. Piwik can also be installed on your server, and the data is saved on your own server. You can easily insert statistical graphs into your blog, website, or back-end control panel. After the installation is complete, you only need to put a small piece of code on the web page to be counted. -
Piwik official website: https://piwik.org/
-
Piwik demo: http://piwik.org/what-is-piwik/
-
Piwik download: https://piwik.org/download/

Two, Piwik installation##
- Install the website access analyzer "Piwik",
Piwik is different from AWStats and other software. It analyzes a website, so it needs to add Java Script code to the website you want to analyze and visit.
- Install PHP, reference: http://blog.csdn.net/wh211212/article/details/52982917
- Install MariaDB server
Install MariaDB 5.5 (CentOS 7 default version) to configure the database server
[1] Install MariaDB 5.5.[root@linuxprobe ~]# yum -y install mariadb-server
[ root@linuxprobe ~]# vi /etc/my.cnf
# add follows within [mysqld] section
[ mysqld]
character-set-server=utf8
[ root@linuxprobe ~]# systemctl start mariadb
[ root@linuxprobe ~]# systemctl enable mariadb
Created symlink from/etc/systemd/system/multi-user.target.wants/mariadb.service to /usr/lib/systemd/system/mariadb.servi
#[ Initialize MaribDB][root@linuxprobe ~]# mysql_secure_installation

NOTE: RUNNING ALL PARTS OF THIS SCRIPT IS RECOMMENDED FOR ALL MariaDB
  SERVERS IN PRODUCTION USE!  PLEASE READ EACH STEP CAREFULLY!

In order to log into MariaDB to secure it, we'll need the current
password for the root user.  If you've just installed MariaDB, and
you haven't set the root password yet, the password will be blank,
so you should just press enter here.

Enter current password forroot(enter for none):
OK, successfully used password, moving on...

Setting the root password ensures that nobody can log into the MariaDB
root user without the proper authorisation.

# set root password

Set root password?[Y/n] y

New password:
Re-enter newpassword:
Password updated successfully!
Reloading privilege tables..... Success!

By default, a MariaDB installation has an anonymous user, allowing anyone
to log into MariaDB without having to have a user account created for
them.  This is intended only for testing, and to make the installation
go a bit smoother.  You should remove them before moving into a
production environment.

# remove anonymous users

Remove anonymous users?[Y/n] y

 ... Success!

Normally, root should only be allowed to connect from'localhost'.  This
ensures that someone cannot guess at the root password from the network.

# disallow root login remotely

Disallow root login remotely?[Y/n] y

 ... Success!

By default, MariaDB comes with a database named 'test' that anyone can
access.  This is also intended only for testing, and should be removed
before moving into a production environment.

# remove test database

Remove test database and access to it?[Y/n] y

 - Dropping test database...... Success!- Removing privileges on test database...... Success!

Reloading the privilege tables will ensure that all changes made so far
will take effect immediately.

# reload privilege tables

Reload privilege tables now?[Y/n] y

 ... Success!

Cleaning up...

All done!  If you've completed all of the above steps, your MariaDB
installation should now be secure.

Thanks for using MariaDB!
Connect to MariaDB as root
[ root@linuxprobe ~]# mysql -u root -p
Enter password:
Welcome to the MariaDB monitor.  Commands end with; or \g.
Your MariaDB connection id is 12
Server version:5.5.50-MariaDB MariaDB Server

Copyright(c)2000,2016, Oracle, MariaDB Corporation Ab and others.

Type 'help;' or '\h'for help. Type '\c' to clear the current input statement.

MariaDB [(none)]> select user,host,password from mysql.user;+------+-----------+-------------------------------------------+| user | host      | password                                  |+------+-----------+-------------------------------------------+| root | localhost |*F1DAE8BCDFCA7A57F246E0F834AC35830A3D640E || root |127.0.0.1|*F1DAE8BCDFCA7A57F246E0F834AC35830A3D640E || root |::1|*F1DAE8BCDFCA7A57F246E0F834AC35830A3D640E |+------+-----------+-------------------------------------------+3 rows inset(0.00 sec)

MariaDB [(none)]> show databases;+--------------------+| Database           |+--------------------+| information_schema || mysql              || performance_schema |+--------------------+3 rows inset(0.00 sec)
MariaDB [(none)]> exit
Bye
[3] If Firewalld is running and MariaDB is used from a remote host, please allow the service as shown below. MariaDB uses 3306/TCP
[ root@linuxprobe ~]# firewall-cmd --add-service=mysql --permanent
success
[ root@linuxprobe ~]# firewall-cmd --reload
success
Create a database for Piwik
[ root@linuxprobe ~]# mysql -u root -p
Enter password:
Welcome to the MariaDB monitor.  Commands end with; or \g.
Your MariaDB connection id is 13
Server version:5.5.50-MariaDB MariaDB Server

Copyright(c)2000,2016, Oracle, MariaDB Corporation Ab and others.

Type 'help;' or '\h'for help. Type '\c' to clear the current input statement.

MariaDB [(none)]> create database piwik;
Query OK,1 row affected(0.00 sec)

MariaDB [(none)]> grant all privileges on piwik.* to piwik@'localhost' identified by 'password';
Query OK,0 rows affected(0.01 sec)

MariaDB [(none)]> flush privileges;
Query OK,0 rows affected(0.00 sec)

MariaDB [(none)]> exit
Bye
Install Piwik
[ root@linuxprobe ~]# yum -y install php-mysql php-pdo php-gd php-xml
[ root@linuxprobe ~]# vi /etc/php.ini
# line 405: increase memory limit
memory_limit = 512M
[ root@linuxprobe ~]# wget http://piwik.org/latest.zip -P /var/www/html
[ root@linuxprobe ~]# unzip /var/www/html/latest.zip -d /var/www/html
[ root@linuxprobe ~]# chown -R apache./var/www/html/piwik/tmp
[ root@linuxprobe ~]# chown -R apache./var/www/html/piwik/config
[ root@linuxprobe ~]# chmod +w /var/www/html/piwik/piwik.js
[ root@linuxprobe ~]# chown apache:apache /var/www/html/piwik/piwik.js
If SELinux is enabled, please change the following rules.
[ root@linuxprobe ~]# setsebool -P httpd_can_network_connect_db on
[ root@linuxprobe ~]# chcon -R -t httpd_sys_rw_content_t /var/www/html/piwik/tmp
[ root@linuxprobe ~]# chcon -R -t httpd_sys_rw_content_t /var/www/html/piwik/config
[ root@linuxprobe ~]# semanage fcontext -a -t httpd_sys_rw_content_t /var/www/html/piwik/tmp
[ root@linuxprobe ~]# semanage fcontext -a -t httpd_sys_rw_content_t /var/www/html/piwik/config
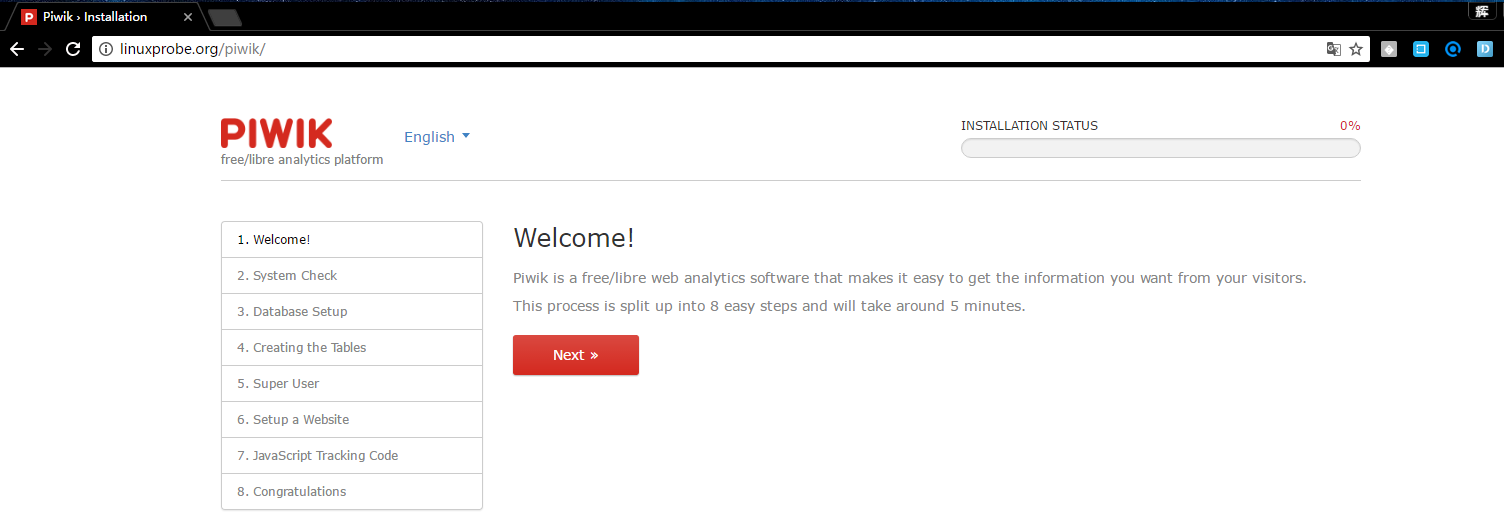
Visit "http://(hostname or IP address of the server)/piwik/" and click "Next".
Confirm system requirements. If everything is OK, go to the next step.
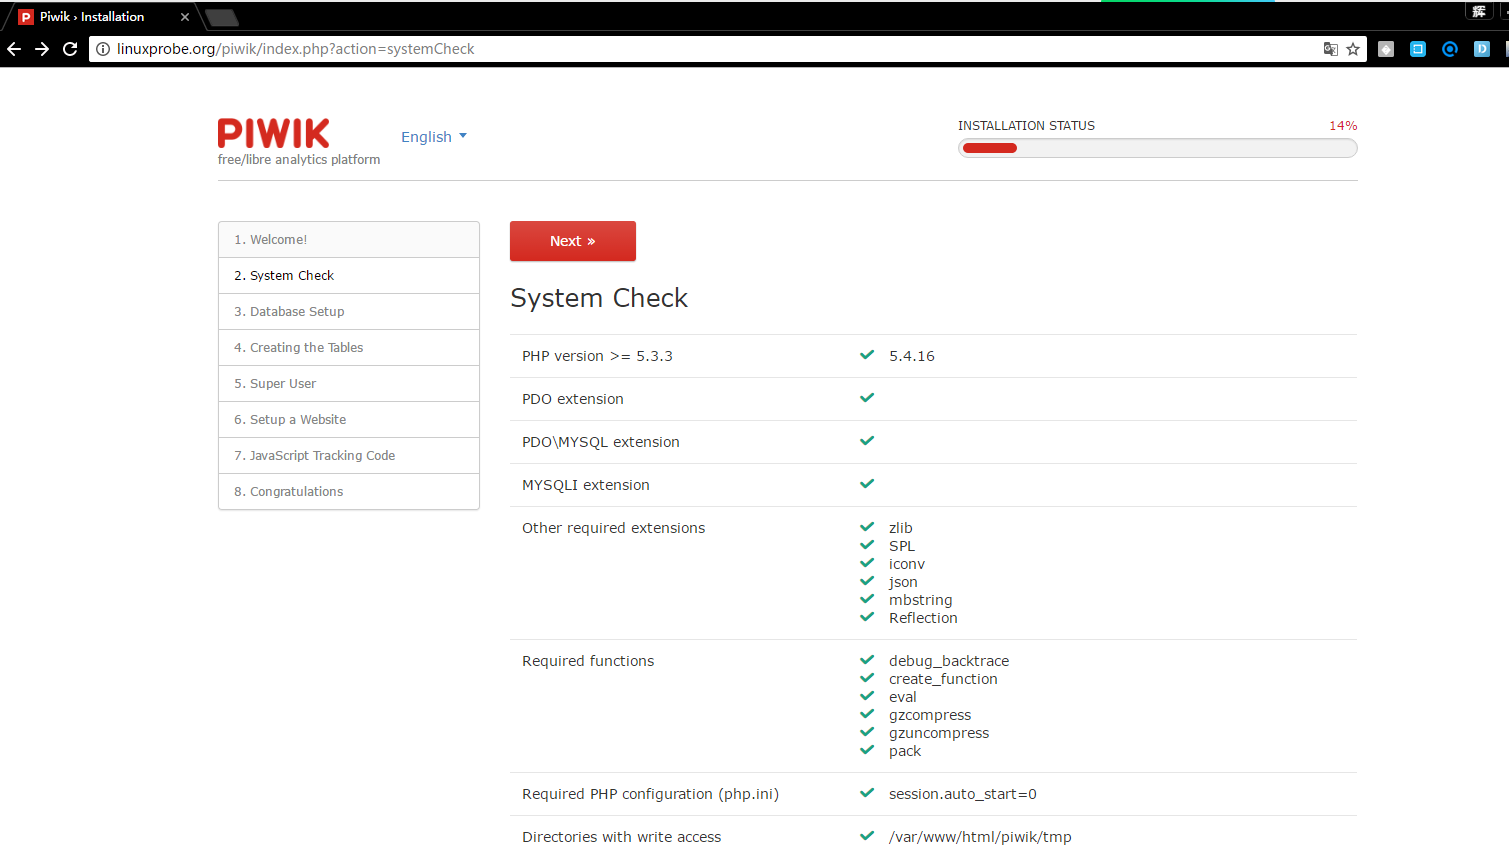
Note: If an error is reported when the system is detected, just modify php.ini according to the prompt, and restart php-fpm after the modification, [root@linuxprobe ~]# systemctl restart php-fpm
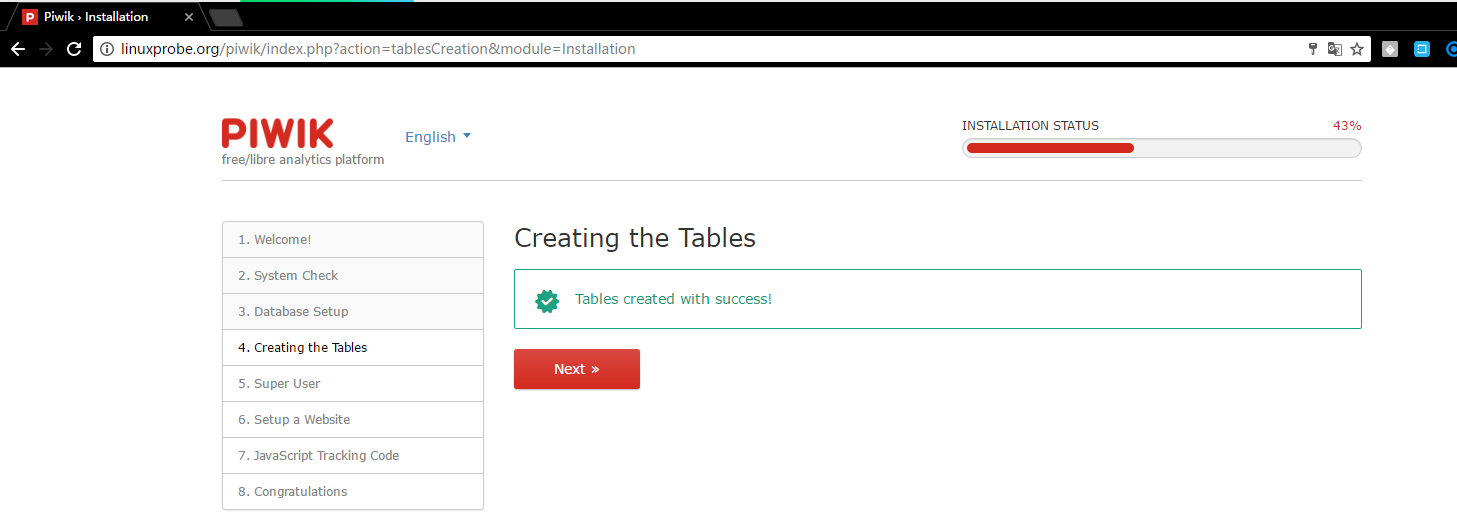
Enter database information
If the information in the database is correct, the table will be created normally.
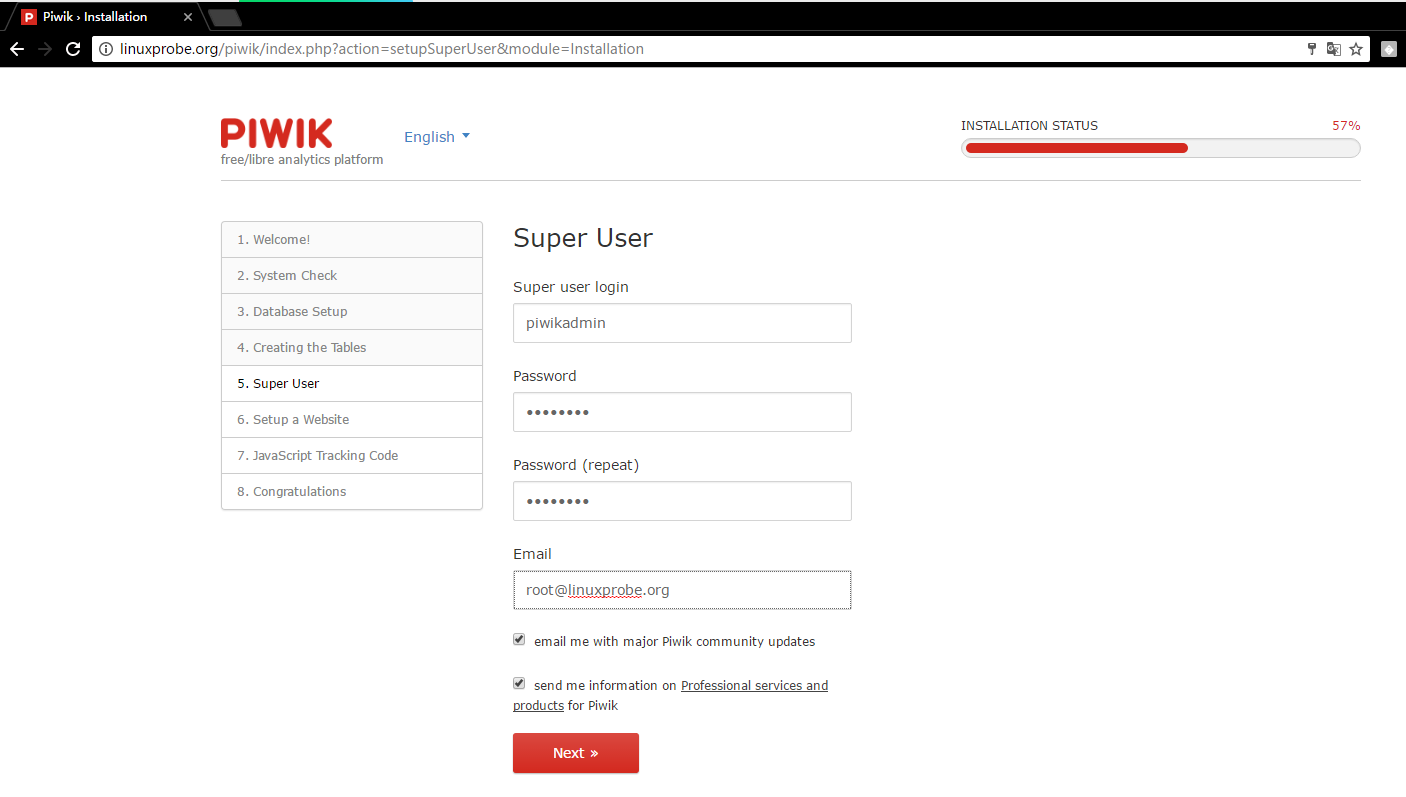
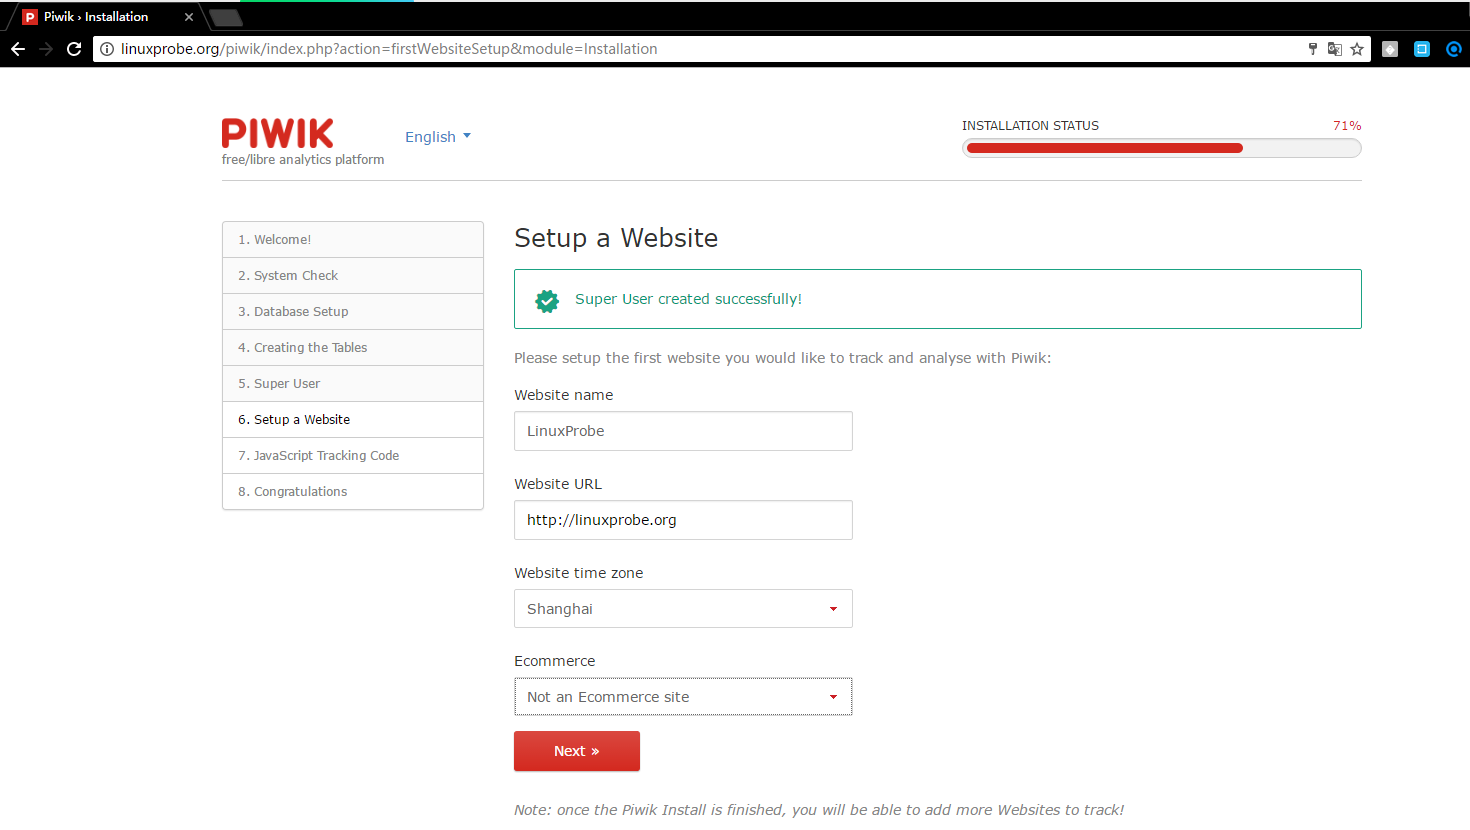
Set up the admin user. Enter any name and password you like. For the email address field, enter a real email address on the Internet.
Enter the website information you want to analyze
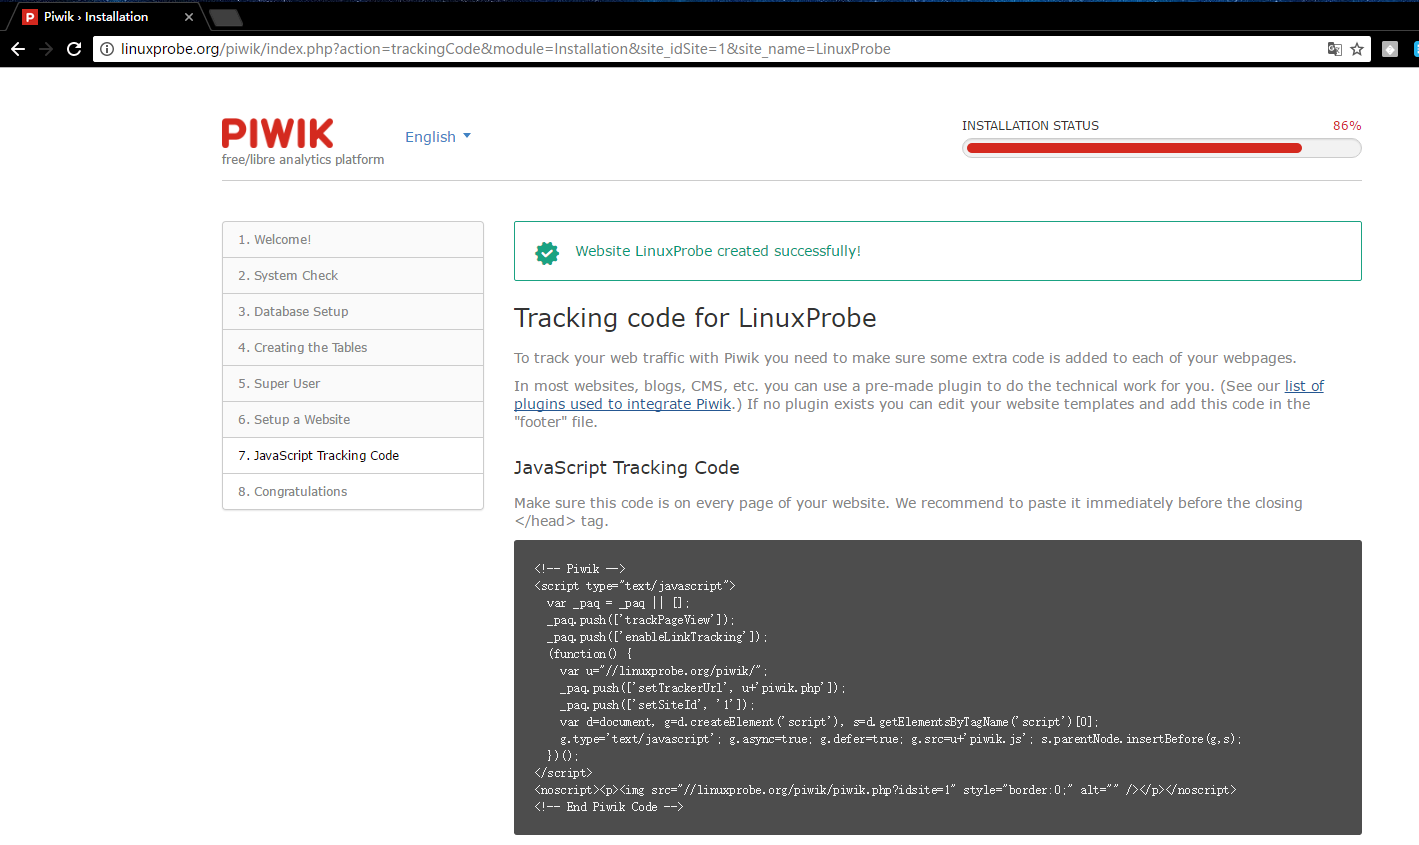
The JavaScript code is generated as follows. You need to add it to your website
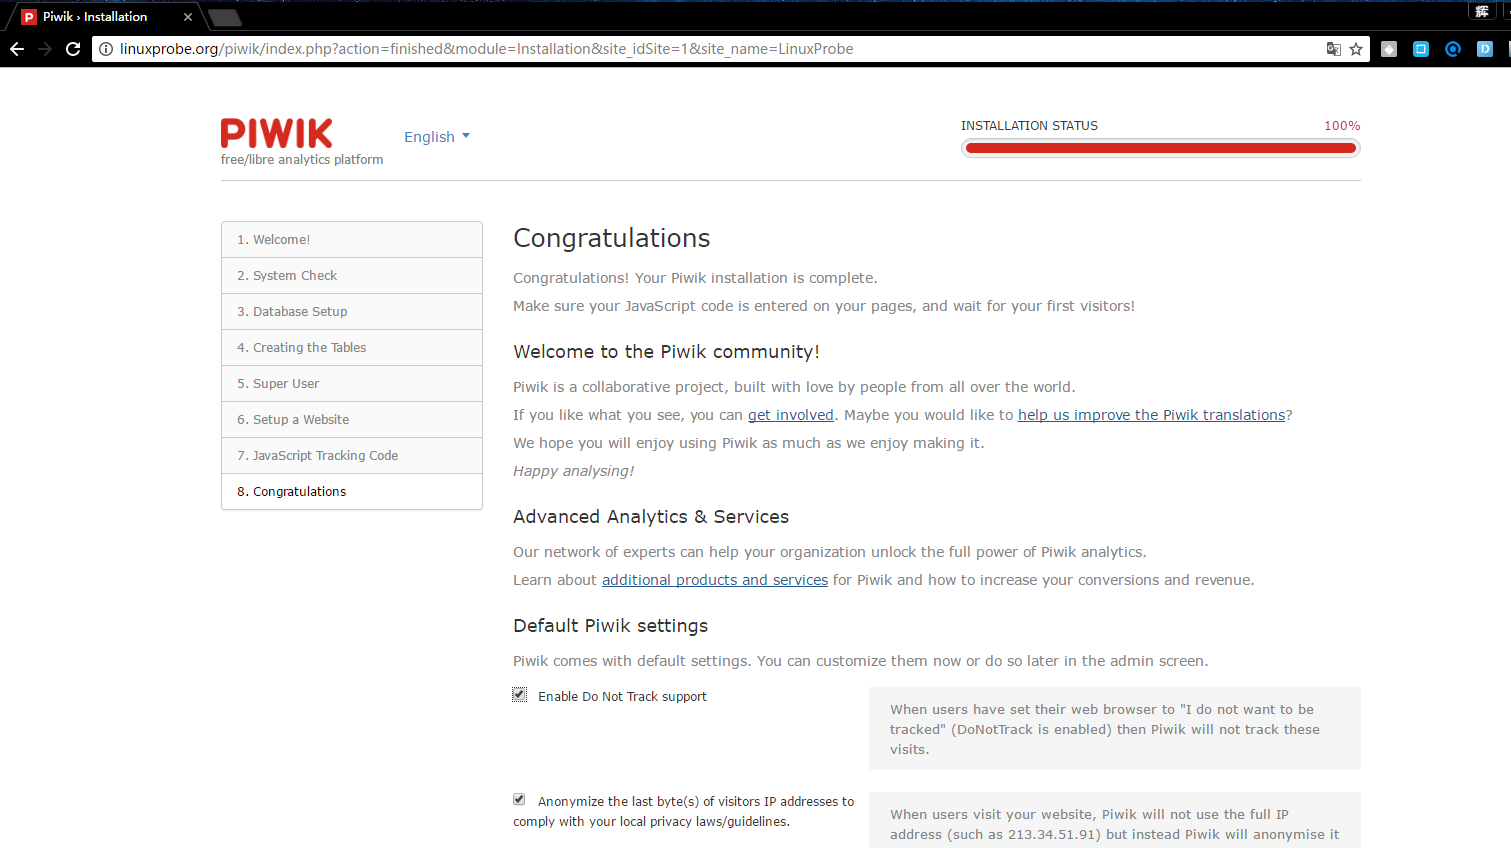
The initial setup is complete. Click "Continue Piwik" to continue.
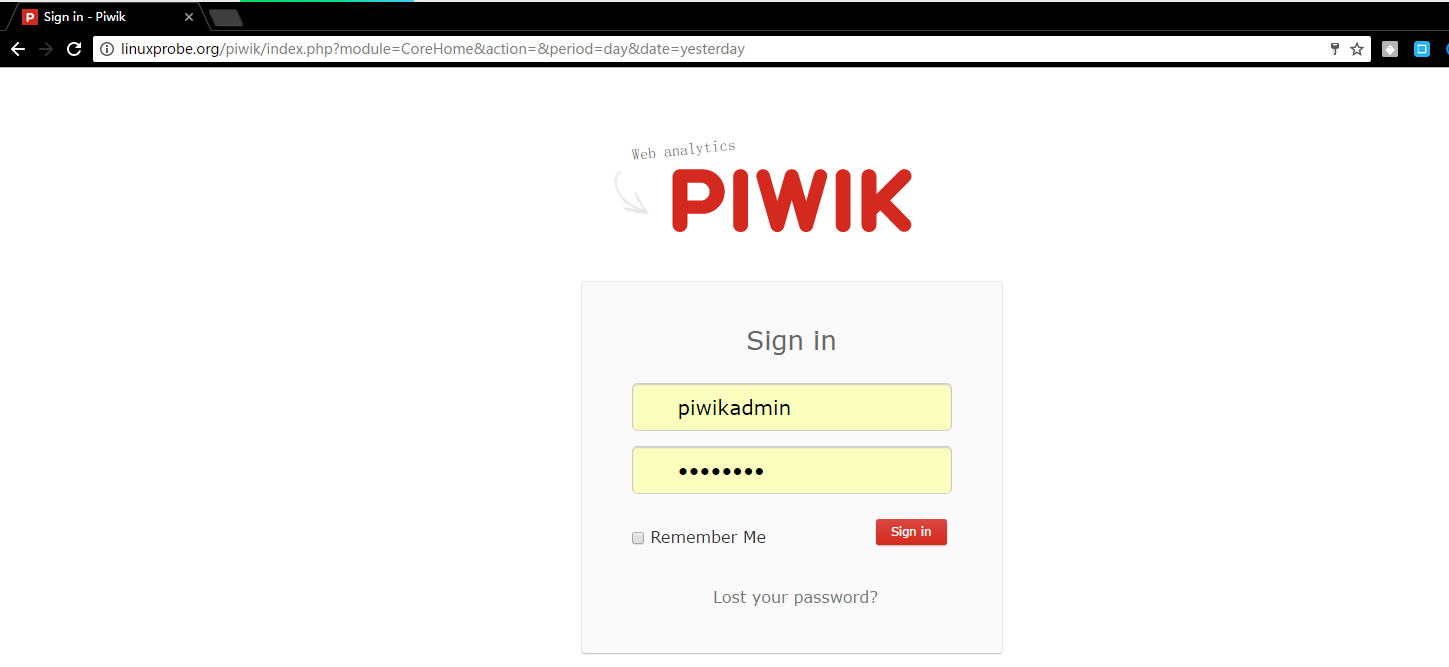
This is the login screen, authenticate with the user you added, piwikadmin, your_password
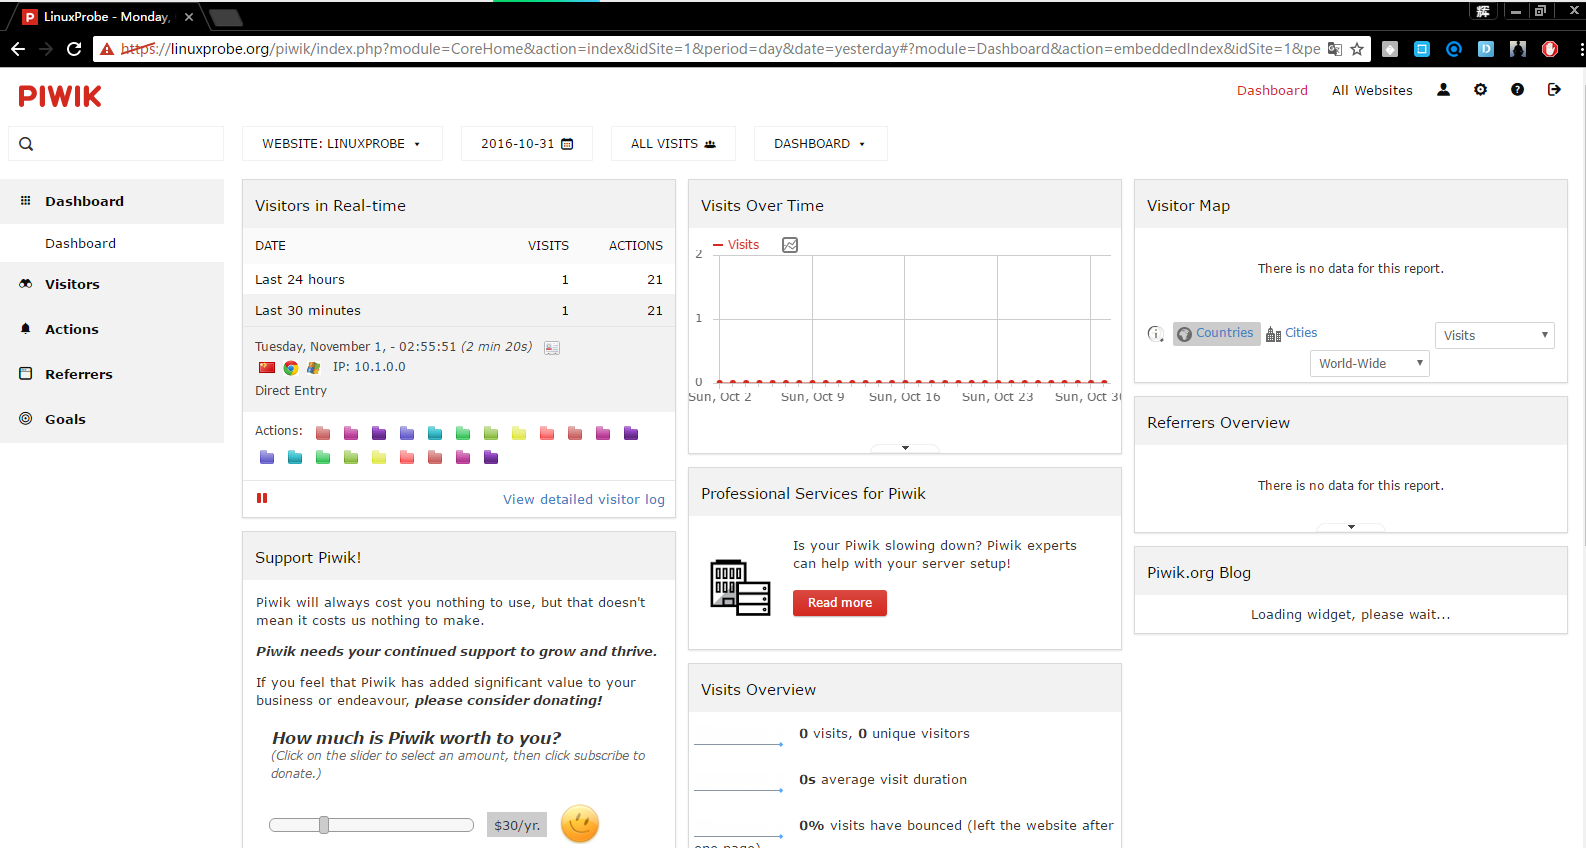
Log in to piwik and display as follows:
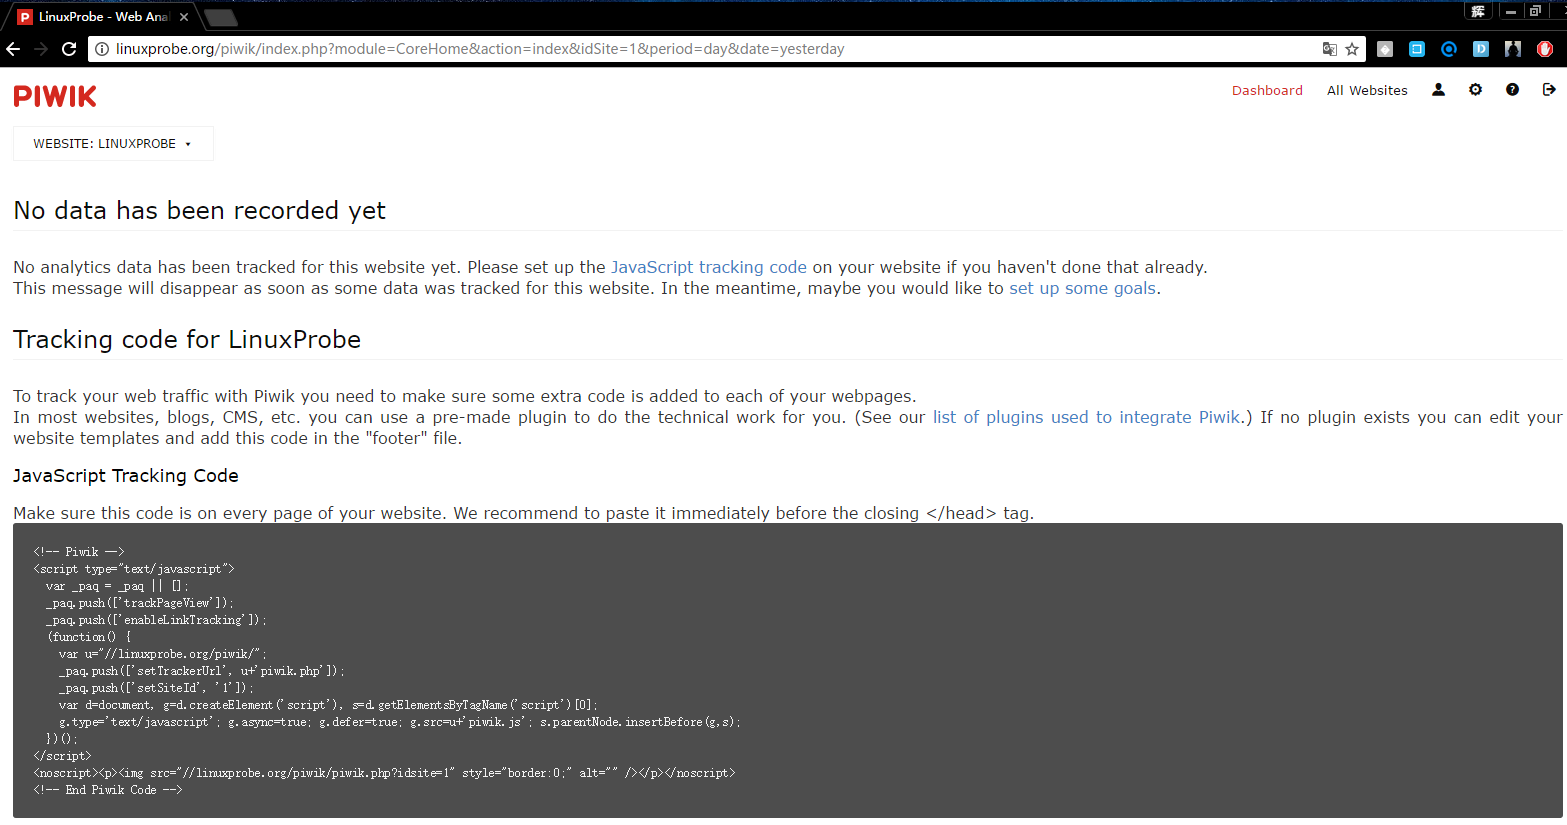
We need to add the generated Java code to the head of the Html file to ensure that each static page can call the head header file. After the addition is complete, use the client browser to access the domain name, and then refresh piwik, see as follows:
Experiment Summary##
Piwik installation is based on the LNMP or LAMP environment. During installation, the LANMP architecture is designed to ensure that each software is a relatively stable and newer version to avoid piwik not providing support for lower versions.
Piwik FAQ:https://piwik.org/faq/
Recommended Posts