Python on image processing PIL
Python PIL
The PIL (Python Image Library) library is a third-party library of the Python language. The PIL library supports image storage, display, and processing, and can handle images in almost all formats.
-
Introduction to PIL library
-
The PIL library has two main functions:
(1) Image filing: batch processing of images, production image preview, image format conversion, etc.
(2) Image processing: basic image processing, pixel processing, color processing, etc.
- PIL has multiple classes. Here is a brief introduction to the Image class, ImageFilter class, and ImageEnhance class.
Second, install library functions
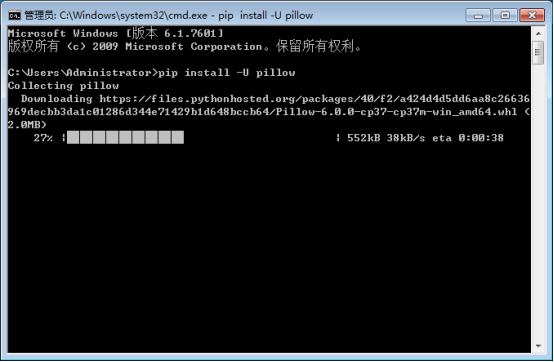
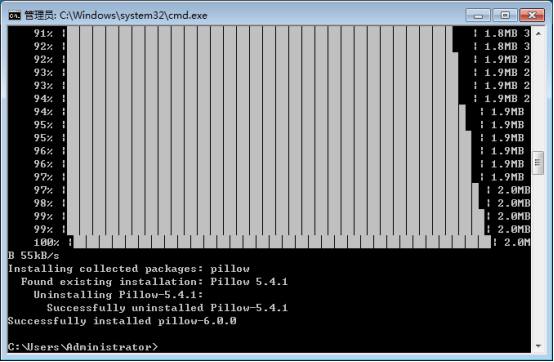
Three, use the library function Image class-basic image processing
- Call the Image class
from PIL import Image
- Image class about image reading and creation
| Method | Description |
|---|---|
| Image.open(filename) | Load image file |
| Image.new(mode,size,color) | Create a new image according to the given parameters |
| Image.open(StringIO.StringIO(buffer)) | Get image from string |
| Image.frombytes(mode,size,color) | Create a new image based on pixels |
| Image.verify() | Check the integrity of the image and return an exception |
- Common attributes of the Image class
| Method | Description |
|---|---|
| Image.format | Image format or source, if the image is not read from a file, return None |
| Image.mode | The color mode of the image,'L' is grayscale mode,'RGB' is true color image,'C (cyan) M (magenta) Y (yellow) K (black)' is the published image |
| Image.size | The width and height of the image, in pixels (px), the return value is a tuple type |
| Image.palette | Palette property, return ImagePalette type |

- Sequence image operation method of Image class
| Method | Description |
|---|---|
| Image.seek(frame) | Jump and return to the specified frame in the image |
| Image.tell() | Returns the serial number of the current frame |
- Image rotation and scaling methods of the Image class
| Method | Description |
|---|---|
| Image.resize(size) | return a copy of the image resized by size |
| Image.rotate(angle) | Returns a copy of the image rotated by angle |

- Image conversion and saving method of Image class
| Method | Description |
|---|---|
| Image.save(filename,format) | Save the image as filename, format format |
| Image.convert(mode) | Convert the image to mode mode |
| Image.thumbnail(size) | Create a thumbnail of the image, size is a tuple of thumbnail size |
- - encoding:utf-8 --
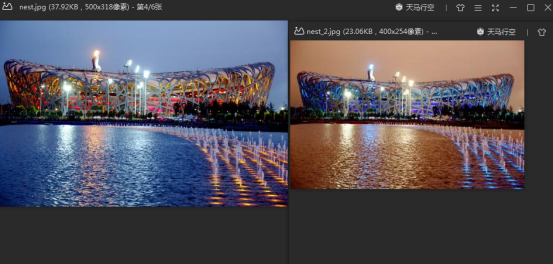
''' Change the color --- color inversion'''
from PIL import Image
nest = Image.open("D:\nest.jpg")
r,g,b = nest.split() #Get the color value of the RGB channel of the original image
newb = b.point(lambda i:i*1.1) #Enhance the color value of the B channel
nest1 = Image.merge(nest.mode,(b,g,r))
nest1.thumbnail((400,254)) #Create thumbnail
nest1.save("D:\nest_2.jpg")
- Image pixel and channel processing method of Image class
| Method | Description |
|---|---|
| Image.point(func) | Calculate each element according to the function of the function func, and return a copy of the image |
| Image.split() | According to each color channel of the GRB image, return a copy of the image |
| Image.merge(mode,bands) | composite channel, where mode is color, bands is the new color channel |
| Image.blend(im1,im2,alpha) | Interpolate the two pictures im1 and im2 according to the formula to generate a new image formula: im1*(1.0-alpha) + im2*alpha |
Fourth, use the library function ImageFilter class-image filtering
- Call the ImageFilter class
from PIL import ImageFilter
- ImageFilter class predefined image filtering method
| Method | Description |
|---|---|
| ImageFilter.BLUR | Image blur effect |
| ImageFilter.CONTOUR | Image contour effect |
| ImageFilter.DETAIL | Image detail effect |
| ImageFilter.EDGE_ENHANCE | Image boundary enhancement effect |
| ImageFilter.EDGE_ENHANCE_MORE | Image threshold boundary enhancement effect |
| ImageFilter.EMBOSS | Image relief effect |
| ImageFilter.FIND_EDGES | Image border effect |
| ImageFilter.SMOOTH | Image smoothing effect |
| ImageFilter.SMOOTH_MORE | Image threshold smoothing effect |
| ImageFilter.SHARPEN | Image sharpening effect |
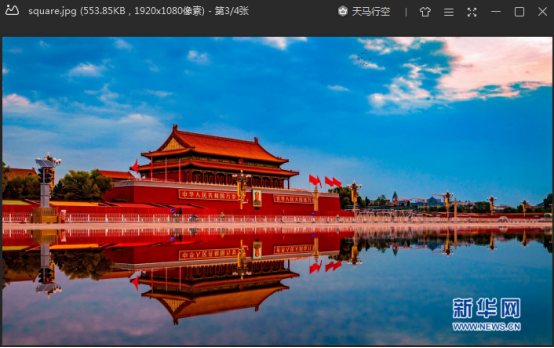
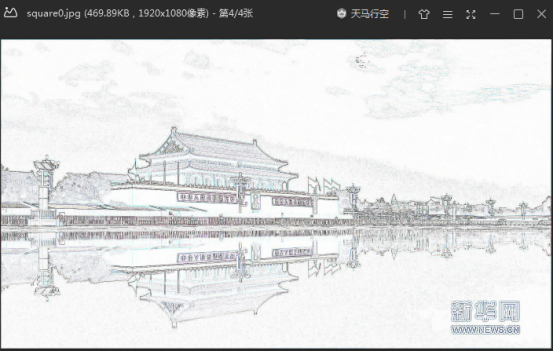
# - *- encoding:utf-8-*-'''Contour effect---sketch'''from PIL import Image
from PIL import ImageFilter
square = Image.open("D:\\square.jpg")
square1 = square.filter(ImageFilter.CONTOUR)  #Select contour effect
square1.save("D:\\square0.jpg")

Recommended Posts