ubuntu14.0464 Ros environment install halcon13.01
As for the ROS system, it was installed before. If you have any questions, you can refer to the installation tutorial on the official website and follow the instructions step by step, http://wiki.ros.org/cn/indigo/Installation/Ubuntu ##
(1) Add sources.list
sudo sh -c 'echo "deb http://packages.ros.org/ros/ubuntu $(lsb_release -sc) main" > /etc/apt/sources.list.d/ros-latest.list'
(2) Add keys
sudo apt-key adv --keyserver hkp://pool.sks-keyservers.net --recv-key 421C365BD9FF1F717815A3895523BAEEB01FA116
(3) Installation
First, make sure your Debian package index is up to date:
sudo apt-get update
Desktop full version installation: (recommended) Contains ROS, rqt, rviz, general robot function library, 2D/3D simulator, navigation and 2D/3D perception functions.
sudo apt-get install ros-indigo-desktop-full
(4) Initialize rosdep
You also need to initialize rosdep before starting to use ROS. rosdep can easily install some system dependencies when you need to compile some source code, and it is also a tool required for some ROS core functional components.
sudo rosdep initrosdep update
(5) Environment setting
If the ROS environment variables can be automatically configured every time a new terminal is opened (that is, added to the bash session), it will be much more convenient:
echo "source /opt/ros/indigo/setup.bash">>~/.bashrcsource ~/.bashrc

Under normal circumstances, we will create our own ROS workspace. We need to configure environment variables.Configure it in the bashrc file. For example, my workspace is set up as catkin_ws Then the smallest surface of my environment configuration file has added two lines

source /opt/ros/indigo/setup.bash
source /home/(Your hostname)/catkin_ws/devel/setup.bash
- If you have multiple ROS versions installed, ~/.bashrc must only source the setup.bash corresponding to the version you are currently using. *
If you only want to change the environment variables in the current terminal, you can execute the command:
source /opt/ros/indigo/setup.bash
Various problems may be encountered during the process, such as dependency problems. For this problem, we generally use the command line directly: sudo apt-get install lib (prompt the name of the dependency you need)-dev
I won’t go into details about the following issues such as establishing a workspace
Then let's install halcon. After the installation is complete, I will write an example of ROS using the halcon library
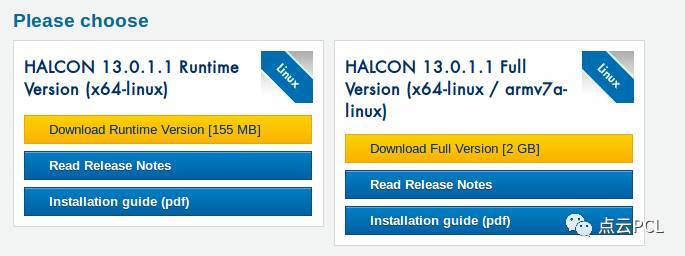
(1) First, download the software from the official website of halcon, http://www.mvtec.com/download/halcon, of course, first register, select the version of halcon we need to install and the environment of our computer system, as shown in the figure

(It seems that it can only be installed on 64-bit systems.) After that, we can choose to click "Download Full version" to download the full version
, And then we can install it, but we know that halcon is a commercial software, we need a license file anyway, so first find the corresponding crack file, this may take a little time
Generally, you can find it on http://www.ihalcon.com/read.php?tid=56. Generally, you can find a cracked file with a validity period of one month, and then you can install it.
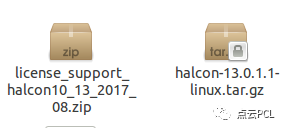
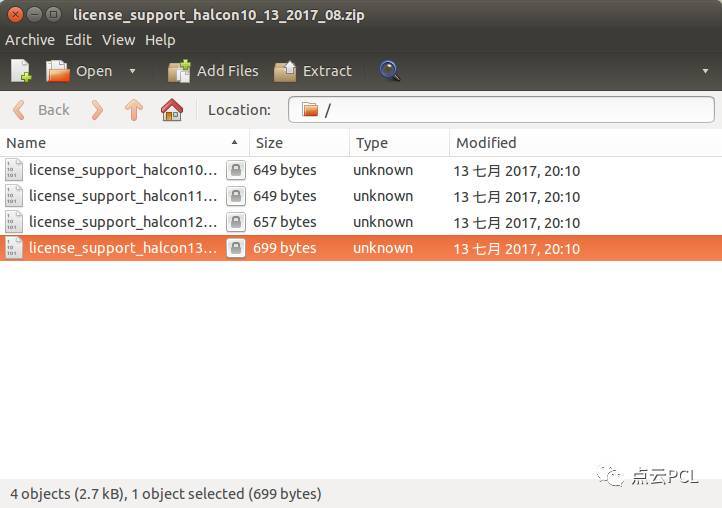
These two compressed packages are the installed source files and cracked files
Then we first unzip the installation file
- Right click on halcon-13.0.1.1-linux.tar.gz-> select
Extrac; - Enter in the terminal in the blank of the folder where the compressed package is located: tar zxvf halcon-13.0.1.1-linux.tar.gz to extract it
(2) We can install and enter the decompressed file to install and execute the installation command
sudo sh install-linux.sh
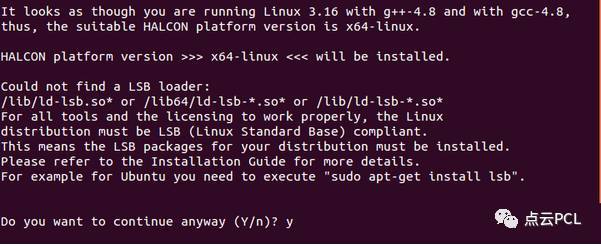
There will be some prompt messages, basically every version is like this, of course, choose Y to continue.
Read the license agreement, note that most software will be executed automatically if we choose y, but halcon requires us to keep pressing the enter key to read the license file
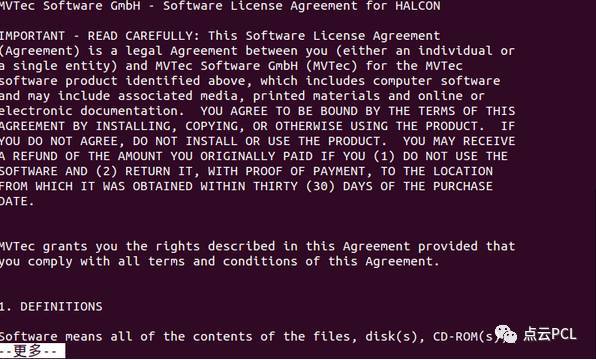
Of course you can’t keep pressing, keep pressing until the prompt, if you press, you need to start again, hahaha, so remember to show mercy

Then the effect after we choose Y will prompt you to install halcon in the specific location under /opt/halcon

Then I personally feel that it is not necessary to change the installation path, after all, it is really troublesome, so enter directly

You are prompted that this file does not exist, do you need to create a new one? Of course it is y
Then there are some options such as the type of installation, choose 3 full reference language is English
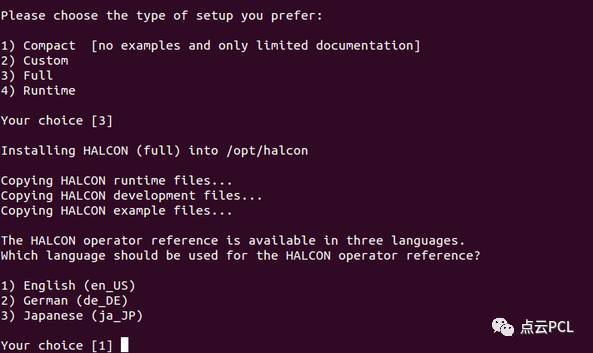
Then install it, if there is no accident, it will be installed successfully
Then you need to set up the environment for Ubuntu 14.04. We know that the configuration file of environment variables under Ubuntu is .bashrc
So execute the command
cd ~ (return to home file)
sudo gedit ~/.bashrc
You can open the file

Then we add halcon's environment variable settings at the bottom of the file
# Sample shell script for HALCON environment settings
# ( sh syntax)
# If you are using the Bourne shell source this file with the following
# command:
# source .profile_halcon
HALCONARCH=x64-linux;export HALCONARCH
HALCONROOT=/opt/halcon;export HALCONROOT
HALCONEXAMPLES=${HALCONROOT}/examples;export HALCONEXAMPLES
HALCONIMAGES=${HALCONROOT}/examples/images;export HALCONIMAGES
PATH=${HALCONROOT}/bin/${HALCONARCH}:${HALCONROOT}/FLEXlm/${HALCONARCH}:${PATH}export PATH
if[ ${LD_LIBRARY_PATH}]; then
LD_LIBRARY_PATH=${HALCONROOT}/lib/${HALCONARCH}:${LD_LIBRARY_PATH}export LD_LIBRARY_PATH
else
LD_LIBRARY_PATH=${HALCONROOT}/lib/${HALCONARCH};export LD_LIBRARY_PATH
fi
if["x${FLEXID_LIBRARY_PATH}"="x"]; then
FLEXID_LIBRARY_PATH="${HALCONROOT}/FLEXlm/${HALCONARCH}/flexid9:/usr/lib"export FLEXID_LIBRARY_PATH
fi
As shown in the figure, it’s best to back up the file with the halcon environment variable added in this section, because sometimes we don’t actually need to add it under this file, add it when we use it, and remove it when we don’t need it, to avoid compiling other
There was an error in the file, because I prompted an error when compiling other files. Just remove the added content. Of course, we need to use the halcon environment. This is definitely added.
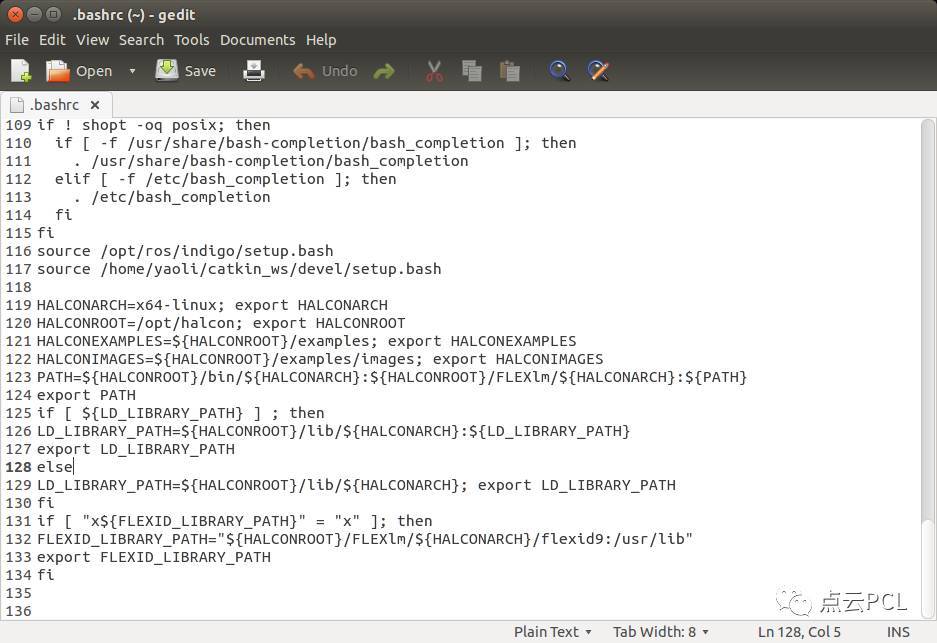
After saving the file, you need to source ~/.bashrc to make the environment variable setting take effect
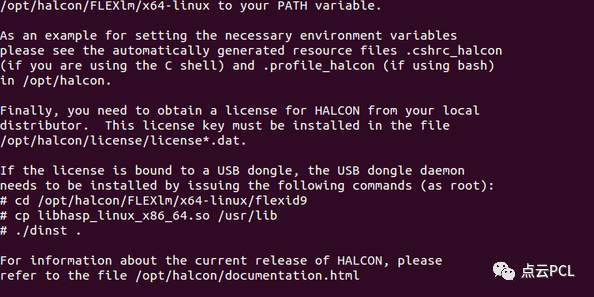
So here we have successfully installed the halcon software, but there is still a license file, which is really painful
After decompressing the downloaded file, it is found that there is a license file license_support_halcon13_2017_08.dat of version 13.01
Propose directly to the home file
Then we move or copy this file to the /opt/halcon/license file
Generally it is necessary to obtain root, so use sudo cp (license file) /opt/halcon/license/
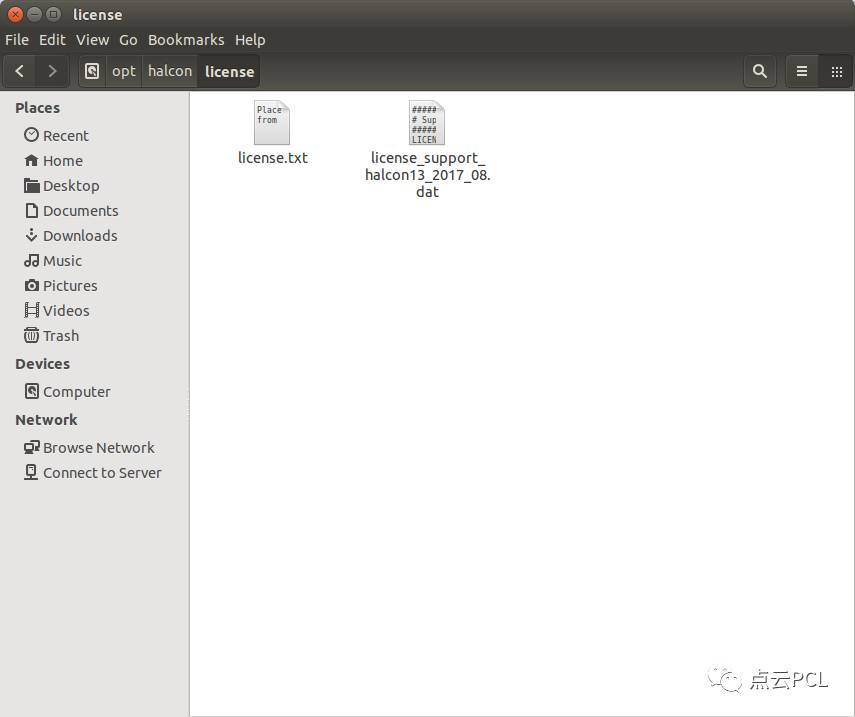
Modify license file permissions sudo chmod 777 /opt/halcon/license/license_support_halcon13_2017_08.dat
In this way, we have successfully installed the halcon software in the Ubuntu environment, and the terminal input:
hdevelop
I said before that if we compile other files due to the prompt message that there is an error, and it is because we have added the halcon environment error to the ~/.bashrc file
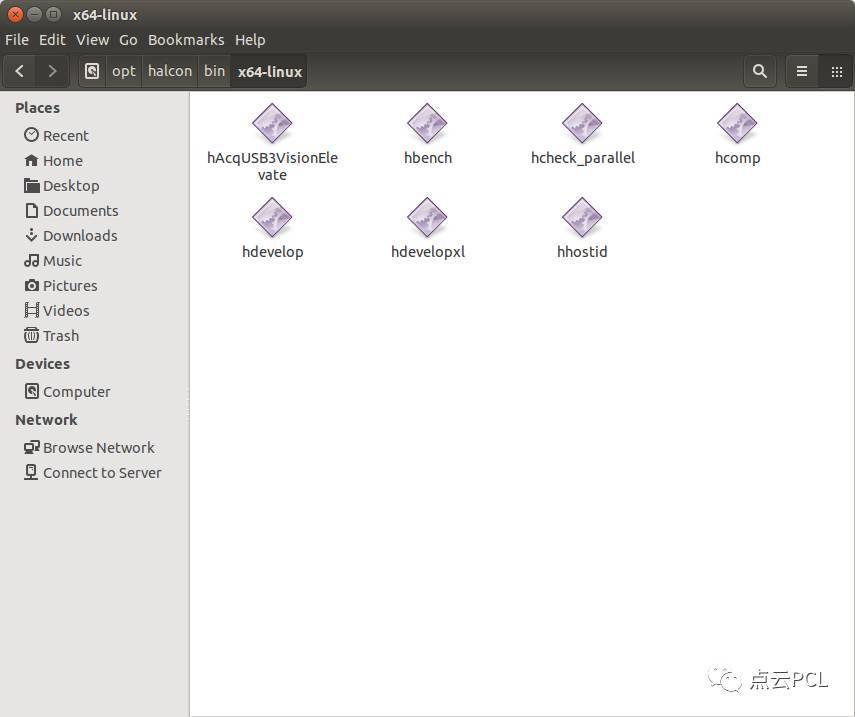
We had to remove the added document. After removing it, we may enter hdvelop in the terminal and prompt that there is no such command.
It doesn't matter that we can go directly to /opt/halcon/bin/x64_linux/ double-click hdvelop to run
The running hdeveop interface is as follows
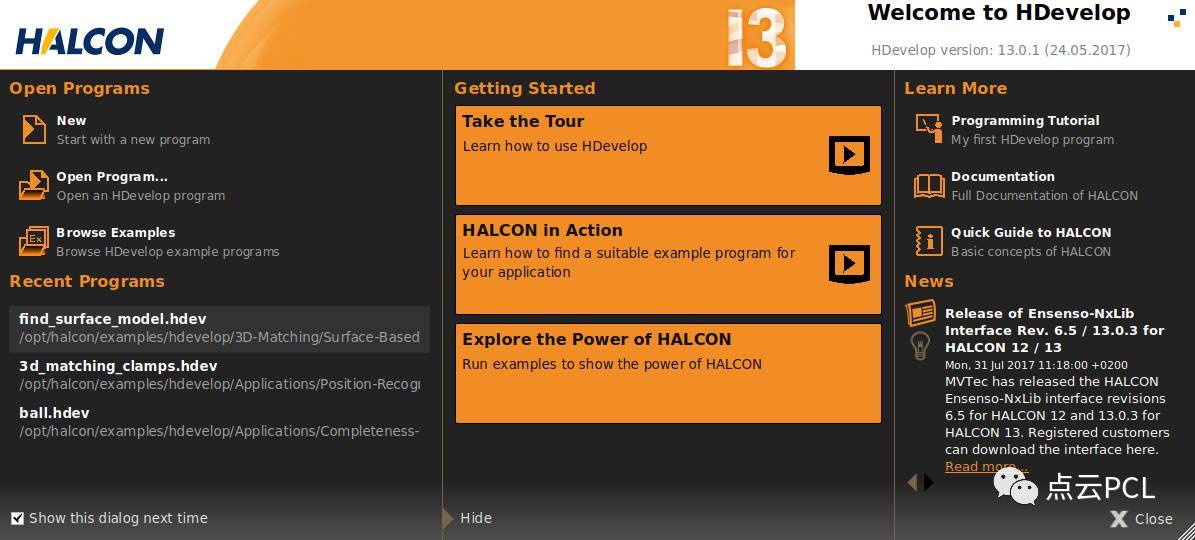
So in fact, I have rarely used this software and used it for the first time, but we can open an example to try it.
Open the find_surface_model.hdev file and press F5 to view the effect of single step operation
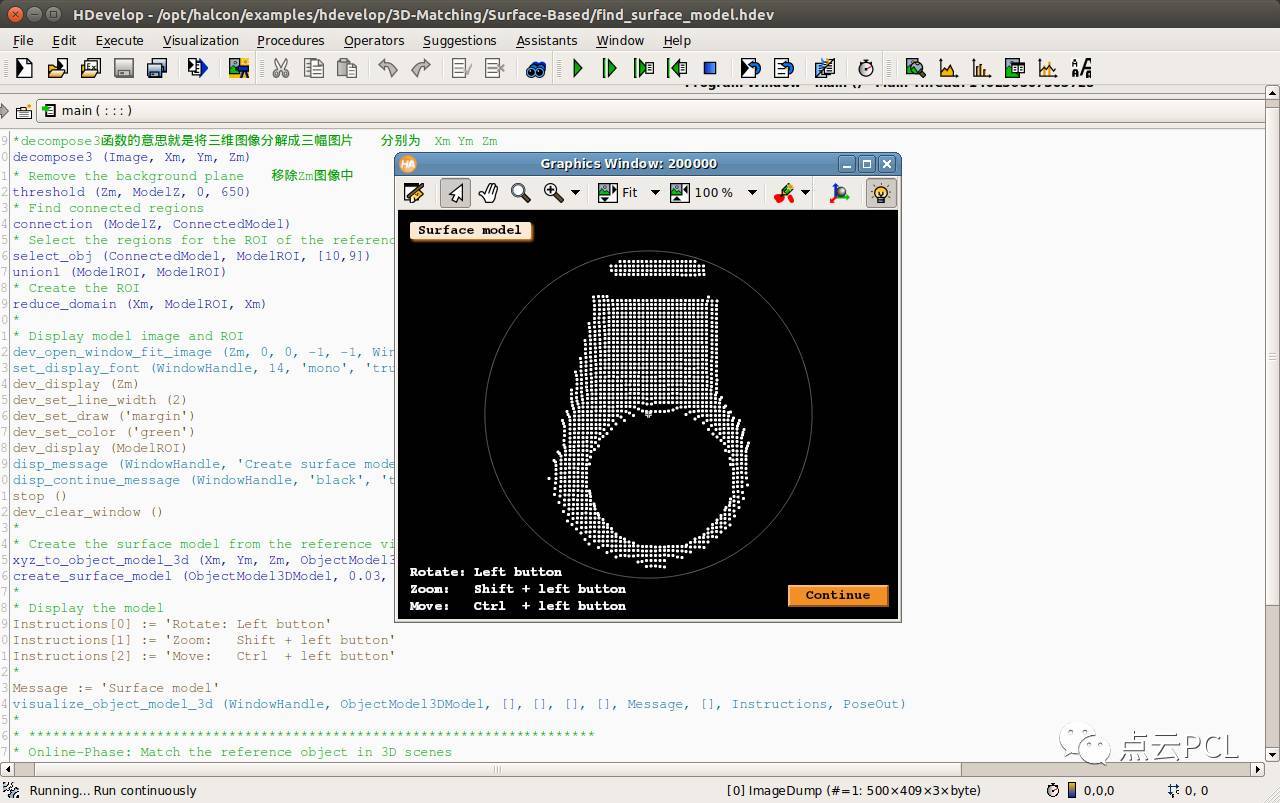
Haha explained that the installation is successful, so we can enjoy halcon as much as possible, which is much cooler to use than opencv. There are many examples of industrial applications, and there are also many cases of three-dimensional processing.
Then the next article will teach you how to call halcon in conjunction with the ROS operating system to read a photo and display it.
Please organize your own experiments and related research. You can actively contribute, share them together, or join the WeChat exchange group to communicate with many point cloud enthusiasts.
Recommended Posts