Install Hadoop system environment on Ubuntu 18.04
Install ubuntu-server system#
install the system##
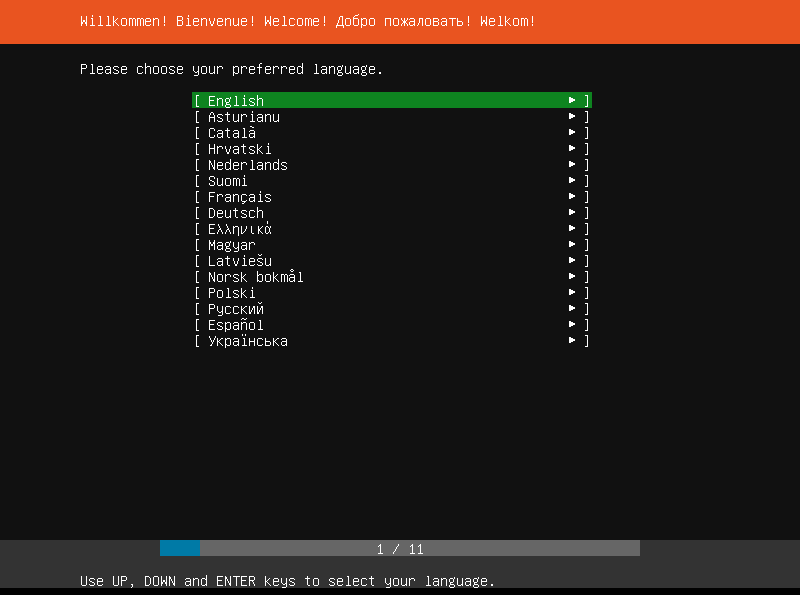
Select system language-English
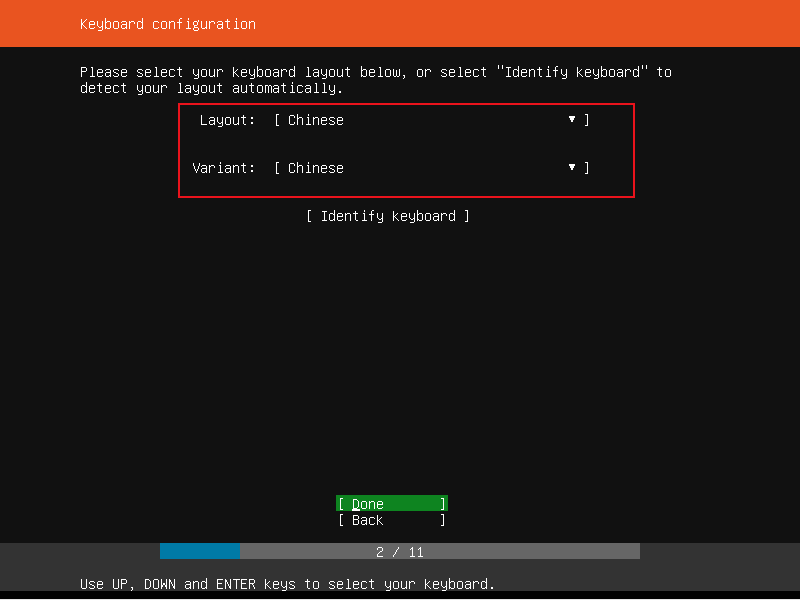
Keyboard Settings-Chinese
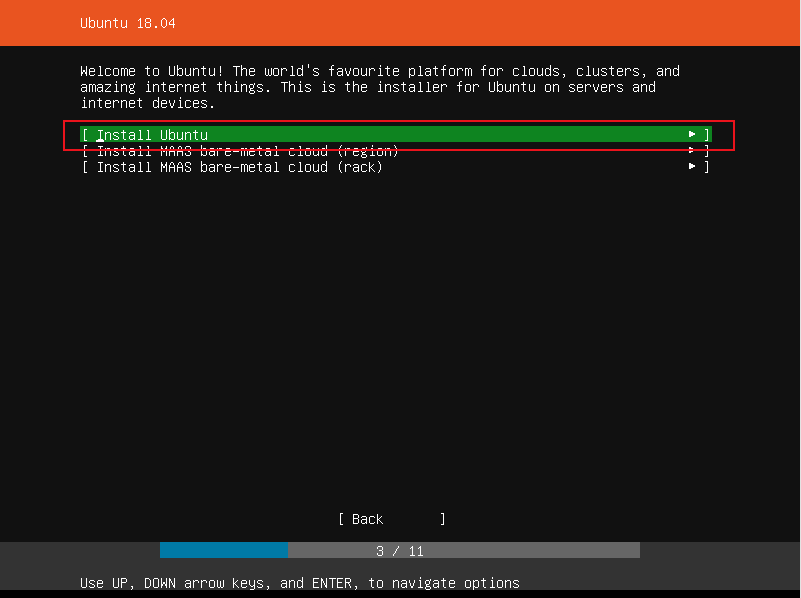
Select operation Install ubuntu
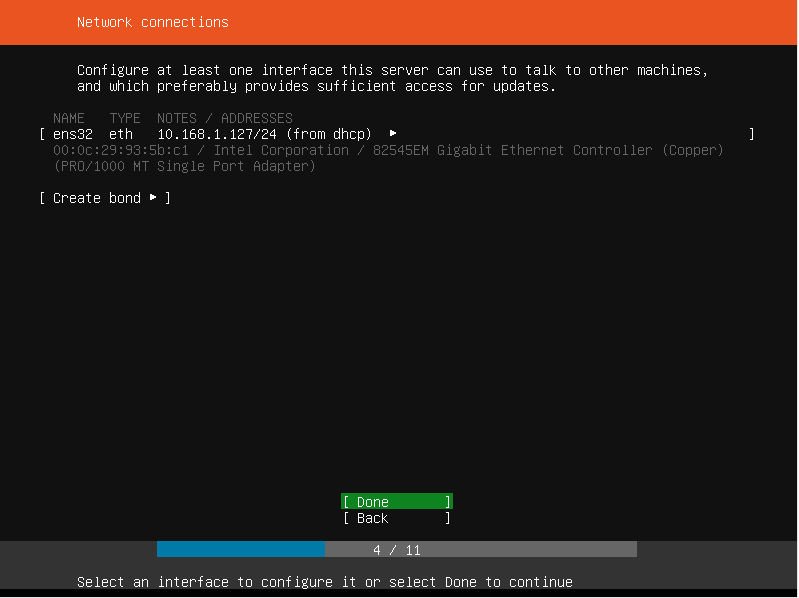
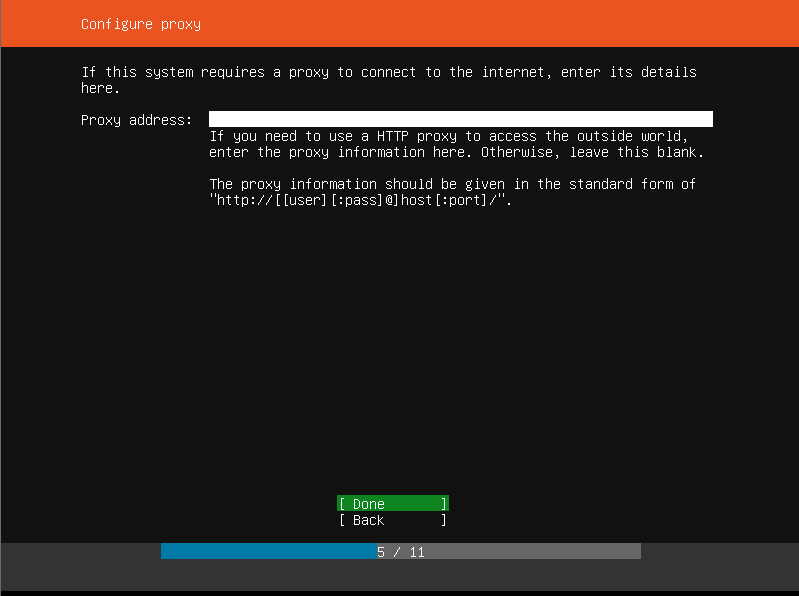
Set up the network (select the default here)
Choose Done
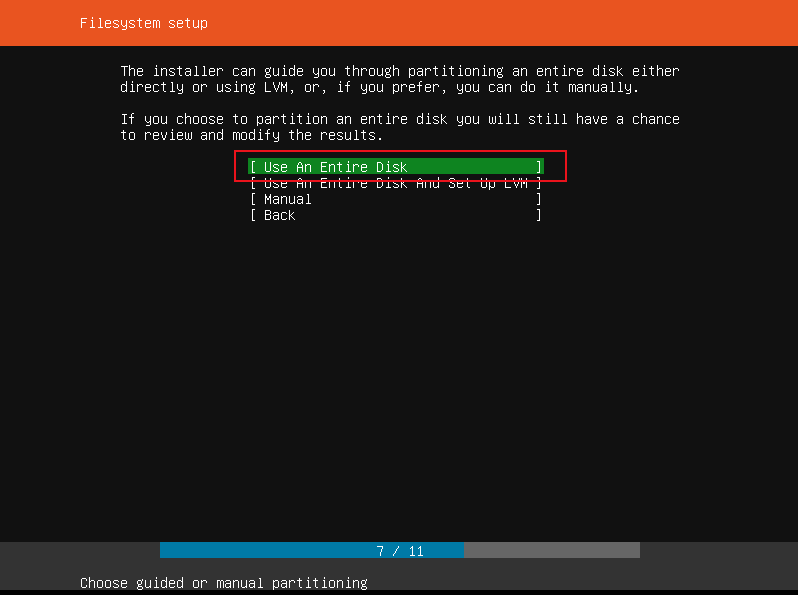
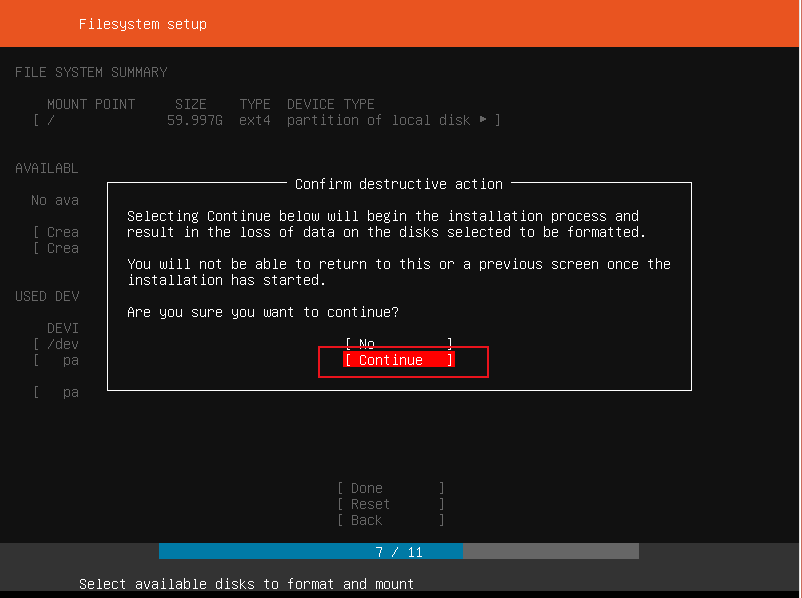
File system settings-choose to use the entire disk
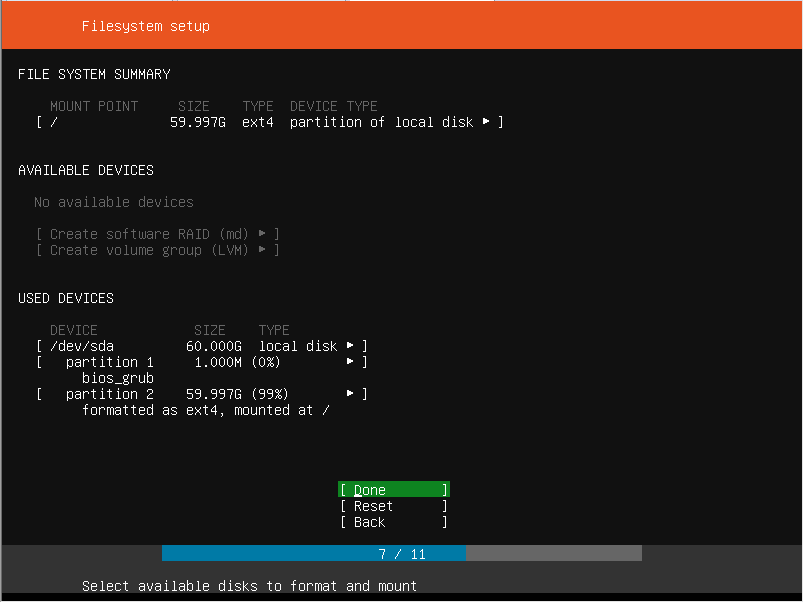
Select disk

Choose Done
Choose Continue
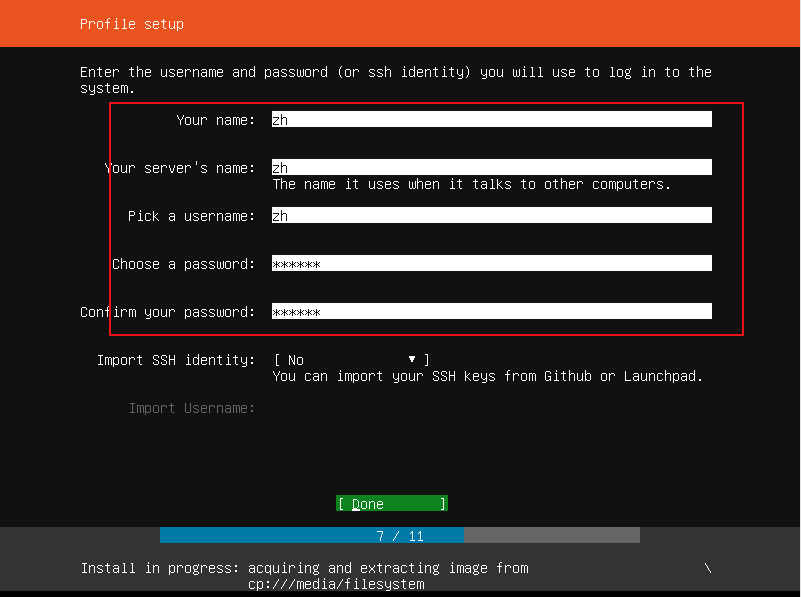
Profile settings
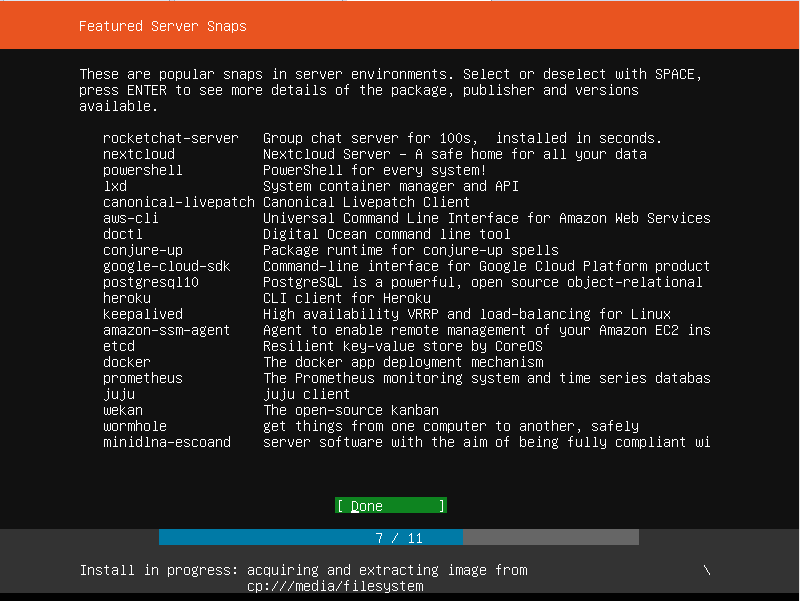
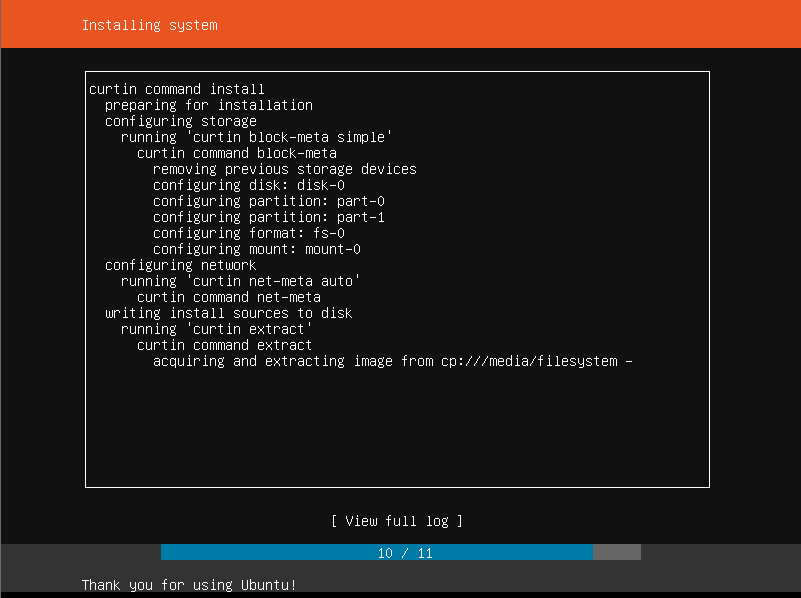
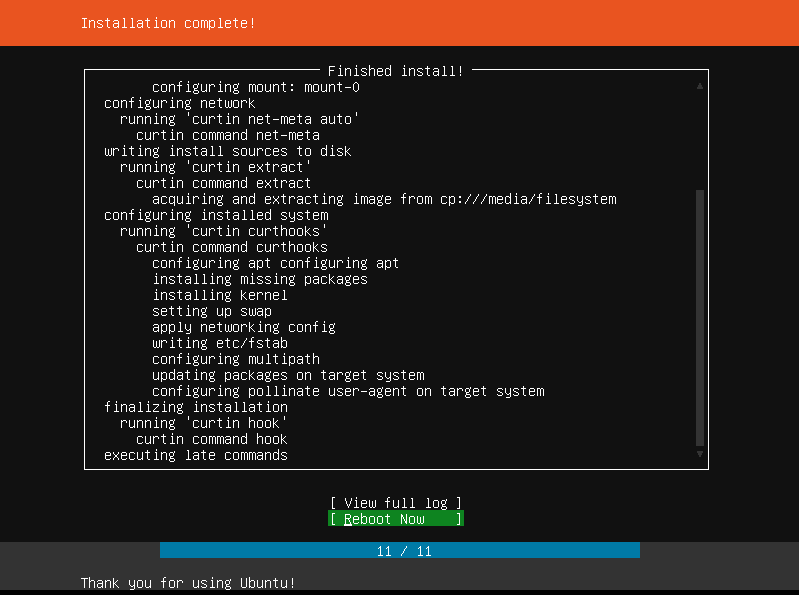
Installing
Reboot Now

Install ssh environment#
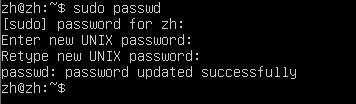
Configure root user password##
Modify the initial password of the root user
sudo passwd
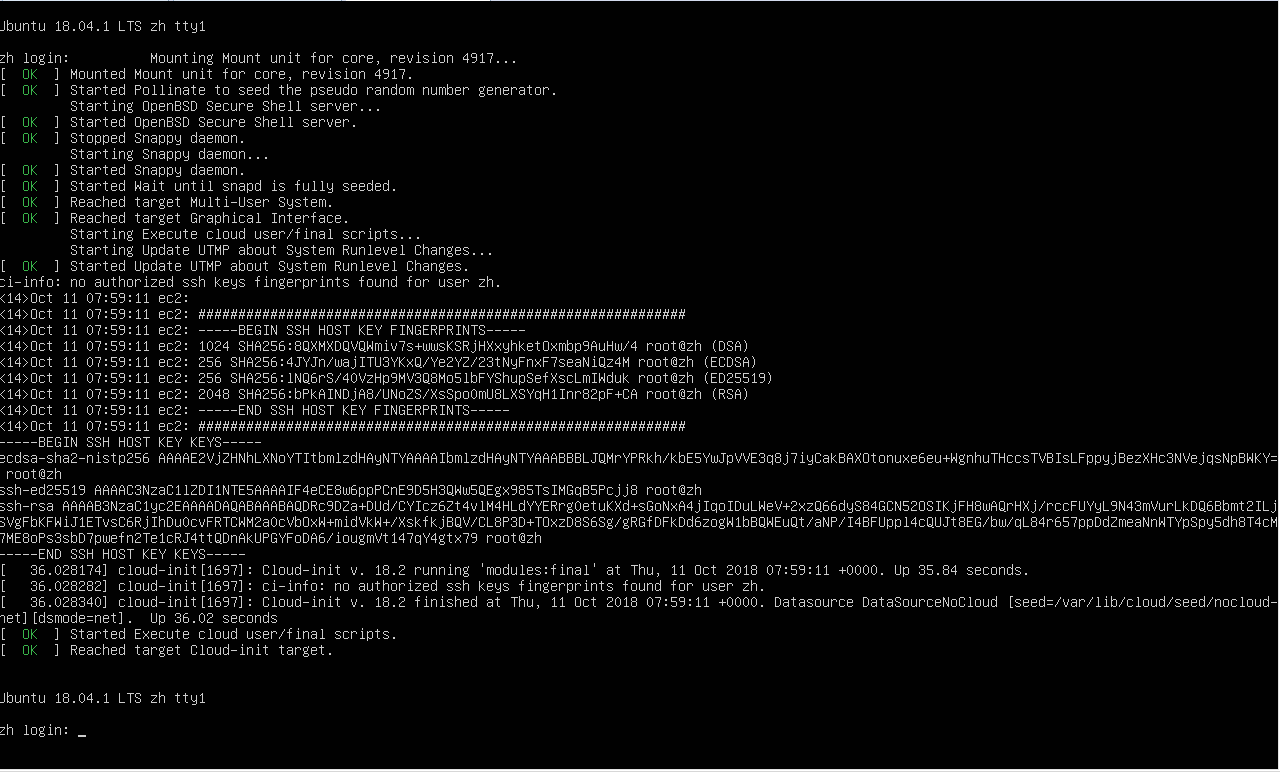
Exit the current user and log in to the system as root.
Turn off the firewall##
Turn off the firewall
systemctl stop firewalld.service
The firewall does not start at boot
systemctl disable firewalld.service
View firewall status
ufw status
The inactive state is the off state of the firewall, and the active is the on state.
Configure root user remote connection##
(Note: ssh-server is installed, if not installed, please install it first)
apt-get install openssh-server
Modify sshd_config
vim /etc/ssh/sshd_config
turn up
# Authentication:
LoginGraceTime 120
PermitRootLogin without passwd
StrictModes yes
Change to
# Authentication:
LoginGraceTime 120
PermitRootLogin yes
StrictModes yes
Then restart the SSH service.
After restarting, connect through the shell:

Set ssh localhost password-free login##
ssh localhost
exit
Enter the password to log in and log out of the machine

After logging in for the first time, there will be a .ssh folder under the user in the current home directory, enter this folder:
cd ~/.ssh/
Use rsa algorithm to generate secret key and public key pair:
ssh-keygen -t rsa
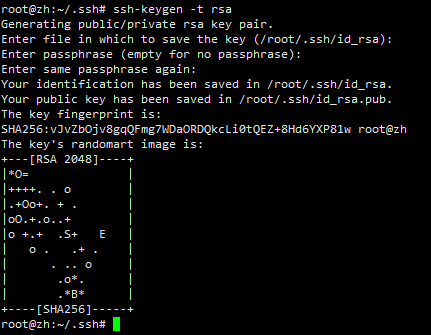
After running, press Enter all the way. The first one is to enter the storage location of the secret key and public key pair. The default is:
. ssh/id_rsa
Then add the public key to the authorization:
cat ./id_rsa.pub >>./authorized_keys
You can log in without a password when you ssh localhost again.
Install jdk
Unzip jdk
Create a java folder, users store Java files
mkdir /usr/local/java
Upload the downloaded jdk installation package to the java folder through the ftp tool.

Unzip:
cd /usr/local/java
tar -vxzf jdk-8u181-linux-x64.tar.gz
After successful decompression, you will see in the current directory:
jdk1.8.0_181 folder
Then delete the installation package:
rm jdk-8u181-linux-x64.tar.gz
Configure jdk
Set environment variables:
vim /etc/profile
Add at the end:
JAVA_HOME=/usr/local/java/jdk1.8.0_181
PATH=$PATH:$HOME/bin:$JAVA_HOME/bin
export JAVA_HOME
export PATH
Reload the configuration file of environment variables:
source /etc/profile
Detection:
java -version

Install Hadoop
Unzip hadoop
Create a hadoop folder, users store hadoop files
mkdir /usr/local/hadoop
Upload the downloaded hadoop installation package to the hadoop folder through the ftp tool.
Unzip:
cd /usr/local/hadoop
tar -vxzf hadoop-2.7.7.tar.gz
Decompression is complete:

Move the files under the hadoop-2.7.7 file to the current directory
mv ./hadoop-2.7.7/* ./
Delete hadoop-2.7.7 folder
rm -rf ./hadoop-2.7.7
Check the owner and user group of the folder, the most important thing is whether the owner is the current user
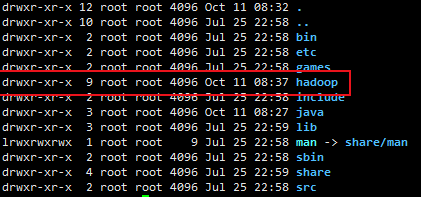
If the owner is not the current user, modify it to the current user:
sudo chown -R current user name./hadoop
Configure hadoop
Set environment variables:
vim /etc/profile
Add at the end:
JAVA_HOME=/usr/local/java/jdk1.8.0_181
HADOOP_HOME=/usr/local/hadoop
PATH=$PATH:$HOME/bin:$JAVA_HOME/bin:$HADOOP_HOME/bin:$HADOOP_HOME/sbin
export JAVA_HOME
export PATH
export HADOOP_HOME
Reload the configuration file of environment variables:
source /etc/profile
Detection:
hadoop version

Modify configuration file##
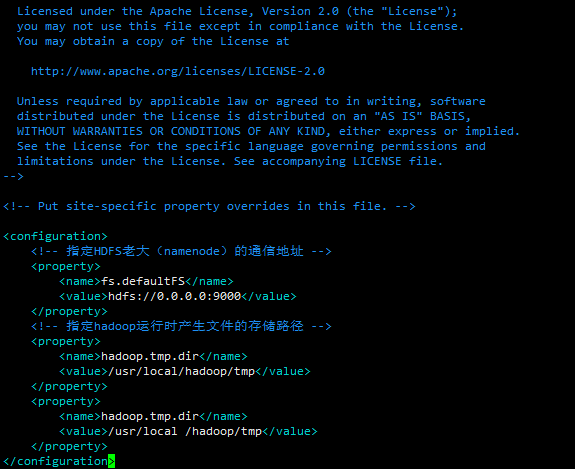
Add in core-site.xml
<!- - Specify the communication address of the HDFS boss (namenode)--><property><name>fs.defaultFS</name><value>hdfs://0.0.0.0:9000</value></property><!--Specify the storage path of the file generated when Hadoop is running--><property><name>hadoop.tmp.dir</name><value>/usr/local/hadoop/tmp</value></property><property><name>hadoop.tmp.dir</name><value>/usr/local/hadoop/tmp</value></property>
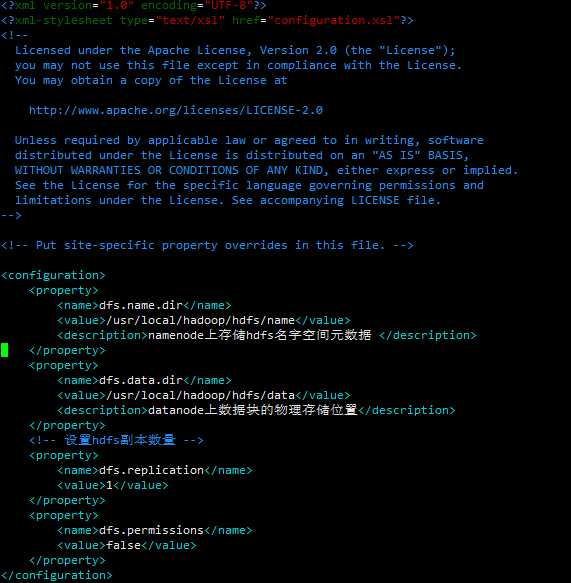
Add in hdfs-site.xml
< property><name>dfs.data.dir</name><value>/usr/local/hadoop/hdfs/data</value><description>The physical storage location of the data block on the datanode</description></property><!--Set the number of hdfs copies--><property><name>dfs.replication</name><value>1</value></property><property><name>dfs.permissions</name><value>false</value></property>
Change JAVA_HOME in hadoop-env.sh
Comment out:
export JAVA_HOME=${JAVA_HOME}
Add to:
export JAVA_HOME=/usr/local/java/jdk1.8.0_181
Test, start##
Format the namenode:
hadoop namenode -format

Start hdfs
start-all.sh
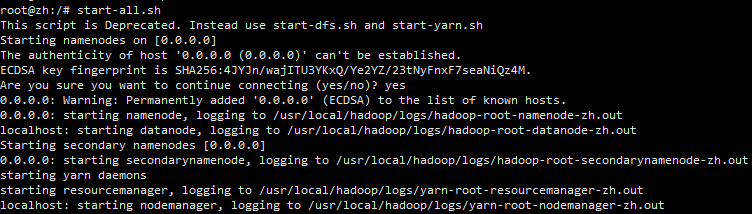
View the corresponding process:
jps
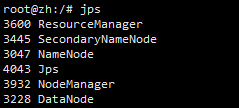
Make sure all 5 processes are started.
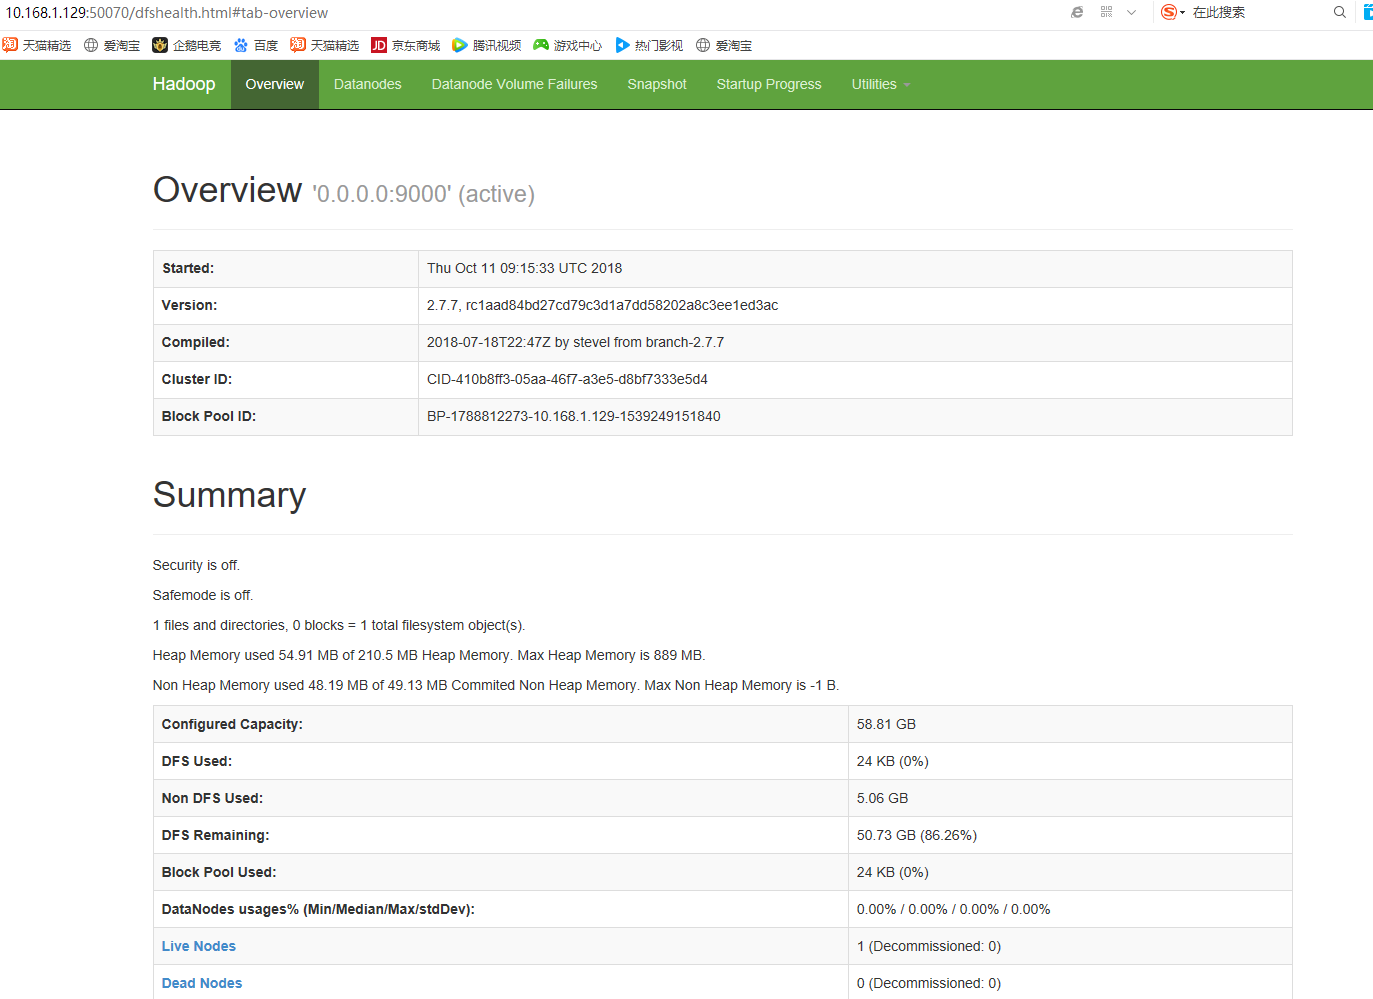
Visit test:
10.168.1.129:50070
Set boot up#
Enter the /etc/init.d/ directory
cd /etc/init.d/
Create file hadoop
vim hadoop
Write script content related to booting
#! /bin/bash
#
# chkconfig:23458833
# description: Starts and stops Hadoop server

### BEGIN INIT INFO
# Required-Start:
# Required-Stop:
# Default-Start:2345
# Default-Stop:016
# Short-Description:    Starts and stops Hadoop server
# Description:          Starts and stops Hadoop server
### END INIT INFO

start(){
    #
 # Start Hadoop
    #
 /usr/local/hadoop/sbin/start-all.sh
} stop(){
    #
 # Stop Hadoop
    #
 /usr/local/hadoop/sbin/stop-all.sh
} case"$1"in
 start)
  start
  exit $?;;

 stop)
  stop
  exit $?;;

 restart)
        #
  # Restart Hadoop
        #
  stop
  sleep 5
  start
  exit $?;;*)
echo "Usage hadoop start/stop/restart"
exit 1;;
esac
Set file permissions
chmod +x hadoop
Add to service
update-rc.d -f hadoop defaults
test
service hadoop start
Check whether the service started successfully
jps

Recommended Posts