How to configure TensorFlow use environment in Ubuntu
1. Introduction to TensorFlow
TensorFlow™ is a symbolic mathematics system based on dataflow programming, which is widely used in the programming of various machine learning algorithms. Its predecessor is Google's neural network algorithm library DistBelief.
Tensorflow has a multi-level structure that can be deployed on various servers, PC terminals and web pages and supports [GPU] (https://cloud.tencent.com/product/gpu?from=10680) and TPU high-performance numerical computing. It is widely used in Google's internal product development and scientific research in various fields.
TensorFlow is developed and maintained by Google Brain, the Google artificial intelligence team, and has multiple projects including TensorFlow Hub, TensorFlow Lite, TensorFlow Research Cloud, and various application programming interfaces (APIs). Since November 9, 2015, TensorFlow has opened its source code under the Apache 2.0 open source license.
Two, install Anaconda
Anaconda refers to an open source Python distribution, which contains more than 180 scientific packages such as conda and Python and their dependencies. Because it contains a large number of scientific packages, the download file of Anaconda is relatively large (approximately 531 MB). If you only need certain packages, or need to save bandwidth or storage space, you can also use Miniconda, a smaller release version (only conda and Python).
Get Anaconda
Download the installation package of Python3.7 at the download link of the official website
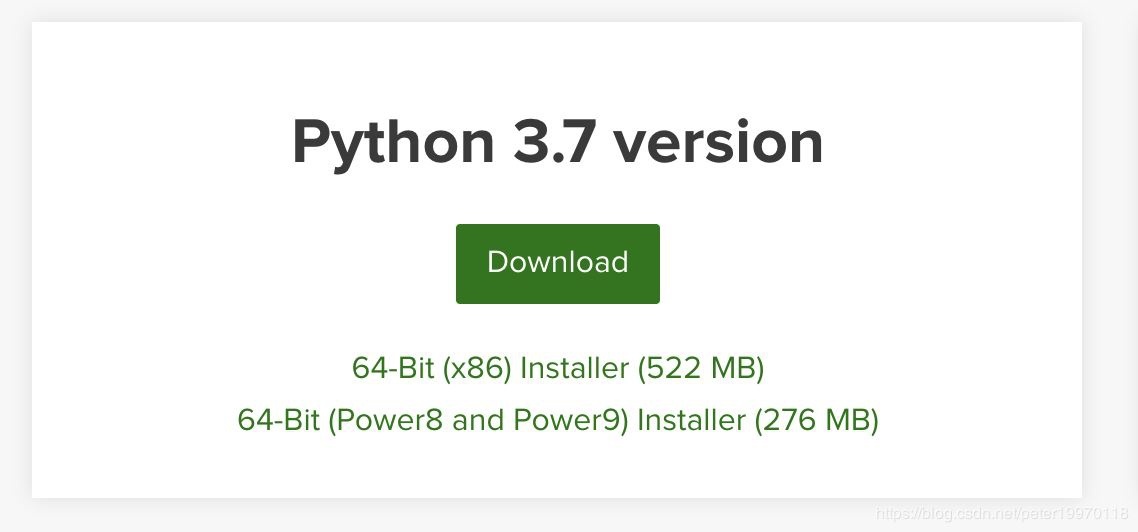
The downloaded file is Anaconda3-2020.02-Linux-x86_64.sh
start installation
Use the terminal to enter the directory where the Anaconda file is saved, and use the following command to start the installation
bash Anaconda3-2020.02-Linux-x86_64.sh
After the installation starts, we will check the Anaconda License. If you want to skip it, press Q to skip. After that, we will ask whether we agree (Do you approve the license terms?), enter yes and press Enter to continue
Next, you will be asked which path we want to install Anaconda to. If it is specified, enter the path and press Enter to continue. If not specified, it will be installed to the default directory home directory and press Enter to continue.
When the next prompt is confirmed, it is to ask us if we want to add environment variables to the ~/.bashrc file, enter yes to continue, when the scrolling is over, our Anaconda installation is complete.
Three, the two main dependency packages of TensorFlow
Protocol Buffer
First install the necessary components using apt-get
$ sudo apt-get install autoconf automake libtool curl make g++ unzip
Then cd to the appropriate directory and use the git clone function to obtain the installation files
$ git clone
$ https://github.com/protocolbuffers/protobuf.git
$ cd protobuf
$ git submodule update --init --recursive
$ ./autogen.sh
start installation
$ ./configure
$ make
$ make check
$ sudo make install
$ sudo ldconfig # refresh shared library cache.
After the installation is over, use the following command to see the version number and the installation is successful
$ protoc --version
Bazel
Installation preparation
Before installing Bazel, you need to install JDK8, please refer to the following link for the specific installation method
jdk8 installation method
Then install other dependency kits
$ sudo apt-get install pkg-config zip g++ zlib1g-dev unzip
Get Bazel
Get bazel-0.4.3-jdk7-installer-linux-x86_64.sh on the release page,
Then install Bazel through this installation package
$ chmod +x bazel-0.4.3-jdk7-installer-linux-x86_64.sh
$ ./bazel-0.4.3-jdk7-installer-linux-x86_64.sh --user
After the installation is complete, continue to install other dependency kits required by TensorFlow
$ sudo apt-get install python3-numpy swig python3-dev python3-wheel
After completion, add environment variables in ~/.bashrc
export PATH"$PATH:$HOME/bin"
Then use $ source ~/.bashrc to activate
Then enter bazel in the terminal and the version number appears, the installation is successful.
Fourth, install CUDA and cuDNN
If NVIDIA GPU is installed on the computer and the driver is installed, you can use CUDA and cuDNN for GPU computing
CUDA
CUDA (Compute Unified Device Architecture) is a computing platform launched by graphics card manufacturer NVIDIA. CUDA™ is a general-purpose parallel computing architecture launched by NVIDIA, which enables GPUs to solve complex computing problems. It includes the CUDA instruction set architecture (ISA) and the parallel computing engine inside the GPU. Developers can use C language to write programs for the CUDA™ architecture. C language is the most widely used high-level programming language. The written program can run with ultra-high performance on a processor that supports CUDA™. CUDA3.0 has begun to support C++ and FORTRAN.
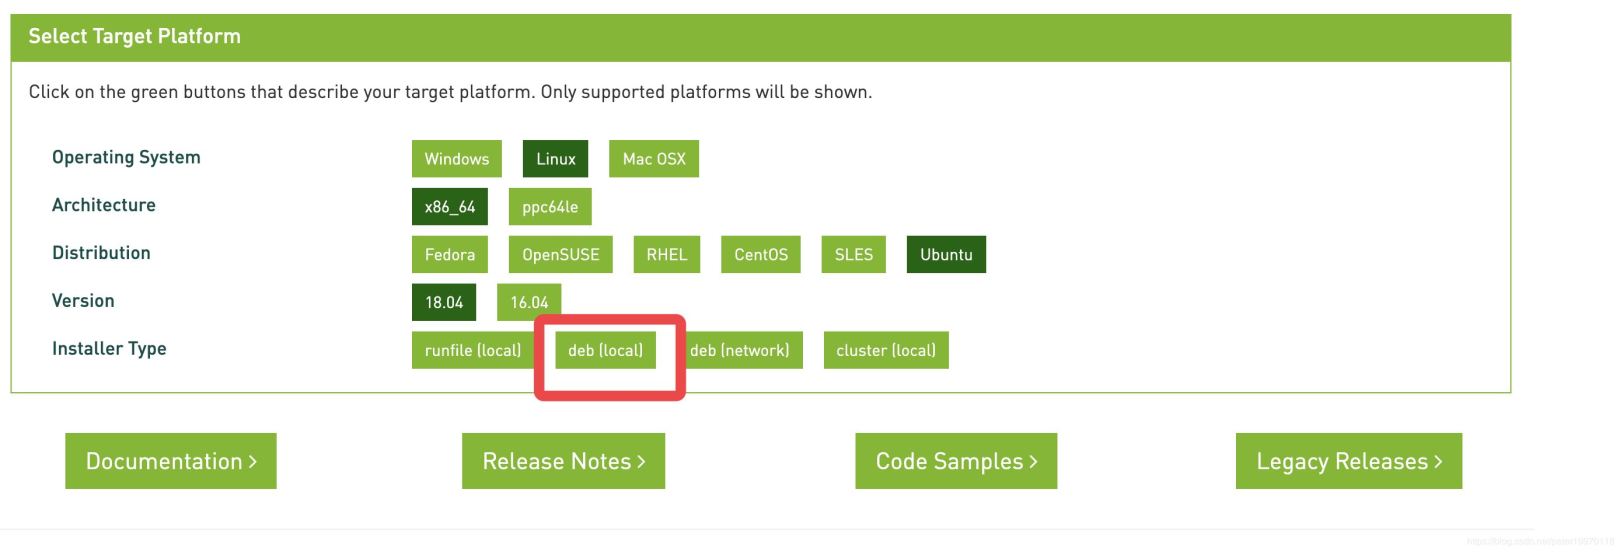
Obtain and install CUDA
Obtain the appropriate version of the CUDA Toolkit installation package on the official website
Use the following command to install cuda
$ wget https://developer.download.nvidia.com/compute/cuda/repos/ubuntu1804/x86_64/cuda-ubuntu1804.pin
$ sudo mv cuda-ubuntu1804.pin /etc/apt/preferences.d/cuda-repository-pin-600
$ wget http://developer.download.nvidia.com/compute/cuda/10.2/Prod/local_installers/cuda-repo-ubuntu1804-10-2-local-10.2.89-440.33.01_1.0-1_amd64.deb
$ sudo dpkg -i cuda-repo-ubuntu1804-10-2-local-10.2.89-440.33.01_1.0-1_amd64.deb
$ sudo apt-key add /var/cuda-repo-10-2-local-10.2.89-440.33.01/7fa2af80.pub
$ sudo apt-get update
$ sudo apt-get-y install cuda
Test CUDA
After the installation is complete, to confirm the installation, enter the example directory to compile
$ cd /usr/local/sample
$ make all
At this time, there may be a compilation error, and the error message is that nvscibuf.h cannot be found. Use the gedit tool to open the Makefile file and change line 41 to
FILTER_OUT := 0_Simple/cudaNvSci/Makefile
Then make all again to compile, after successful compilation, it will prompt Finished building CUDA samples
At this time, enter the /usr/local/cuda/extras/demo_suite directory, find the deviceQuery executable file, and execute it, and GPU related information will be output.
This is the GPU information of the blogger
CUDA Device Query(Runtime API)version(CUDART static linking)

Detected 1 CUDA Capable device(s)

Device 0:"GeForce GTX 1060 6GB"
 CUDA Driver Version / Runtime Version     10.2/10.2
 CUDA Capability Major/Minor version number:6.1
 Total amount of global memory:6075MBytes(6370295808 bytes)(10) Multiprocessors,(128) CUDA Cores/MP:1280 CUDA Cores
 GPU Max Clock rate:1759MHz(1.76 GHz)
 Memory Clock rate:4004 Mhz
 Memory Bus Width:192-bit
 L2 Cache Size:1572864 bytes
 Maximum Texture Dimension Size(x,y,z)     1D=(131072), 2D=(131072,65536), 3D=(16384,16384,16384)
 Maximum Layered 1D Texture Size,(num) layers 1D=(32768),2048 layers
 Maximum Layered 2D Texture Size,(num) layers 2D=(32768,32768),2048 layers
 Total amount of constant memory:65536 bytes
 Total amount of shared memory per block:49152 bytes
 Total number of registers available per block:65536
 Warp size:32
 Maximum number of threads per multiprocessor:2048
 Maximum number of threads per block:1024
 Max dimension size of a thread block(x,y,z):(1024,1024,64)
 Max dimension size of a grid size(x,y,z):(2147483647,65535,65535)
 Maximum memory pitch:2147483647 bytes
 Texture alignment:512 bytes
 Concurrent copy and kernel execution:     Yes with2 copy engine(s)
 Run time limit on kernels:           Yes
 Integrated GPU sharing Host Memory:      No
 Support host page-locked memory mapping:    Yes
 Alignment requirement for Surfaces:      Yes
 Device has ECC support:            Disabled
 Device supports Unified Addressing(UVA):   Yes
 Device supports Compute Preemption:      Yes
 Supports Cooperative Kernel Launch:      Yes
 Supports MultiDevice Co-op Kernel Launch:   Yes
 Device PCI Domain ID / Bus ID / location ID:0/1/0
 Compute Mode:<Default(multiple host threads can use ::cudaSetDevice()with device simultaneously)

deviceQuery, CUDA Driver = CUDART, CUDA Driver Version =10.2, CUDA Runtime Version =10.2, NumDevs =1, Device0 = GeForce GTX 1060 6GB
Result = PASS
At this point, CUDA is installed.
cuDNN (only available after CUDA installation is complete)
NVIDIA cuDNN is a GPU accelerated library for deep neural networks. It emphasizes performance, ease of use and low memory overhead. NVIDIA cuDNN can be integrated into higher-level machine learning frameworks, such as the popular caffe software of the University of California, Berkeley. Simple, plug-in design allows developers to focus on designing and implementing neural network models instead of adjusting performance, while also enabling high-performance modern parallel computing on the GPU.
Get cuDNN
After registering on the official website link and verifying your email, click on Download cuDNN to download
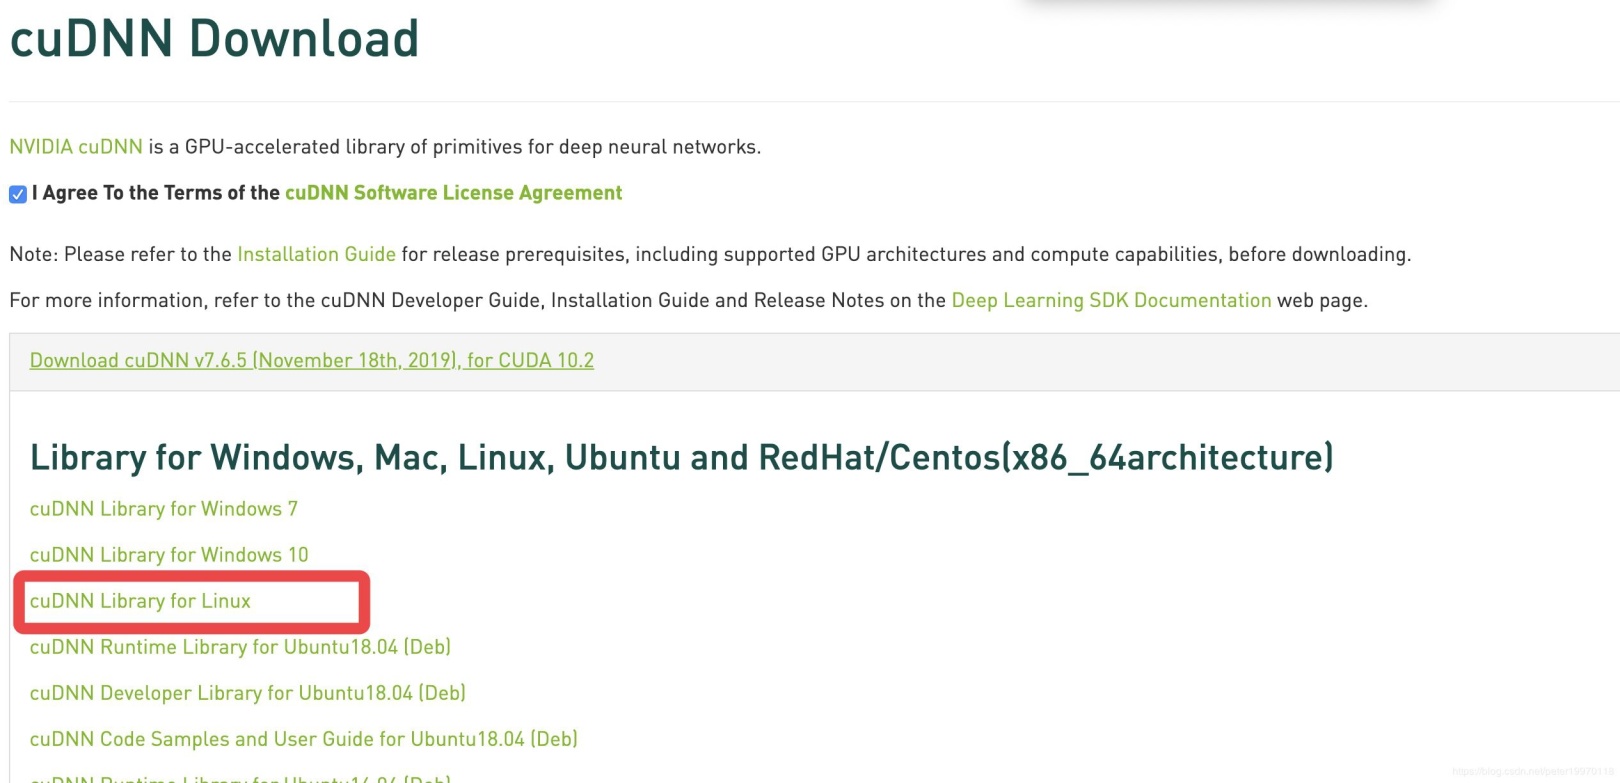
Remember to tick before agree~
The latest version is CUDA 10.2, cuDNN 7.6.5.32, the file obtained is cudnn-10.2-linux-x64-v7.6.5.32.tgz
After the download is complete, enter the download directory and use the following command to decompress
$ tar -zxvf cudnn-10.2-linux-x64-v7.6.5.32.tgz
A folder named cuda will be generated, enter the folder
$ cd cuda
Then use the copy operation to complete the installation
sudo cp lib64/libcudnn*/usr/local/cuda/lib64/
sudo cp include/cudnn.h /usr/local/cuda/include
After the operation is completed, enter the cuDNN directory to update the soft link of the library file
$ cd /usr/local/cuda/lib64
$ sudo chmod +r libcudnn.so.7.6.5
$ sudo ln -s libcudnn.so.7.6.5 libcudnn.so.7
$ sudo ln -s libcudnn.so.7.6.5 libcudnn.so
$ sudo ldconfig
If an error is reported during the soft link, change -s to -sf
Next, add environment variables in ~/.bashrc
export LD_LIBRARY_PATH=/usr/local/cuda-10.2/lib64:usr/local/cuda-10.2/extras/CUPTI/lib64:$LD_LIBRARY_PATH
export CUDA_HOME=/usr/local/cuda-10.2export PATH=/usr/local/cuda-10.2/bin:$PATH
At this point, the installation of CUDA and cuDNN is complete.
Five, officially began to install TensorFlow
Before starting the installation, first install pip
$ sudo apt-get install python3-pip python3-dev
After completion, enter pip and press Enter will output related commands
Usage:
	pip <command  [options]
After the pip installation is complete, enter the following command to start installing the latest TensorFlow.
$ pip install tensorflow
If there is no GPU, install the CPU version TensorFlow
$ pip install tensorflow-cpu
After installation, use Python to test the first TensorFlow program
$ python3
import tensorflow as tf
 tf.add(1,2).numpy()3
 hello = tf.constant('Hello, TensorFlow!')
 hello.numpy()
b'Hello, TensorFlow!'
When the above results are generated, TensorFlow is installed successfully.
At this point, TensorFlow use environment, installation is complete.
So far, this article on the method of configuring the TensorFlow use environment in Ubuntu is introduced. For more related Ubuntu configuration TensorFlow content, please search for ZaLou.Cn's previous articles or continue to browse the related articles below. I hope you will support ZaLou in the future. Cn!
Recommended Posts