How to install Odoo 13 on CentOS 8

Odoo is the most popular multifunctional business software in the world. It provides a series of business applications, including CRM, website, e-commerce, billing, account, industrial manufacturing, warehouse, project management, inventory management, etc. All things are seamlessly integrated.
This guide explains how to install Odoo 13 from source in a Python virtual machine environment on CentOS 8. We will compile the Odoo source code from Github and configure Nginx as a reverse proxy server.
1. Prerequisites##
You need to log in as root or another user with sudo permission to complete the entire installation process.
Second, install dependencies##
Install Python 3, Git, and other libraries and tools needed to compile Odoo from source:
sudo dnf install python3 python3-devel git gcc redhat-rpm-config libxslt-devel bzip2-devel openldap-devel libjpeg-devel freetype-devel
Three, create a system user##
Create a system user and user group with /opt/odoo as the main directory to run Odoo services:
sudo useradd -m -U -r -d /opt/odoo13 -s /bin/bash odoo13
You can use other names you want as the user name, as long as you can ensure that you can create a PostgreSQL user with this name.
Fourth, install and configure PostgreSQL
We will install PostgreSQL 10 from the standard CentOS 8 source repository.
sudo dnf install @postgresql:10
Once the installation is complete, create a PostgreSQL database:
sudo postgresql-setup initdb
Enable and start the PostGreSQL service:
sudo systemctl enable --now postgresql
Create a ProtgreSQL user and use the same name as the system user created earlier as the database user name. In our example, the name is odoo13:
sudo su - postgres -c "createuser -s odoo13"
Five, install Wkhtmltopdf
The Wkhtmltopdf software package provides a series of open source command line tools, which can render HTML into PDF and various image formats. To print a PDF report, you will need the Wkhtmltopdf tool. The recommended version of Odoo is 0.12.5, which is not in the official software source repository of CentOS 8.
Install its rpm package from github:
sudo dnf install https://github.com/wkhtmltopdf/wkhtmltopdf/releases/download/0.12.5/wkhtmltox-0.12.5-1.centos8.x86_64.rpm
Six, install and configure Odoo 13
Before starting the installation, switch the user to odoo13:
sudo su - odoo13
Start cloning the Odoo 13 source code from Odoo's Github source repository:
git clone https://www.github.com/odoo/odoo --depth 1--branch 13.0/opt/odoo13/odoo
Change to the /opt/odoo13 directory and create a new Python virtual environment for installing Odoo:
cd /opt/odoo13
python3 -m venv venv
Use the source command to activate this environment:
source venv/bin/activate
Install the necessary Python modules:
pip3 install -r odoo/requirements.txt
If you encounter any compilation errors during the installation process, please make sure that you have installed all dependent packages. Specific dependency package reference`Installing Dependencies`
Once the installation is complete, remove the environment:
deactivate
Create a new directory for the custom component:
mkdir /opt/odoo13/odoo-custom-addons
Switch back to sudo user
exit
Next, use a text editor to open and create the following configuration file:
sudo nano /etc/odoo13.conf
[ options]; This is the password that allows database operations:
admin_passwd = superadmin_passwd
db_host = False
db_port = False
db_user = odoo13
db_password = False
addons_path =/opt/odoo13/odoo/addons,/opt/odoo13/odoo-custom-addons
Save and close the file.
Don't forget to`superadmin_passwd`Change to a more secure password.
Seven, create a Systemd Unit file##
Open your text editor and create a file named odoo13.service in the /etc/systemd/system/ directory:
sudo nano /etc/systemd/system/odoo13.service
Paste the following content into the file:
[ Unit]
Description=Odoo13
Requires=postgresql.service
After=network.target postgresql.service

[ Service]
Type=simple
SyslogIdentifier=odoo13
PermissionsStartOnly=true
User=odoo13
Group=odoo13
ExecStart=/opt/odoo13/venv/bin/python3 /opt/odoo13/odoo/odoo-bin -c /etc/odoo13.conf
StandardOutput=journal+console

[ Install]
WantedBy=multi-user.target
Save the file and close the editor.
Notify Systemd that there is a new unit file:
sudo systemctl daemon-reload
Enable and start the Odoo service by executing the following command:
sudo systemctl enable --now odoo13
You can check the service status with the following command:
sudo systemctl status odoo13
● odoo13.service - Odoo13
 Loaded:loaded(/etc/systemd/system/odoo13.service; enabled; vendor preset: disabled)
 Active:active(running) since Wed 2019-12-1120:04:52 UTC; 5s ago
 Main PID:28539(python3)
 Tasks:4(limit:11524)
 Memory:94.6M
 CGroup:/system.slice/odoo13.service
   └─28539/opt/odoo13/venv/bin/python3 /opt/odoo13/odoo/odoo-bin -c /etc/odoo13.conf
To view the Odoo service log, use the following command:
sudo journalctl -u odoo13
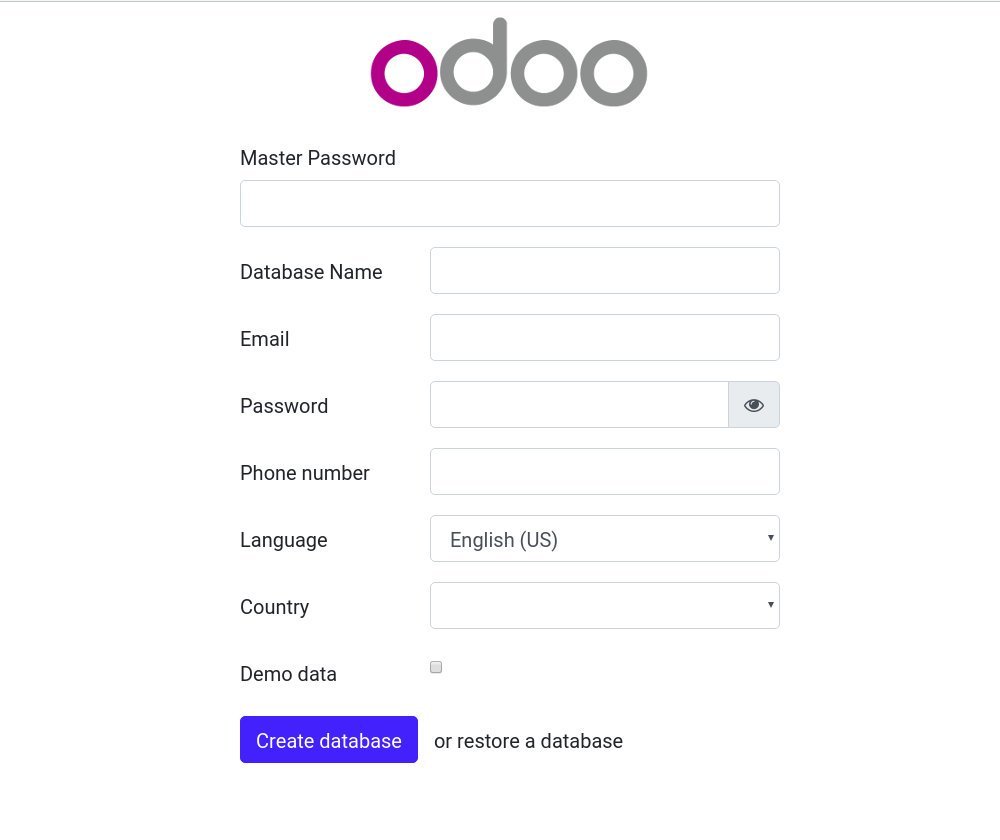
Eight, test installation##
Open your browser and type: http://<your_domain_or_IP_address> :8069
Assuming all the installation is complete, you will see the following screen:
If you cannot access this page, it is likely that your firewall is blocking port 8069.
Use the following command to open the necessary ports:
sudo firewall-cmd --permanent --zone=public--add-port=8069/tcp
sudo firewall-cmd --reload
Nine, configure Nginx as an SSL proxy server##
The default Odoo web server is served via HTTP. To make Odoo deployment more secure, we will configure Nginx as an SSL proxy server to enable the website server to serve through HTTPS.
SSL proxy server is a proxy server used to process SSL encryption and decryption. This means that Nginx will process and decrypt the incoming TLS connection (HTTPS) and pass the unencrypted request to the internal service (Odoo). The traffic between Nginx and Odoo will not be encrypted.
There are many advantages to using a reverse proxy server, such as [Load Balancing] (https://cloud.tencent.com/product/clb?from=10680), SSL, caching, compression, static content service, etc.
Make sure you meet the following prerequisites before proceeding to the next installation and configuration:
- A domain name pointing to the public IP of your server, we use
example.com. - Install Nginx
- [SSL certificate] (https://cloud.tencent.com/product/symantecssl?from=10680) of the domain name. You can install a free Encrypt SSL certificate.
Open your text editor and create or edit the domain name server configuration block:
sudo nano /etc/nginx/conf.d/example.com
The following configuration will establish SSL, HTTP to HTTPS, WWW to non-www, cache static files, and enable GZip compression.
# Odoo servers
upstream odoo {
 server 127.0.0.1:8069;}

upstream odoochat {
 server 127.0.0.1:8072;}

# HTTP -> HTTPS
server {
 listen 80;
 server_name www.example.com example.com;

 include snippets/letsencrypt.conf;return301 https://example.com$request_uri;}

# WWW -> NON WWW
server {
 listen 443 ssl http2;
 server_name www.example.com;

 ssl_certificate /etc/letsencrypt/live/example.com/fullchain.pem;
 ssl_certificate_key /etc/letsencrypt/live/example.com/privkey.pem;
 ssl_trusted_certificate /etc/letsencrypt/live/example.com/chain.pem;
 include snippets/ssl.conf;return301 https://example.com$request_uri;}

server {
 listen 443 ssl http2;
 server_name example.com;

 proxy_read_timeout 720s;
 proxy_connect_timeout 720s;
 proxy_send_timeout 720s;

 # Proxy headers
 proxy_set_header X-Forwarded-Host $host;
 proxy_set_header X-Forwarded-For $proxy_add_x_forwarded_for;
 proxy_set_header X-Forwarded-Proto $scheme;
 proxy_set_header X-Real-IP $remote_addr;

 # SSL parameters
 ssl_certificate /etc/letsencrypt/live/example.com/fullchain.pem;
 ssl_certificate_key /etc/letsencrypt/live/example.com/privkey.pem;
 ssl_trusted_certificate /etc/letsencrypt/live/example.com/chain.pem;
 include snippets/ssl.conf;

 # log files
 access_log /var/log/nginx/odoo.access.log;
 error_log /var/log/nginx/odoo.error.log;

 # Handle longpoll requests
 location /longpolling {
  proxy_pass http://odoochat;}

 # Handle / requests
 location /{
  proxy_redirect off;
  proxy_pass http://odoo;}

 # Cache static files
 location ~*/web/static/{
  proxy_cache_valid 200 90m;
  proxy_buffering on;
  expires 864000;
  proxy_pass http://odoo;}

 # Gzip
 gzip_types text/css text/less text/plain text/xml application/xml application/json application/javascript;
 gzip on;}
Don’t forget to replace example with your own Odoo domain name.com and set the correct SSL certificate address. Configuration section in the certificate,Please refer to: https://linuxize.com/post/secure-nginx-with-let-s-encrypt-on-centos-7/
Once you are done, restart the Nginx service:
sudo systemctl restart nginx
Next, we need to tell Odoo to use a proxy server. To do this, open the configuration file and add the following content: /etc/odoo13.conf
Restart the Odoo service and make the changes take effect:
sudo systemctl restart odoo13
At this point, the reverse proxy server is configured, and you can access Odoo through https://example.com.
Ten, change the listening port##
This step is optional, but it is a good practice.
By default, the Odoo service listens on port 8069 of all network interfaces. To prohibit direct access to Odoo, you can block port 8069 and force Odoo to only listen to local monitoring.
We will configure Odoo to only listen on 127.0.0.1. Open the configuration file and add the following to the end of the file: /etc/odoo13.conf
xmlrpc_interface =127.0.0.1
netrpc_interface =127.0.0.1
Save the configuration file and restart the Odoo server to make the changes take effect:
sudo systemctl restart odoo13
Eleven, enable multiple processes##
By default, Odoo works in multi-threaded mode. For product-level deployment, we recommend modifying it to a multi-process server to improve stability and make full use of system resources.
To enable multiple processes, you need to edit the Odoo configuration file and set a non-zero number of worker processes. The number of work processes is calculated based on the number of CPU cores in the system and the available RAM memory.
To calculate the number of worker processes and the amount of RAM required by Odoo official documents, you can use the following formula:
Calculation of the number of work processes:
- Theoretical value of the maximum number of worker processes = (system_cpus * 2) + 1
- 1 A worker process can serve approximately equal to 6 parallel clients.
- Cron process also requires CPU
RAM memory size calculation
- We consider that 20% of requests are heavy requests, and 80% of requests are lightweight requests. The heavyweight request uses nearly 1GB RAM, while the lightweight request uses nearly 150MB RAM.
- Required RAM =
number_of_workers * ((light_worker_ratio * light_worker_ram_estimation) + (heavy_worker_ratio * heavy_worker_ram_estimation) )
If you don't know how many CPUs your system has, you can use the following grep command:
grep -c ^processor /proc/cpuinfo
For example, you have a system with 4 core CPU, 8GB RAM memory, and 30 parallel Odoo users.
30 users / 6 = **5**(5 is the number of theoretical work processes required)(4 * 2) + 1 = **9**(9 Is the theoretical maximum number of work processes)
Based on the above calculation, you can use 5 processes + 1 process (Cron process) for a total of 6 processes.
Based on the work process, calculate the RAM memory:
RAM = 6 * ((0.8*150) + (0.2*1024)) ~= 2 GB of RAM
Calculation results show that Odoo installation will require about 2GB of RAM.
To switch to multi-process mode, open the configuration file and add the calculated value: /etc/odoo13.conf
limit_memory_hard =2684354560
limit_memory_soft =2147483648
limit_request =8192
limit_time_cpu =600
limit_time_real =1200
max_cron_threads =1
workers =5
Restart the Odoo service to make the changes take effect:
sudo systemctl restart odoo13
The remaining system resources will be allocated to other services in the system. In this guide, we will install Odoo, PostgreSQL and Nginx on the same server. Depending on your settings, there are other services on your server.
12. Summary##
This guide walks you through how to install Odoo 13 in a Python virtual environment on CentOS 8 and use Nginx as a reverse proxy server. We showed how to enable multi-process and optimize Odoo in a production environment.
Recommended Posts