Vmware-install and start Centos 7
Download Linux installation package##
http://mirrors.aliyun.com/centos/7.8.2003/isos/x86_64/
Different versions of Centos
https://mirrors.aliyun.com/centos/
New virtual machine##
Open Vmware
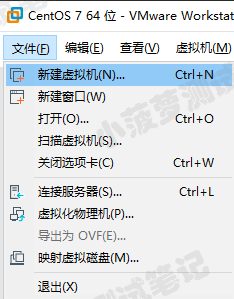
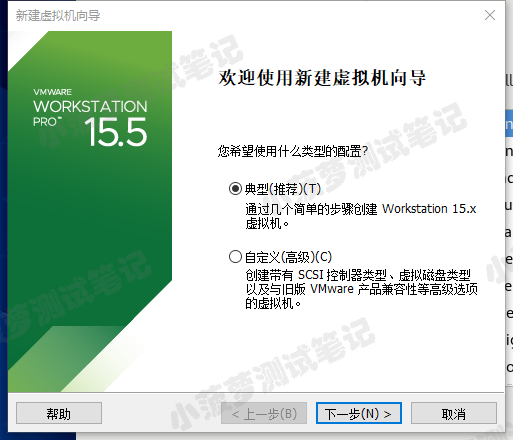
Select "typical (recommended)"
Select "I will install the operating system later"
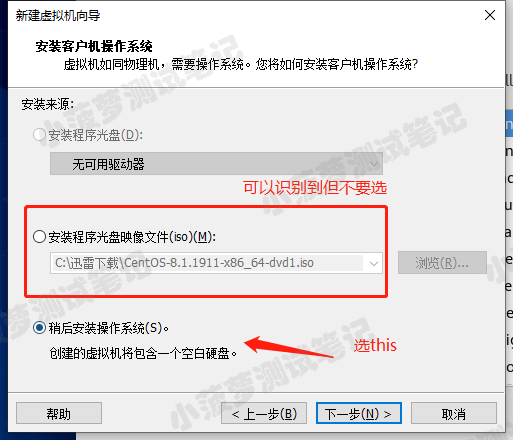
The picture also explains, do not directly select the iso file, there will be problems in the final installation of the system
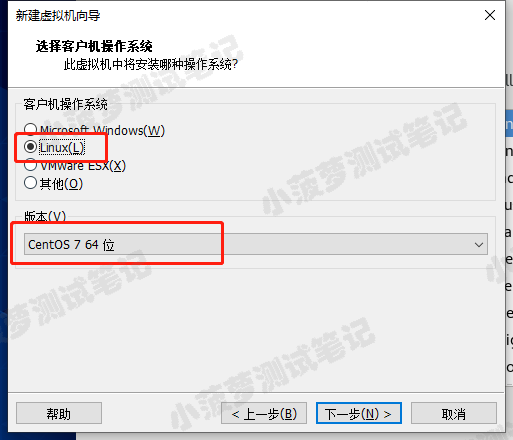
Select the operating system to install###
Linux-centos 7 64 bit
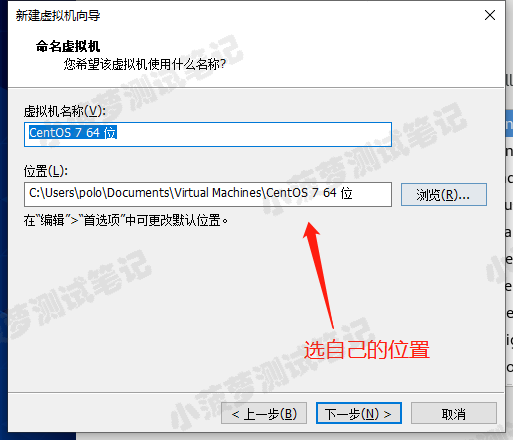
Name the virtual machine and specify its storage location (a folder on the machine)
**Note: **Enough space should be reserved on the hard disk according to the requirements of the installed operating system
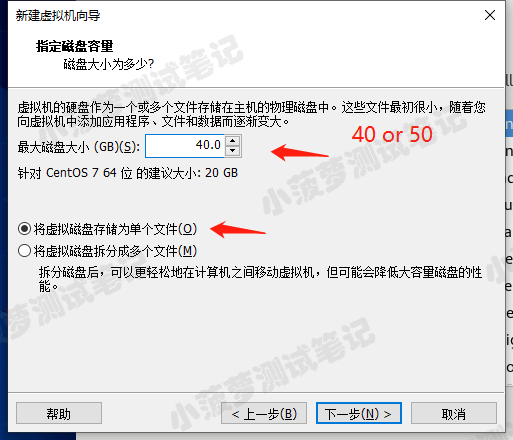
Set the capacity of the virtual machine disk###
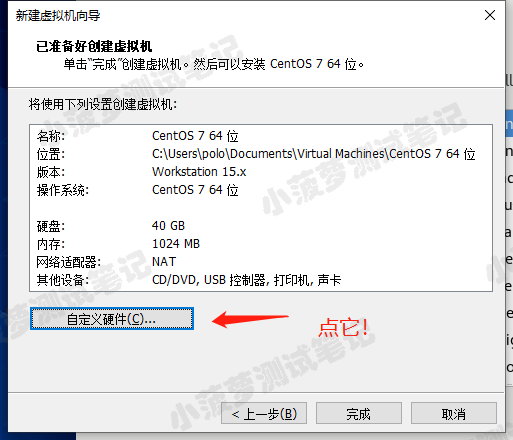
Custom hardware###
CD/DVD select mirror file####
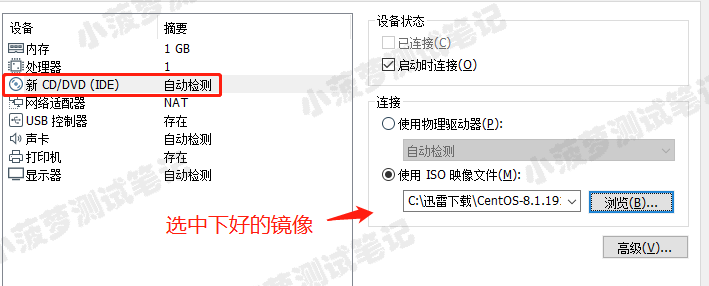
- You can remove the sound card and printer here, but you don’t need it anyway
- For the network, I usually choose bridging, eliminating the need to set a static IP
2 G memory, 2 cores from
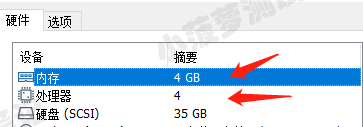
Actually decide by yourself
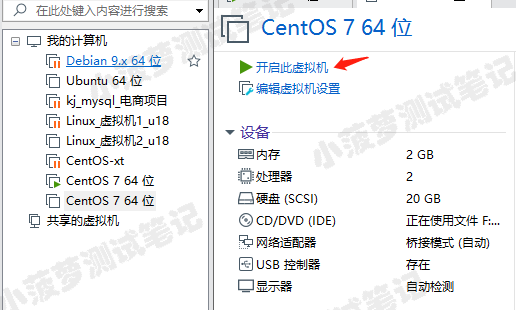
Turn on the virtual machine##
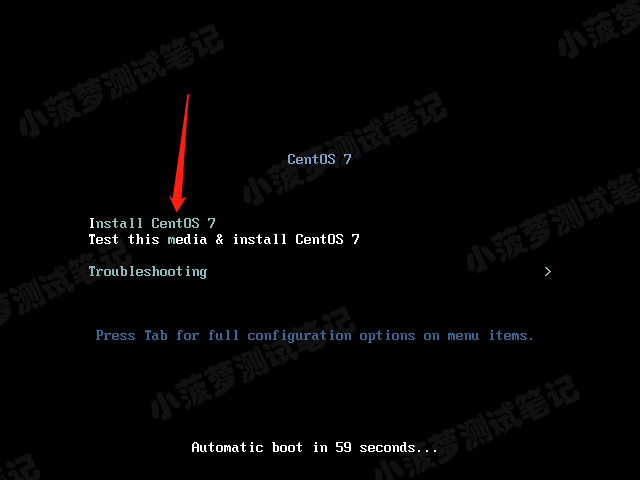
Choose install centos 7
Choose the first one and hit enter
Install Centos 7 system##
Select keyboard
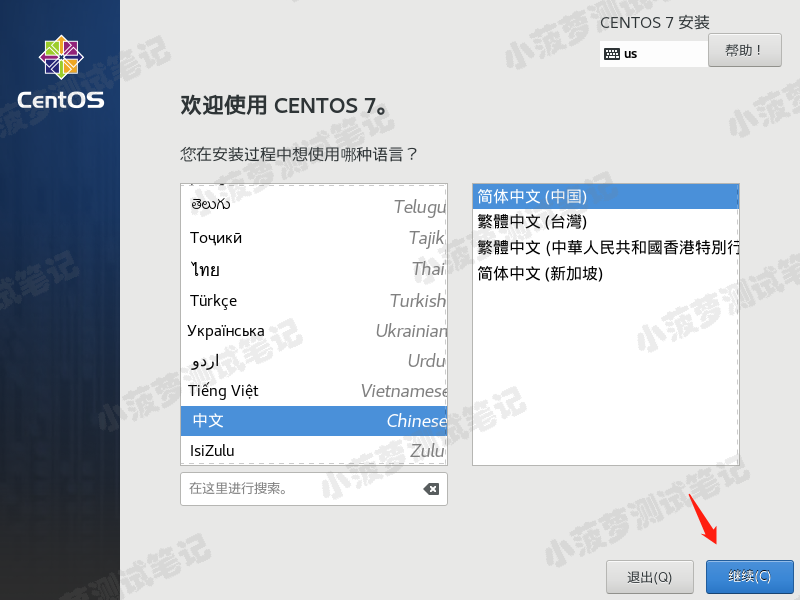
I want Chinese! Chinese mighty!
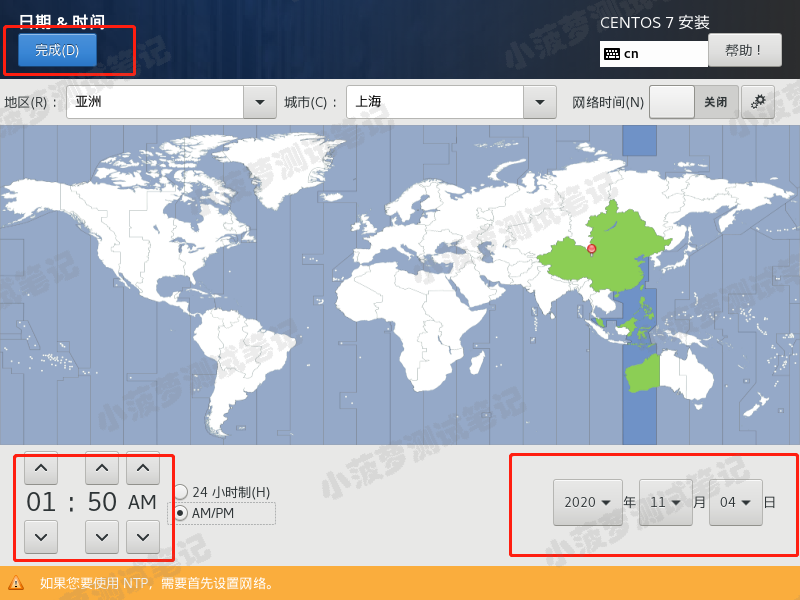
Set date and time###

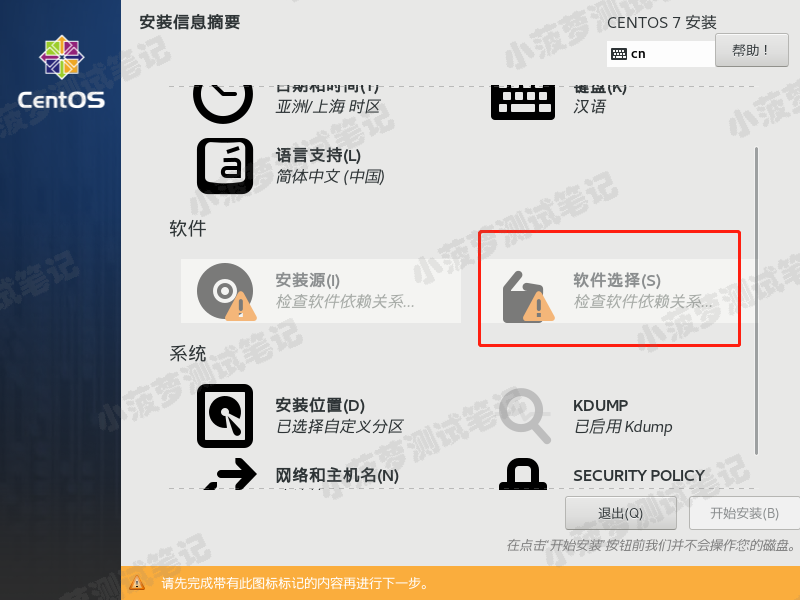
Select the software to be installed###
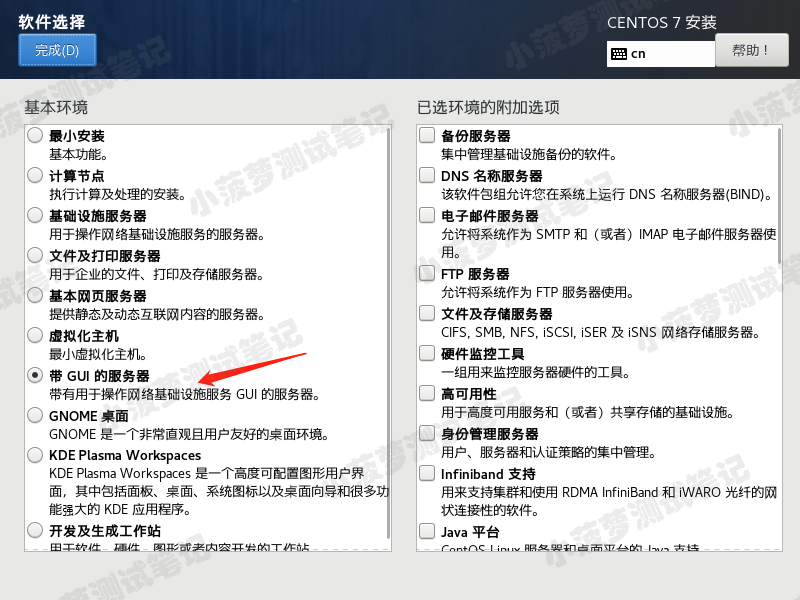
Let's have a GUI interface
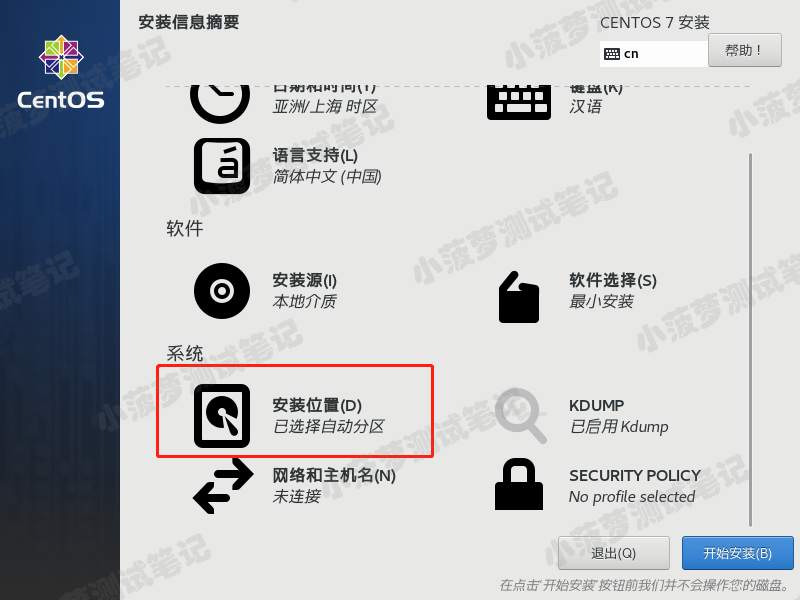
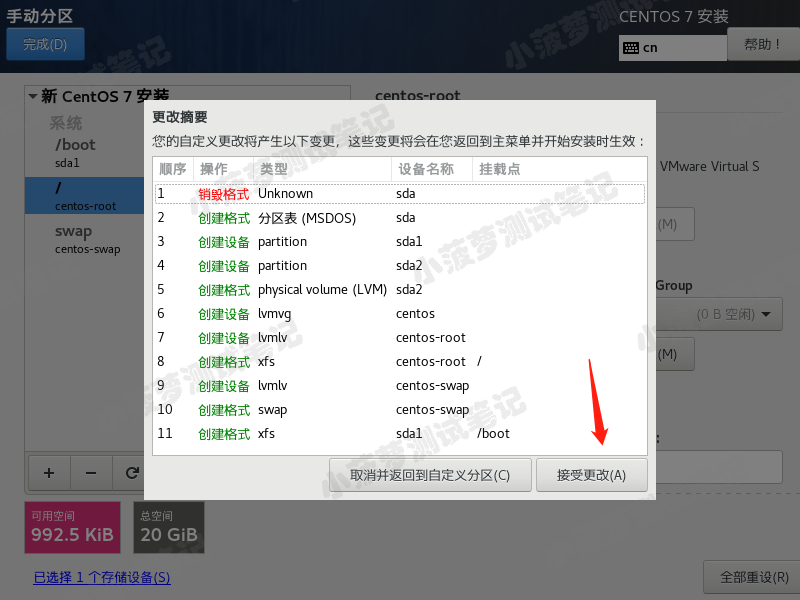
Partition the disk###
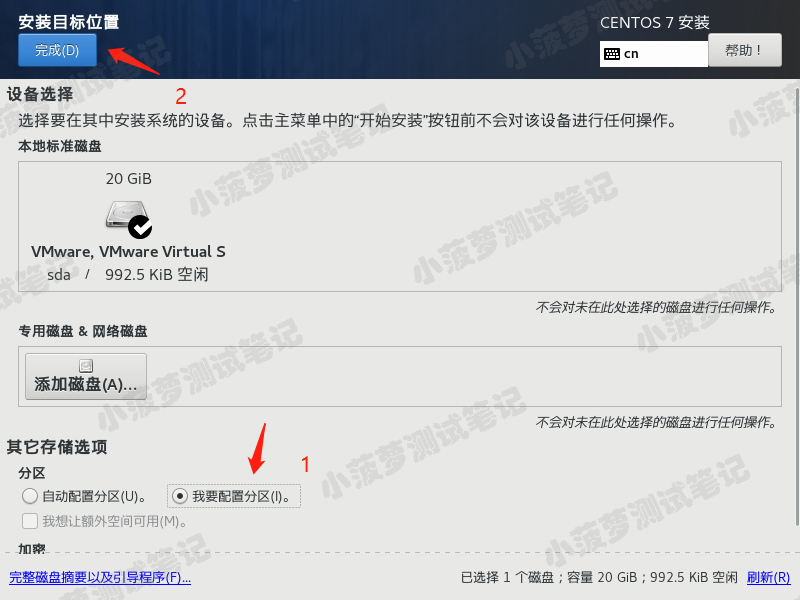
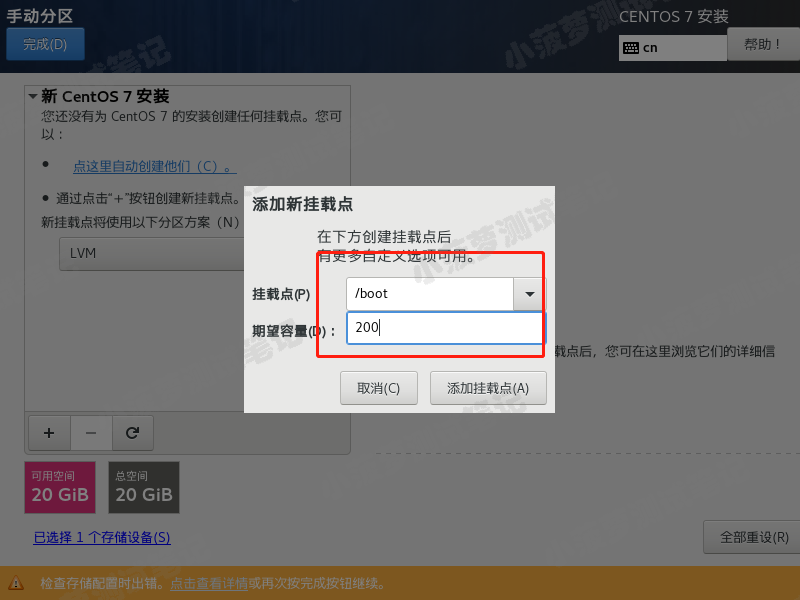
Add three partitions####
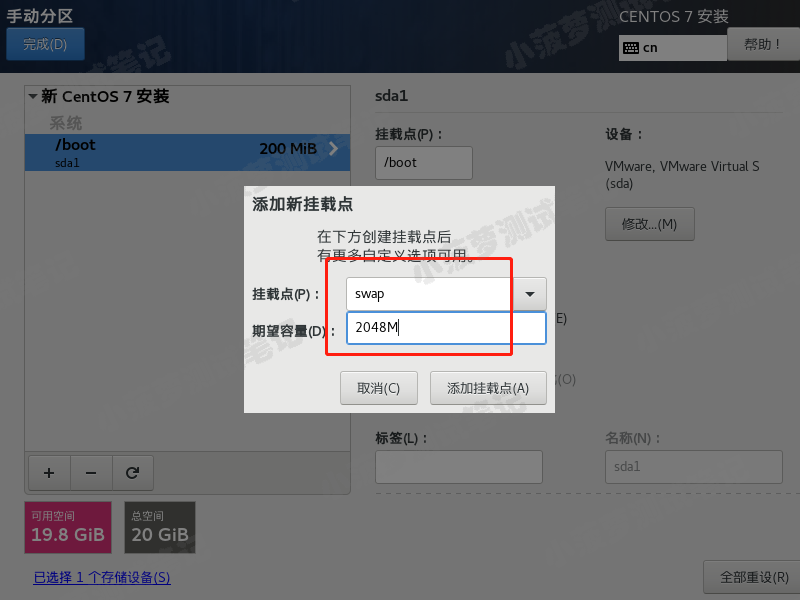
**Important: **swap partition must be given, otherwise a warning will be reported
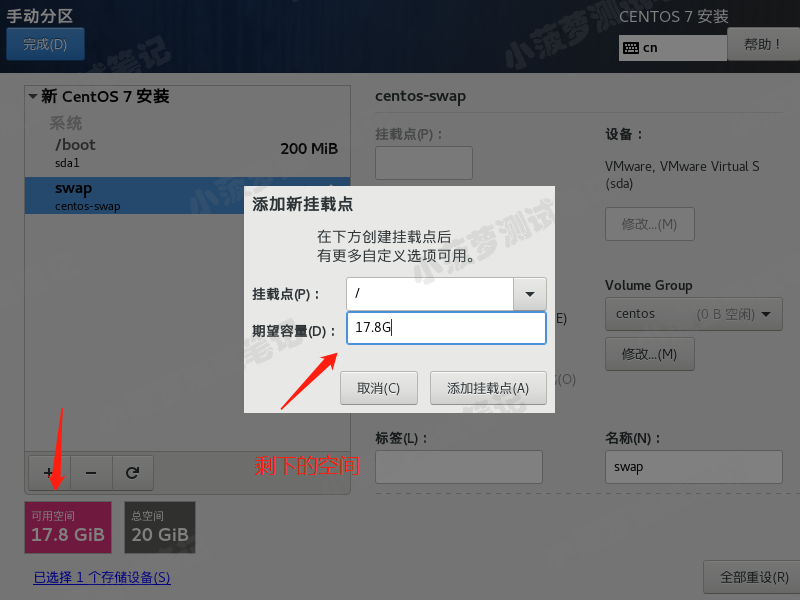
After adding three partitions, click [Finish] in the upper left corner
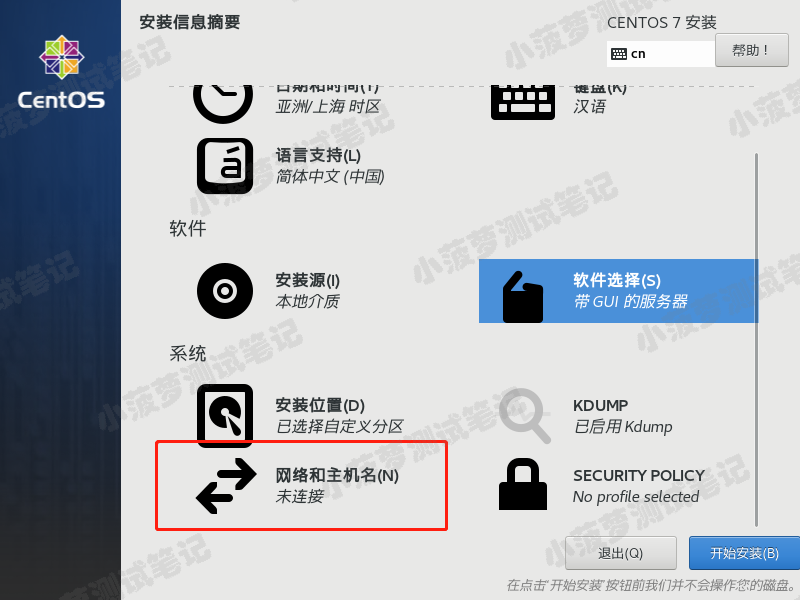
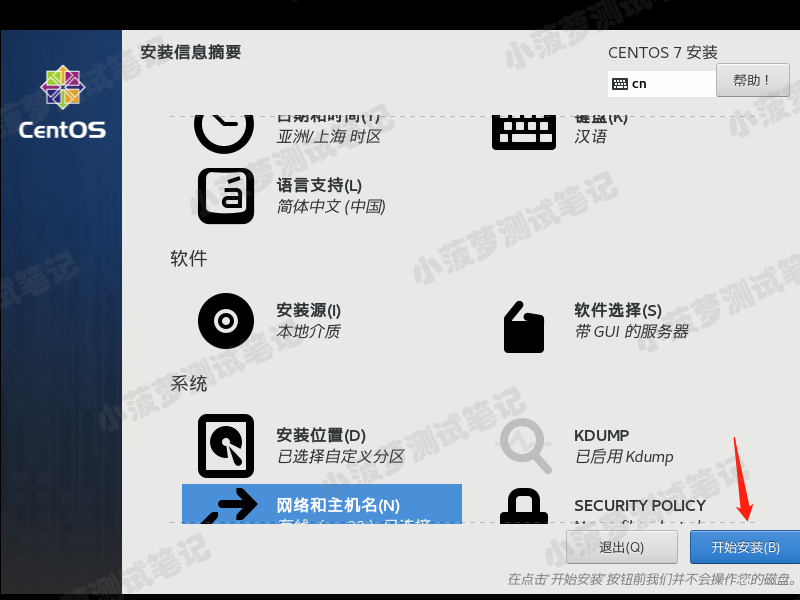
Set host and network card information###

start installation###
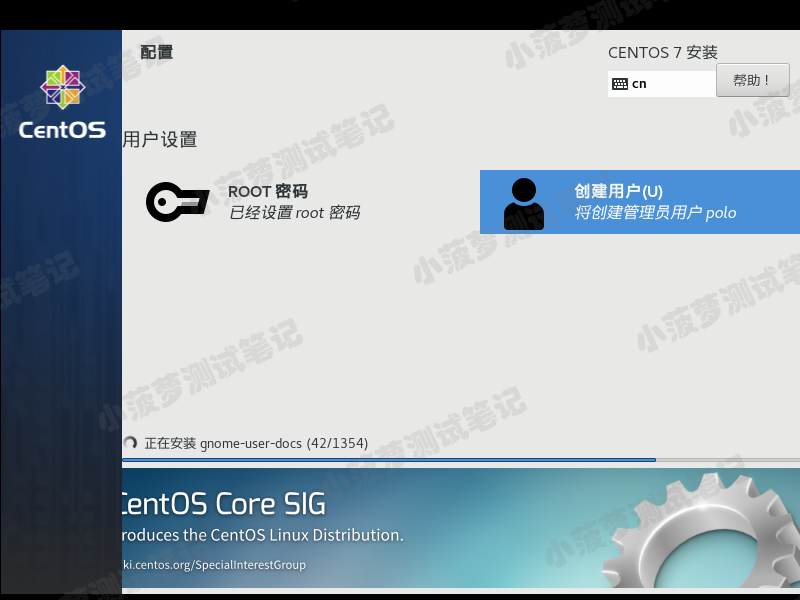
The installation process sets the root password and then creates a user
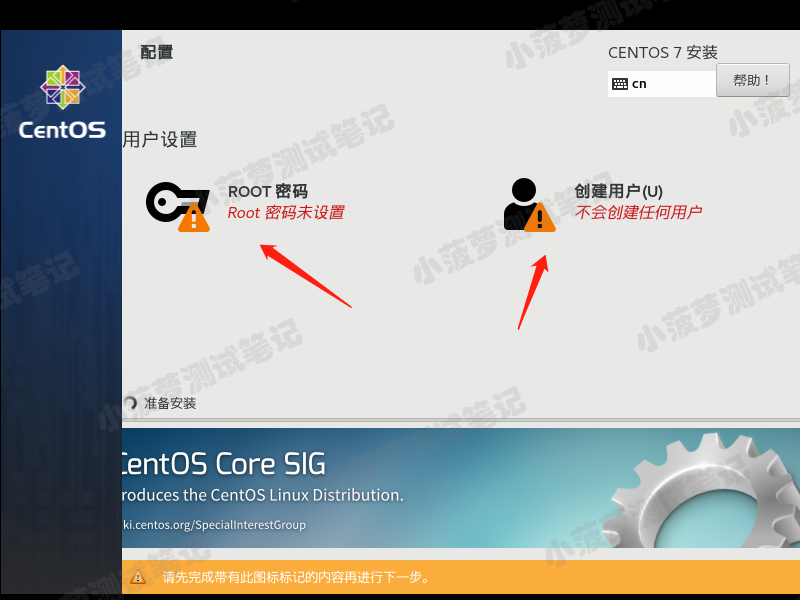
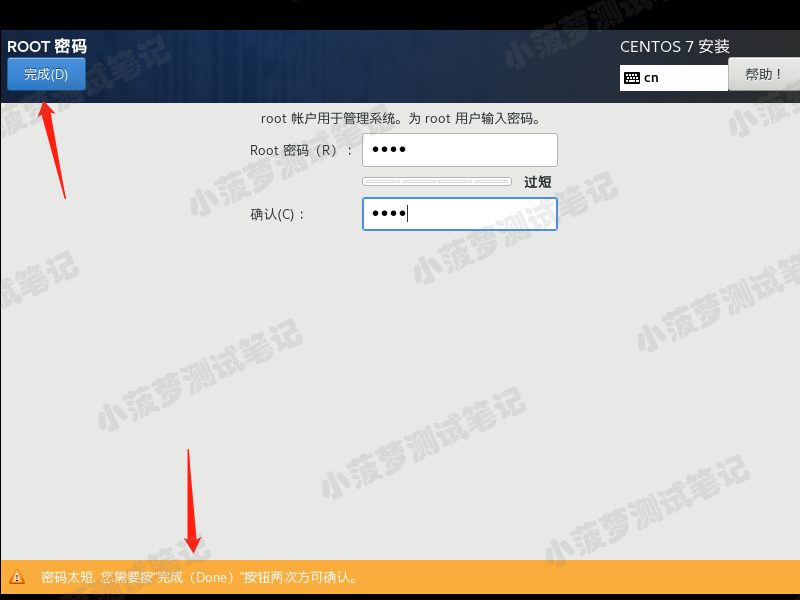
Set root password####
Anyway, my setting is simple, just click twice to complete
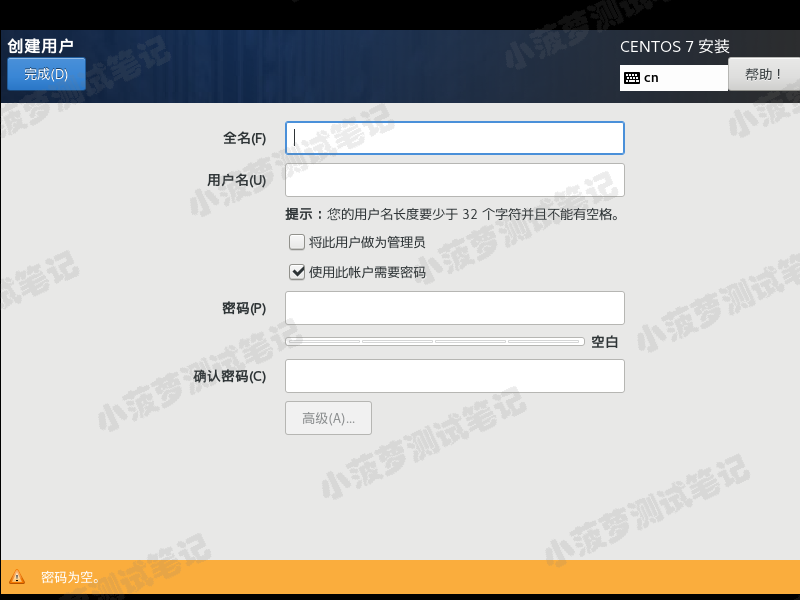
Create user
Waiting for successful installation###
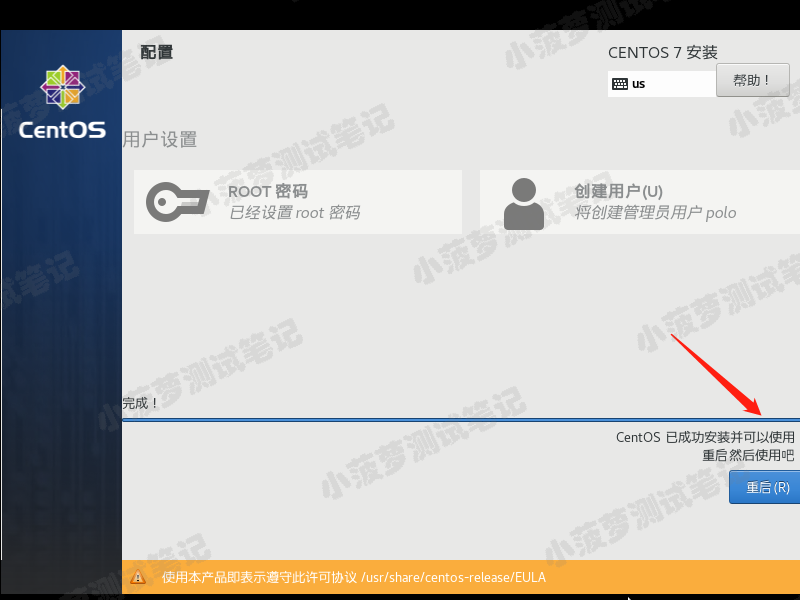
Restart the machine###
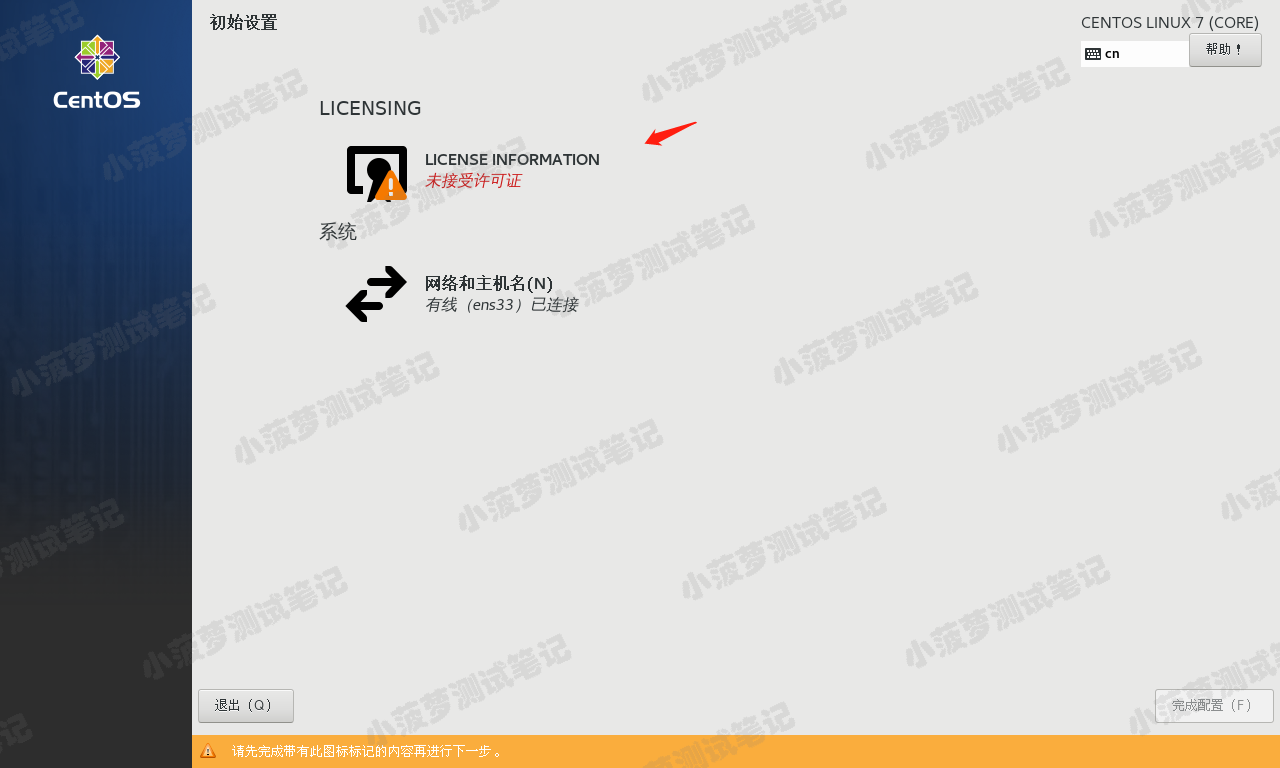
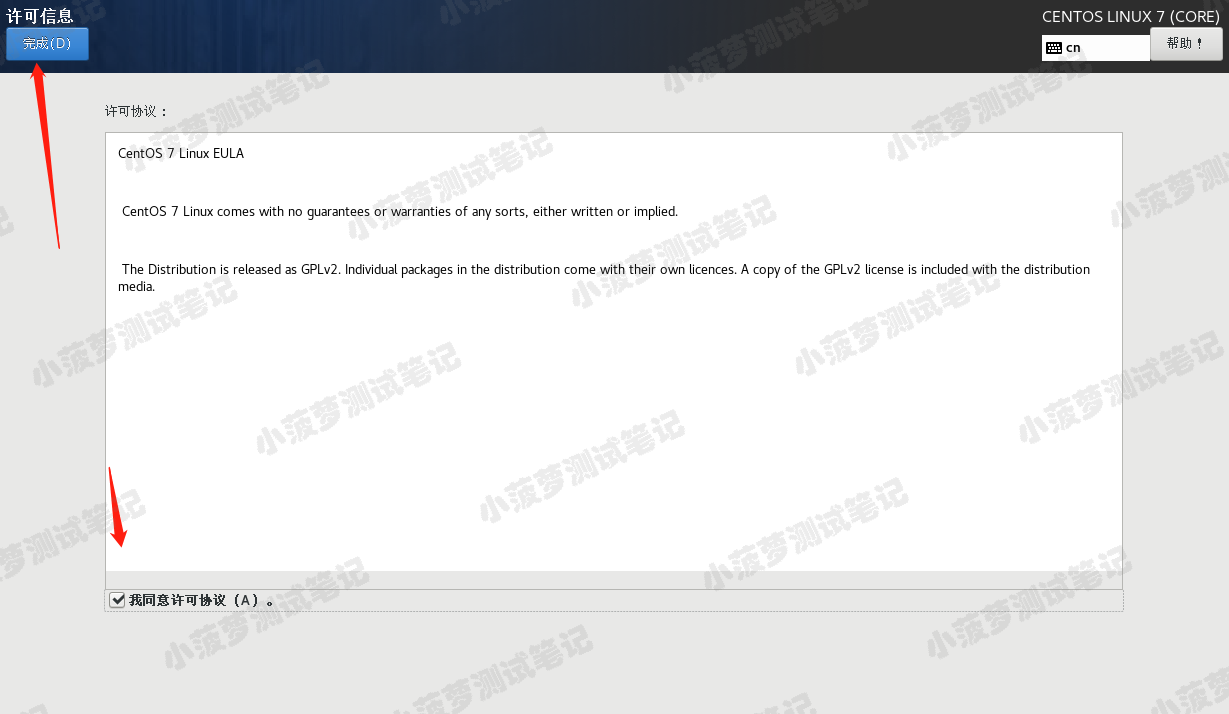
license###
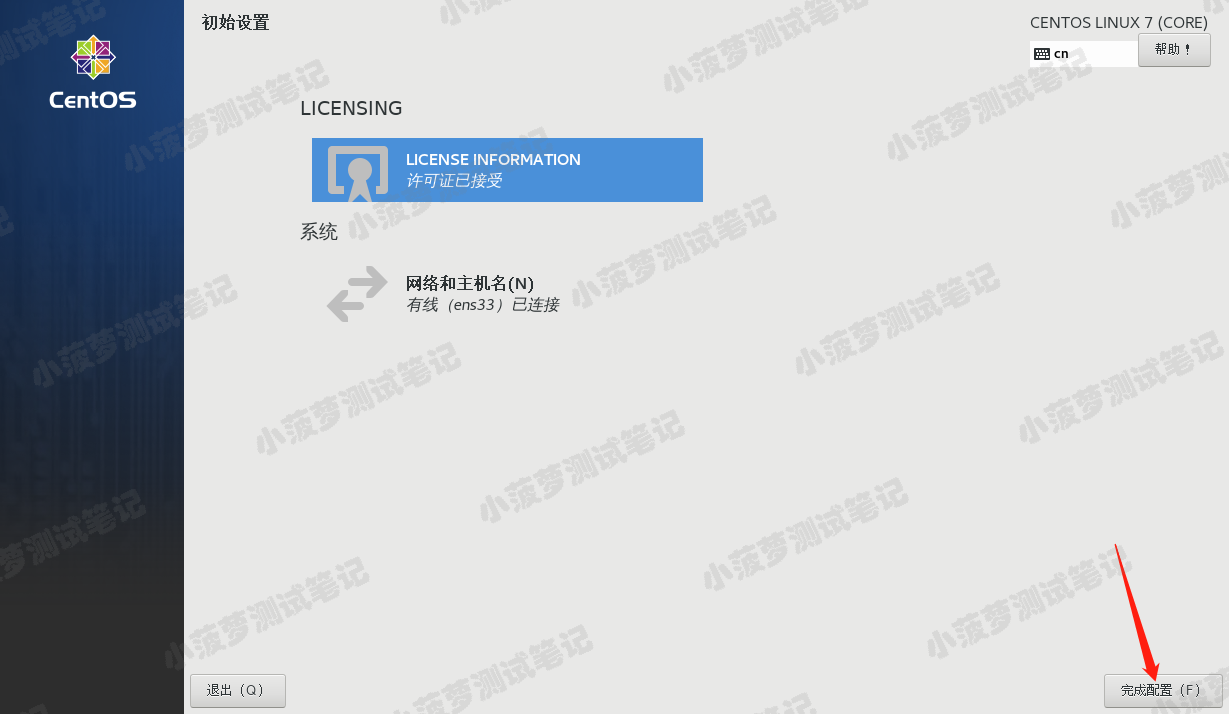
**At this point, you're done, you can use the centos7 virtual machine! **
Recommended Posts