How to install Django Web Framework on Ubuntu 18.04
Introduction
Django is a full-featured Python Web framework for developing dynamic websites and applications. With Django, you can quickly create Python web applications and rely on the framework to complete the heavy work.
In this tutorial, you will get Django up and running on an Ubuntu 18.04 server. After the installation is complete, you will start a new project as the base of the site.
To complete this tutorial, you need to have an Ubuntu server with a non-root account that can use the sudo command, and the firewall is turned on. Students who don’t have a server can buy it from here, but I personally recommend you to use the free Tencent Cloud Developer Lab for experimentation, and then buy server.
Different ways
There are multiple ways to install Django, depending on your needs and how you want to configure your development environment. They have different advantages, and one method may be more suitable for your specific situation than the other.
Some different methods include:
- Global installation from packages: The official Ubuntu repository contains Django packages that can be installed with the traditional
aptpackage manager. This is simple, but not as flexible as some other methods. In addition, the version contained in the repository may lag behind the official version available in the project. - Installing pip in a virtual environment: You can use tools such as
venvandvirtualenvto create a self-contained environment for your project. The virtual environment allows you to install Django in the project directory without affecting the larger system, as well as the customizations and packages of each other project. This is usually the most practical and recommended way to use Django. - Development version install git: If you want to install the latest development version instead of the stable version, you can get the code from the Git repository. This is necessary to get the latest features/fixes and can be done in your virtual environment. However, the development version does not have the same stability guarantees as the more stable version.
Preparation
Before starting, you should have a non-root user with sudo privileges on the Ubuntu 18.04 server.
Global installation from the installation package
If you wish to install Django using the Ubuntu repositories, the process is very simple.
First, use the apt command to update the local package index:
sudo apt update
Next, check the installed version of Python. By default, 18.04 comes with Python 3.6, you can verify by typing:
python3 -V
You should see output like this:
Python 3.6.5
Next, install Django:
sudo apt install python3-django
You can test whether the installation was successful by typing:
django-admin --version
1.11.11
This means that the software has been successfully installed.
Use pip to install in a virtual environment
The most flexible way to install Django on your system is in a virtual environment. We will show you how to install Django in a virtual environment that we will create using the venv module, which is part of the standard Python 3 library. This tool allows you to create a virtual Python environment and install Python packages without affecting the rest of the system. Therefore, regardless of whether it conflicts with the requirements of other projects, you can choose Python packages based on each project.
Let's start by refreshing the local package index:
sudo apt update
Check the installed version of Python:
python3 -V
Python 3.6.5
Next, let's install pip from the Ubuntu repository:
sudo apt install python3-pip
Once pip is installed, you can use it to install the venv package:
sudo apt install python3-venv
Now, whenever you start a new project, you can create a virtual environment for it. First create and move to the new project directory:
mkdir ~/newproject
cd ~/newproject
Next, use python commands compatible with your Python version to create a virtual environment in the project directory. We will call our virtual environment my_env, but you should name it descriptive:
python3.6-m venv my_env
This will install a standalone version of Python and pip into a standalone directory structure in the project directory. A directory will be created with a name of your choice that will hold the file hierarchy of the package that will be installed.
To install the package into an isolated environment, it must be activated by typing the following command:
source my_env/bin/activate
Your prompt should change to reflect that you are now in a virtual environment. It looks like (my_env)username@hostname:~/newproject$ like this.
In the new environment, you can install Django using pip. Regardless of your Python version, pip should call pip in a virtual environment. Also note that since you are installing locally, so there is no need to use sudo:
pip install django
You can type the following to verify the installation:
django-admin --version
2.1
Please note that your version may be different from the version shown here.
To leave the virtual environment, you need to issue the command deactivate from anywhere in the system:
deactivate
Your prompt should return to the traditional display. When you want to work on the project again, please reactivate the virtual environment by returning to the project directory and activating the following:
cd ~/newproject
source my_env/bin/activate
Use Git to install the development version
If you need a development version of Django, you can download and install Django from its Git repository. Let's do this from a virtual environment.
First, let's update the local package index:
sudo apt update
Check the installed version of Python:
python3 -V
Python 3.6.5
Next, pip is installed from the official repository:
sudo apt install python3-pip
Install the venv package to create a virtual environment:
sudo apt install python3-venv
The next step is to clone the Django repository. Between releases, this repository will have more recent features and bug fixes, possibly at the expense of stability. You can clone the repository into the ~/django-dev directory of your home directory by typing the following command:
git clone git://github.com/django/django ~/django-dev
Switch to this directory:
cd ~/django-dev
Create a virtual environment using python commands compatible with the installed Python version:
python3.6-m venv my_env
Activate it:
source my_env/bin/activate
Next, you can use the installation repository pip. The -e option will install in "editable" mode, which is required when installing from version control:
pip install -e ~/django-dev
You can verify that the installation was successful by typing:
django-admin --version
2.2. dev20180802155335
Likewise, the version you see may not match the version shown here.
You now have the latest version of Django in a virtual environment.
Create a sample project
After installing Django, you can start building the project. We will discuss how to use a virtual environment to create and test projects on the development server.
First, create a directory for the project and make changes:
mkdir ~/django-test
cd ~/django-test
Next, create your virtual environment:
python3.6-m venv my_env
Activation environment:
source my_env/bin/activate
Install Django:
pip install django
To build the project, you can use django-admin with the startproject command. We named our project djangoproject, but you can replace it with another name. startproject will create a directory in your current working directory, which includes:
- The management script,
manage.pycan be used to manage various Django-specific tasks. - The directory containing the actual project code (same name as the project).
However, in order to avoid too many nested directories, let us tell Django to put the management scripts and internal directories in the current directory (note the end point):
django-admin startproject djangoproject .
To migrate the database (SQLite is used by default in this example), let's use the migrate command with manage.py. The migration applies any changes you make to the Django model to the database schema.
To migrate the database, type:
python manage.py migrate
You will see the following output:
OutputOperations to perform:
 Apply all migrations: admin, auth, contenttypes, sessions
Running migrations:
 Applying contenttypes.0001_initial... OK
 Applying auth.0001_initial... OK
 Applying admin.0001_initial... OK
 Applying admin.0002_logentry_remove_auto_add... OK
 Applying admin.0003_logentry_add_action_flag_choices... OK
 Applying contenttypes.0002_remove_content_type_name... OK
 Applying auth.0002_alter_permission_name_max_length... OK
 Applying auth.0003_alter_user_email_max_length... OK
 Applying auth.0004_alter_user_username_opts... OK
 Applying auth.0005_alter_user_last_login_null... OK
 Applying auth.0006_require_contenttypes_0002... OK
 Applying auth.0007_alter_validators_add_error_messages... OK
 Applying auth.0008_alter_user_username_max_length... OK
 Applying auth.0009_alter_user_last_name_max_length... OK
 Applying sessions.0001_initial... OK
Finally, let's create an administrative user so that you can use the Djano management interface. Let's do this with the createsuperuser command:
python manage.py createsuperuser
You will be prompted to enter your username, email address and password.
Modify ALLOWED_HOSTS in Django settings
To successfully test your application, you need to modify a directive in the Django settings.
Type the following command to open the settings file:
nano ~/django-test/djangoproject/settings.py
Inside, find the ALLOWED_HOSTS instruction. This defines a whitelist of addresses or domain names that can be used to connect to Django instances. An incoming request with a host header that is not in this list will raise an exception. Django requires you to set it up to prevent certain types of security holes.
In square brackets, list the IP address or domain name associated with the Django server. Each item should be listed in quotation marks, with individual entries separated by commas. If you need a request for the entire domain and any subdomains, please add a period at the beginning of the entry:
...
ALLOWED_HOSTS =['your_server_ip_or_domain','your_second_ip_or_domain',...]
When finished, save the file and exit the editor.
Test development server
Once you have a user, you can start the Django development server to see what the new Django project looks like. You should only use it for development purposes. When you are ready to deploy, be sure to follow Django's deployment tutorial carefully.
Before attempting to develop a server, make sure to open the corresponding ports in the firewall. If you follow the initial server setup tutorial and use UFW, you can open port 8000 by typing:
sudo ufw allow 8000
Start the development server:
python manage.py runserver your_server_ip:8000
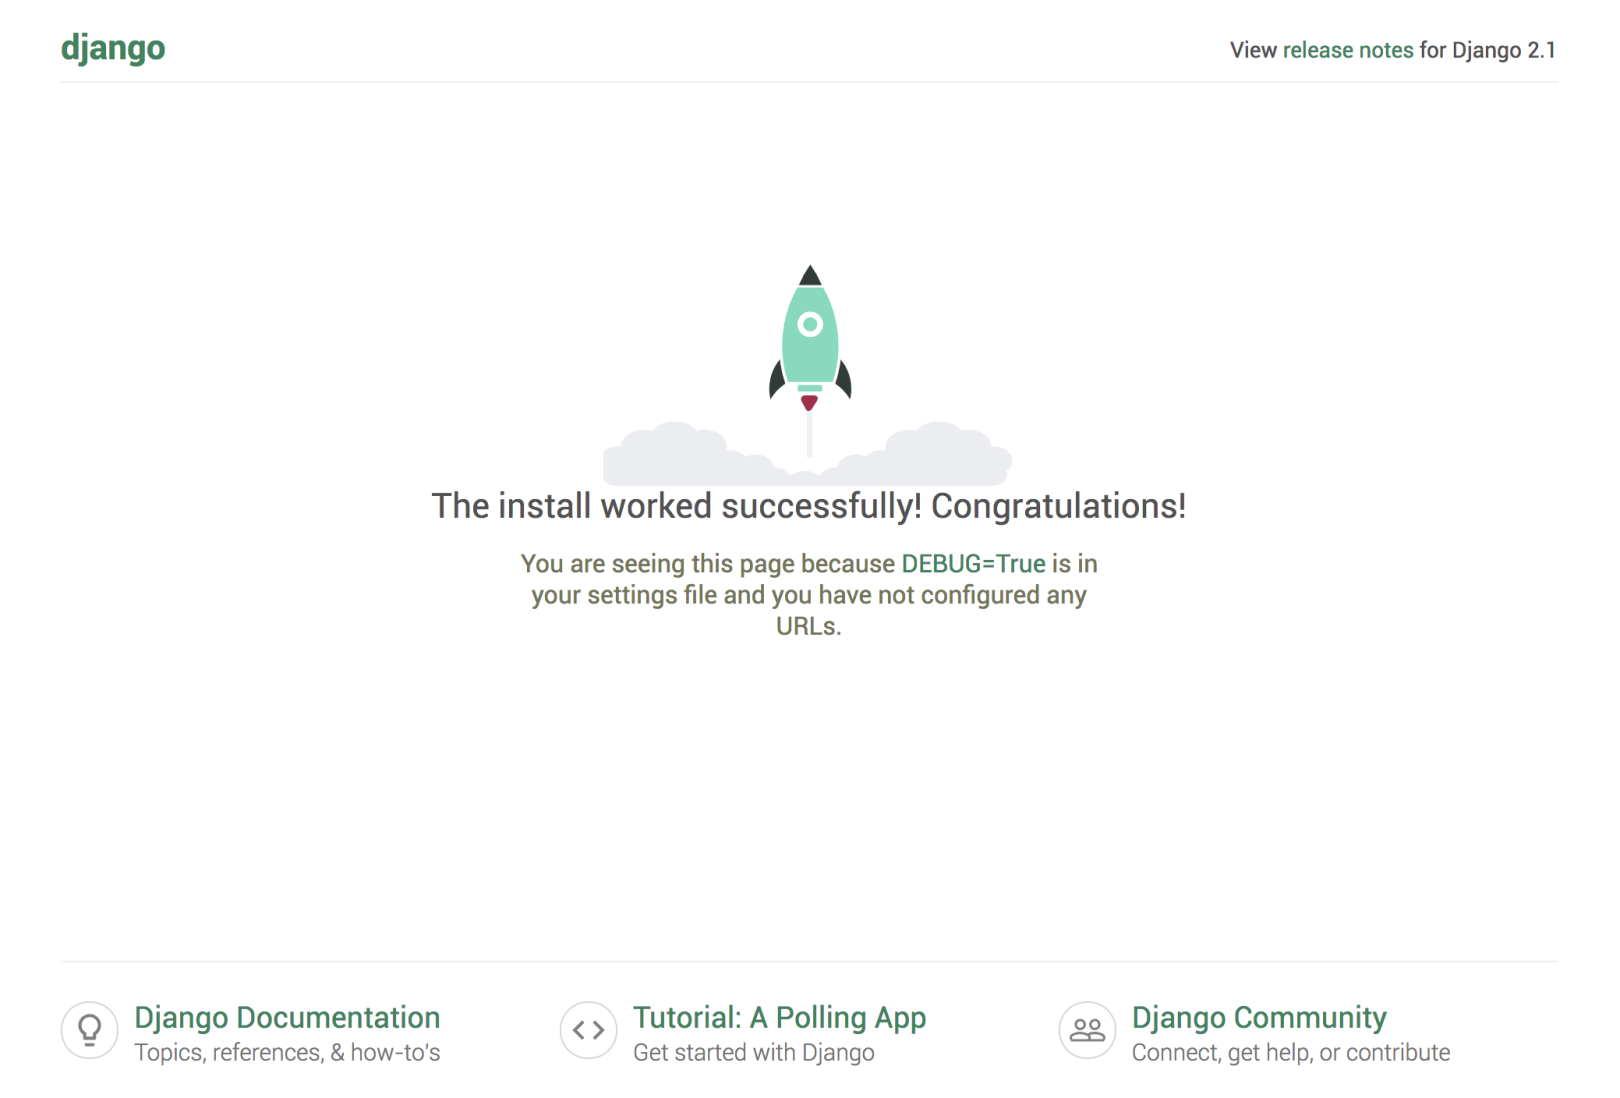
Visit the server's IP address ending in :8000, and then in the web browser:
http://your_server_ip:8000
You should see something like this:
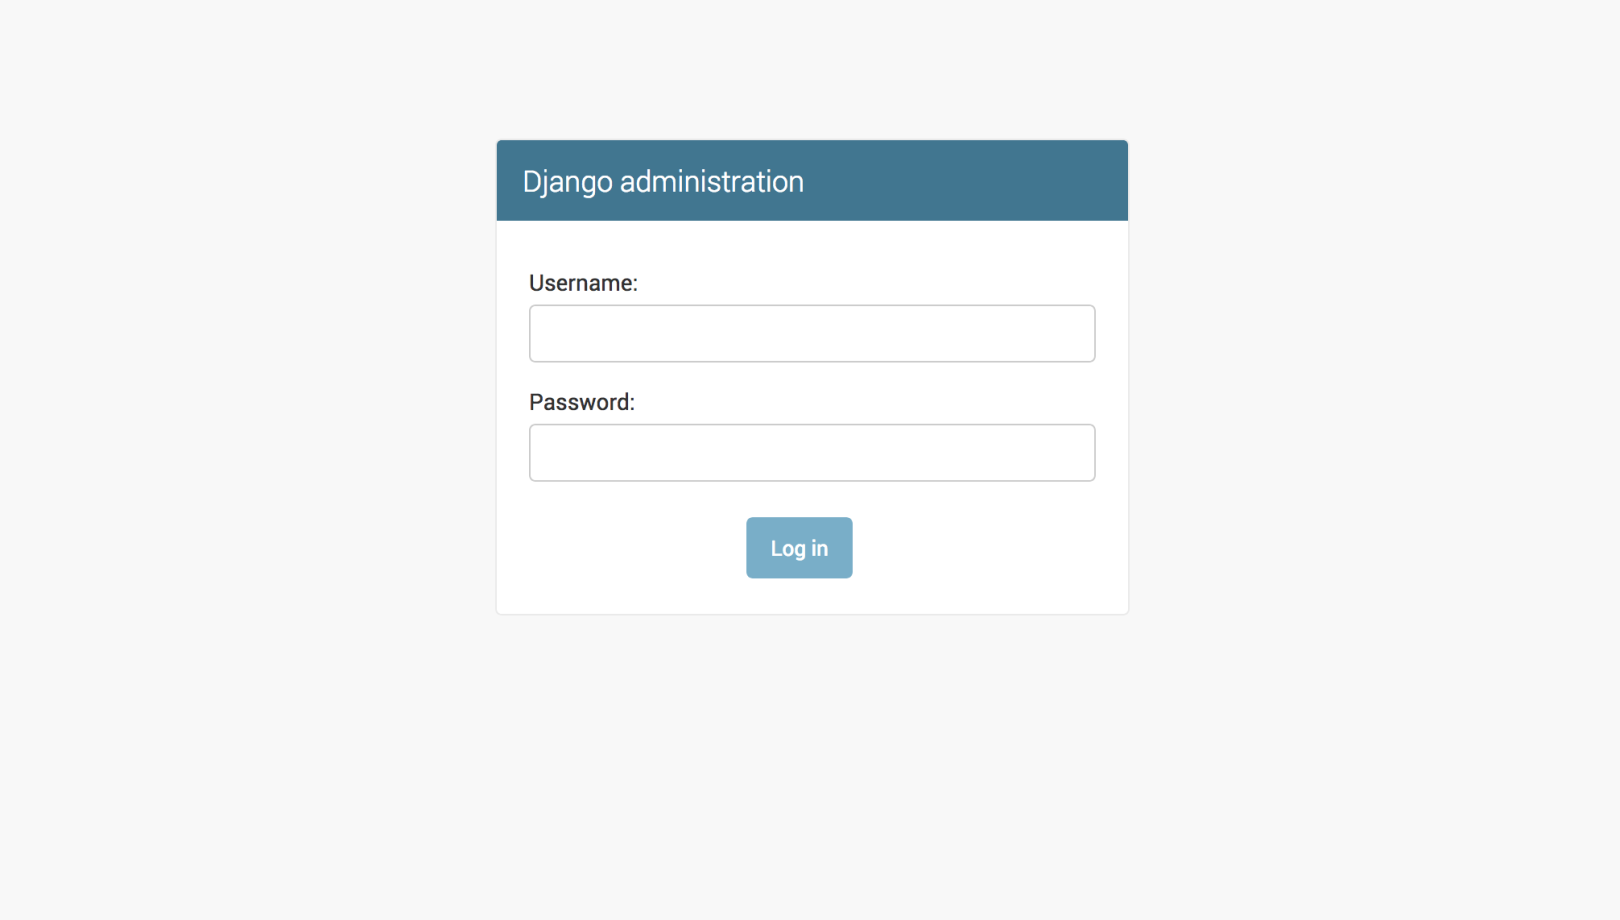
To access the management interface, add /admin/ to the end of the URL:
http://your_server_ip:8000/admin/
This will take you to the login screen:
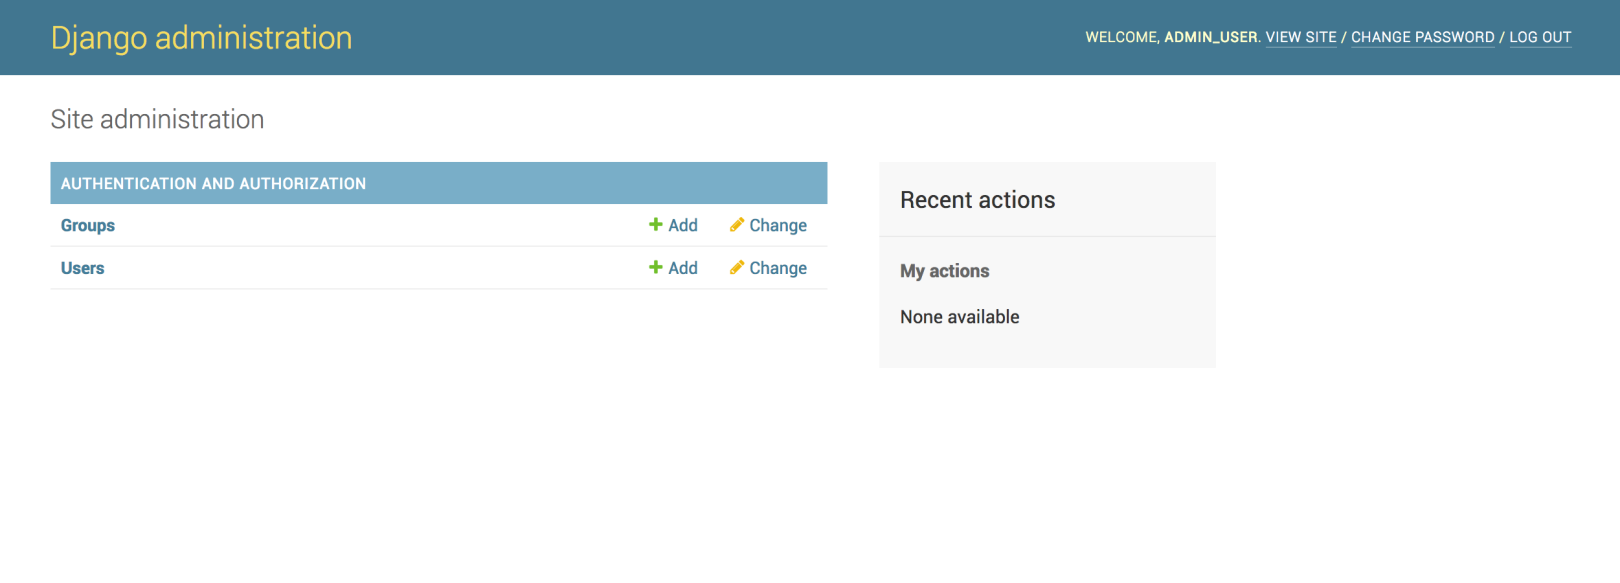
If you enter the administrator username and password you just created, you will be able to access the main administrator section of the site:
After viewing the default site, you can stop the development server by typing CTRL-C in the terminal.
The Django project you create provides a structural basis for designing a more complete site. Check out the Django documentation to learn more about how to build applications and custom sites.
in conclusion
You should now install Django on your Ubuntu 18.04 server, providing the main tools needed to create powerful web applications. You should also know how to start a new project and start the developer server. Utilizing a complete web framework like Django can help you develop faster, allowing you to focus only on unique aspects of the application.
To learn more about the installation of Django Web Framework related tutorials, please go to [Tencent Cloud + Community] (https://cloud.tencent.com/developer?from=10680) to learn more.
Reference: "How To Install the Django Web Framework on Ubuntu 18.04"
Recommended Posts