How to install Mailpile on Ubuntu 14.04
Introduction
In this tutorial, we will install Mailpile, a fast, secure, and beautiful Webmail client on Ubuntu 14.04.
Webmail clients like Mailpile ensure that you can access email from anywhere without the need to configure a standard email client. Mailpile is just a mail client, which means it only manages existing mail accounts.
At the end of this tutorial, you will have a fully functional CVM running Mailpile with Nginx as a reverse proxy.
Please keep in mind throughout the tutorial that Mailpile is still in beta stage, which means you may encounter errors and other difficulties. It will not save your information between sessions. (That is, every time you restart the Mailpile service, you must re-enter your account details.)
It also lacks a simple way of running services. By default, it only runs as an interactive script in an SSH session. We have included an Upstart script that uses Screen to run it in the background, so you can keep the Webmail client as needed. However, it is not recommended for production.
Preparation
Before we start, we need a few things:
-
A CVM running Ubuntu 14.04. For Mailpile settings that only handle a few mailboxes, we recommend using at least 512 MB of RAM. If you expect more than a few users, you may need to increase the size. Students who don’t have a server can buy it from here, but I personally recommend you to use the free Tencent Cloud Developer Lab for experimentation, and then buy server.
-
A user with root access. For instructions on setting up users with sudo access permissions on Linux, please refer to the [Add sudo permissions to non-root users under Linux] (https://cloud.tencent.com/developer/article/1200218?from=10680) tutorial.
-
SSL certificate: How to set up this certificate depends on whether you have a domain name that can resolve the server.
-
If you have a domain name, the easiest way to protect your website is to use Tencent Cloud SSL Certificate Service, which provides free trusted certificates. [Tencent Cloud SSL Certificate Installation and Operation Guide] (https://cloud.tencent.com/document/product/400/6814?from=10680) for setting.
-
If you don’t have a domain name, it is recommended that you go here register a domain name first. If you only use this configuration for testing or personal use, you can use a self-signed certificate without purchasing a domain name. The self-signed certificate provides the same type of encryption, but there is no domain name verification announcement. For the self-signed certificate, you can refer to the two articles Create a self-signed SSL certificate for Apache and How to create a self-signed SSL certificate for Nginx.
Write down your SSL certificate and key location. If you follow the tutorial to make certificates for use with Nginx, they will be located at:
- /etc/nginx/ssl/nginx.crt
- /etc/nginx/ssl/nginx.key
If you are ready, please proceed to the first step.
Step 1-Download Mailpile
In this section, we will prepare our working environment for Mailpile installation.
First, we need to log in to CVM. Make sure you log in as the user with sudo access.
First we need to install Git. We will use Git to clone the Mailpile source code from GitHub.
Update the Ubuntu package list:
sudo apt-get update
Install Git:
sudo apt-get install git
Now that Git is installed, let's change the directory to a problem that we can solve. In this case, we will use the /var directory:
cd /var
Clone email:
sudo git clone https://github.com/mailpile/Mailpile.git
We need the sudo command to allow Git to create a directory /var in it, which is a system directory.
We are ready to let Mailpile run. Proceed to the second step to start processing more requests.
Step 2-Configure Mailpile requirements
In this section, we will install and configure Mailpile requirements.
First, let's install pip. pip is a Python package manager, it has some tricks:
sudo apt-get-y install python-pip
pip will allow us to install Mailpile requirements more easily. You will see in a minute, but first we need to install something.
Next we need to install lxml. lxml is a Mailpile requirement usually implemented by pip, but we found that it caused the installation to fail for unknown reasons. Therefore, we will install it using apt-get:
sudo apt-get install python-lxml
Only need to manually install a few packages, including GnuPG and OpenSSL. These will create a more secure environment for our mail. Some of them may be installed by default, but we will make sure just in case:
sudo apt-get install gnupg openssl libssl-dev
Now go to the Mailpile directory:
cd /var/Mailpile
We are now ready to use the power of pip to install our other requirements.
Mailpile contains a file called requirements.txt, which is basically a list of requirements. pip can read this list and install each of them automatically. Then let us do this:
sudo pip install -r /var/Mailpile/requirements.txt
You are done. All requirements have been installed and Mailpile can be used. But before that, we need to take some additional measures to strengthen our security.
Step 3-Use Nginx to configure reverse proxy
In this section, we will configure Nginx as a reverse proxy for Mailpile. This will make Mailpile more secure, allow us to use SSL certificates, and make it easier to access the Webmail client.
With Nginx, you can use Mailpile instead of accessing it. let's start! https://example.com:33411``https://mailpile.example.com
First, we need to install Nginx, because that will be most of the work. So let's get Nginx first:
sudo apt-get install nginx
Now that Nginx has been installed, we can set up a reverse proxy. Let's edit the configuration of Nginx to tell it to route our subdomain to Mailpile.
We want to delete the original Nginx configuration file because it is full of things we don't need. But first, let's make a backup. First make a catalog:
sudo mkdir /home/backup
Now make a backup:
sudo cp -b /etc/nginx/sites-enabled/default/home/backup
Now we can freely delete files without any consequences:
sudo rm /etc/nginx/sites-available/default
Let's make sure it has actually disappeared:
ls /etc/nginx/sites-available/
If you have just installed Nginx, this command should return nothing.
Now create a new file:
sudo nano /etc/nginx/sites-available/default
Now is the time to configure the reverse proxy. Let's start with the first part. Add the following to the beginning of the file (we will explain what it does in a second):
server {
 listen 80;return301 https://$host$request_uri;}
This tells Nginx to redirect the requests it gets to HTTPS. But in reality, it will try to redirect to something that doesn't exist yet. Let's create a space for it:
server {
listen 443;
server_name mailpile.example.com;
ssl_certificate /etc/nginx/ssl/nginx.crt;
ssl_certificate_key /etc/nginx/ssl/nginx.key;
ssl on;
ssl_session_cache builtin:1000 shared:SSL:10m;
ssl_protocols TLSv1 TLSv1.1 TLSv1.2;
ssl_ciphers HIGH:!aNULL:!eNULL:!EXPORT:!CAMELLIA:!DES:!MD5:!PSK:!RC4;
ssl_prefer_server_ciphers on;
access_log /var/log/nginx/mailpile.access.log;
Note: Make sure your certificate and key are located in /etc/nginx/ssl/nginx.crt and /etc/nginx/ssl/nginx.key. Otherwise, please update the path next to ssl_certificate and ssl_certificate_key to match your certificate and key location.
What we just entered tells Nginx to listen on port 443 (port website with SSL access, not port 80), apply our SSL certificate, and turn on SSL. Now we need to actually serve the new HTTPS URL we are redirected to and enable SSL. We will do this next.
Add the following below the first two blocks:
location /{
proxy_set_header Host $host;
proxy_set_header X-Real-IP $remote_addr;
proxy_set_header X-Forwarded-For $proxy_add_x_forwarded_for;
proxy_set_header X-Forwarded-Proto $scheme;
# Fix the "It appears that your reverse proxy set up is broken" error.
proxy_pass http://localhost:33411;
proxy_read_timeout 90;
proxy_redirect http://localhost:33411 https://webmail.example.com;}}
After completion, the completed configuration file should look like this:
server {
listen 80;return301 https://$host$request_uri;}
server {
listen 443;
server_name mailpile.example.com;
ssl_certificate /etc/nginx/ssl/nginx.crt;
ssl_certificate_key /etc/nginx/ssl/nginx.key;
ssl on;
ssl_session_cache builtin:1000 shared:SSL:10m;
ssl_protocols TLSv1 TLSv1.1 TLSv1.2;
ssl_ciphers HIGH:!aNULL:!eNULL:!EXPORT:!CAMELLIA:!DES:!MD5:!PSK:!RC4;
ssl_prefer_server_ciphers on;
access_log /var/log/nginx/mailpile.access.log;
location /{
proxy_set_header Host $host;
proxy_set_header X-Real-IP $remote_addr;
proxy_set_header X-Forwarded-For $proxy_add_x_forwarded_for;
proxy_set_header X-Forwarded-Proto $scheme;
# Fix the "It appears that your reverse proxy set up is broken" error.
proxy_pass http://localhost:33411;
proxy_read_timeout 90;
proxy_redirect http://localhost:33411 https://webmail.example.com;}}
If you did not replace the default site, but created a server block file with a different name, you need to use the following command to enable it:
sudo ln -s /etc/nginx/sites-available/mailpile.example.com /etc/nginx/sites-enabled/
The default site should already be enabled.
Now restart Nginx to reload the configuration:
sudo service nginx restart
Now Mailpile is ready to connect to https://mailpile.example.com. If you are using a self-signed certificate, you may have to accept the SSL warning.
In addition, visiting http://mailpile.example.com will automatically be redirected to the SSL version of the site.
We haven't run Mailpile yet, so if you visit these URLs now, you will see a 502 Bad Gateway error. The most common cause of this error is that the Mailpile application is not running.
Proceed to the fourth step to run Mailpile.
Step 4-Configure and run Mailpile
In this section, we will start Mailpile and configure it to work with our reverse proxy.
Make sure we are in the correct directory:
cd /var/Mailpile
To run Mailpile, enter:
. /mp
You can now start exploring Mailpile through the command line or web interface.
One word of warning: ** Mailpile ** will not save your settings after stopping. Therefore, before taking the time to configure it, you may want to complete the optional next step of running it like a service.
Mailpile is now connected to https://mailpile.example.com and can even redirect to HTTPS using your SSL certificate. Congratulations!
You can use CTRL-C and then type quit to exit Mailpile.
Optional-Use Upstart to make Mailpile a service
To ensure that Mailpile is always active and ready to process your mail, you can use Upstart to convert Mailpile into a service.
Since Mailpile is in the testing phase, it has not been properly guarded. It also requires an interactive command line, so you cannot run Python scripts directly. This Upstart script is a hacky way to run Python applications as a service through Screen:
sudo nano /etc/init/mailpile.conf
The contents of the file are as follows:
description "Mailpile Webmail Client"
author "Sharon Campbell"
start on filesystem or runlevel [2345]
stop on shutdown
script
echo $$ >/var/run/mailpile.pid
exec /usr/bin/screen -dmS mailpile_init /var/Mailpile/mp
end script
pre-start script
echo "[`date`] Mailpile Starting">>/var/log/mailpile.log
end script
pre-stop script
rm /var/run/mailpile.pid
echo "[`date`] Mailpile Stopping">>/var/log/mailpile.log
end script
As long as the Screen session is running, this script will start Mailpile and maintain its state. It does not stop the screen session correctly, so if you want to stop Mailpile, you must stop the screen session manually.
Using this script, you can start Mailpile with the following command:
sudo start mailpile
This will cause the root user to have a Screen session named 12345.mailpile_init.
However, other Upstart commands will not work. You must manually end the screen session. Also, if the service crashes or stops, you will have to restart it and reset all preferences.
Step 5-Getting started with Mailpile
This section introduces the basic Mailpile used from the Webmail interface, open the link https://mailpile.example.com.
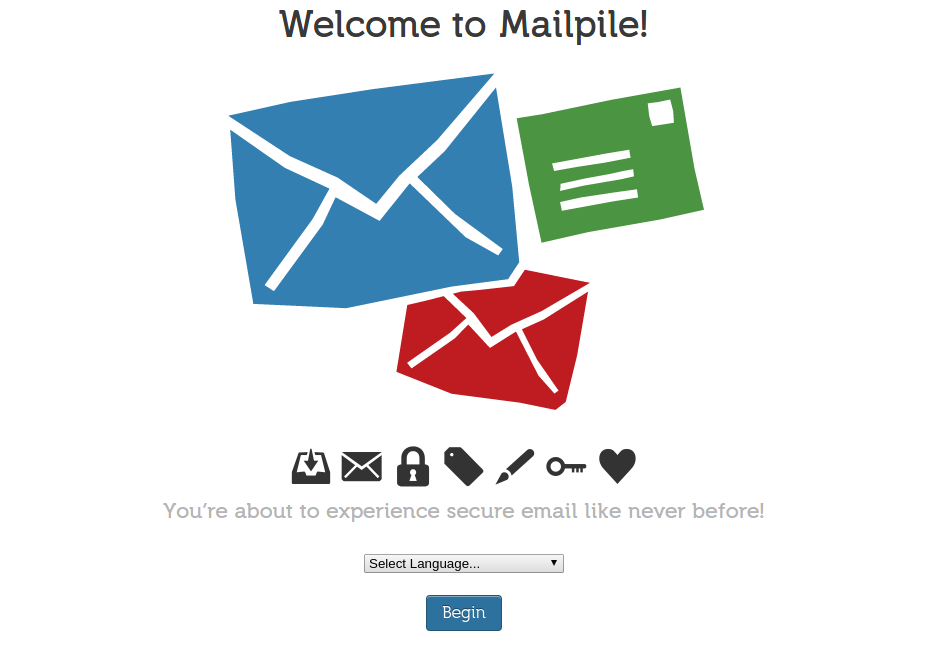
This is the screen you will see when you first visit Mailpile.
Choose a language from the drop-down menu.
Click the "Start" button.
Create a new password and enter it twice.
Click the "Start with Mailpile" button.
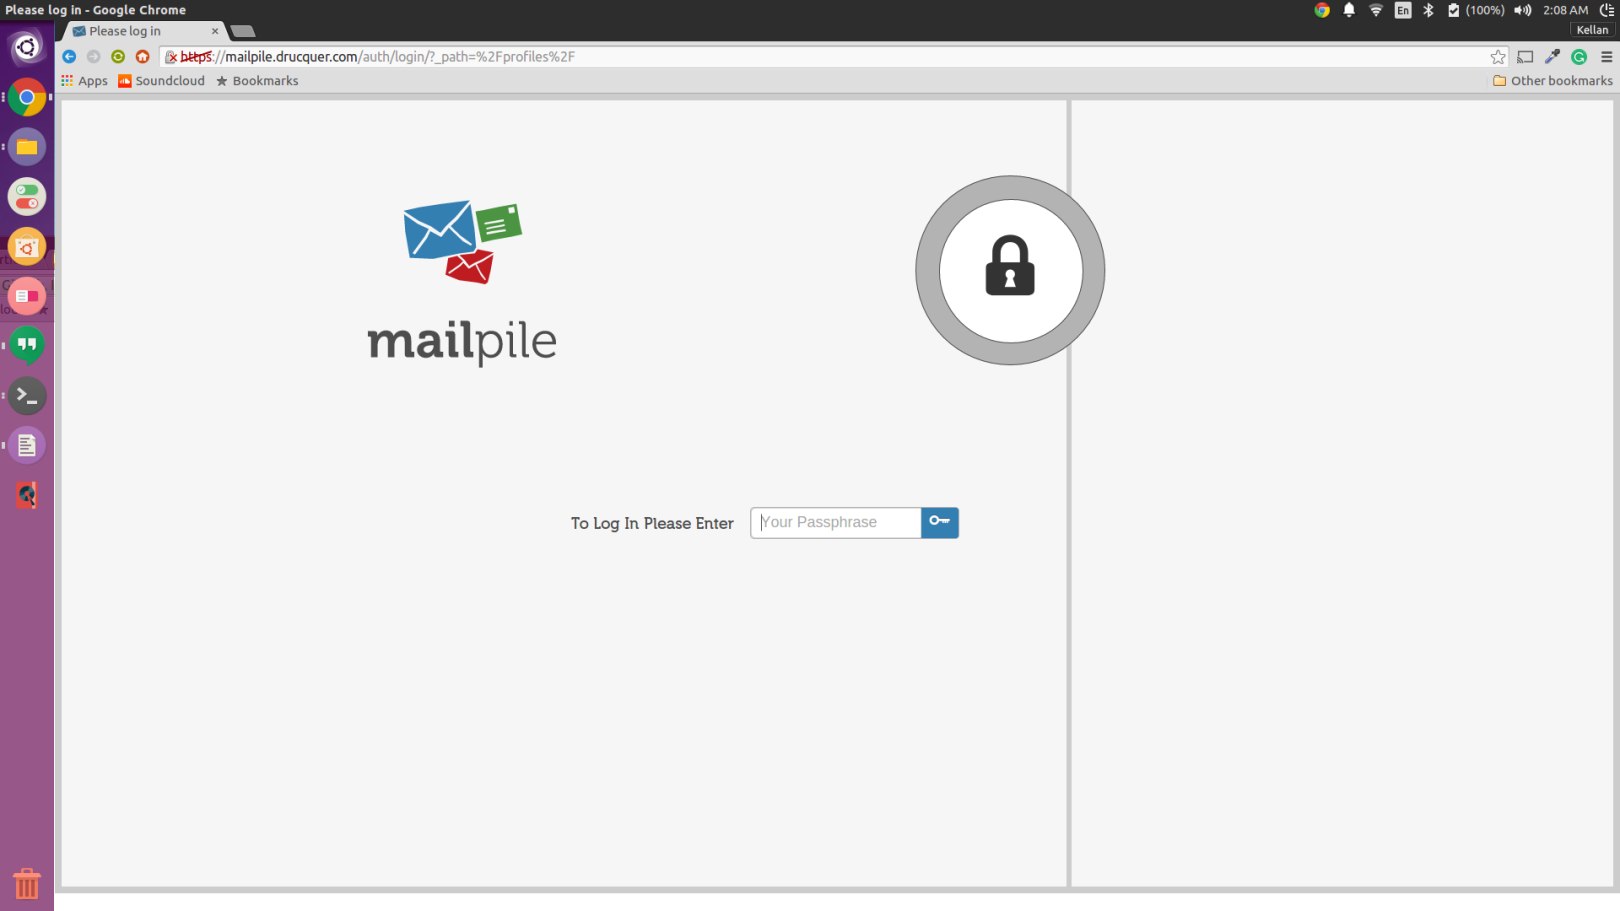
Login screen: Please enter the password you just created.
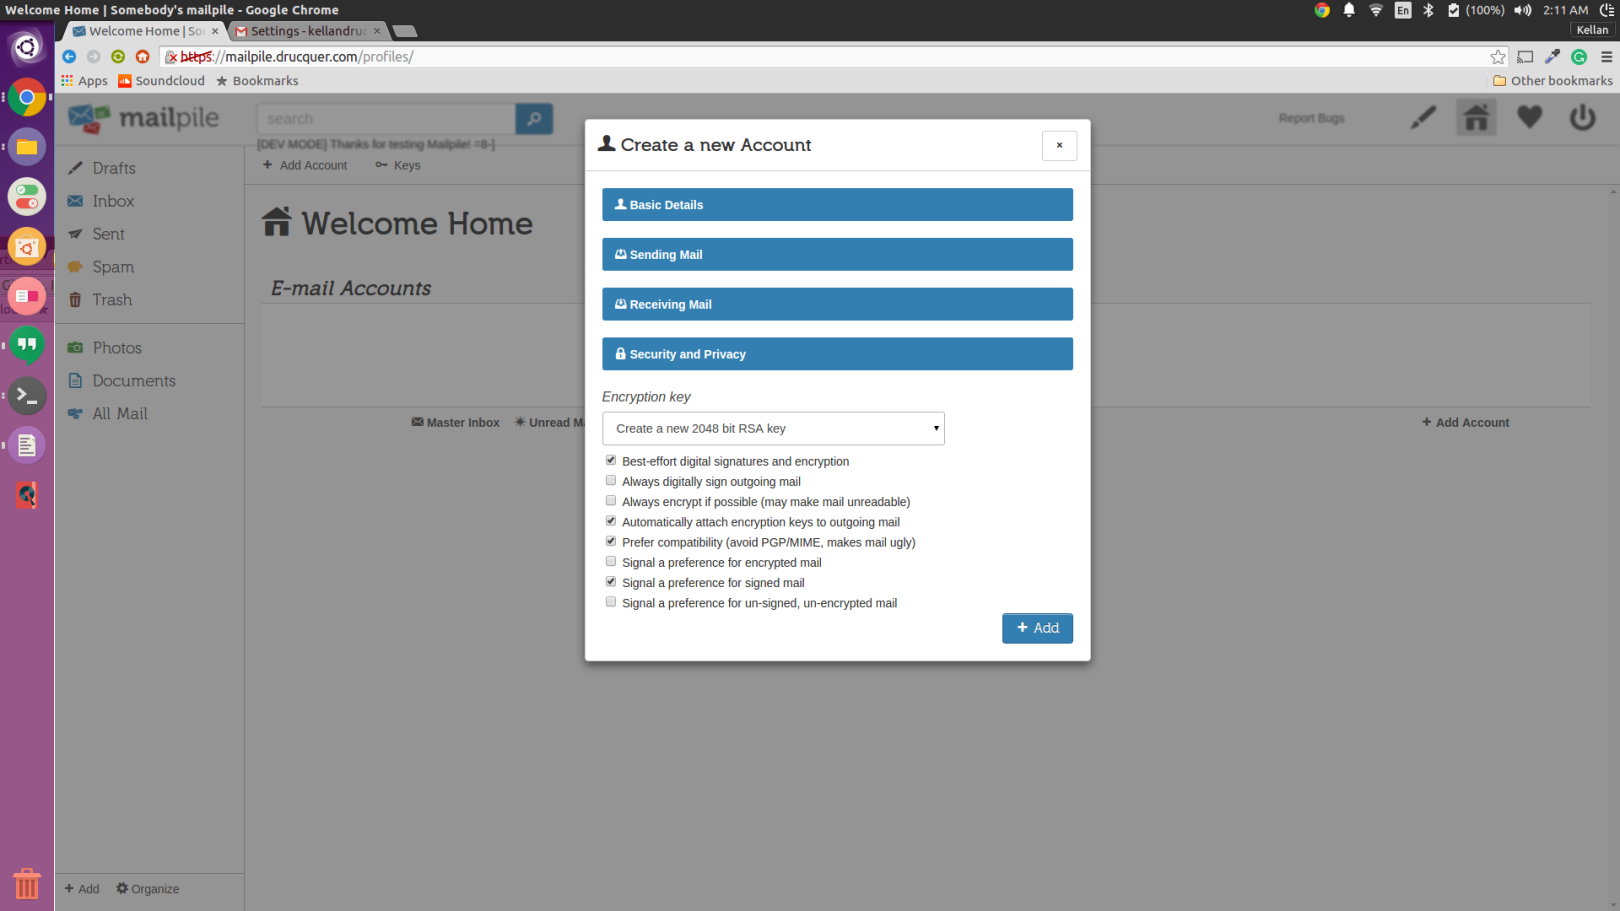
Use the +Add Account button to add a new account.

From here, you need to enter the details of the mail account you own. You should enter the email address and password of that particular mail account. Mailpile will then try to connect to your account using these credentials, which may take a few minutes.
If Mailpile cannot determine it by itself, you can also manually enter "Send Mail and Receive Mail".
Gmail prevents Mailpile from using your Gmail account credentials, so you cannot add a Gmail account to Mailpile.
After logging in, you will see the following screen:
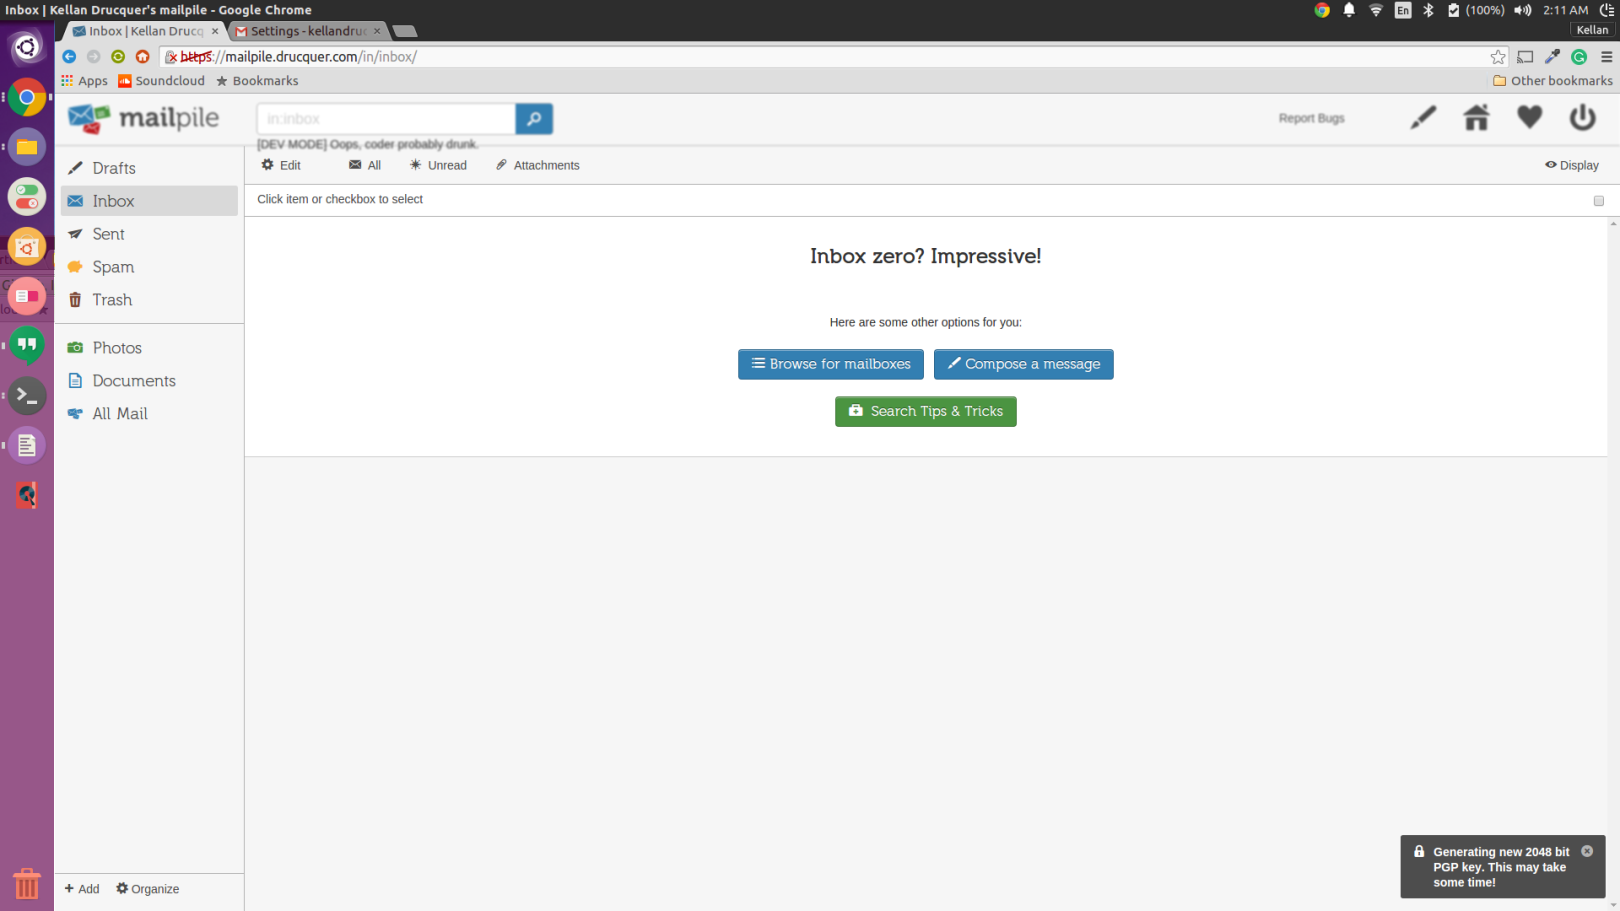
Try to send and receive test emails to other email accounts to the account you added to Mailpile. If successful, you will know that Mailpile is using your email address.
Other Mailpile functions
Mailpile also provides various encryption options:
in conclusion
To start using Mailpile, please refer to FAQ.
For more configuration options, please run help from the Mailpile command line.
Congratulations, you now have your own Webmail client Mailpile, running on Ubuntu 14.04 CVM. It is equipped with SSL and automatically redirects to the HTTPS version of your website. You can now use Mailpile's beautiful interface to set up email accounts and manage your contacts, emails, categories, etc.
To learn more about Ubuntu's open source information tutorial, please go to [Tencent Cloud + Community] (https://cloud.tencent.com/developer?from=10680) to learn more.
Reference: "How To Install Mailpile on Ubuntu 14.04"
Recommended Posts