KVM virtualization in centos
- Confirm that the CPU already supports virtualization. Intel's CPU virtualization technology is called vmx, and AMD's CPU is called svm.
[ root@localhost ~]# grep -E   "vmx|svm"/proc/cpuinfo
flags       : fpu vme de pse tsc msr pae mce cx8 apic sep mtrr pge mca cmov pat pse36 clflush dts acpi mmx fxsr sse sse2 ss ht tm pbe syscall nx pdpe1gb rdtscp lm constant_tsc arch_perfmon pebs bts rep_good nopl xtopology nonstop_tsc aperfmperf eagerfpu pni pclmulqdq dtes64 monitor ds_cpl vmx smx est tm2 ssse3 sdbg fma cx16 xtpr pdcm pcid sse4_1 sse4_2 x2apic movbe popcnt tsc_deadline_timer aes xsave avx f16c rdrand lahf_lm abm ssbd ibrs ibpb stibp tpr_shadow vnmi flexpriority ept vpid fsgsbase tsc_adjust bmi1 avx2 smep bmi2 erms invpcid xsaveopt dtherm ida arat pln pts spec_ctrl intel_stibp flush_l1d
- Install the kvm platform and toolkit, start libvirtsd and set it to boot. After starting librirtd, a bridged network card virbr0 will be created and the IP address is 192.168.122.1
[ root@localhost ~]#yum install qemu-kvm qemu-kvm-tools libvirt virt-manager virt-install
[ root@localhost ~]#systemctl  start libvirtd
[ root@localhost ~]#systemctl  enable  libvirtd
- Bridged network:
Network bridge configuration steps
1、 Edit and modify the network device script file, add the network bridge device br0
vi /etc/sysconfig/network-scripts/ifcfg-br0
DEVICE="br0"
ONBOOT="yes"
TYPE="Bridge"
BOOTPROTO=static
IPADDR=10.0.112.39
NETMASK=255.255.255.0
GATEWAY=10.0.112.1
DEFROUTE=yes
The above configuration configures the virtual network card in 10.0.112.*network segment. If you do not need a static address, you can shield the related items of the configuration address. Such as:
DEVICE="br0"
ONBOOT="yes"
TYPE="Bridge"
BOOTPROTO=dhcp

2、 Edit and modify the network device script file, modify the network card device eth0
DEVICE="eth0"
NM_CONTROLLED="no"
ONBOOT="yes"
TYPE=Ethernet
BOOTPROTO=none
**BRIDGE="br0"**
NAME="System eth0"
HWADDR=44:37:E6:4A:62:AD
NM_The attribute value of CONTROLLED must be set to "no" according to RedHat's documents (this value is "yes" means it can be managed by the service NetworkManager. The NetworkManager service does not support bridging, so it should be set to "no".), but In fact, there is no problem with setting "yes". Communication is normal.
3、 Restart network service
# service network restart
4、 Check the bridge interface
# brctl show
bridge name     bridge id               STP enabled     interfaces
br0             8000.4437e64a62ad       no              eth0
- Create disk
# Create a raw disk with a format of raw size of 10G

[ root@localhost ~]#  qemu-img create -f raw /opt/CentOS-7-x86_64.raw 10G
Formatting '/opt/CentOS-7-x86_64.raw', fmt=raw size=10737418240
- Install virtual machine
# Default network
[ root@localhost ~]# virt-install  --virt-type kvm --name CentOS-7-x86_64 --ram 1024--cdrom=/opt/CentOS-7-x86_64-DVD-1511.iso --disk path=/opt/CentOS-7-x86_64.raw  --network network=default--graphics  vnc,listen=0.0.0.0--noautoconsole

# Bridged network:
[ root@localhost ~]# virt-install  --virt-type kvm --name  openstack-middleware1    --ram 4096--vcpus 4--cdrom=/usr/local/src/CentOS-7-x86_64-Minimal-1511.iso    --disk path=/var/lib/libvirt/images/CentOS-7-x86_64-GenericCloud-1511-ok.qcow2   --network bridge=br0  --graphics  vnc,listen=0.0.0.0--noautoconsole

# Install Windows:
[ root@localhost ~]# qemu-img create -f qcow2   /var/lib/libvirt/images/Windows-2008_r2-x86_64.qcow2  200G
[ root@localhost ~]#  virt-install --virt-type kvm  --name  Win_2008_r2-x86_64 --ram 3072--vcpus=2--os-type=windows --cdrom=/usr/local/src/windows_server_2008_r2.iso --disk path=/var/lib/libvirt/images/Windows-2008_r2-x86_64.qcow2,format=qcow2,bus=virtio   --disk path=/usr/local/src/virtio-win-0.1.141_amd64.vfd,device=floppy     --network bridge=br0,model=virtio  --graphics  vnc,listen=0.0.0.0--noautoconsole

start installation......
Create domain......|0 B  00:00:01
The domain installation is still in progress. You can reconnect
Go to the console to complete the installation process.
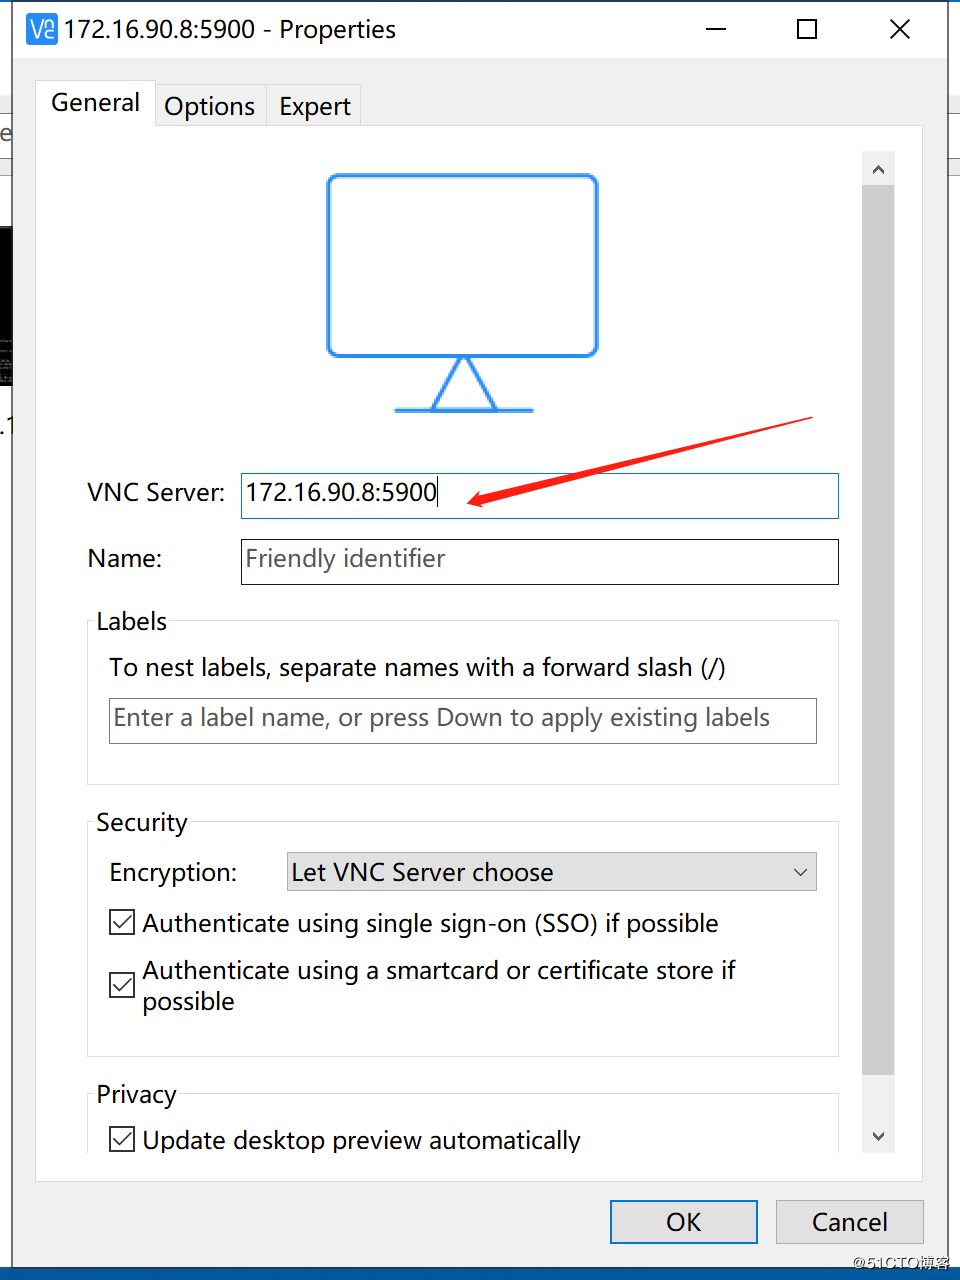
- After the creation is completed, connect to the installation interface through the vnc client. The default port of the kvm virtual machine starts from 5900
vnc download link: https://www.realvnc.com/en/connect/download/viewer/macos/
- Command use
# virsh-Install command help:
virt-install  --help

# Get command help
virsh  -help

# All virtual machines currently running
virsh  list --all
 Id name status
- - - - - - - - - - - - - - - - - - - - - - - - - - - - - - - - - - - - - - - - - - - - - - - - - - - - 2  CentOS-7-x86_64                running
 -  CentOS-x86_64 Close
 -  CentOS_x86_64 Close

# Command help
virsh  list --help

# List closed virtual machines
virsh  list  --inactive
- Virtual machine memory and CPU adjustment of KVM virtualization
1. View current memory size
virsh dominfo vm1-clone | grep memory

2. Shut down the virtual machine
virsh shutdown vm1-clone

3. Edit the virtual machine configuration file to modify the memory size and the number of vcpus
virsh edit vm1-clone
......< memory unit='KiB'>1048432</memory><currentMemory unit='KiB'>1048432</currentMemory><vcpu placement='static'>2</vcpu>......4.Start the virtual machine from the configuration file
virsh create /etc/libvirt/qemu/vm1-clone.xml
- Clone virtual machine
1 To turn off the template virtual machine
virsh list --all
 Id    Name                           State
- - - - - - - - - - - - - - - - - - - - - - - - - - - - - - - - - - - - - - - - - - - - - - - - - - - - -  centos7                        shut off

2 , Start cloning, the new virtual machine name is centos7_clone
virt-clone -o centos7 -n centos7_clone -f /var/lib/libvirt/images/centos7_clone.qcow2
Allocating 'centos7_clone.qcow2'|40 GB  00:04

Clone 'centos7_clone' created successfully.3. View the list of virtual machines
virsh list --all
 Id    Name                           State
- - - - - - - - - - - - - - - - - - - - - - - - - - - - - - - - - - - - - - - - - - - - - - - - - - - - -  centos7                        shut off
 -  centos7_clone                  shut off
Reference link:
https://www.jianshu.com/p/b352ec058aachttps://blog.csdn.net/hzhsan/article/details/44098537/https://blog.csdn.net/hnhuangyiyang/article/details/50902223https://baijiahao.baidu.com/s?id=1612293596898577753&wfr=spider&for=pchttps://www.ibm.com/developerworks/cn/linux/l-using-kvm/
Recommended Posts