How to install and use MySQL Workbench on Ubuntu 18.04
MySQL Workbench is a cross-platform MySQL data management and design graphic tool. It contains some tools for managing databases and users, creating and running SQL queries, configuring servers, backing up, performing migrations, etc.
In this guide, we will show you how to install and use MySQL Workbench on Ubuntu 18.04. The same instructions apply to Ubuntu 16.04 and any other Ubuntu-based distributions, including Linux Mint, Kubuntu and Elementary OS.
1. Prerequisites##
Before continuing this guide, make sure you log in to the system as a user with sudo privileges.
2. Install MySQL Workbench on Ubuntu
Installing MySQL Workbench on Ubuntu is a very simple process. Update the software index and install the MySQL Workbench software package:
sudo apt update
sudo apt install mysql-workbench
In Ubuntu's default software source, the MySQL Workbench package may not be the latest.
Three, start MySQL Workbench
Now that MySQL Workbench has been installed on your Ubuntu system, you can start it by typing mysql-workbench on the command line or clicking the MySQL Workbench icon (Activities -> MySQL Workbench).
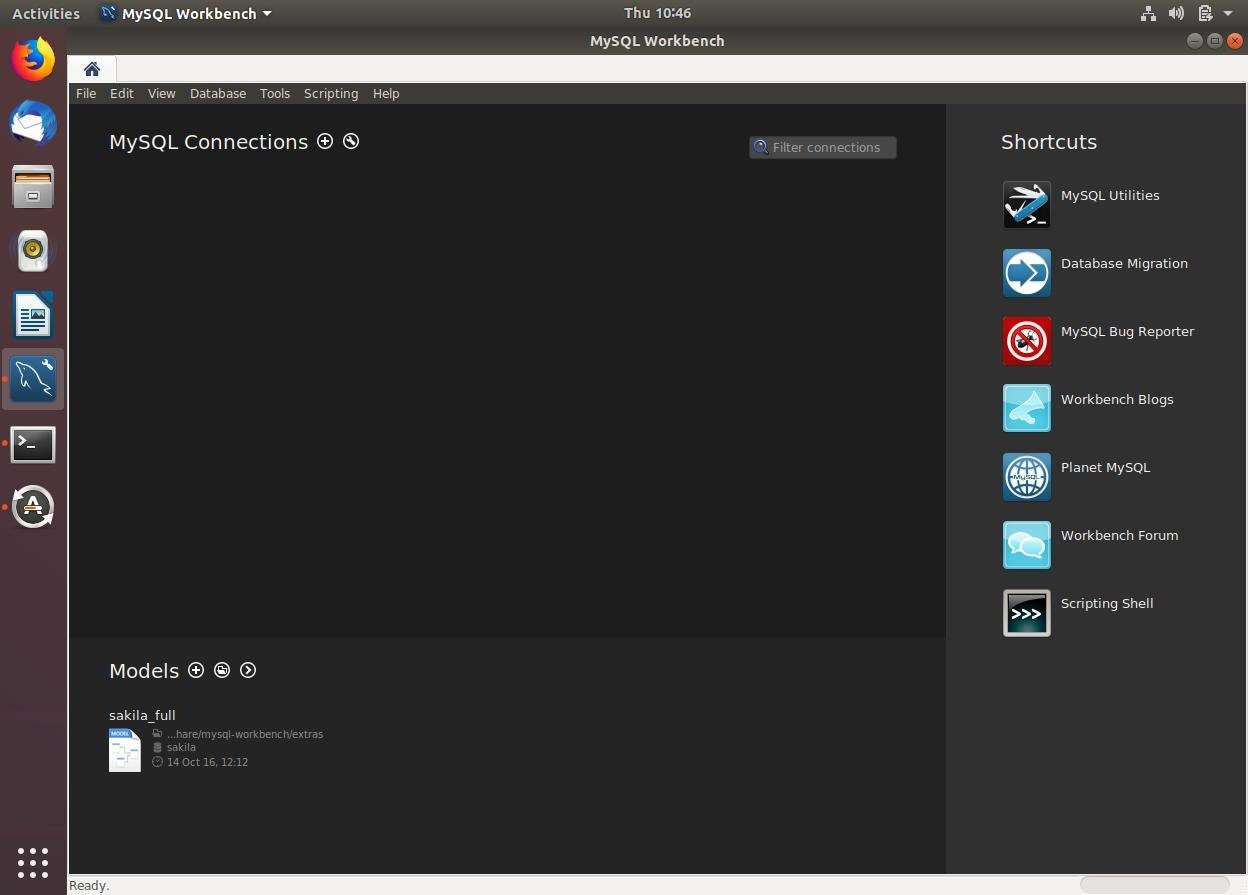
When you start MySQL Workbench for the first time, a window like the following will appear:
Fourth, use MySQL Workbench
The most useful feature of MySQL Workbench is that it can easily configure SSH tunneling to local and remote servers. In this way, you don't need to expose MySQL to the outside, you only need to access the remote server via SSH.
To add a new connection, click the round plus icon ⊕ next to "MySQL Connections".
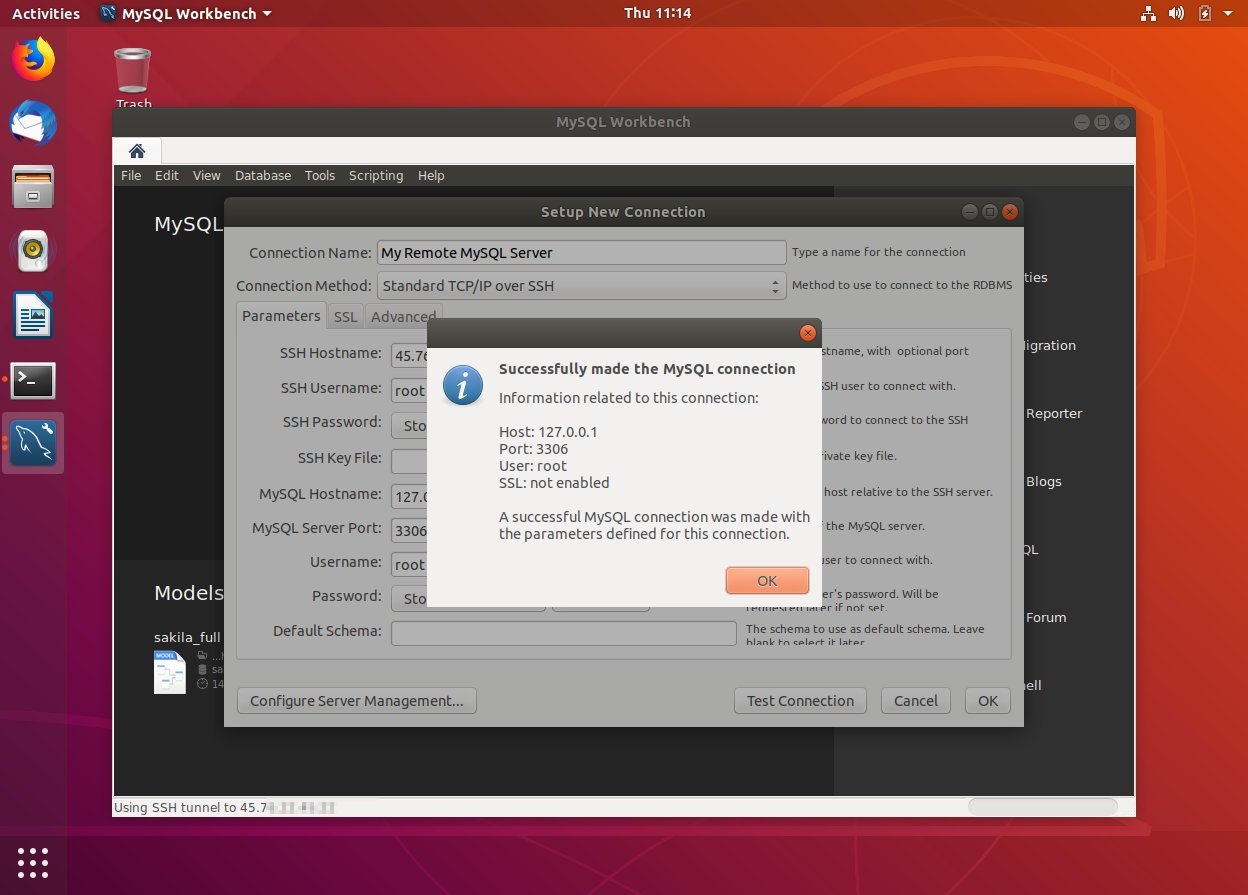
A new window "Set up a new connection window" will open. In this example, we will connect to the remote server via SSH. Enter a meaningful name as the "Connection name" and select Standard TCP/IP over SSH in the "Connection Method" drop-down menu.
- In "SSH hostname", enter the host name or IP address of the server, plus the SSH port
- Enter your remote "SSH Username". For authentication, you can use user password or SSH key.
- Leave the default value "MySQL Hostname" field (127.0.0.1).
- Enter the remote database login account in the "Username" and "Password" fields.
Once done, click the "Test Connection" button.
If this is the first time you connect to the server via SSH, you will see a welcome message, similar to "SSH Server Fingerprint Missing", click "Continue".
If the test is successful, you will see this:
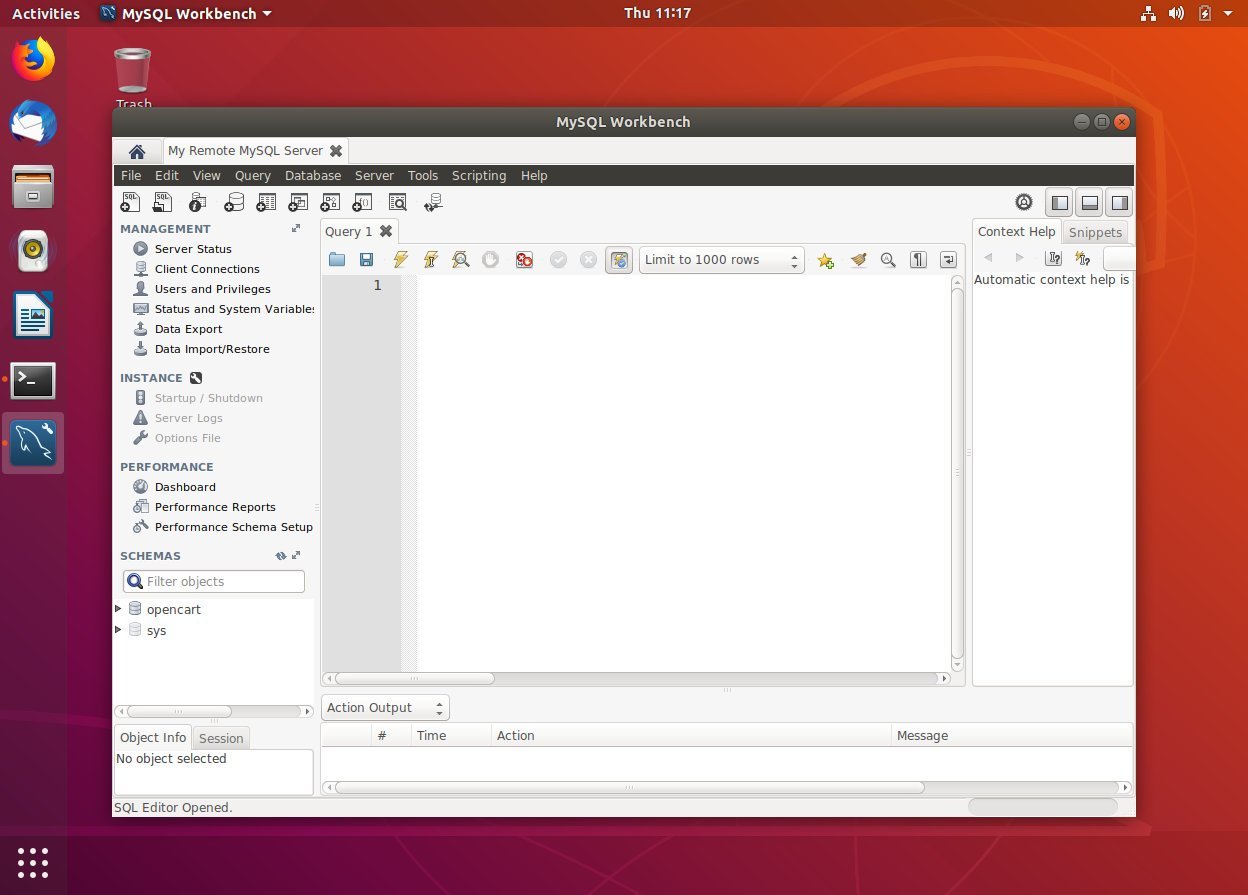
The new connection will be displayed on the MySQL Workbench home page. Double-click it to connect.
Once the connection is successful, you will see the following screen:
Five, summary##
You have learned how to install MySQL Workbench on Ubuntu 18.04. You can start to manage your MySQL users and databases.
To connect to more information about how to use MySQL Workbench, browse Official Documents.
Recommended Posts