centos install mysql through yum
Preface##
I installed mysql according to the documentation on Oracle the day before yesterday, and selected the latest version 8.0. Later, some problems appeared. I searched for answers on the Internet. The basic solution was the 5.x version, and the 8.0 version was not applicable. Then I went to check the Alibaba Cloud rds version that I bought in the company's official environment, 5.7. In this case, it is necessary to reinstall 5.7 to keep it consistent with the official environment. However, I suddenly became a little curious about why version 6.0 or 7.0 was not installed at the time, after all, there were two major versions. What's even stranger is that I looked at the version list of mysql's official documentation and found that there is no 6.0 or 7.0 documentation.
This is fun, why not 6.x, 7.x.
Searched it online.

To the effect, 6 suddenly disappeared due to some performance issues. Then Oracle acquired Sun, stopped the development of 6, and then integrated 7 related functions into 8. Therefore, 8 has become the latest important version.
Let's Go Home##
Document [Address] (https://dev.mysql.com/doc/refman/5.7/en/linux-installation-yum-repo.html), note that it is version 5.7.
Installation part###
It can be divided into the following steps:
- Before uninstall
- Install new
- Start service
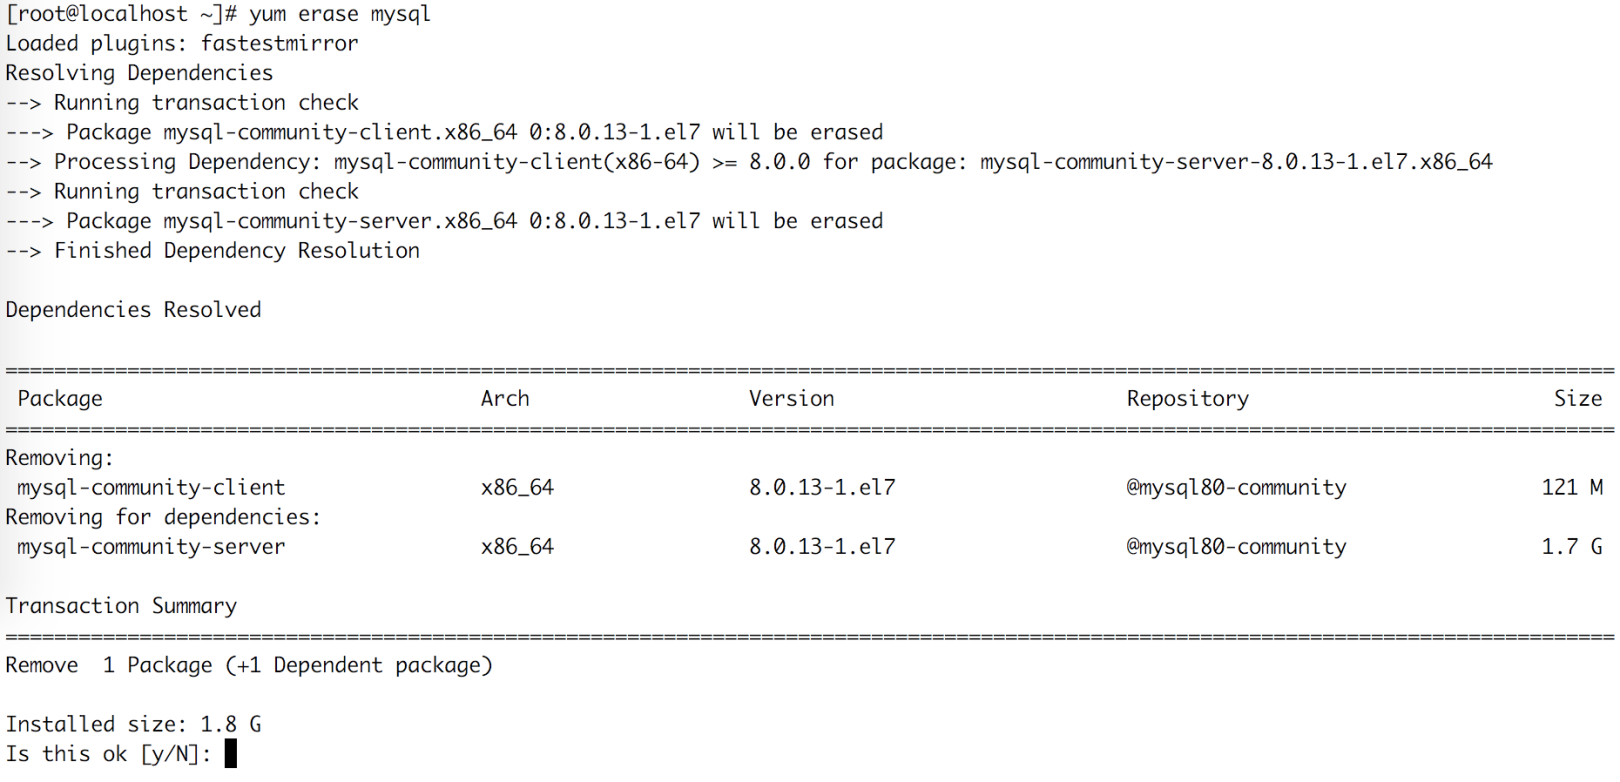
- Uninstall the previous version.
yum erase mysql
-
Choose y, finish
-
After completion, check if
/etc/my.cnfand/etc/mysqlstill exist, they need to be deleted manually. It is found that there is an extramy.cnf.rpmsave, rpm helped save it, we don't need it here, and can delete it directly. -
libaiois a dependency of mysql, you can install it first (but it was not installed when 8.0 was installed last time, it should be installed automatically).libnumais a dependency of NUMA function in mysql, so let's install it manually first.
yum install libaio yum install libnuma -
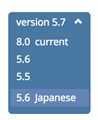
Use Address to choose the version you need according to your own system. My system is centos7.5, so choose el7. Download to the server through
wget https://dev.mysql.com/get/mysql80-community-release-el7-1.noarch.rpm, save the address at any time. Although the name is mysql80, this just means that version 8.0 is enabled by default, which actually contains several versions. You can configure the specific version to be enabled later. -
sudo yum localinstall mysql80-community-release-el7-1.noarch.rpmFirst install the rpm configuration. -
yum repolist enabled | grep "mysql.*-community.*"to see if it has been added successfully.

- The version that comes out is still 8.0. Let's configure it to disable 8.0 and enable 5.7.
sudo yum-config-manager --disable mysql80-community sudo yum-config-manager --enable mysql57-community - Look at the version of yum enabled.
yum repolist enabled | grep "mysql.*-community.*"

- Then you can install it.
sudo yum install mysql-community-server, an error was reported. The 5.7 version of common is required, and the installation is indeed the 8.0 version of common.

-
There should be two options for the above question
-
Delete the installed 8.0 common
-
Use the prompt
--skip-brokenparameter configuration to solve -
Try the first one first.
yum erase mysql-community-commonis deleted. Try the installation again.sudo yum install mysql-community-server. No error is reported, press y to continue the installation. done. -
Start the service. Centos7 recommends using
systemctl start mysqld.service. Haha, it failed~~

- If it is a new installation, there should be no problem. Follow the prompts to see the error situation.

- Follow the prompts to search for the reasons. I searched it, and it was caused by the original installation of 8.0 and then the creation of data. Just delete it here. Then start the service, no error is reported.

- Look at the service status
sudo systemctl status mysqld.service, running.
Settings section###
Divided into the following parts:
- Set root user password
- Create users, set passwords, and assign permissions.
- Configure the remote connection.
-
When the mysql service is started for the first time, it will automatically do the following things.
-
Start the service.
-
Generate ssl certificate and secret key file in the data directory (/var/lib/mysql)
-
Install and enable the validate_password plugin. This plugin is enabled by default. It requires a password of at least 8 characters, and requires one uppercase, one lowercase, one number, and one special character.
-
The user
'root'@'localhost'is created, and the password is stored in/var/log/mysqld.log. -
Check the password.
sudo grep'temporary password' /var/log/mysqld.log

- Log in with the temporary password, and then modify the temporary password.
mysql -u root -p
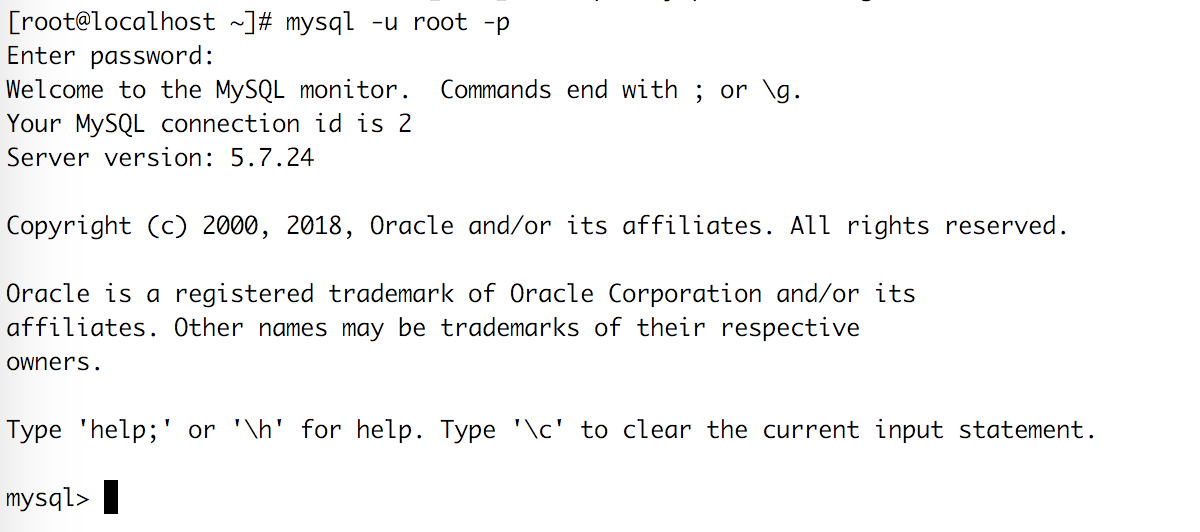

- Successfully modified. Log in with the new password and try to see if the statement can be executed. no problem.
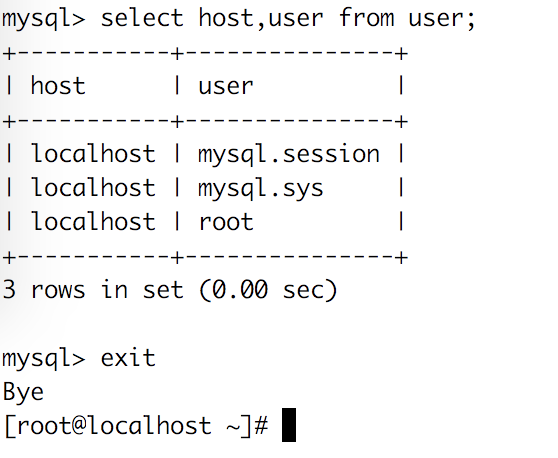
- Log in to mysql and create a user for remote login.
CREATE USER'root1'@'%' IDENTIFIED WITH mysql_native_password BY'xxxxxxxxxx';. % Means that any address can be connected. xxx is a specific password, which must comply with the above password rules. The password verification method is mysql_native_password.

- Assign permissions below.
grant all privileges on *.* to'root1'@'%'assign all permissions to root1 user. The first asterisk represents the database name. So in general, you can create a database with root first, and then assign all the permissions of this database to user root1. After the assignment, you need to refresh the permission configuration.FLUSH PRIVILEGES


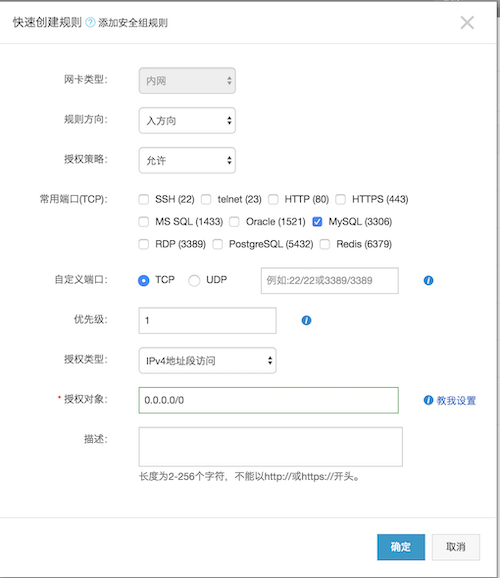
- After creation, mysql uses port 3306 by default, so you need to turn on the server's port 3306 firewall.
firewall-cmd --zone=public --add-port=3306/tcp --permanent, if the promptFirewallD is not runningindicates that the firewall server is not started, you can enable it or not. Then you need to reload the firewall configuration.firewall-cmd --reload - After the local port is enabled, you need to set Alibaba Cloud security group rules.
- Then try to see if it can be connected remotely, here use dbeaver, cross-platform, Amway~
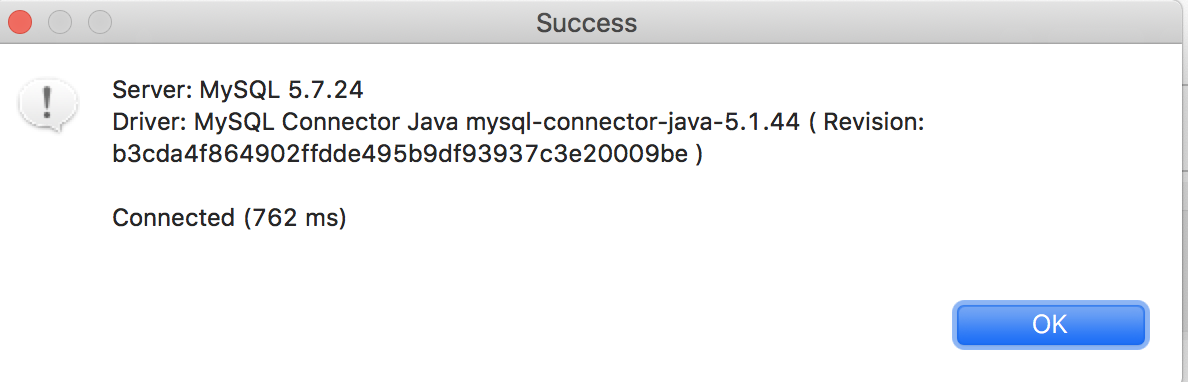
- Try to query the connection, create a table and other operations, and succeed.
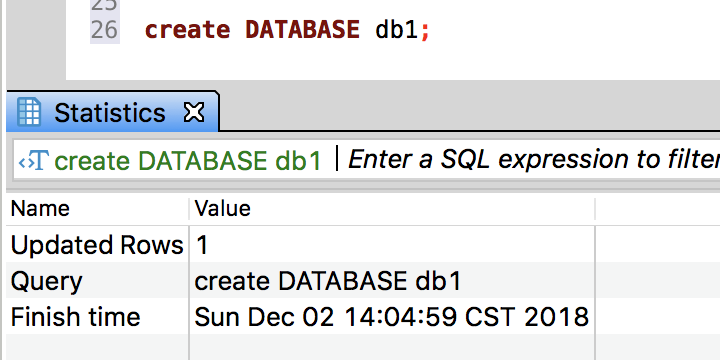
That's it.
Recommended Posts