Install Leanote on Ubuntu18 to build cloud notes
installation steps:
-
Download the binary version of
leanote. -
Install
mongodb. -
Import the initial data.
-
Configure
leanote. -
Run
leanote.
1. Download leanote binary version##
Download the latest binary version of leanote here.
Suppose you download the file to the /home/user1 directory, unzip the file to generate the leanote directory under the /home/user1 directory:
$> cd /home/user1
$> tar -xzvf leanote-darwin-amd64.v2.0.bin.tar.gz
2. Install mongodb
2.1 Install mongodb
Go to the mongodb official website to download the latest version of the installation package of the corresponding system, or download the old version from the following link:
- 64 Bit linux mongodb 3.0.1 download link: https://fastdl.mongodb.org/linux/mongodb-linux-x86_64-3.0.1.tgz
Download it to /home/user1 and unzip it directly:
$> cd /home/user1
$> tar -xzvf mongodb-linux-x86_64-3.0.1.tgz/

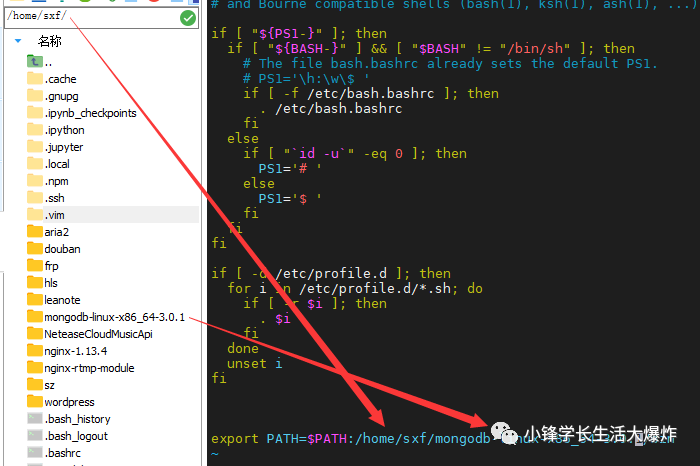
In order to quickly use the mongodb command, you can configure environment variables. Edit the ~/.profile or /etc/profile file and add the path of mongodb/bin:
$> sudo vim /etc/profile
The example here uses the vim text editor, you can use your familiar editor.
Add the following line in /etc/profile, and pay attention to replace the user name (user1) and the corresponding file directory name (mongodb-linux-x86_64-3.0.1) with the name in your system:
export PATH=$PATH:/home/user1/mongodb-linux-x86_64-3.0.1/bin
After saving the modification, run the following command in the terminal to make the environment variable take effect:
$> source /etc/profile
2.2 Test mongodb installation###
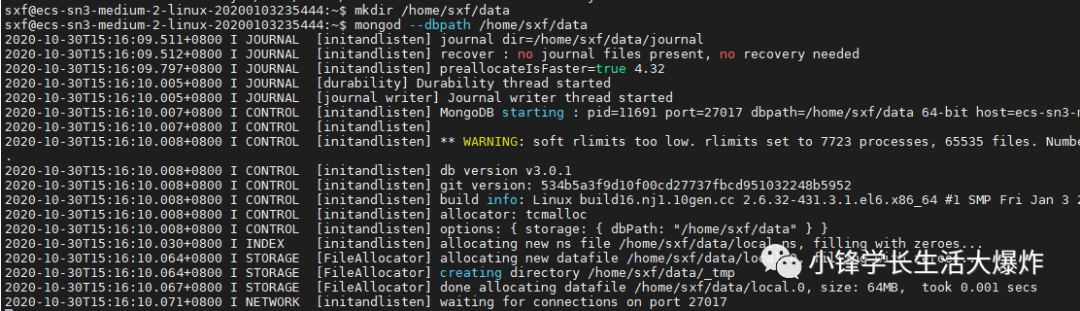
First create a new directory data under /home/user1 to store mongodb data:
mkdir /home/user1/data
Start mongod with the following command:
mongod --dbpath /home/user1/data
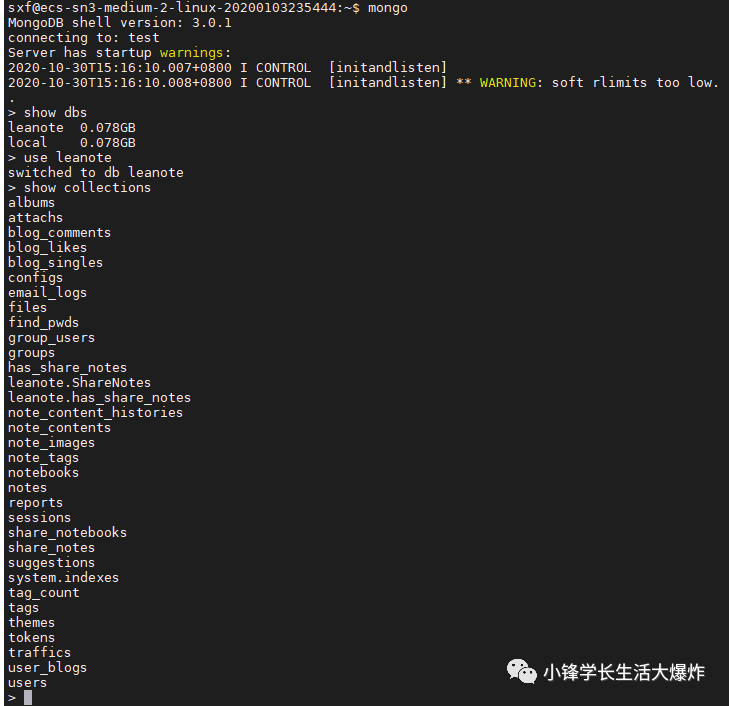
At this time, mongod has been started, reopen a terminal, and type mongo to enter the interactive program:
$> mongo
> show dbs
... Database list

The mongodb installation ends here, the following is to import the initial data of leanote for mongodb.
3. Import initial data##
The initial data of leanote is stored in /home/user1/leanote/mongodb_backup/leanote_install_data.
Open the terminal and enter the following command to import the data.
$> mongorestore -h localhost -d leanote --dir /home/user1/leanote/mongodb_backup/leanote_install_data/

Now that the leanote database has been created in mongodb, you can use the command to check how many "tables" there are in leanote:
$> mongo
> show dbs #View database
leanote 0.203125GB
local 0.078125GB
> use leanote #Switch to leanote
switched to db leanote
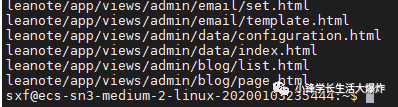
> show collections #View table
files
has_share_notes
note_content_histories
note_contents
....
There are already 2 users in the users table of the initial data:
user1 username: admin, password:abc123(administrator,Only this user has the right to manage the background,Please change the password in time)
user2 username: [email protected], password: [email protected](For experience use only)
Account modification##
In addition to modifying the settings through the /admin/index page, you can also manipulate the mongo database.

Service starts automatically##
A simple leanote service script sudo vi /etc/systemd/system/leanote.service:
[ Unit]
Description=Leanote, Not Just A Notepad!
After=syslog.target  network.target mongod.service

[ Service]
User=root
ExecStart=/home/ubuntu/leanote/bin/run.sh

[ Install]
WantedBy=multi-user.target
after that
sudo systemctl enable leanote
sudo systemctl start leanote
If the startup fails, first confirm whether leanote/bin/run.sh is executable:
sudo chmod +x leanote/bin/run.sh
4. Configure leanote
The configuration of leanote is stored in the file conf/app.conf.
Be sure to modify the item of app.secret, in several random positions, modify the character to a different value, otherwise there will be security risks!
Other configurations can remain unchanged for the time being. If you need to configure database information, please refer to the leanote question summary.
5. Run leanote
Note: Please make sure that mongodb is running before this!
Open a new window and run:
$> cd /home/user1/leanote/bin
$> bash run.sh
Finally, the following information appears to prove that the operation is successful:
...
TRACE 2013/06/0615:01:27 watcher.go:72: Watching:/home/life/leanote/bin/src/github.com/leanote/leanote/conf/routes
Go to /@tests to run the tests.
Listening on :9000...


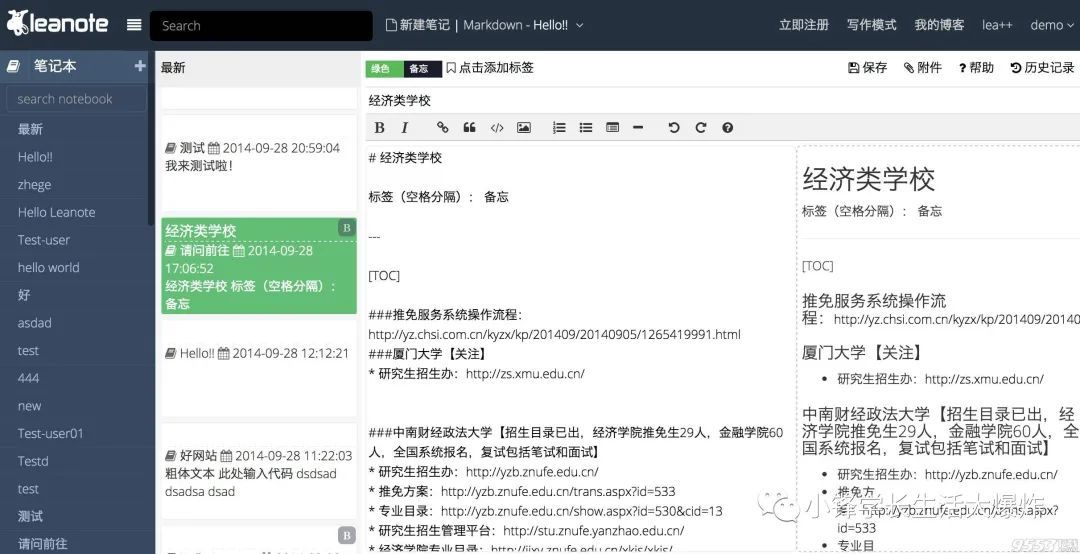
Congratulations, open your browser and enter: http://localhost:9000 and experience leanote!

Remember to open port 9000

Attention!!!!!!!!!!!!!!
If you start Mongodb according to this tutorial, there is no permission control. If your Leanote server is exposed to the external network, anyone can access and modify your Mongodb, so this is extremely dangerous!!!!!!!!!!! Please be sure to add a user name and password for Mongodb and start it with auth, please refer to the method: Add user for mongodb database
Summary of leanote installation/configuration issues#
If you have problems running or want to further configure leanote, please refer to the summary of leanote issues.
6. Add users to mongodb database##
Like mysql, there is a root user. Mongodb has no users initially. This is very insecure. Therefore, create a new user for the leanote database to connect to the leanote database (note that it is not a new user in the users table of leanote, but a new connection The user of the leanote database, similar to the root user of mysql).
Mognodb v2 and v3 create user commands are different
mongodb v2 creates users as follows:
# First switch to the leanote database
> use leanote;
# Add a user root,The password is abc123
> db.addUser("root","abc123");{"_id":ObjectId("53688d1950cc1813efb9564c"),"user":"root","readOnly":false,"pwd":"e014bfea4a9c3c27ab34e50bd1ef0955"}
# Is it correct under the test
> db.auth("root","abc123");1 #Return 1 means correct
mongodb v3 creates users as follows:
# First switch to the leanote database
> use leanote;
# Add a user root,The password is abc123
> db.createUser({
 user:'root',
 pwd:'abc123',
 roles:[{role:'dbOwner', db:'leanote'}]});
# Is it correct under the test
> db.auth("root","abc123");1 #Return 1 means correct
After the user is added, re-run mongodb and enable permission verification. Press ctrl+c in the mongod terminal to exit mongodb.
Start mongodb:
$> mongod --dbpath /home/user1/data --auth
Also modify the configuration file: Modify leanote/conf/app.conf:
db.host=localhost
db.port=27017
db.dbname=leanote # required
db.username=root # if not exists, please leave blank
db.password=abc123 # if not exists, please leave blank
Specify a super administrator account (admin user) for Leanote
Leanote's default super administrator is admin, and once you accidentally modify the username, you cannot change it back. At this time, you can modify the configuration file app.conf, for example, to specify the user life as the super administrator, modify or/add a line:
adminUsername=life
After all is done, run:
nohup mongod --dbpath /home/sxf/mongodb/data --auth &
nohup bash /home/sxf/leanote/bin/run.sh &
Recommended Posts