Linux CentOS 7 installation tutorial
software
download
CentOS 7/64 bit download:
Reply [centos7 download] to get the download linkIf there is a problem in the installation, consult private WeChat: xxq1426211293
software
Introduction
Linux is a free-to-use and freely disseminated Unix-like operating system. It is a multi-user, multi-task, multi-thread and multi-CPU operating system based on POSIX and UNIX. It can run major UNIX tools, applications, and network protocols. It supports 32-bit and 64-bit hardware. Linux inherits Unix's network-centric design philosophy and is a multi-user network operating system with stable performance.
installation
step
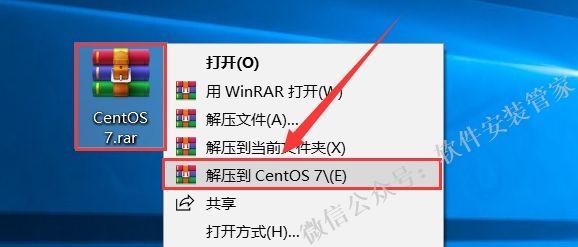
- Select [CentOS 7] compressed package, right-click and select [Extract to CentOS 7].
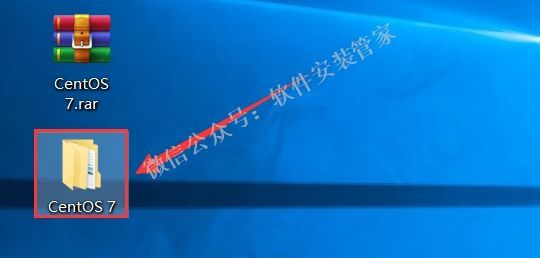
- Double-click to open the [CentOS 7] folder.
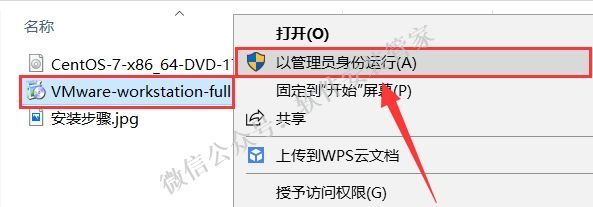
- Select [VMware-workstation-full-14.0.0.24051] right click and select [Run as administrator].
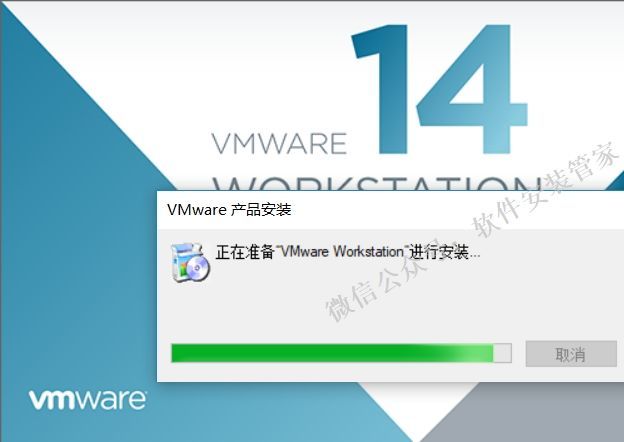
- Need to wait a while.
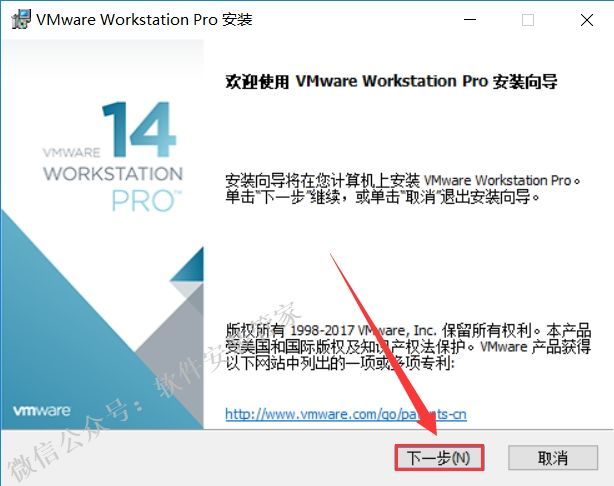
- Click [Next].
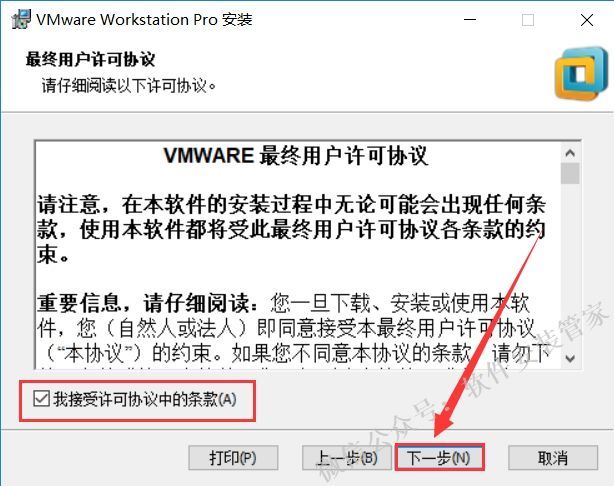
- Check [I accept the terms in the license agreement] and click [Next].
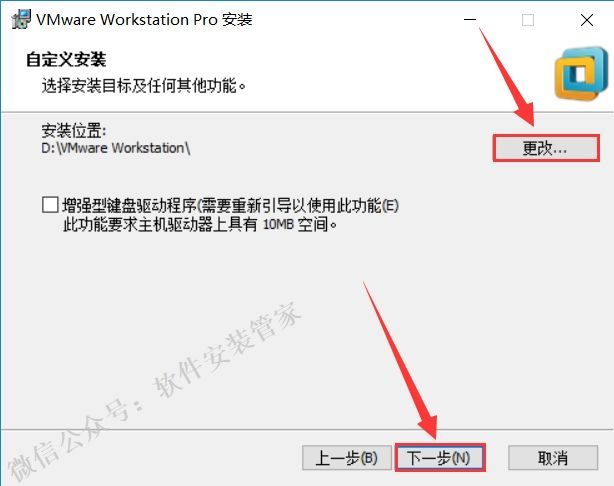
- Click [Change] to change the installation directory of the software. It is recommended to install on a disk other than Disk C. You can create a [VMware Workstation] folder on Disk D or other disks, and click [Next].
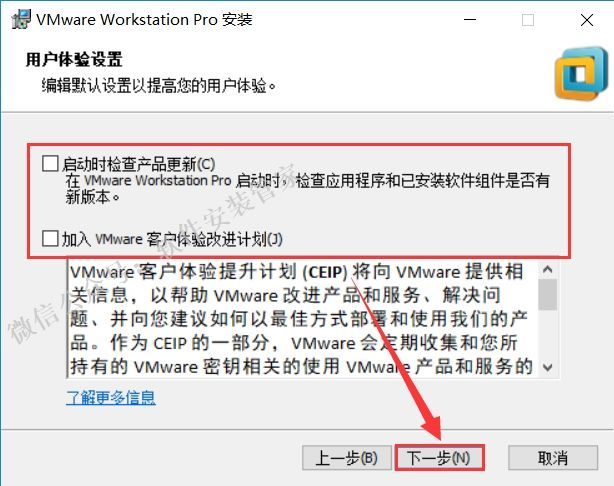
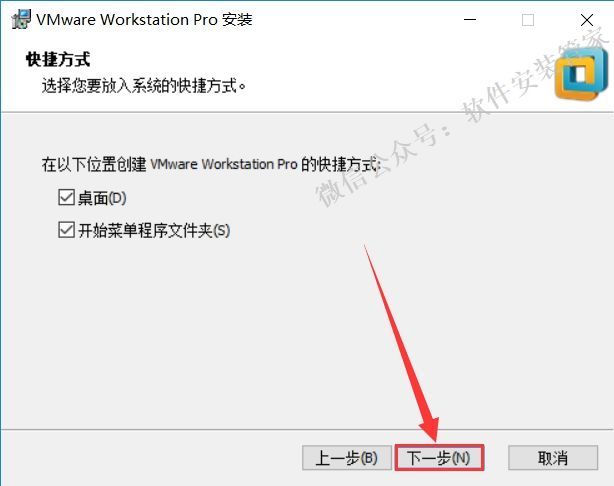
- Uncheck and click [Next].
- Click [Next].
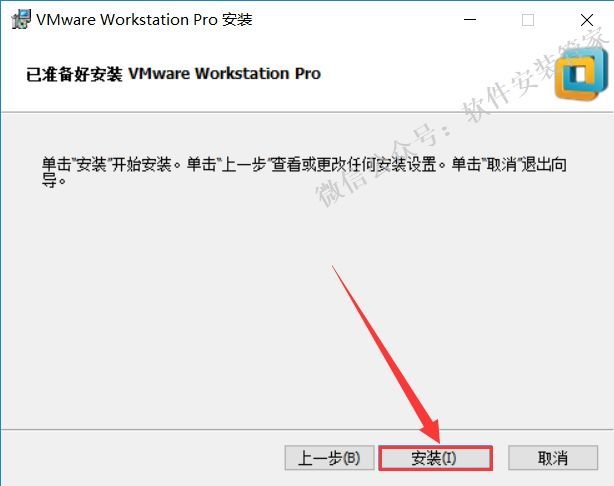
- Click [Install].
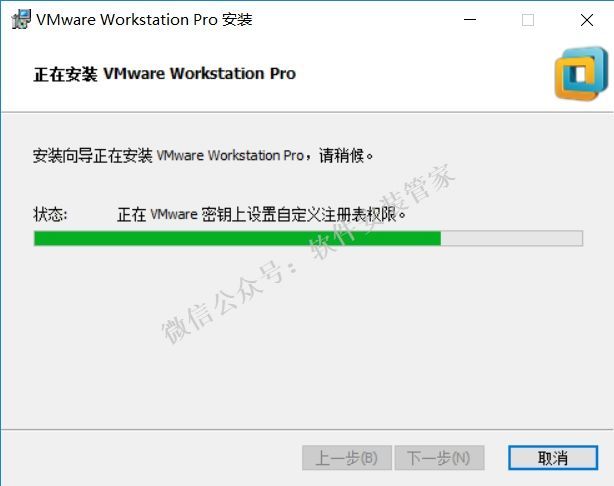
- installing.
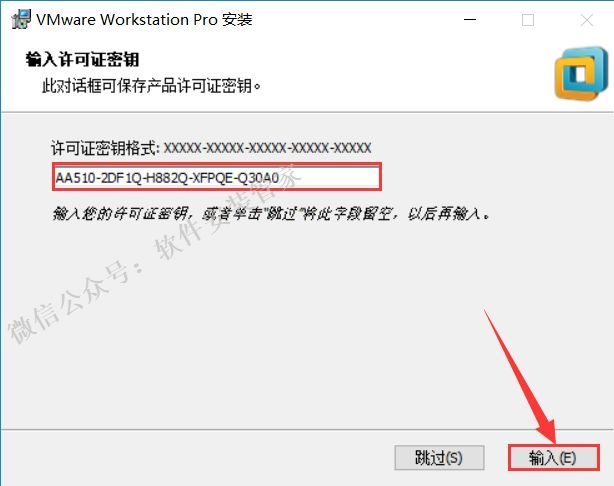
- Click [License].
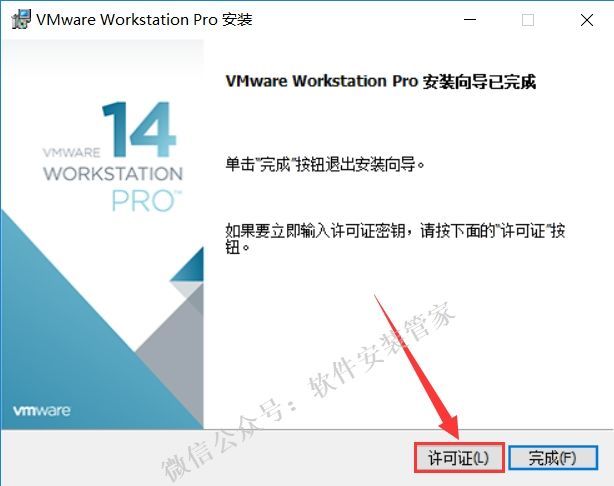
- Input: AA510-2DF1Q-H882Q-XFPQE-Q30A0, click [Input].
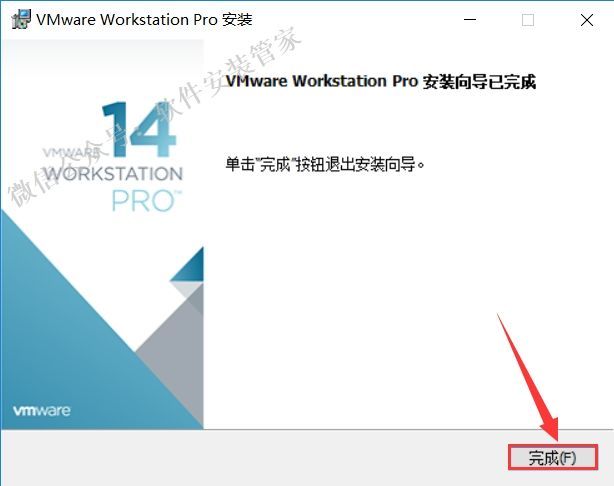
- Click [Finish].
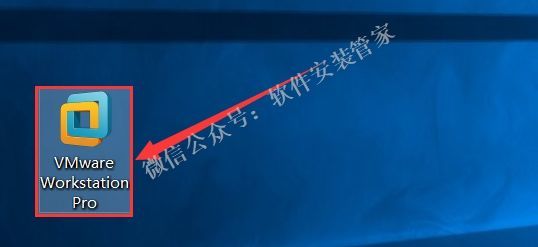
- Find [VMware Workstation Pro] on the desktop and double-click to open it.
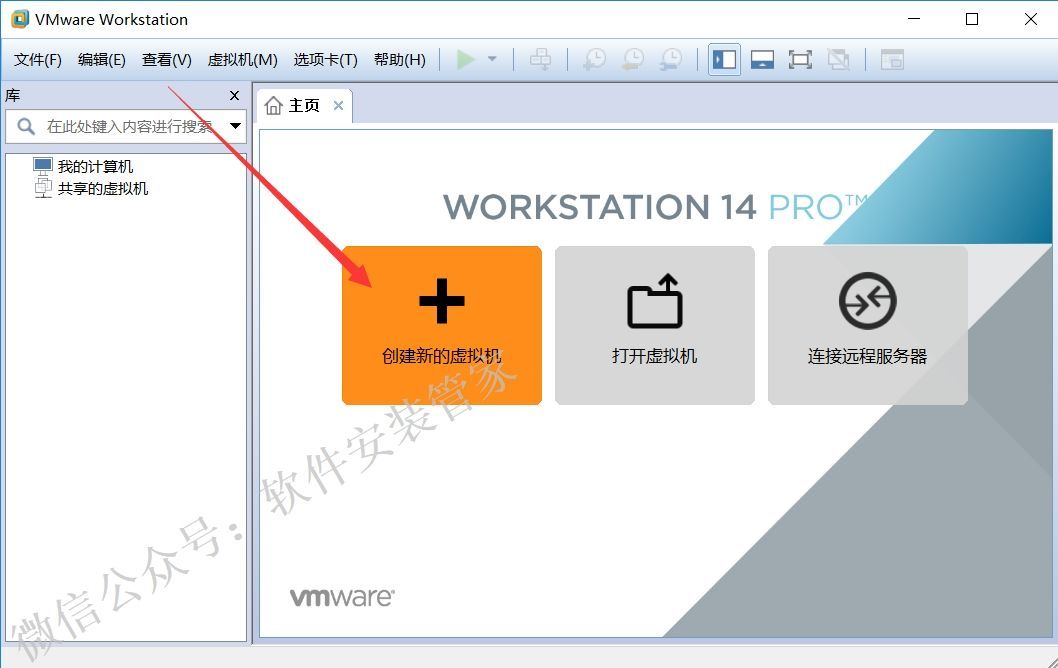
- Click [Create a new virtual machine].
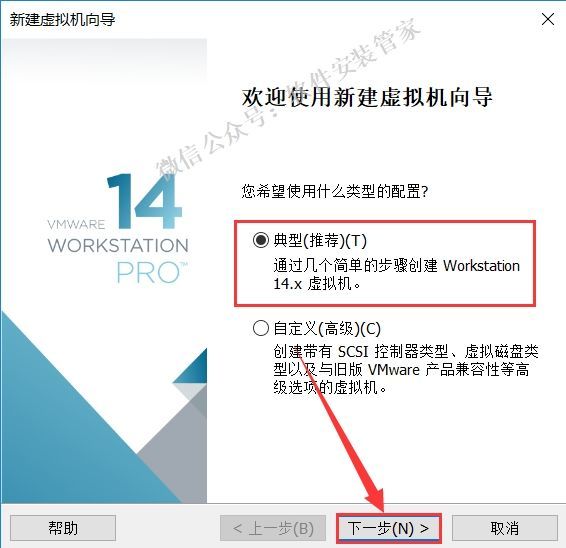
- Select [Typical] and click [Next].
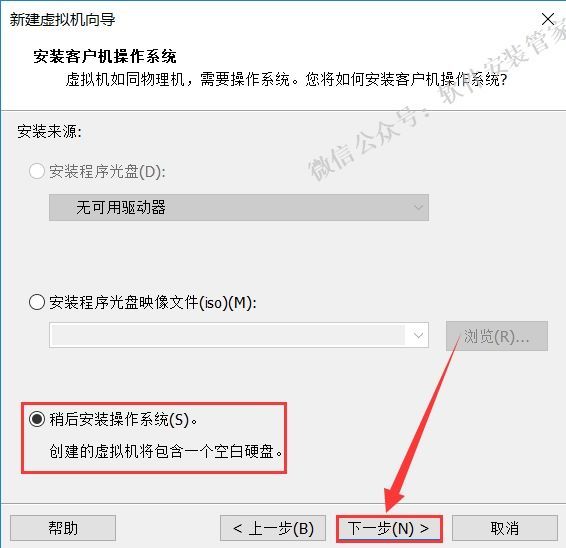
- Select [Install the operating system later] and click [Next].
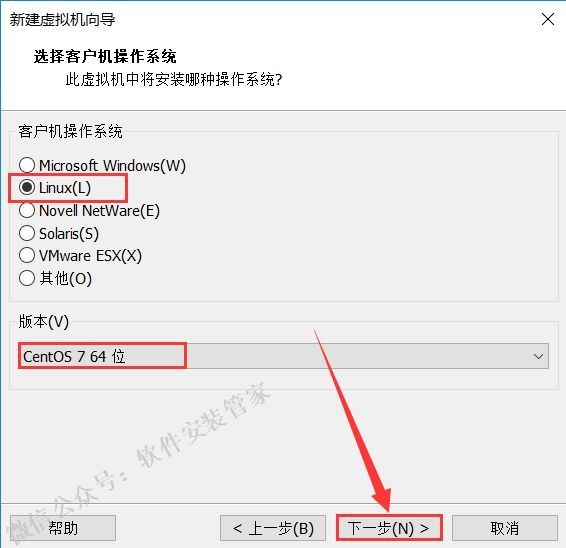
- Select [Linux], select [CentOS 7 64 bit] for the version, and click [Next].
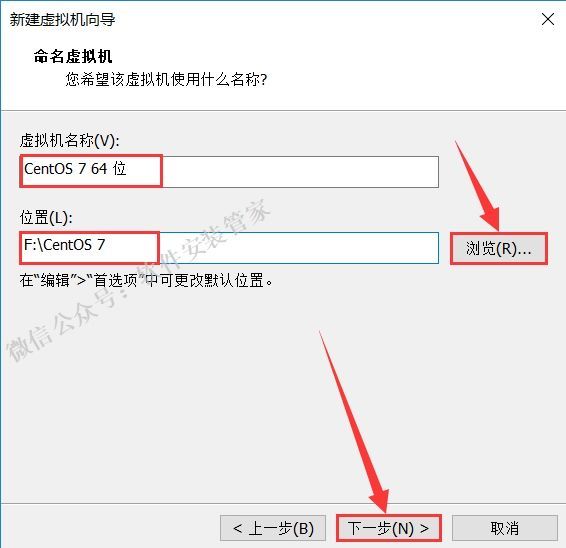
- Enter the name of the virtual machine [CentOS 7 64 bit], click [Browse] to change the installation location of the system, it is recommended to install on a disk other than the C drive, you can create a new [CentOS 7] folder in the F drive or other disks, and click [Down] step】.
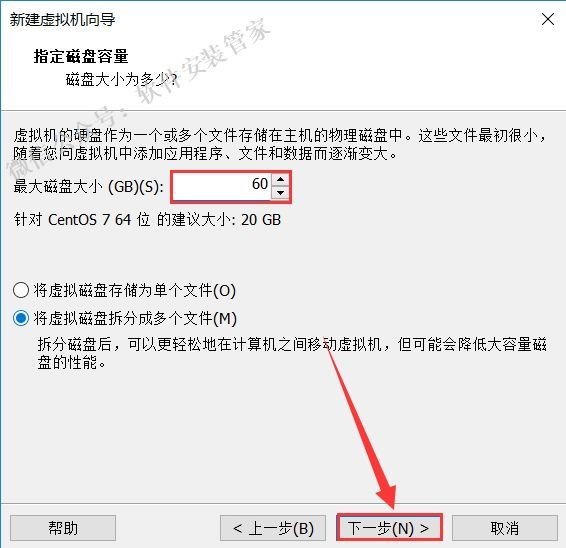
- Change the maximum disk size to 60G and click [Next].
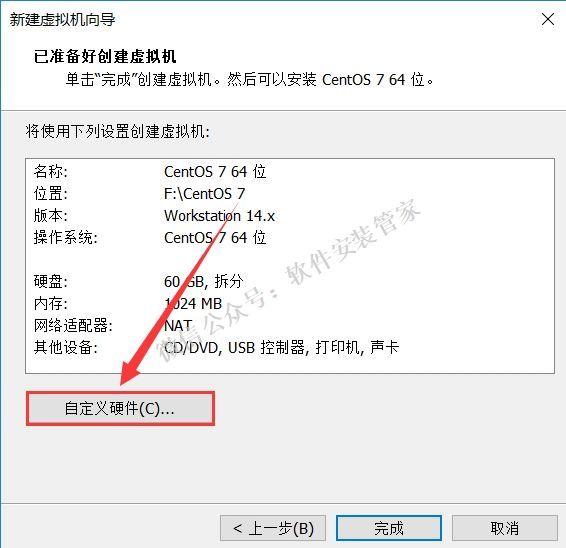
- Click [Custom Hardware].
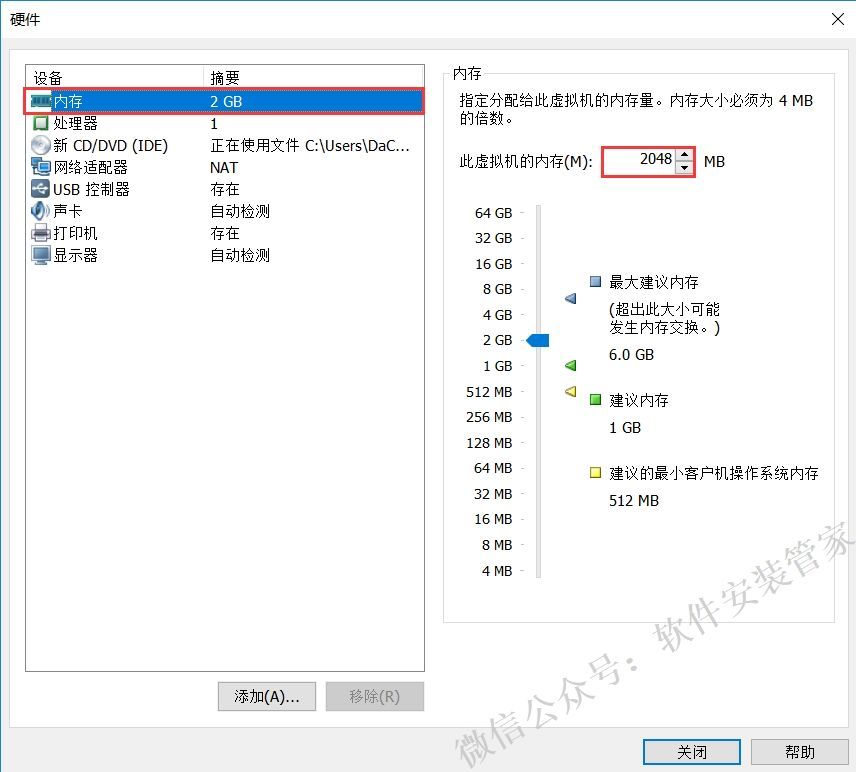
- Click [Memory] and set to [2048MB].
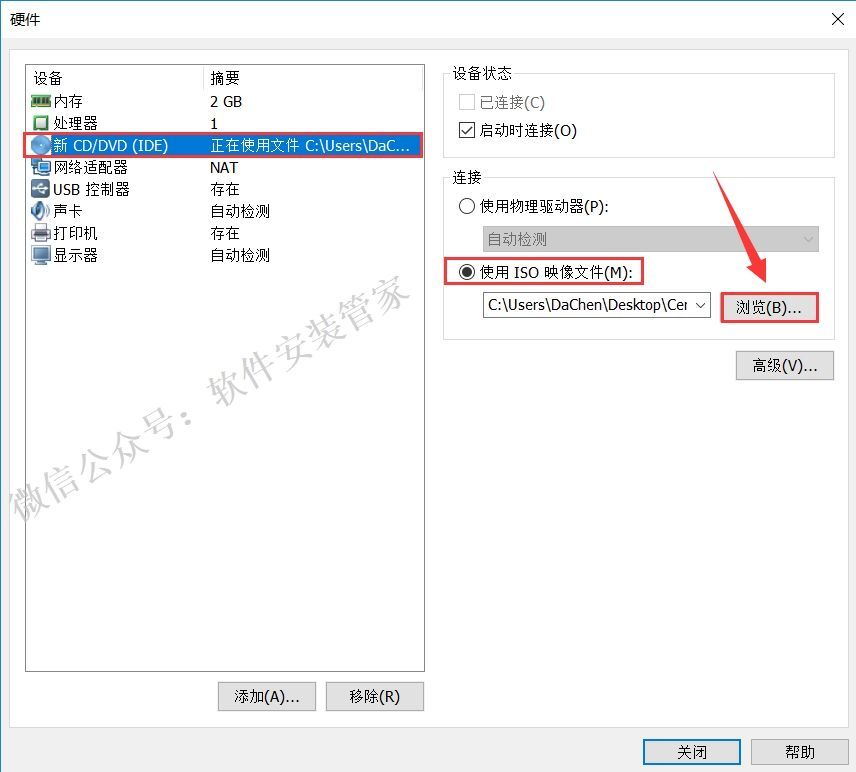
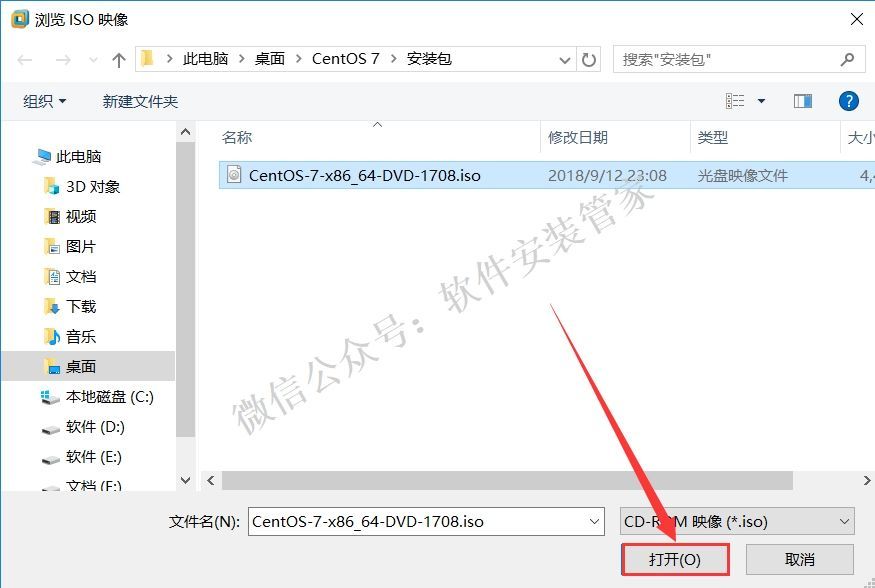
- Select [New CD/DVD (SATA)] and then select [Use ISO image file], click [Browse] to find and select the [CentOS-server-7.0] image in the [CentOS 7] folder after decompression.
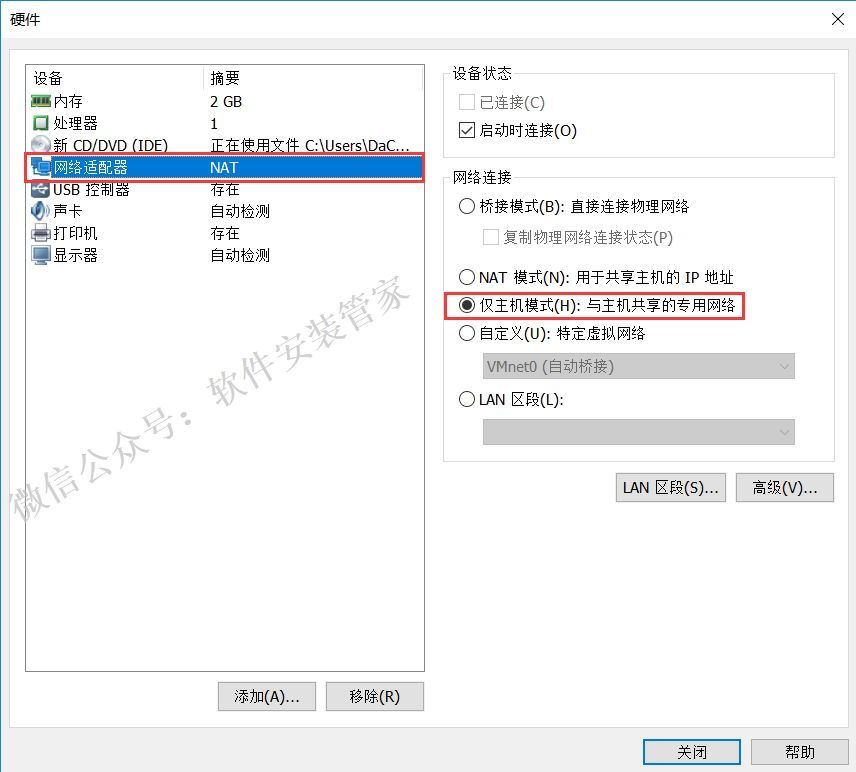
- Click [Network Adapter], and select [Host Mode Only] for network connection.
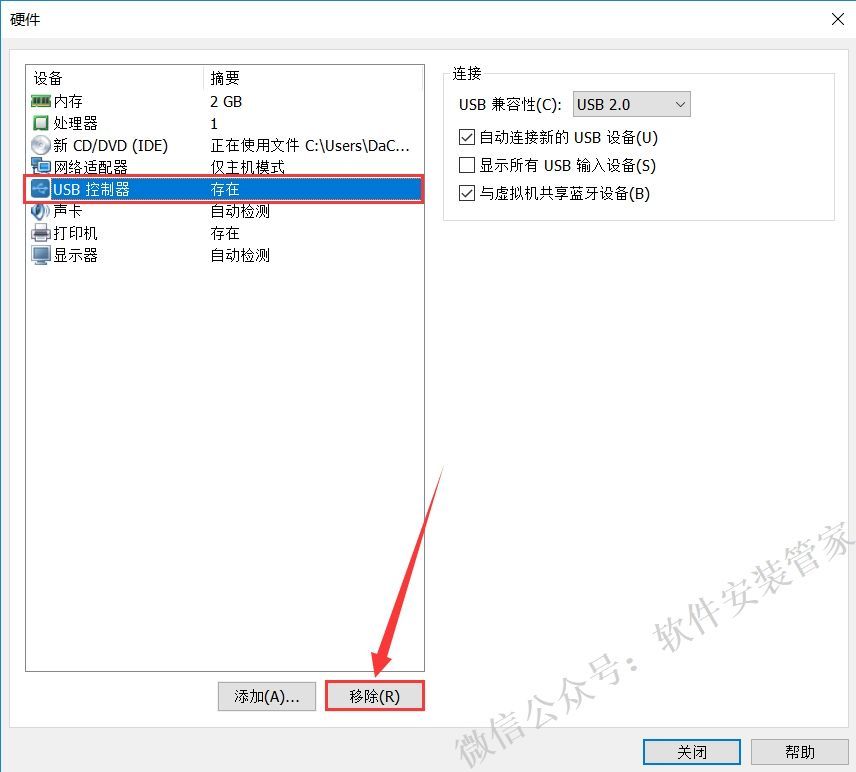
- Select [USB Controller] and click [Remove].
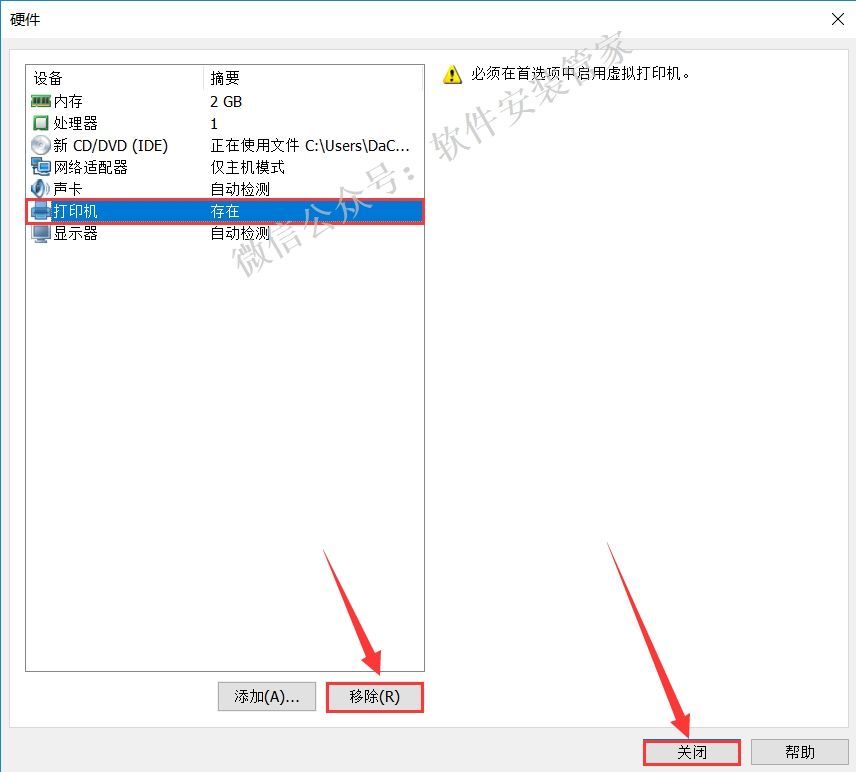
- Select [Printer], click [Remove] and then click [Close].
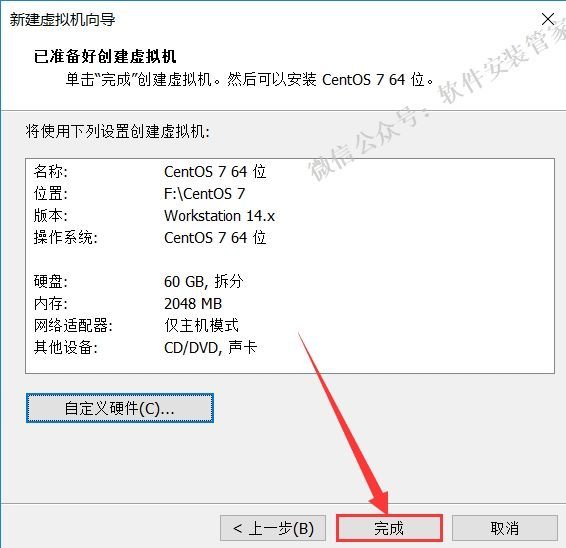
- Click [Finish].
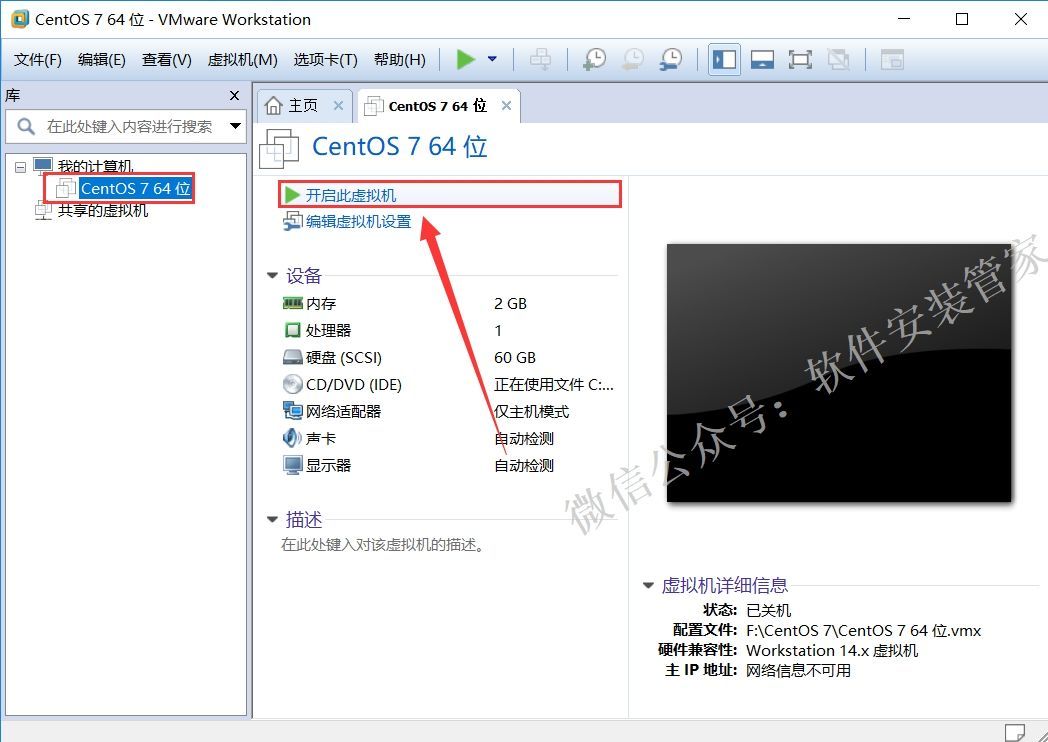
- Select [CentOS 7 64bit] and click [Enable this virtual machine].
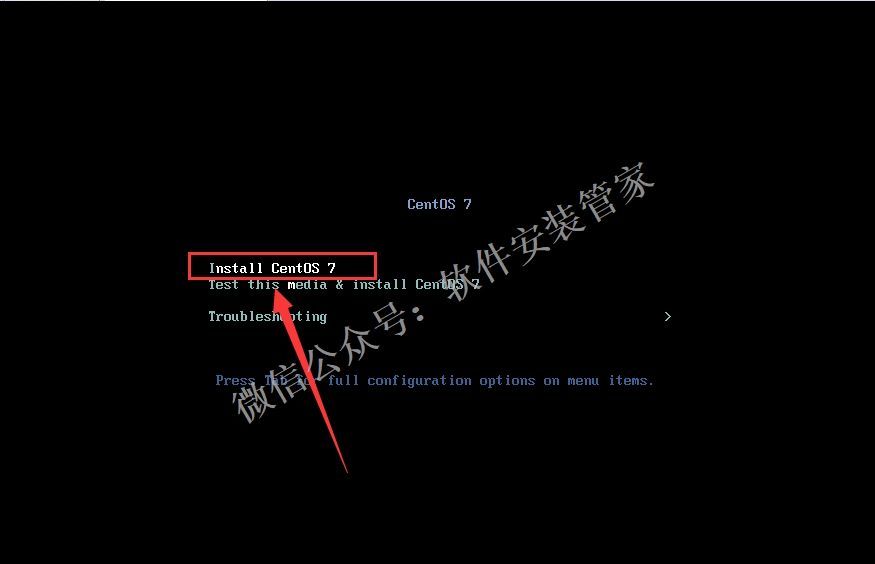
- Use the up and down arrows on the keyboard to select [Install CentOS 7], and then press the Enter key on the keyboard.
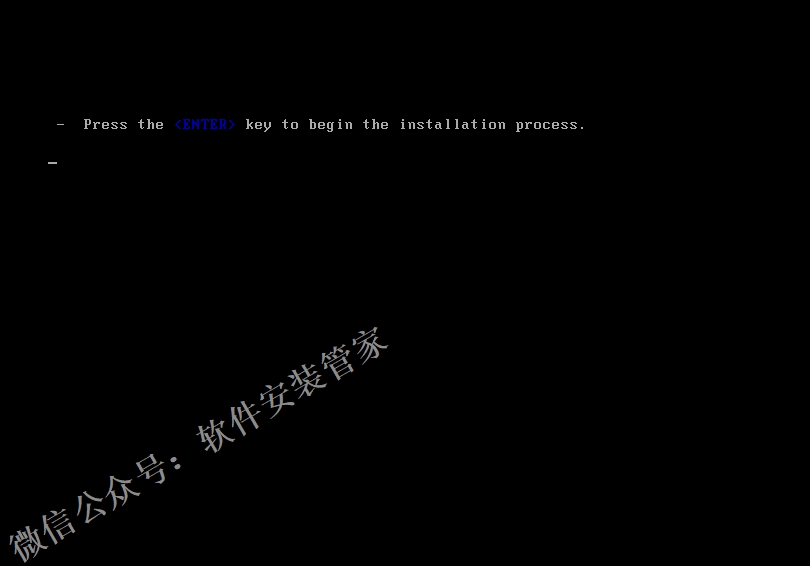
- The image is being loaded.
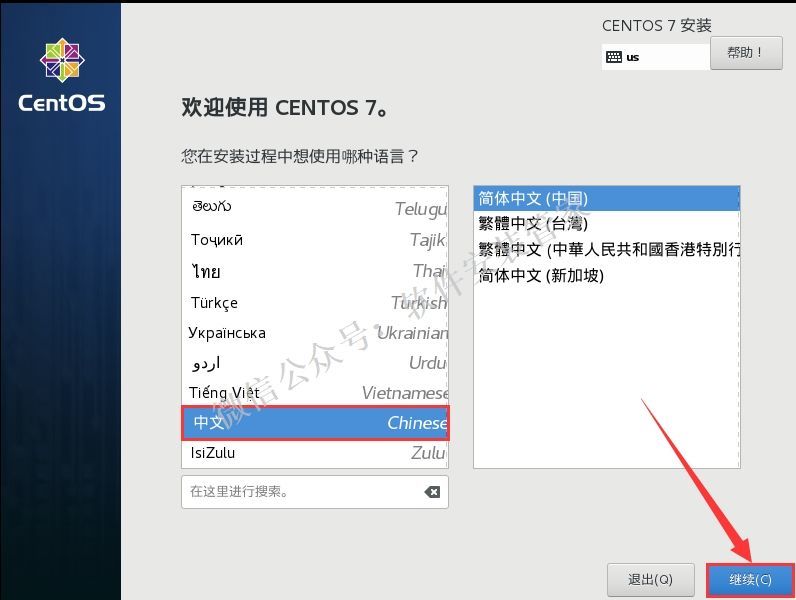
- Select [Chinese] and click [Continue].
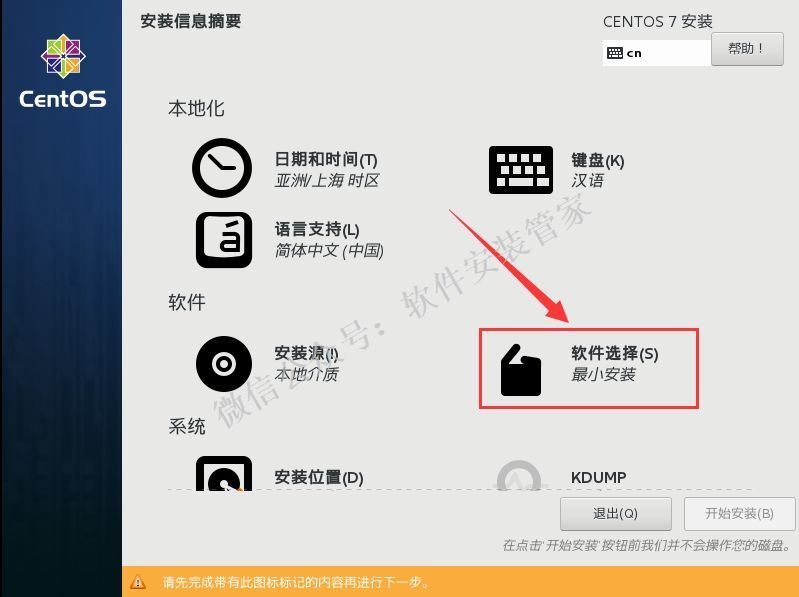
- Click [Software Selection].
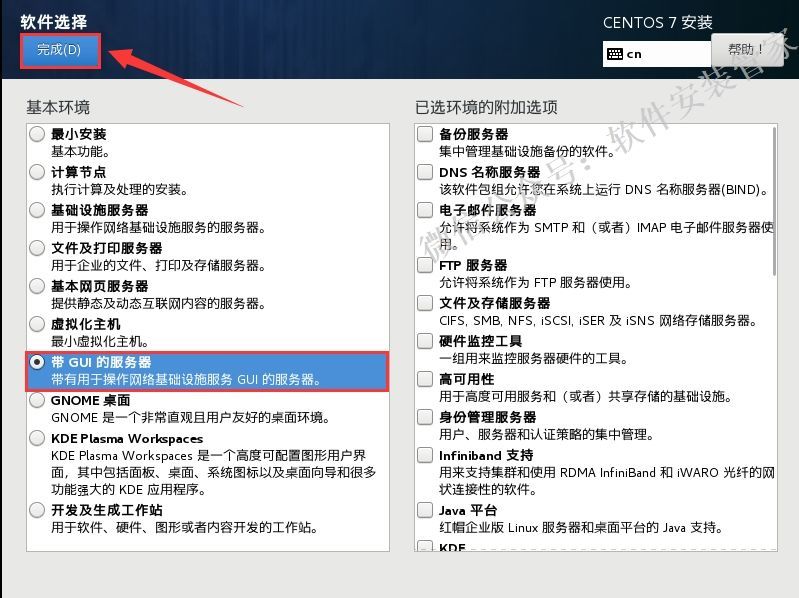
- Select [Server with GUI] and click [Finish].
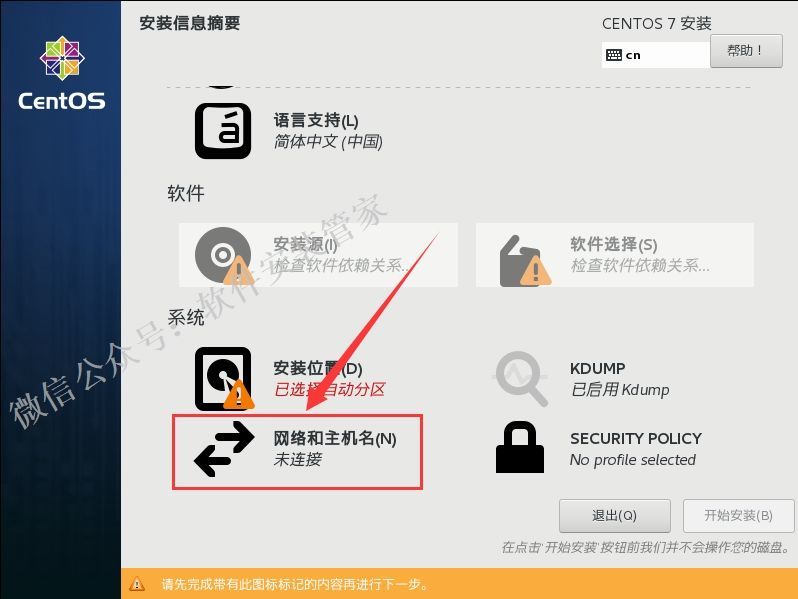
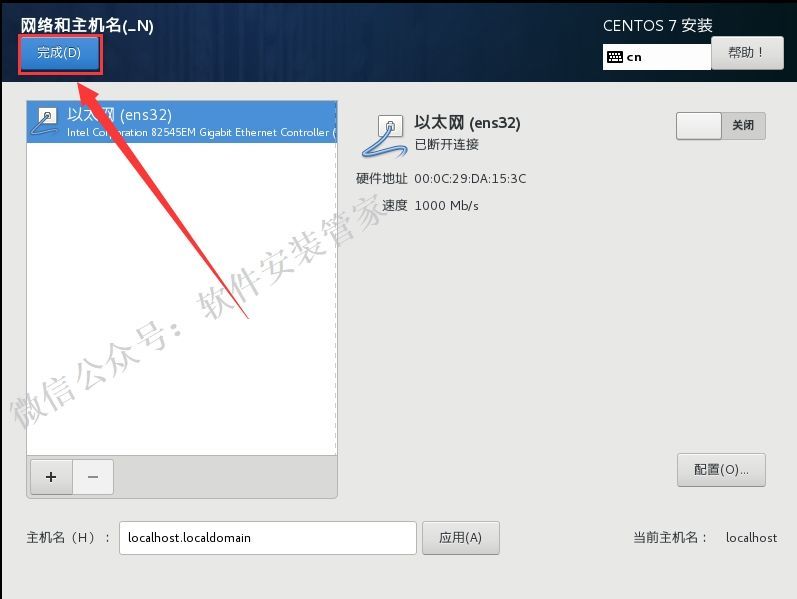
- Click [Network and Host Name].
- Click [Finish].
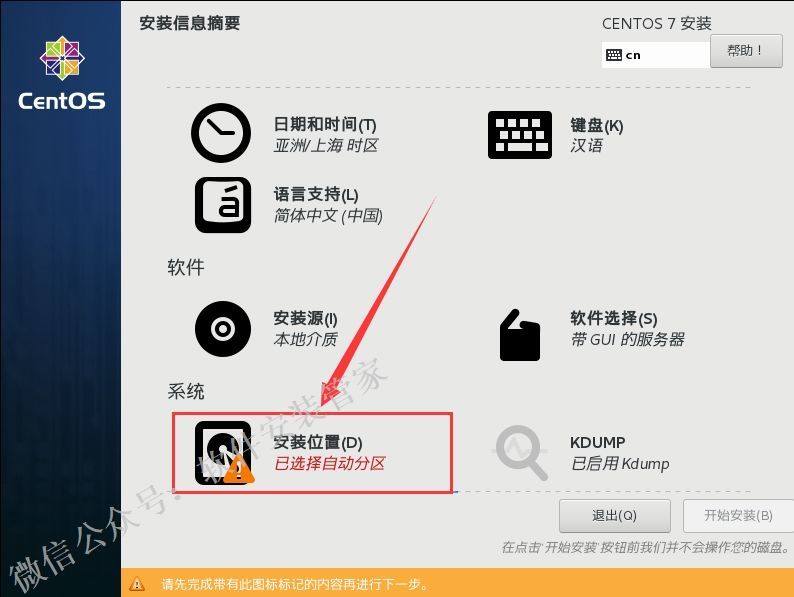
- Click [installation location].
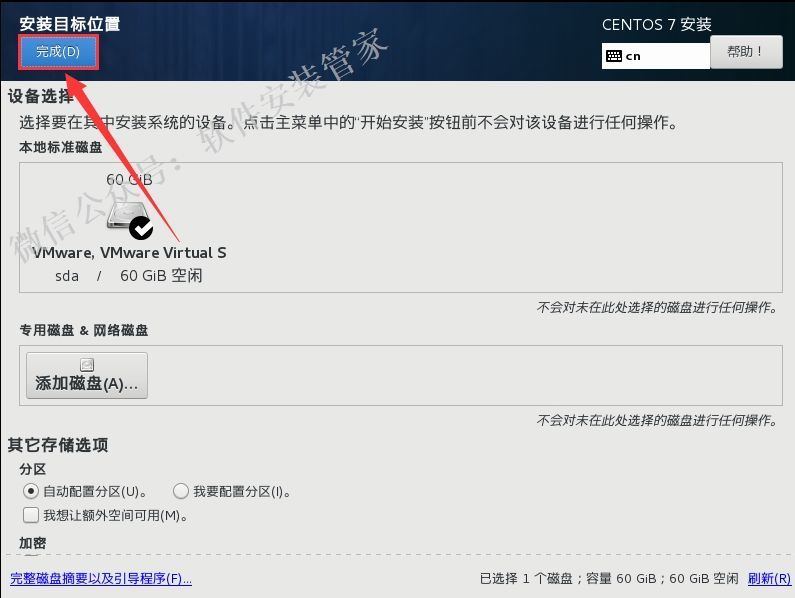
- Do not modify, click [Finish].
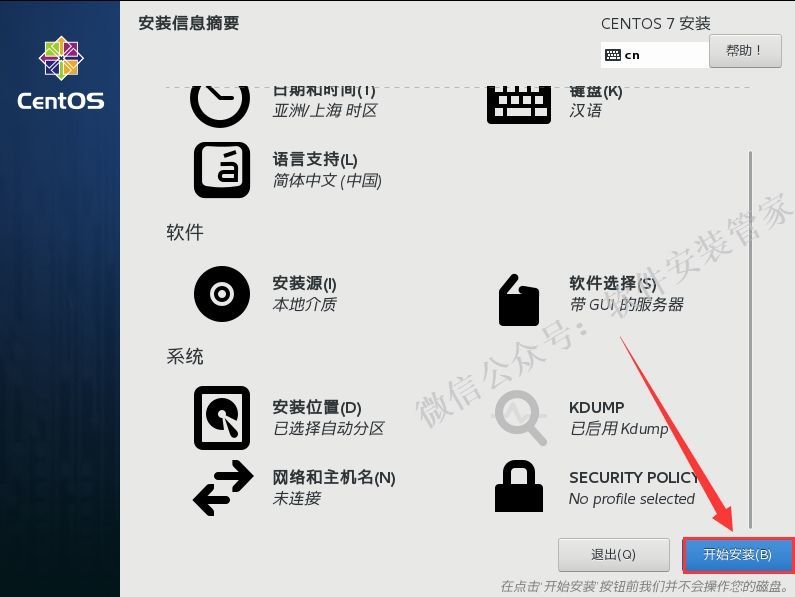
- Click [Start Installation].
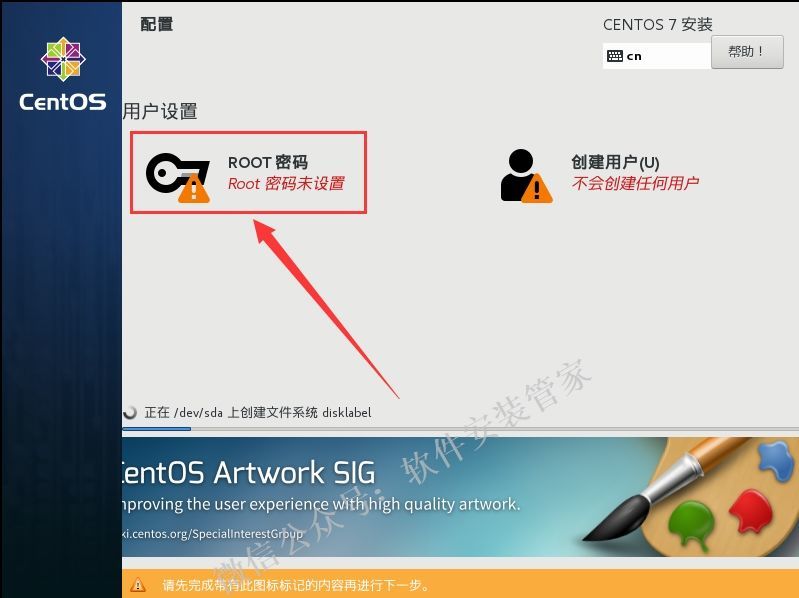
- Click [Root Password].
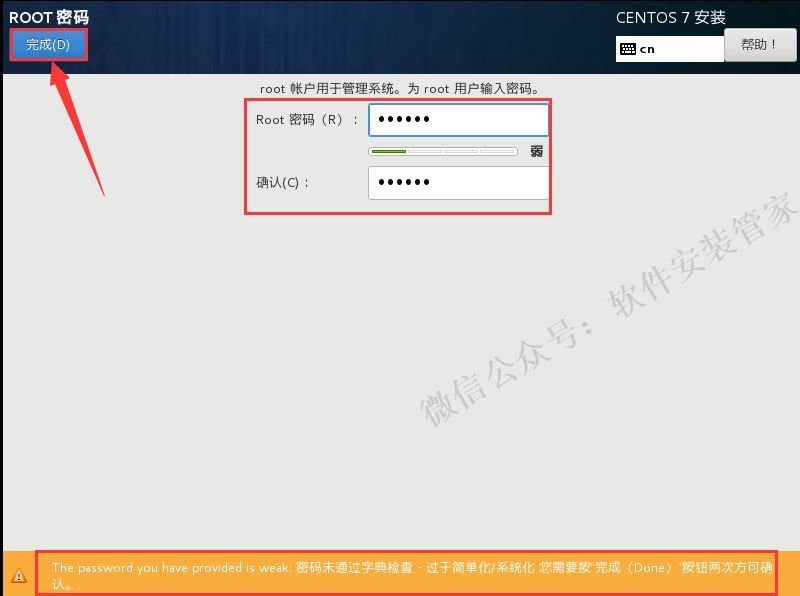
- Enter the Root password, and then click [Finish] Warm reminder: If the entered password is weak, you need to click [Finish] twice.
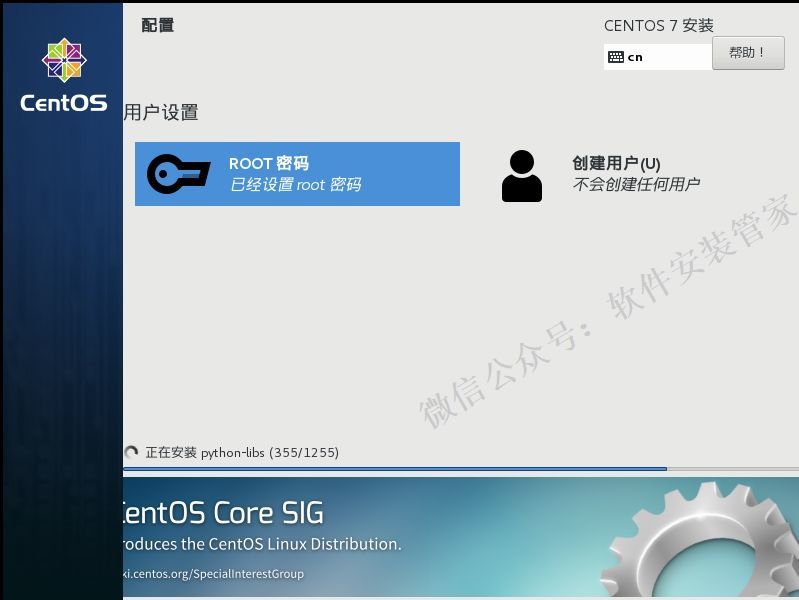
- CentOS 7 is being installed (about 30 minutes).
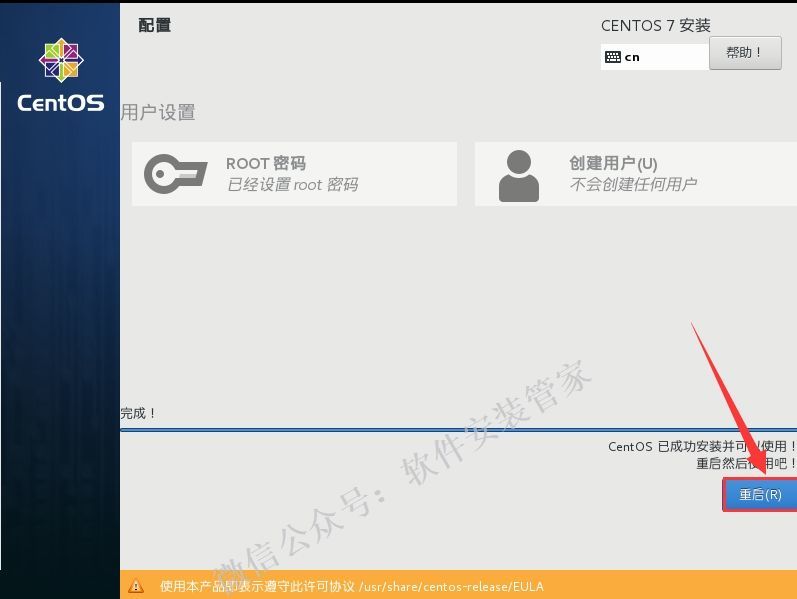
- After the installation is complete, click [Restart].
- Do not do anything after restarting.
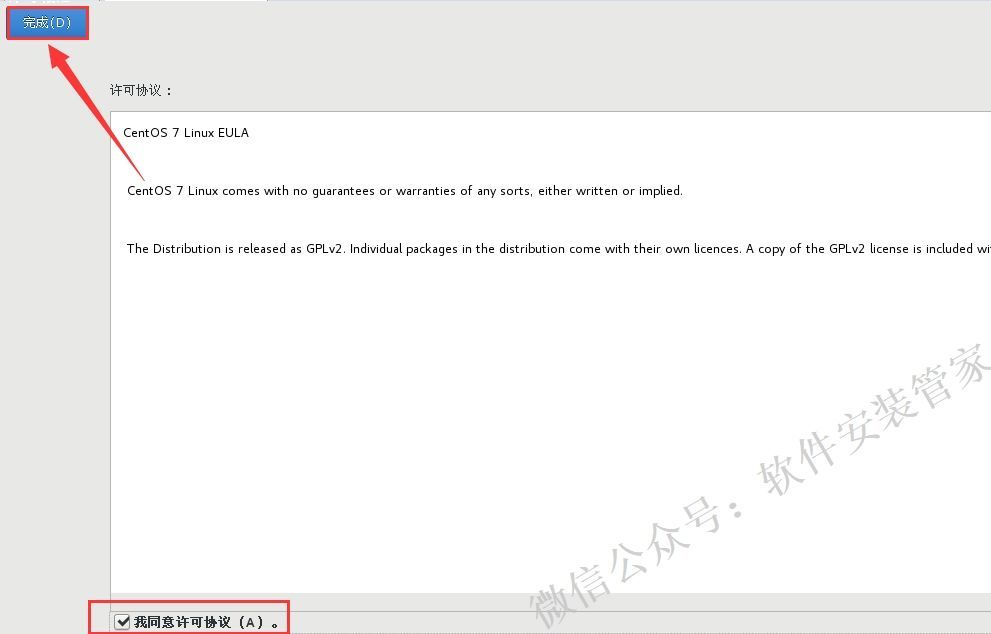
- Click [LICENSE INFORMATION].

- Check [I agree to the license agreement] and click [Finish].
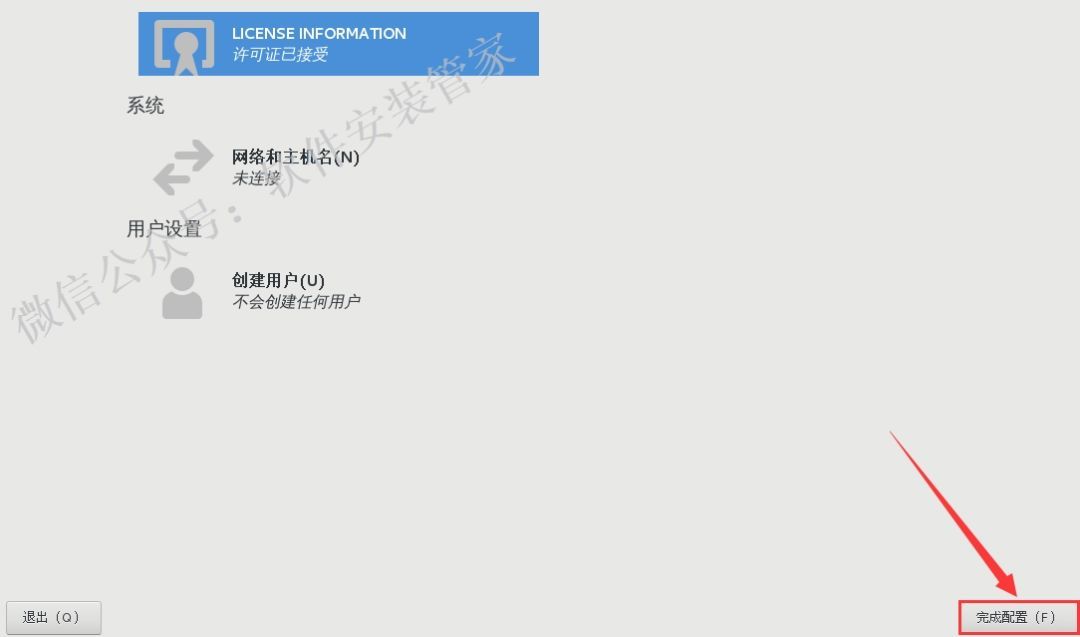
- Click [Complete Configuration].
- Select [Chinese].
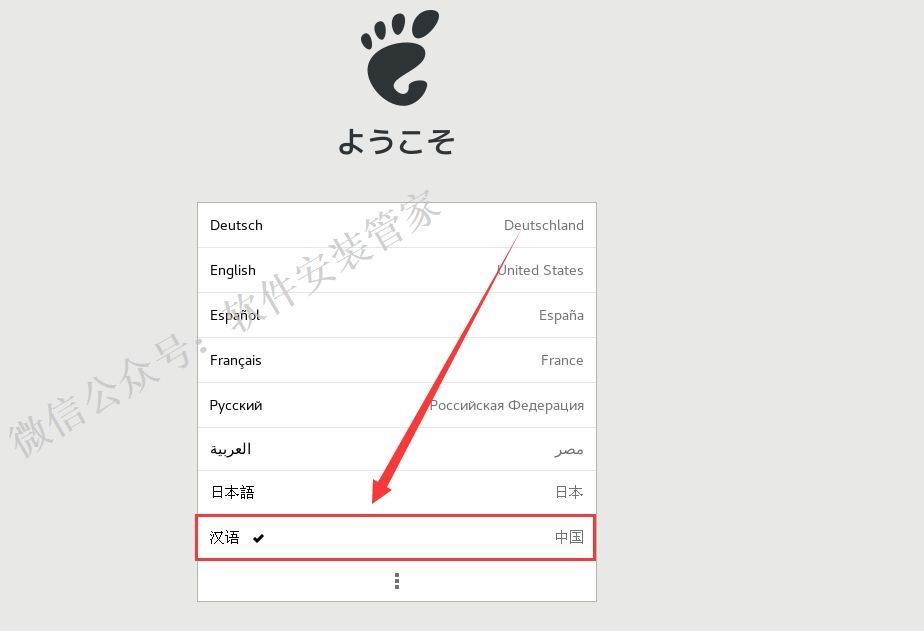
- Click [Chinese].
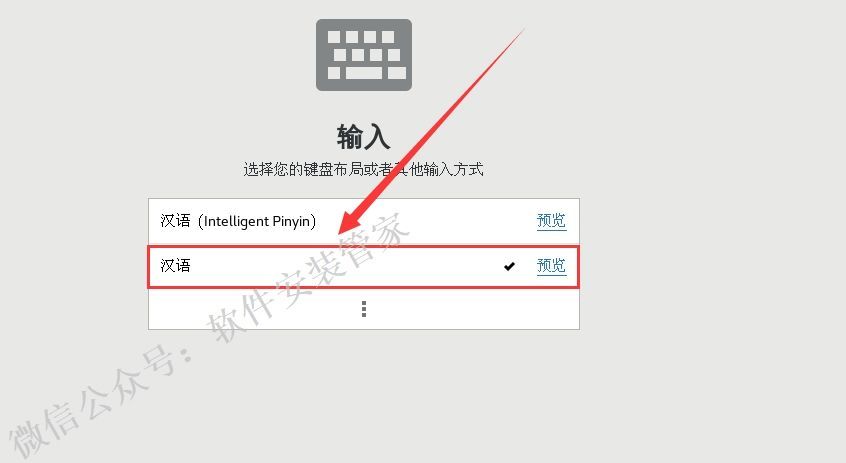
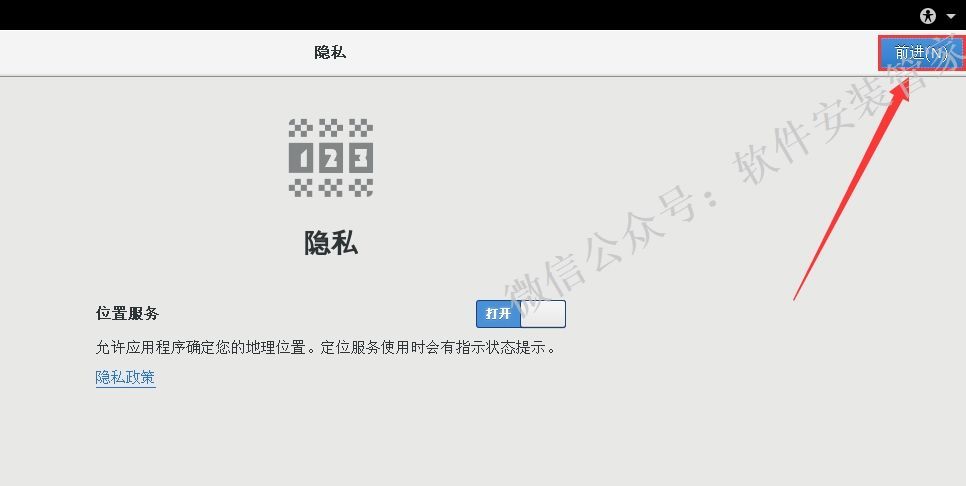
- Click [Forward].
- Enter [Shanghai] in the input box, and then click [Forward].

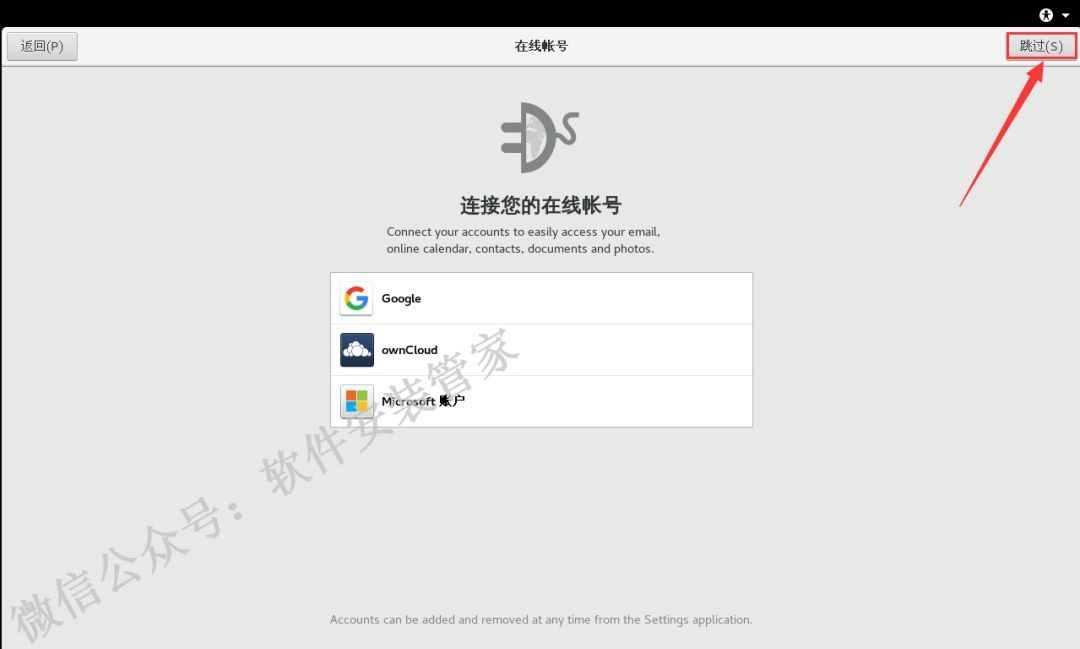
- Click [Skip].
- Create [Local User] and click [Forward].
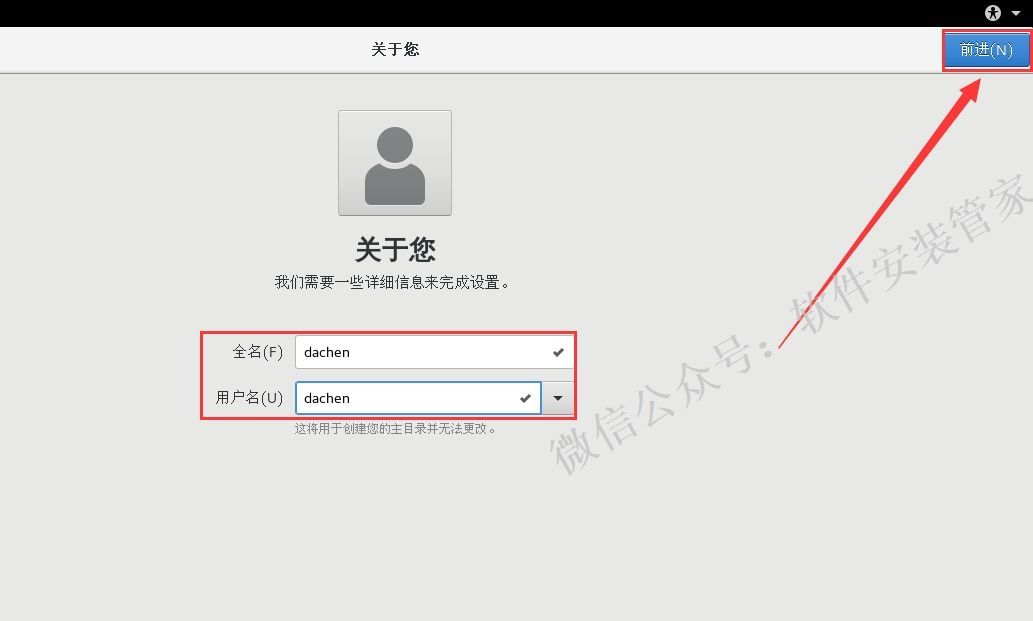
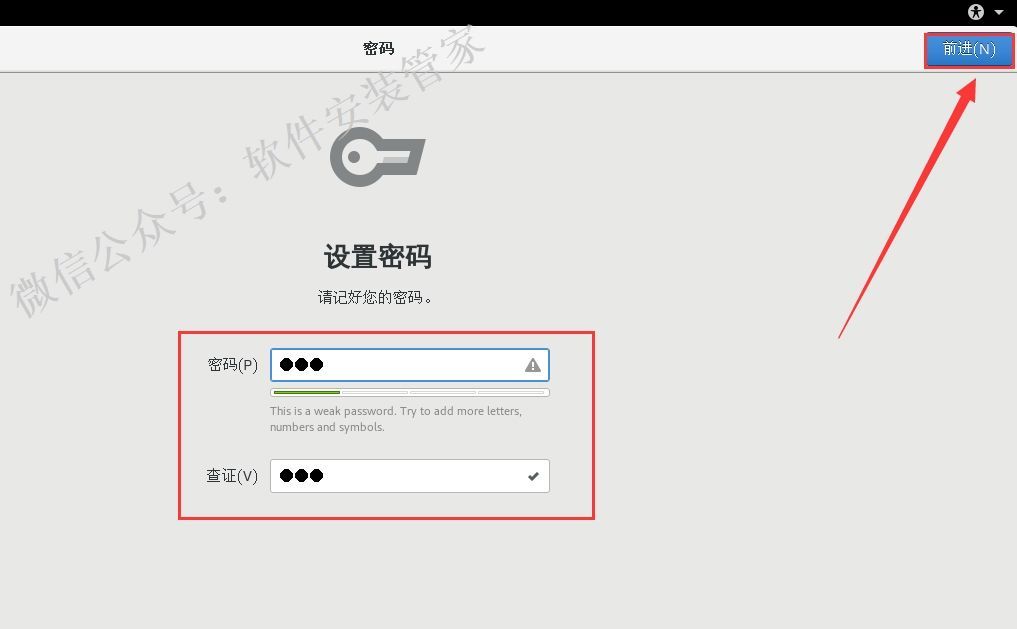
- Set the password of the local account and click [Forward].
- Click [Start using CentOS Linux].
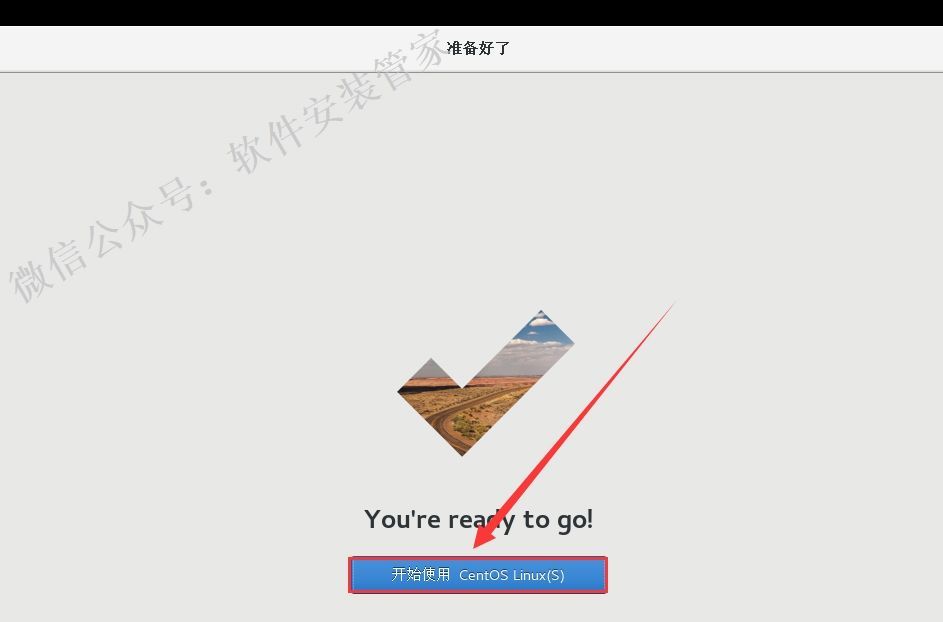
- The CentOS system installation is complete.
Note: The original text is authorized to reprint in the software installation manager https://mp.weixin.qq.com/s/0X1fq8xJjBQ5eKU8gQllWw
Recommended Posts