CentOS8.1 build Gitlab server detailed tutorial
I won’t say much about the difference between Gitlab and Github. In one sentence, Gitlab is a Git server deployed for privatization of enterprises, and Github is an online Git server for the Internet!
Github is free to use for open source projects, so does Gitlab charge a fee? The distributed version control function Gitlab is also free to use, and a community version (Gitlab CE) is provided for everyone! Gitlab is now powerful (2020), and has its own set of DevOps landing solutions (a weapon to increase productivity), but this part of the function is provided on the paid flagship/enterprise version (Gitlab EE)! Just as the function of Github to build a privatized warehouse is also charged, it is normal!
The content of this article is simple and relaxed, and the speed is not fast, so you don’t need to sit too well and don’t need to be too stable! Now let's formally build the Gitlab server from "zero":
First, find the official website of Giblab in Baidu, go to the homepage first! Don't go too deep! (In the future, the interface you will see may be different. The times are advancing, and the website is constantly updated! The series of screenshots I have here are from 2020.06)
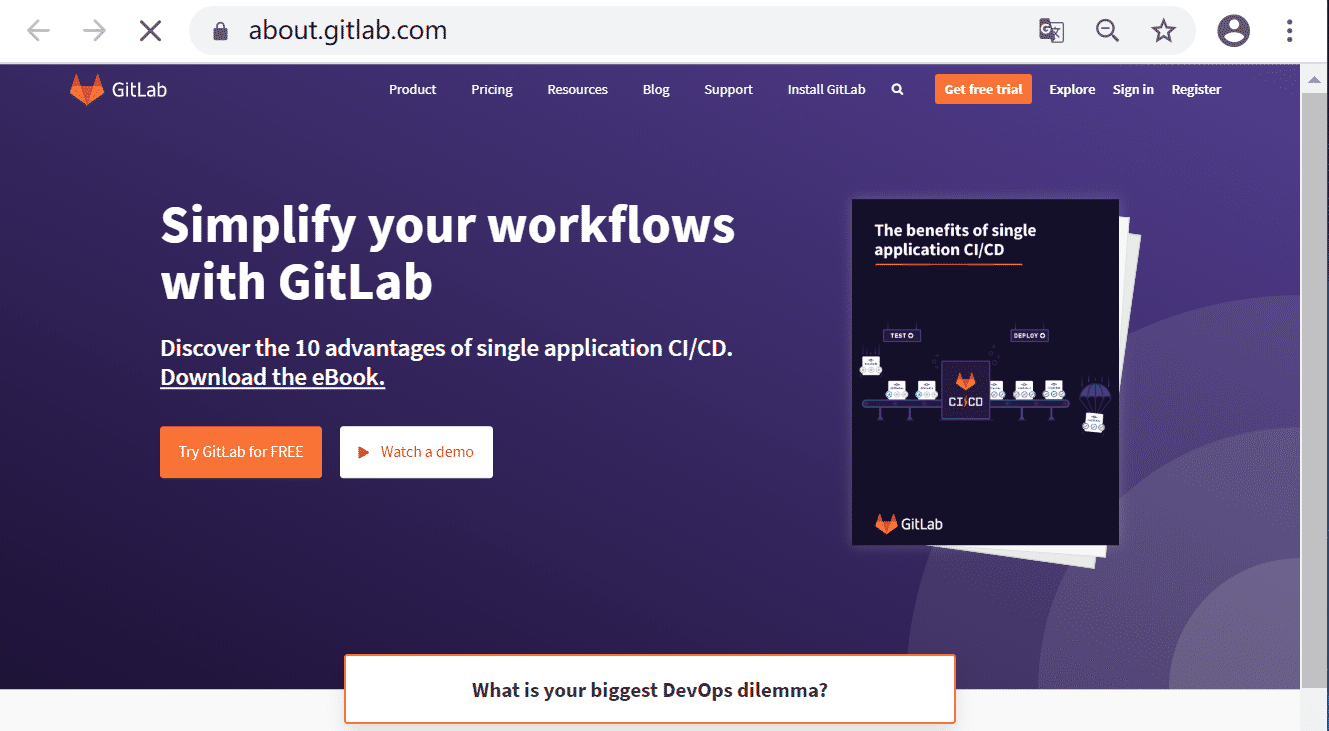
Look at the advertising and design of this first screen, how technology and charm → DevOps, CI, CD, each of the keywords are the current directions (2020) that various Internet companies in China are striving to transform their R&D systems! Seeing that the big yellow button that says "Try Gitlab fro FREE" does not mean → "Try Gitlab for free", that is, the entrance to the flagship GitlabEE that will be charged after the trial. After looking around on the homepage, I didn’t see the entrance of the legendary free community version GitlabCE. Let’s go to the top navigation menu item "Install Gitlab" to have a look:

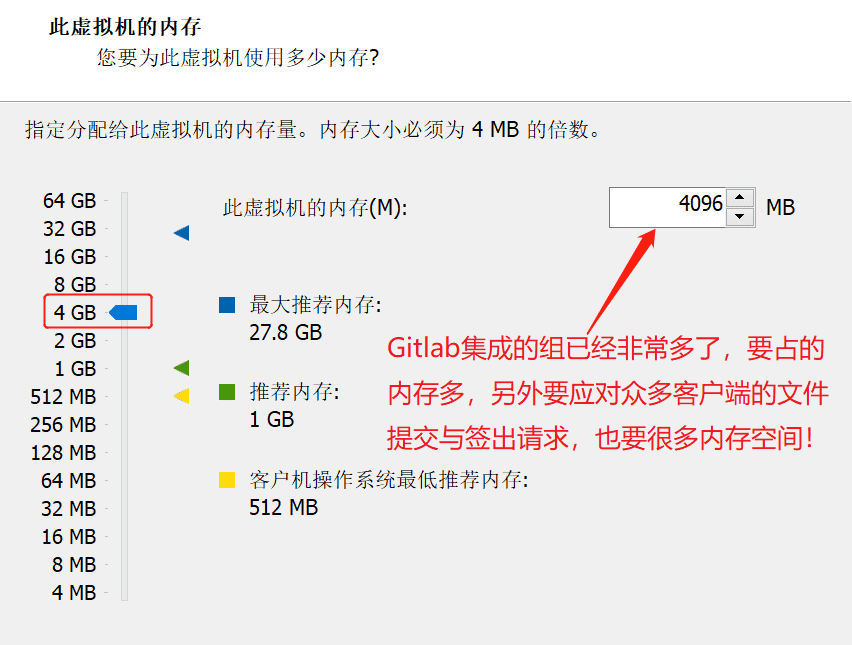
It is also the entrance and installation instructions of the flagship version (Enterprise Edition) with a 30-day trial period! However, there is an important information to pay attention to "recommend at least 4GB of free RAMto run GitLab". The official recommendation is to use at least 4GB of free RAM to run GitLab. Then we should pay attention to it when installing a virtual machine or choosing a server. At least 4GB or more, preferably 6GB or more, because there is still some space left for the operating system! Let's click into the Gitlab installation instructions of CentOS 8 to see if there is the community version (GitlabCE) we want:
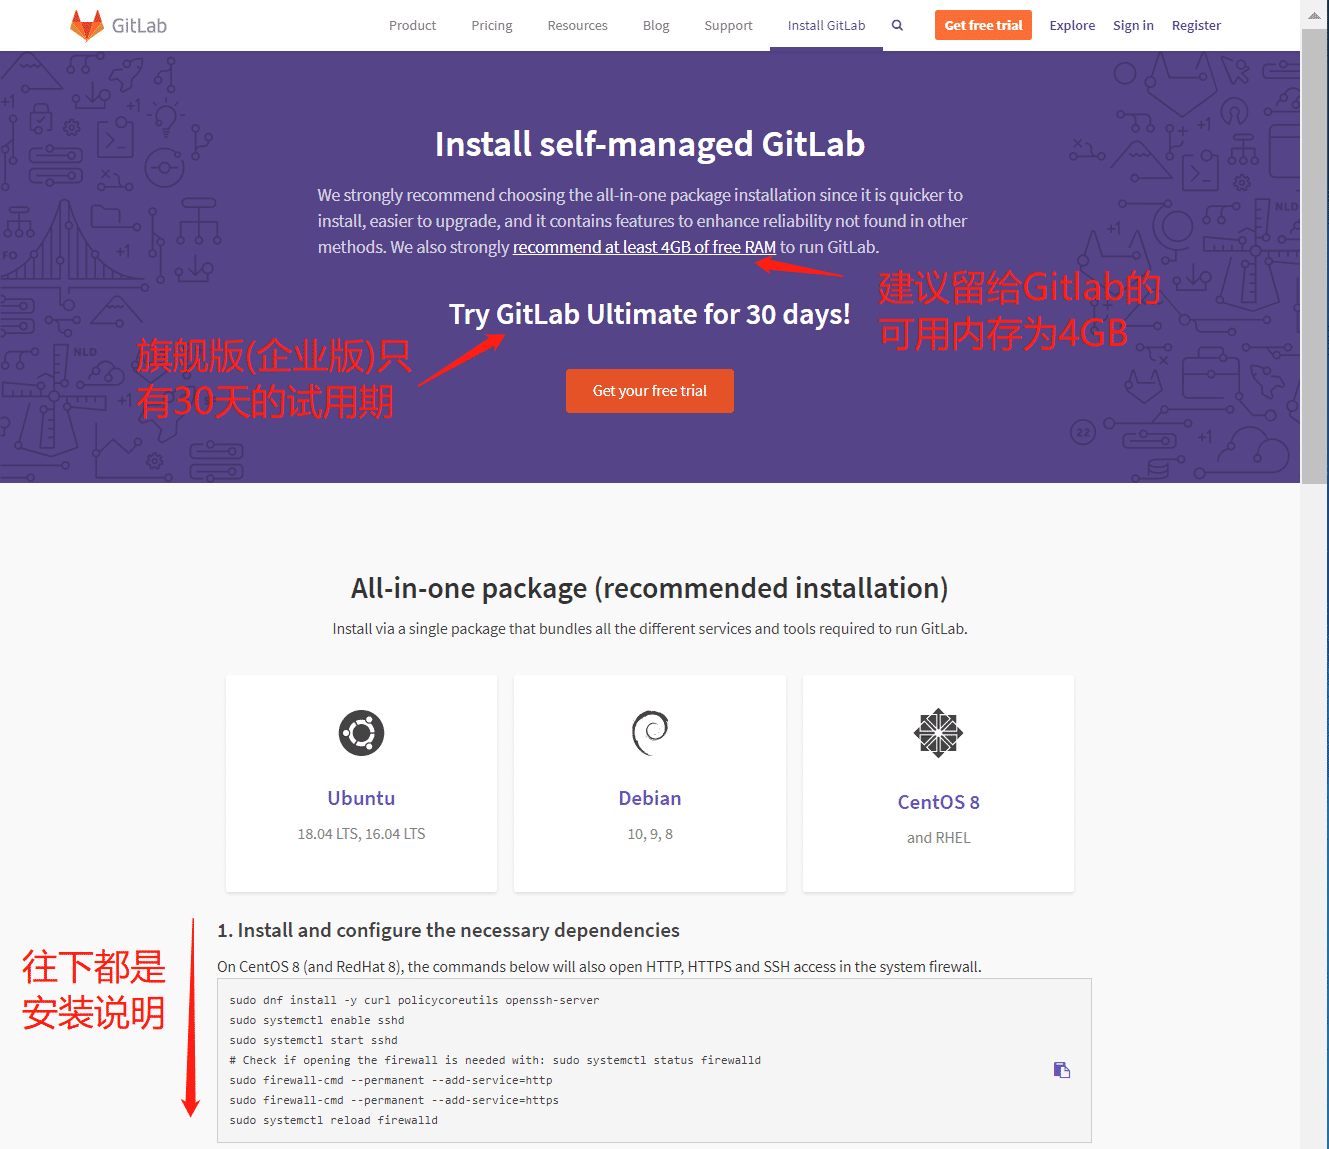
At first glance, it still doesn't seem to be there, but the installation steps and methods under CentOS 8 are expanded! Then take a look at how to install it in CentOS 8. After looking at it, what you found at the end:

At the end of the installation step, there is a short link that says "CE or EE", it seems that there is an entry for the CE version, click it:
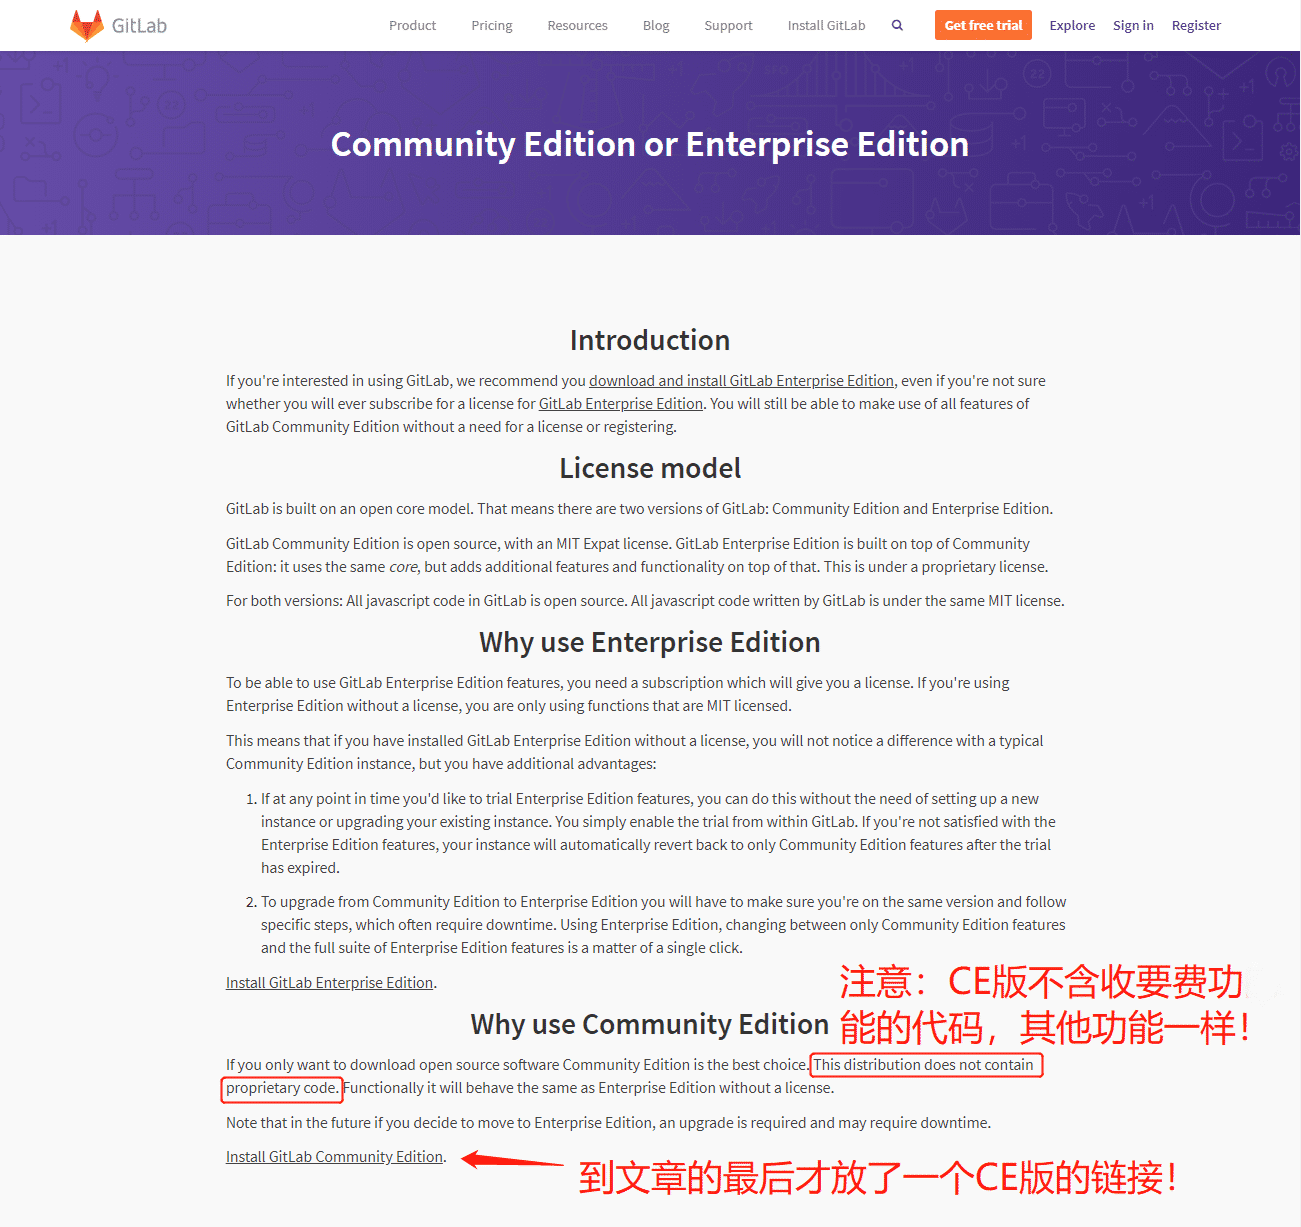
The first few paragraphs of the new page still talk about the benefits of using the flagship version (the enterprise version of Gitlab EE)... Until the end, I put a free community version (GitlabCE) link "Install GitLab Community Edition", hidden so deep, this I'm afraid that others will know! Continue to click in:
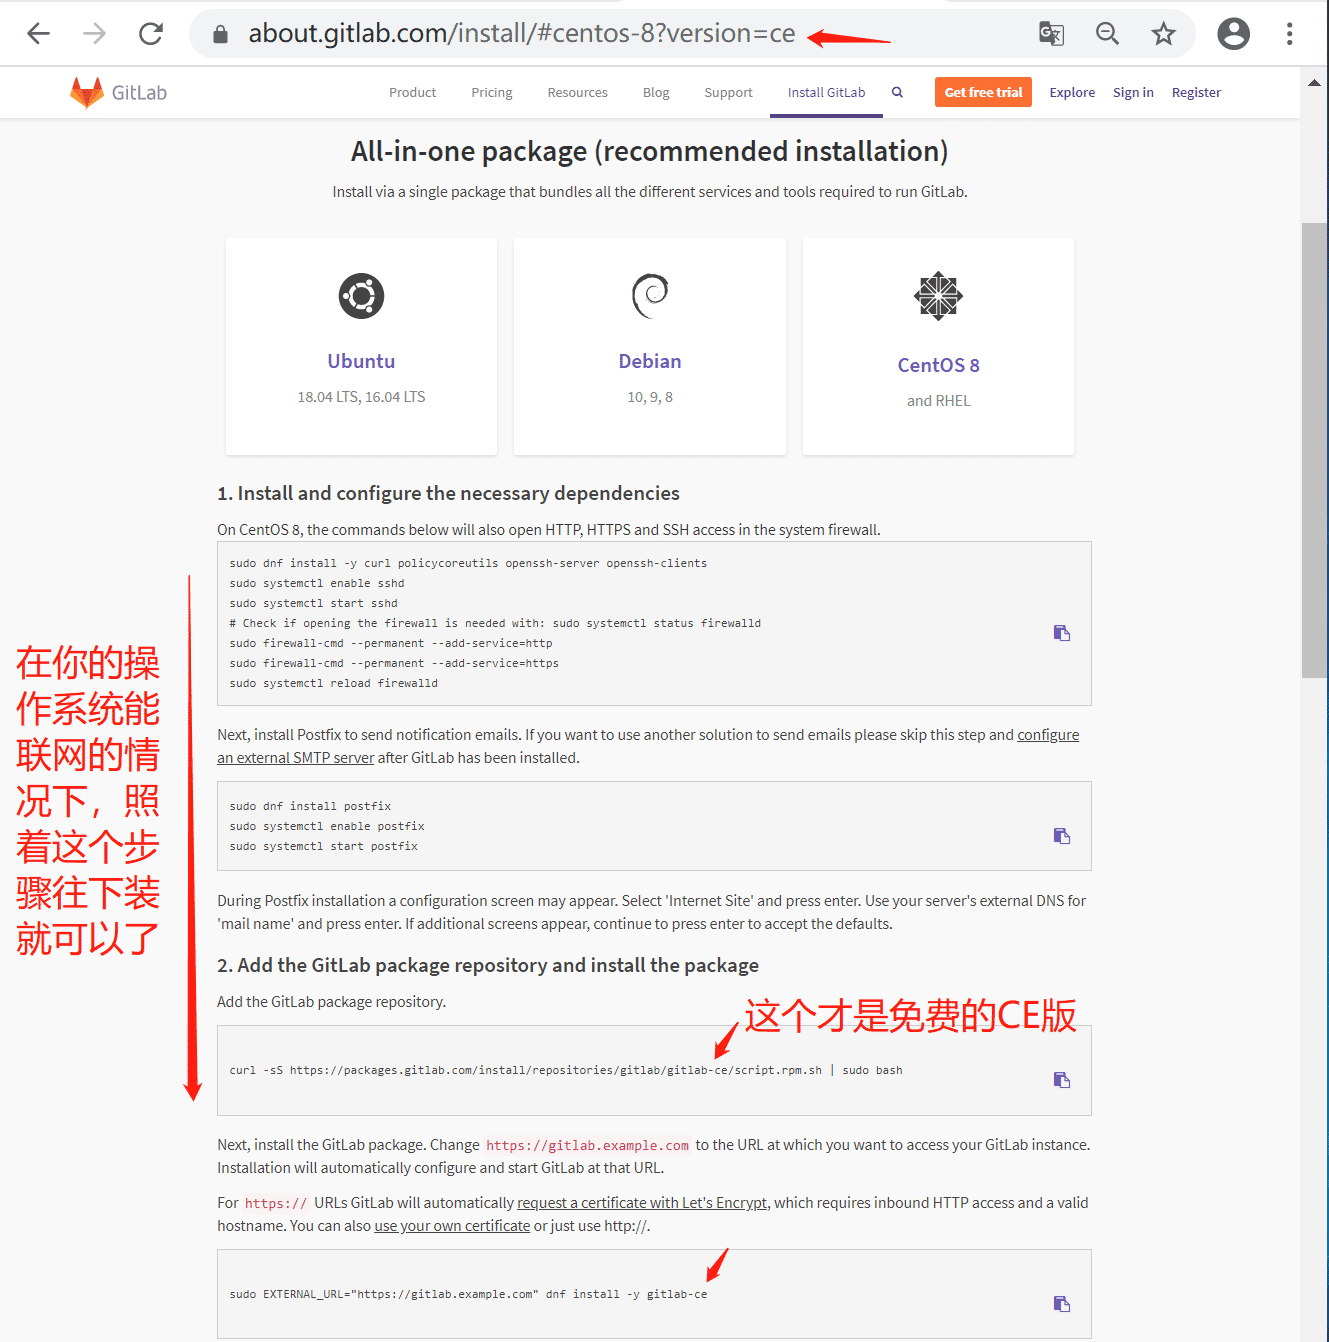
It’s finally here. Now the content of the browse address bar and the installation instructions in the page has become the CE version (for students who read this article in the future, the Gitlab official website may have been revised at that time, the entrance location and address of the community version (GitlabCE) It may be changed, but as long as there is a free version of Gitlab, there will definitely be an entrance somewhere on the official website!).
I found the installation instructions for the Gitlab CE version. As we always did, we prepared the new CentOS 8.1 virtual machine. According to official recommendations, the memory and hard disk of this virtual machine are set to be larger:

After the virtual machine is ready, you can install it according to the official GitlabCE version of the installation instructions. It is actually very simple. There are only three steps to serious calculations (because I am root, I don't need sudo):
The first step: Install and enable policycoreutils, openssh-server and openssh-clients components, and open them to the firewall (don’t forget to reload the firewall):
# dnf install -y curl policycoreutils openssh-server openssh-clients
# systemctl enable sshd
# systemctl start sshd
# firewall-cmd --permanent --add-service=http
# firewall-cmd --permanent --add-service=https
# systemctl reload firewalld
In fact, the Postfix component related to email notifications does not need to be installed and configured for the time being. This can be put later to configure an external SMTP server:
# dnf install postfix
# systemctl enable postfix
# systemctl start postfix
Step 2: Use the curl tool to download and configure the warehouse configuration script of the GitlabCE version of the RPM installation package (please make sure your virtual machine can connect to the network, note that this is only the warehouse configuration script of the RPM installation package, not the real installation package)
# curl -sS https://packages.gitlab.com/install/repositories/gitlab/gitlab-ce/script.rpm.sh | bash
The third step: install GitlabCE version and specify the URL address for external access, here is a note: the external access URL address uses a custom domain name, even if the domain name does not actually exist, it does not matter! In addition, if your server does not have a https-related certificate, then do not use https, use the http protocol directly! When using the client, you can do some mapping in HOST. Of course, it is best to have a real domain name! Why use the domain name to specify the external access URL address? Because you will find this is a wise choice when you use Gitlab later!
# EXTERNAL_URL="http://gitlab.xgclassroom.com" dnf install -y gitlab-ce
At this point, you will find how difficult it is to download up to 700M gitlab-ce package from the foreign station configured in the second step. It is estimated that it will take more than 10 minutes. I am not surprised, not surprised! Of course, if you have an international network VPN, just treat it as I didn't say it! ! !
The snail speed of the third step is unbearable. Ctrl+C will interrupt the downloading process. Try another method:
First download the rmp package of gitlab-ce from other places, and then upload it to the server for installation; use a domestic mirror address for online installation;
Here we talk about the second method, using a domestic mirror address for online installation. Here we choose the mirror server provided by Tsinghua University because it provides a more comprehensive instruction for use (https://mirror.tuna.tsinghua.edu.cn /help/gitlab-ce/), now we follow the instructions to install the GitlabCE version (the following steps start from the second step above):
New second step: use vi or vim to create and edit the yum source configuration file /etc/yum.repos.d/gitlab-ce.repo
vim /etc/yum.repos.d/gitlab-ce.repo
Fill in the following yum source configuration information:
[ gitlab-ce]
name=Gitlab CE Repository
baseurl=https://mirrors.tuna.tsinghua.edu.cn/gitlab-ce/yum/el$releasever/
gpgcheck=0
enabled=1
The new third step: install GitlabCE version using yum package manager
# yum makecache
# yum -y install gitlab-ce
Have you noticed that there is something missing in the "new third step" than the original third step? Careful students must have discovered that the external access address (EXTERNAL_URL) of the Gitlab server is not configured! Don't worry, we will go and match it after Gitlab is installed! The domestic mirror image is relatively fast, download and install within a few minutes, and the angry fox head icon appears!

Okay, now it's time to fill in the external access address (EXTERNAL_URL) of the Gitlab server that is missing in the "new third step". Where should I configure it? Anyone familiar with the various directories of Linux servers should be able to guess: Gitlab is a universal version control software, and the configuration files should also be placed in the /etc directory according to Linux conventions! Use cd to go to the /etc directory to take a look or use ls /etc/gitl to tab again to find out!
# ls /etc/gitlab/
gitlab.rb
Sure enough, there is a Gitlab configuration file! Use the cat command to check and find that the content is not ordinary, and the eyes will be blind! Then we use the grep command to filter out the configuration content that contains the external access address (EXTERNAL_URL) first:
# grep -i 'EXTERNAL_URL'/etc/gitlab/gitlab.rb
##! For more details on configuring external_url see:
##! EXTERNAL_URL will be used to populate/replace this value.
external_url 'http://gitlab.example.com'
# registry_external_url 'https://registry.example.com'
# pages_external_url "http://pages.example.com/"
# gitlab_pages['artifacts_server_url']= nil # Defaults to external_url +'/api/v4'
# gitlab_pages['auth_redirect_uri']= nil # Defaults to projects subdomain of pages_external_url and +'/auth'
# gitlab_pages['gitlab_server']= nil # Defaults to external_url
# mattermost_external_url 'http://mattermost.example.com'
# When the registry is automatically enabled using the same domain as`external_url`,
# For example,if external_url is the same for two secondaries, you must specify
# If it is blank, it defaults to external_url.
Very good, now confirm that there are so many content related to the external access address (EXTERNAL_URL). Before doing it, use the cp command to back up the /etc/gitlab/gitlab.rb file, because we will have to replace the string directly after this high risk operating! Be prepared!
# cp /etc/gitlab/gitlab.rb /etc/gitlab/gitlab.rb.bak
# ls /etc/gitlab/
gitlab.rb gitlab.rb.bak
Finally, after ls confirms that the backup is successful, you can start!
Now use the sed command to replace http://gitlab.example.com in the /etc/gitlab/gitlab.rb file with http://gitlab.xgclassroom.com
The sed command string replacement format: sed -i "The field to be searched for is replaced by &g" File name, -i means in place edit, that is, edit and change in place; the s at the beginning of the parameter means search , Can be replaced by d for delete, and the last g means global, that is, full-text search;
# sed -i "s#http://gitlab.example.com#http://gitlab.xgclassroom.com#g"/etc/gitlab/gitlab.rb
After that, we use the grep command to filter the content related to the external access address (EXTERNAL_URL):
# grep -i 'EXTERNAL_URL' gitlab.rb
##! For more details on configuring external_url see:
##! EXTERNAL_URL will be used to populate/replace this value.
external_url 'http://gitlab.xgclassroom.com'
# registry_external_url 'https://registry.example.com'
# pages_external_url "http://pages.example.com/"
# gitlab_pages['artifacts_server_url']= nil # Defaults to external_url +'/api/v4'
# gitlab_pages['auth_redirect_uri']= nil # Defaults to projects subdomain of pages_external_url and +'/auth'
# gitlab_pages['gitlab_server']= nil # Defaults to external_url
# mattermost_external_url 'http://mattermost.example.com'
# When the registry is automatically enabled using the same domain as`external_url`,
# For example,if external_url is the same for two secondaries, you must specify
# If it is blank, it defaults to external_url.
Found that the replacement was successful! But don't get too excited, but also use the gitlab-ctl tool to reconfigure the gitlab service instance according to the modified configuration file to make the configuration effective:
# gitlab-ctl reconfigure
...
Due to the huge gitlab system, this will be a time-critical process, wait!
...
After the gitlab service instance is reconfigured, you can use the gitlab-ctl tool to check the service status of gitblab:
# gitlab-ctl status
run: alertmanager:(pid 32119) 292s; run: log:(pid 31878) 325s
run: gitaly:(pid 32004) 294s; run: log:(pid 31180) 401s
run: gitlab-exporter:(pid 32013) 293s; run: log:(pid 31778) 342s
run: gitlab-workhorse:(pid 31980) 294s; run: log:(pid 31506) 366s
run: grafana:(pid 32136) 291s; run: log:(pid 31951) 302s
run: logrotate:(pid 31615) 357s; run: log:(pid 31703) 354s
run: nginx:(pid 31548) 363s; run: log:(pid 31568) 360s
run: node-exporter:(pid 31998) 294s; run: log:(pid 31729) 347s
run: postgres-exporter:(pid 32129) 291s; run: log:(pid 31905) 321s
run: postgresql:(pid 31219) 398s; run: log:(pid 31326) 397s
run: prometheus:(pid 32103) 293s; run: log:(pid 31843) 331s
run: puma:(pid 31412) 377s; run: log:(pid 31433) 376s
run: redis:(pid 30999) 410s; run: log:(pid 31038) 407s
run: redis-exporter:(pid 32017) 293s; run: log:(pid 31807) 337s
run: sidekiq:(pid 31436) 375s; run: log:(pid 31454) 371s
You can also use the following command to check the operating system memory usage and see if the memory is enough for gitlab:
# free -m
  total    used    free   shared buff/cache  available
Mem:375720633948212991376
Swap:8191128179
If the Swap partition is not used a lot in the above results, it basically means that the memory is enough for gitlab service. If the swap partition takes up a lot, then you must consider adding memory to the machine. It is very simple to increase the memory of the virtual machine. said!
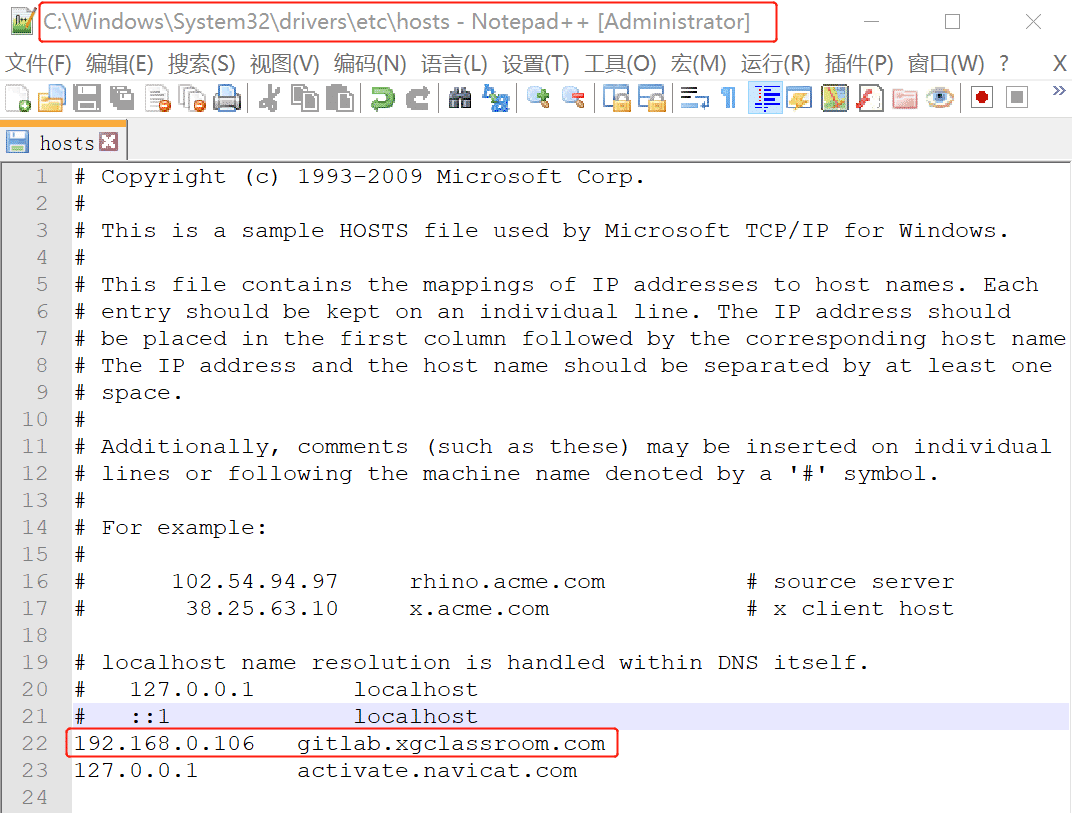
Finally, use the IP address or domain name from the [Host] (https://cloud.tencent.com/product/cdh?from=10680) browser of the virtual machine (if you use a domain name, you need to configure the domain name and IP address mapping in the host C:\Windows\System32\drivers\etc\hosts, so Actually still IP) Visit the gitlab service:
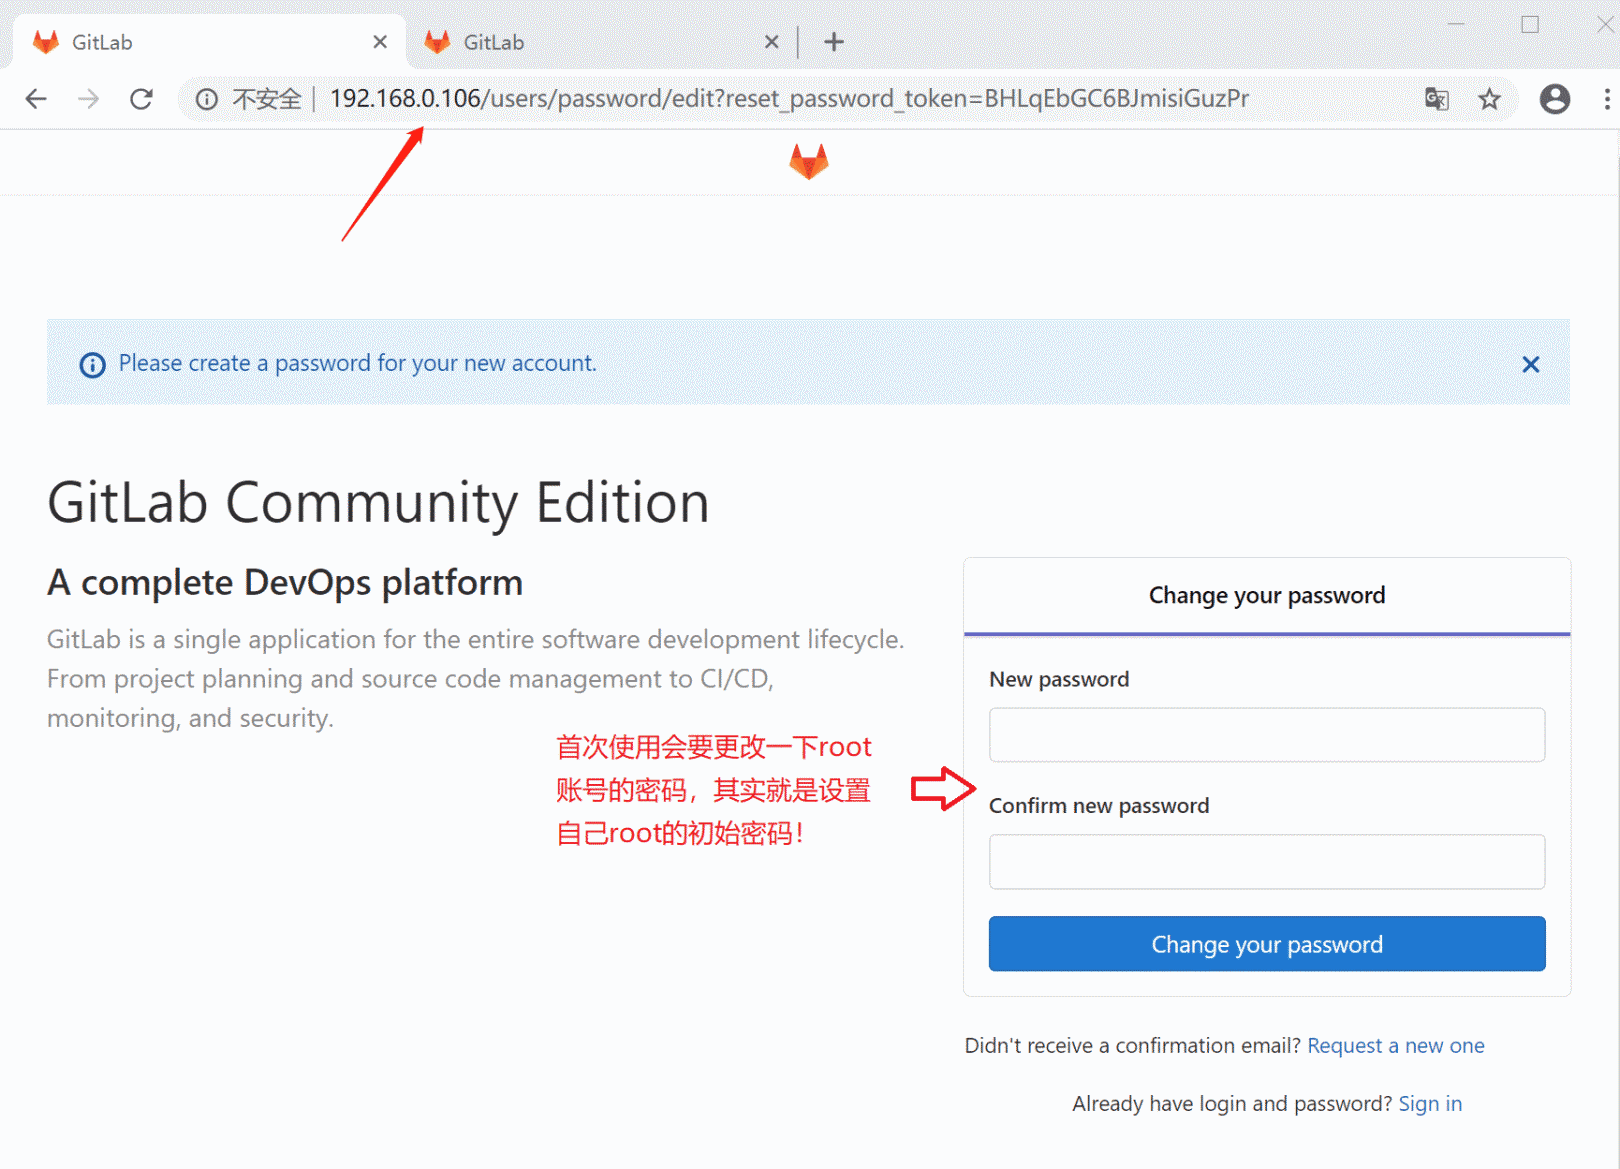

As shown in the above screenshot, you can see that I can access my own Gitlab server normally. The first use requires us to change the password of the super administrator root account of the Gitlab service. After changing the password, you can log in and play happily!
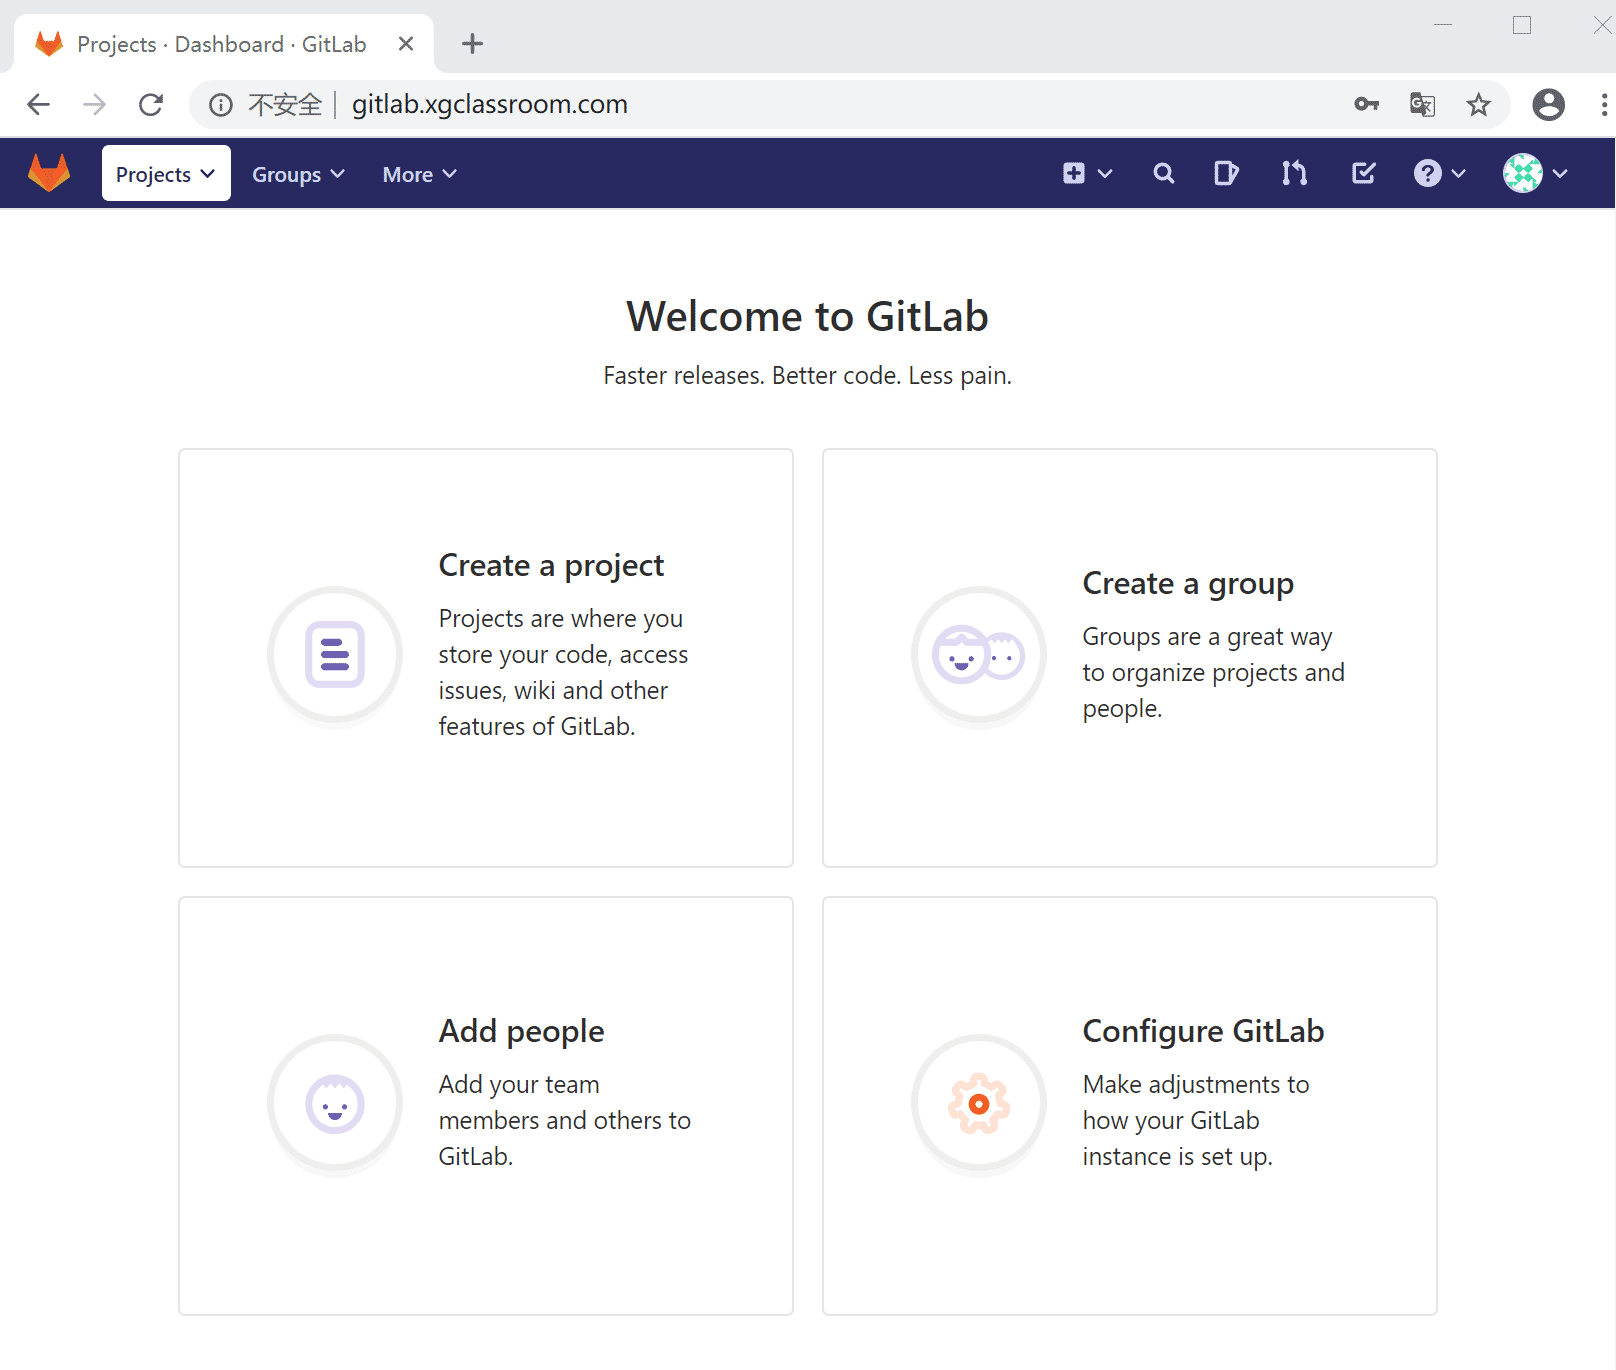
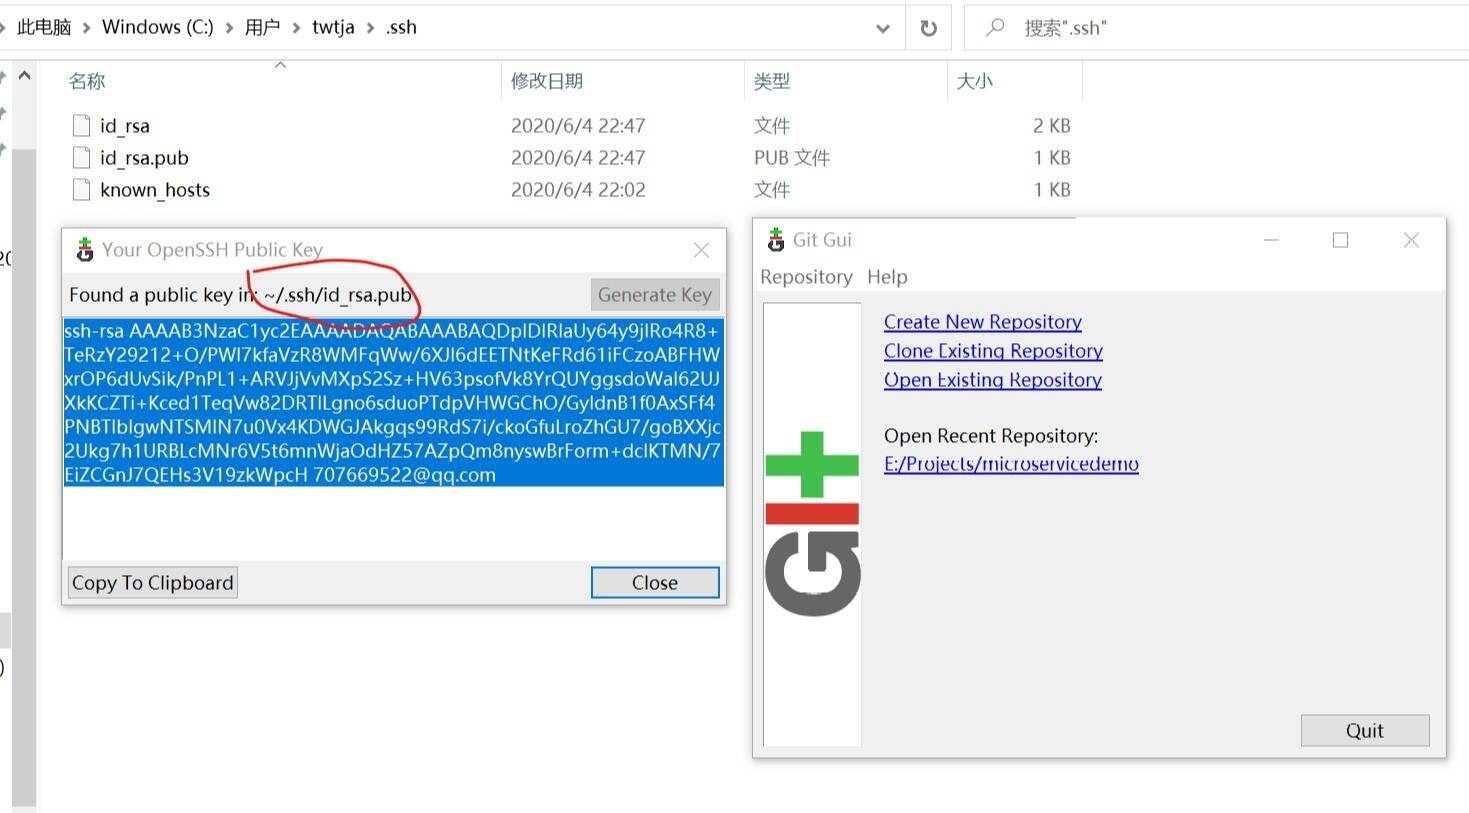
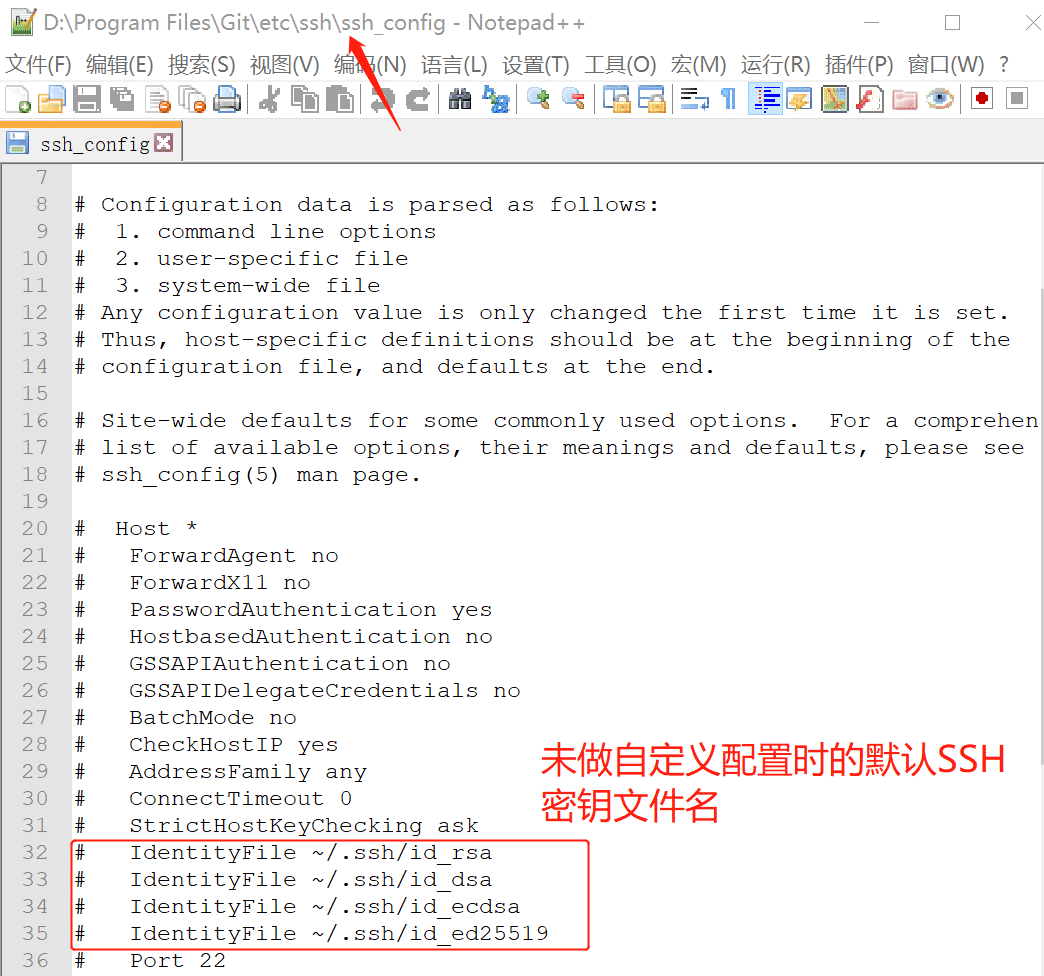
I believe IT people should be familiar with the use of Gitlab, so I won’t talk about it for now! In addition to the client SSH key application, there is one point to note: do not try to modify the client default key file name generated by ssh-keygen, because the default key file name read by Git client tools like Git for Windows is a good agreement (Although it can also be changed by configuration, it is very troublesome)!
The above is the whole content of this article, I hope it will be helpful to everyone's study.
Recommended Posts