Centos build lnmp
Build a set of server environment LNMP with relatively good performance on centos. That is: Linux + Nginx + MySQL + Php. Because Nginx is lighter than Apache, and the amount of concurrent processing for nginx on the official website of nginx is 100,000. Therefore, when the website is facing such a large amount of concurrency, it is indeed a good choice to use Nginx as a server program, but if you use the LAMP environment, the execution process of php is to use an apache module such as mod-php , But when using LNMP, a separate process called php-fpm is used to complete the processing. Moreover, Nginx itself is also an independent process, so the resource occupation is one more process than in the LAMP environment.
Configure mysql
After extracting mysql5.5, you will find that the configure file cannot be found. We can only use cmake. The default Linux system does not have cmake, so it will show that cmake command cannot be found. Solution: yum install cmake
Download Mysql: wgethttp://mirrors.sohu.com/mysql/MySQL-5.5/mysql-5.5.14.tar.gzAdd user group: /usr/sbin/groupadd mysql**/usr/sbin/useradd -g mysql mysqlBasic Operation: tar xvf mysql-5.5.14.tar.gzcd mysql-5.5.14/**** System library related library files required for installation: yum install -y gcc gcc-c++ gcc-g77 autoconf automake zlib* fiex* libxml* ncurses-devel libmcrypt* libtool-ltdl-devel* (of course some duplicates will be automatically ignored)Execute command: cmake -DCMAKE_INSTALL_PREFIX=/usr/local/mysql * -DMYSQL_UNIX_ADDR =/tmp/mysql.sock *** -DDEFAULT_CHARSET=utf8 **** -DDEFAULT_COLLATION=utf8_general_ci **** -DWITH_EXTRA_CHARSETS:STRING=utf8,gbk **** -DWITH_MYISAM_STORAGE_ENGINE=1 ** ** -DWITH_INNOBASE_STORAGE_ENGINE=1 **** -DWITH_MEMORY_STORAGE_ENGINE=1 **** -DWITH_READLINE=1 **** -DENABLED_LOCAL_INFILE=1 **** -DMYSQL_DATADIR=/usr/local/mysql/data \ -DMYSQL_USER=mysql parameter description: DCMAKE_INSTALL_PREFIX=/usr/local/mysql#The main directory of mysql installation, the default is /usr/local/mysqlDMYSQL_DATADIR=/ usr/local/mysql/data#The storage directory of mysql database files, you can customize DMYSQL_UNIX_ADDR=/usr/local/mysql/mysql.sock#System Socket file (.sock) settings, Socket based on the file path Link, must Must be the absolute path DSYSCONFDIR=/etc # The storage address of the mysql configuration file my.cnf, the default is /etc DMYSQL_TCP_PORT=3306#The database server listening port, the default is 3306 **DENABLED_LOCAL_INFILE=1#Allow to import data from local DWITH_READLINE=1 #Shortcut key functionDWITH_SSL=yes #Support SSLDMYSQL_USER=mysql#The default is mysql//The following 3 are database encoding settingsDEXTRA_CHARSETS=all#Install all extended character sets, the default is allDDEFAULT_CHARSET=utf8#Using utf8 charactersDDEFAULT_COLLATION=utf8_general_ci# Check characters**//The following 5 are the database storage engine located in DWITH_MYISAM_STORAGE_ENGINE=1#Install myisam storage engineDWITH_INNOBASE_STORAGE_ENGINE=1#Install innodb storage engineDWITH_ARCHIVE_STORAGE_ENGINE=1# Install the archive storage engineDWITH_BLACKHOLE_STORAGE_ENGINE=1#Install the blackhole storage engine****DWITH_PARTITION_STORAGE_ENGINE=1#Install the database partition **If the following error occurs during compilation
mysqld.cc: In function ‘void handle_connections_sockets()’:
Mainly because libmcrypt related packages are not installed
Use yum install libmcrypt* -y directly after the installation is complete, recompile
An exception occurs during compilation. When recompiling, you need to delete the CMakeCache.txt file in the mysql directory first, and then compile! ! !
Perform installation make make install** authorization: chmod +w /usr/local/mysqlchown -R mysql:mysql /usr/local/mysql#change Directory owner and group ln -s /usr/local/mysql/lib/libmysqlclient.so.16 /usr/lib/libmysqlclient.so.16cd support-files/ **** cp my-large.cnf /etc/my.cnf#Select the default configuration file suitable for large serverscp mysql.server /etc/init.d/mysqld#Copy the startup file1. If necessary, please modify the mysql configuration my.cnfvi /etc/my.cnf**** and add under [mysqld] (installed mysql is in the /usr/local/mysql folder)** basedir = /usr/local/mysql** datadir = /usr/local/mysql/data**** log-error = /usr/local/mysql/mysql_error.log**** pid-file = /usr/local/mysql/data/mysql.pid**** default-storage-engine=MyISAM**** user = mysql**** 2. mysql initialization installation execute the following command****/usr/local /mysql/scripts/mysql_install_db **** --basedir=/usr/local/mysql **** --datadir=/usr/local/mysql/data **** --user=mysql** 3. Add mysql to boot up chmod +x /etc/init.d/mysqldvi /etc/init.d/mysqld (Edit this file, find and modify the following variables:) **
basedir=/usr/local/mysql
datadir=/usr/local/mysql/data**
Continue to execute the command: chkconfig --add mysqldchkconfig --level 345 mysqld on
Configure environment variables for MySQL, easy to use in the future
export PATH=/usr/local/mysql/bin:$PATH
4. Start mysqlservice mysqld startSet passwordSafe mode login # mysqld_safe --user=mysql --skip-grant-tables --skip-networking & **** # mysql -u root mysql **** mysql> UPDATE user SET Password=PASSWORD('newpassword') where USER='root'; **** mysql> FLUSH PRIVILEGES; **** mysql> quit **** # /etc/init.d/mysql restart **** # mysql -uroot -p **** Enter password: <enter the new password newpassword> **** Of course, the user must not forget to authorize otherwise it will not be able to log in to mysql Server
Install Mysql in the form of rpm** Download the required software for installation**** rpm -ivh libaio-0.3.93-4.i386.rpm**** rpm -ivh MySQL-server-5.5.14-1.rhel5 .i386.rpm**** rpm -ivh MySQL-client-5.5.14-1.rhel5.i386.rpm**** rpm -ivh MySQL-shared-5.5.14-1.rhel5.i386.rpm** ** rpm -ivh MySQL-devel-5.5.14-1.rhel5.i386.rpmStart the MySQL serverservice mysql start****Set the password **Linux uses rpm to reinstall mysql. After completion, Mysql reports an error when starting, and the pid file cannot be found.****Starting MySQL..Manager of pid-file quit without updating file.[FAILED]****At this time Need to use safe mode to start /usr/bin/mysqld_safe --user=mysql Pay special attention to kill the old Mysql process:, if there are errors, refer to the following solutions: **1. Yes /usr/local/mysql/data/rekfan.pid file does not have write permission
Solution: Give permission, execute "chown -R mysql:mysql/var/data" "chmod -R 755 /usr/local/mysql/data" and restart mysqld!
2. There may already be a mysql process in the process
Solution: Use the command "ps -ef|grep mysqld" to check if there is a mysqld process. If there is, use "kill -9 process number" to kill, and then restart mysqld!
**3. It may be the second time mysql is installed on the machine, and there is residual data that affects the startup of the service. **
Solution: Go to the mysql data directory/data to see. If mysql-bin.index exists, delete it as soon as possible. It is the culprit. I used the third method to solve it! http://blog.rekfan.com/?p=186
**4. MySQL will use the /etc/my.cnf configuration file when no configuration file is specified when it is started. Please open this file to check whether the data directory (datadir) is specified under the [mysqld] section. **
Solution: Please set this line under [mysqld]: datadir = /usr/local/mysql/data
5. skip-federated field problem
Solution: Check whether there are skip-federated fields in the /etc/my.cnf file that have not been commented out. If there are any skip-federated fields, comment them out immediately.
6. The error log directory does not exist
Solution: Use "chown" "chmod" command to give mysql owner and permissions
7. selinux is a security system, if it is a centos system, selinux will be enabled by default
Solution: Close it, open /etc/selinux/config, change SELINUX=enforcing to SELINUX=disabled, save and exit and restart the machine.
If you have the following similar errors when installing mysql, conflicts with file from package mysql-libs-, you need to uninstall the mysql-related packages previously installed. Note: When using rpm installation, etc., you cannot choose the installation path like compiling and installing. Now use the command to check where mysql is installed. [root@localhost ~]# find / -name mysql -print** /etc/logrotate.d/mysql**** /etc/rc.d/init.d/mysql**** /var/lib/mysql**** /var/lib/mysql /mysql**** /var/lock/subsys/mysql**** /usr/lib/mysql**** /usr/include/mysql**** /usr/share/mysql**** /usr /bin/mysql**** and data is placed by default: /var/lib/mysql**** mysql is installed by default: /usr/share/mysql**
Compile and install nginx
The newer centos comes with httpd service by default, so uninstall the httpd that comes with nginx before installing nginx, confirm whether the machine has installed the service, use
yum list |grep httpd or use: rpm –qa |grep httpd
The method to uninstall httpd centos is as follows:
rpm -e httpd-2.2.3
It doesn't matter if the later version number is incomplete, if there is a dependency, you can't uninstall it, plus the --nodpes parameter. Forcibly delete without checking dependencies, this result is that only httpd is deleted, and other software that has dependencies on it will not be deleted, but these software will not run because there is no httpd in the system. This is the so-called clean deletion.
The yum -y remove httpd method is to delete all software dependent on httpd. Such as php, mod_ssl and so on. This is clean.
First go to the download page on the right side of the Nginx official website http://nginx.org to download the required Nginx source code package, pay attention to select the stable version under linux, as shown below:
After executing ./configure, a series of checks will be performed to facilitate the subsequent compilation process. The following errors may be reported during the process:
1、. /configure: error: the HTTP rewrite module requires the PCRE libraryInstall pcre-devel to solve the problemyum -y install pcre-devel**** 2.. /configure: error: the HTTP cache module requires md5 functionsfrom OpenSSL library. You can either disable the module by using--without-http-cache option, or install the OpenSSL library into the system, or build the OpenSSL library statically from the source with nginx by using--with-http_ssl_module --with-openssl=
Solution:
yum -y install openssl openssl-devel
3、. /configure:error: the HTTP gzip module requires the zlib library****Solution:
yum install -y zlib-devel
One-step solution: yum -y install pcre-devel openssl openssl-develzlib-devel
Executing make will generate a makefile for the installation process after booting. The operation is as follows: an error may be reported, then follow the prompts to install and you can execute the #make install operation and the installation is complete. The default installation path of Nginx is /usr/ Next we start the Nginx service under the local/nginx directory, enter the /usr/local/nginx/sbin directory, and execute ./nginx to start the Nginx service.
Of course, port conflict errors may occur during startup.
Nginx [emerg]: bind() to 0.0.0.0:80 failed (98: Address already in use)
The direct method is to close the port occupying process (this is not recommended, it is better to change the port or find out the program) sudo fuser -k 80/tcp or
netstat -tunlp |grep 80
Common commands for nginx operations: start: ./nginx stop: ./nginx -s stop or ./nginx -s quit restart: ./nginx -s reload or service nginx reload View version number: ./nginx -v Check whether the configuration file Correct: /nginx -t
**Compile and install php **
First of all, go to the http://php.net official website to download the php source code package, and then move to the /usr/local/ directory to decompress, for example, decompress it into php, then cd in
Install the dependency package first (two methods):
1、 yum installgccmake gd-devellibjpeg-devellibpng-devellibxml2-develbzip2-devellibcurl-devel-y
2、 Download and install separately, but specify its location separately when configuring below, such as --with-jpeg-dir=/usr/local/jpeg
Execute ./configure--prefix=/usr/local/php-5.6--with-config-file-path=/usr/local/php-5.6/etc--with-bz2--with-curl--enable- ftp--enable-sockets--disable-ipv6--with-gd--with-jpeg-dir=/usr/local--with-png-dir=/usr/local--with-freetype-dir=/usr /local--enable-gd-native-ttf--with-iconv-dir=/usr/local--enable-mbstring--enable-calendar--with-gettext--with-libxml-dir=/usr/local --with-zlib--with-pdo-mysql=mysqlnd--with-mysqli=mysqlnd--with-mysql=mysqlnd--enable-dom--enable-xml--enable-fpm (from php5.3 and above With fpm patch package)
Then continue to make and make install
Configure php
cp php.ini-production/usr/local/php-5.6/etc/php.ini
Configure php-fpm
cp /usr/local/php-5.6/etc/php-fpm.conf.default/usr/local/php-5.6/etc/php-fpm.conf
Start php-fpm
/usr/local/php-5.6/sbin/php-fpm
Execute the above command, if no error is reported, it usually means that the startup is normal. If you are not assured, you can also judge whether PHP is started through the port and execute the command
netstat -lnt | grep 9000
tcp 0 0 127.0.0.1:9000 0.0.0.0:* LISTEN
Link nginx and php
Enter the php folder, execute the command cp php.ini-development php.ini, and modify some parameters in php.ini, modify the nginx configuration file as follows
vi /usr/local/nginx/conf/nginx.conf
location / {
root /www;
index index.html index.htm index.php;
}
location ~ .php$ {
root /www;
fastcgi_pass 127.0.0.1:9000;
fastcgi_index index.php;
fastcgi_param SCRIPT_FILENAME /www$fastcgi_script_name;
include fastcgi_params;
}
The project root directory is www. There is no need to modify the configuration file, just remove some comments, and then write the php test page index.php
The most commonly used method for nginx is to use the tcp/ip protocol to connect to the phpfastcgi interface, so to connect to php, you must first start the fastcgi program.
Start method:
/usr/local/bin/php-cgi -b 127.0.0.1:9000 -c /usr/local/php5.6/etc/php.ini &
- b is used to specify the listening address and port
If you want to specify the location of the configuration file, you can use the -c option
Note that the nginx server is responsible for all client requests, including static web page analysis (html), other objects in the page such as ccs files, jpg, and png files, etc., but when the client needs to request a php page request or php source code analysis, nginx The page will be passed to the fastcgi interface and parsed by the php-cgi program.
Then execute ./nginx, if it is successful and the following page is displayed, the configuration is successful
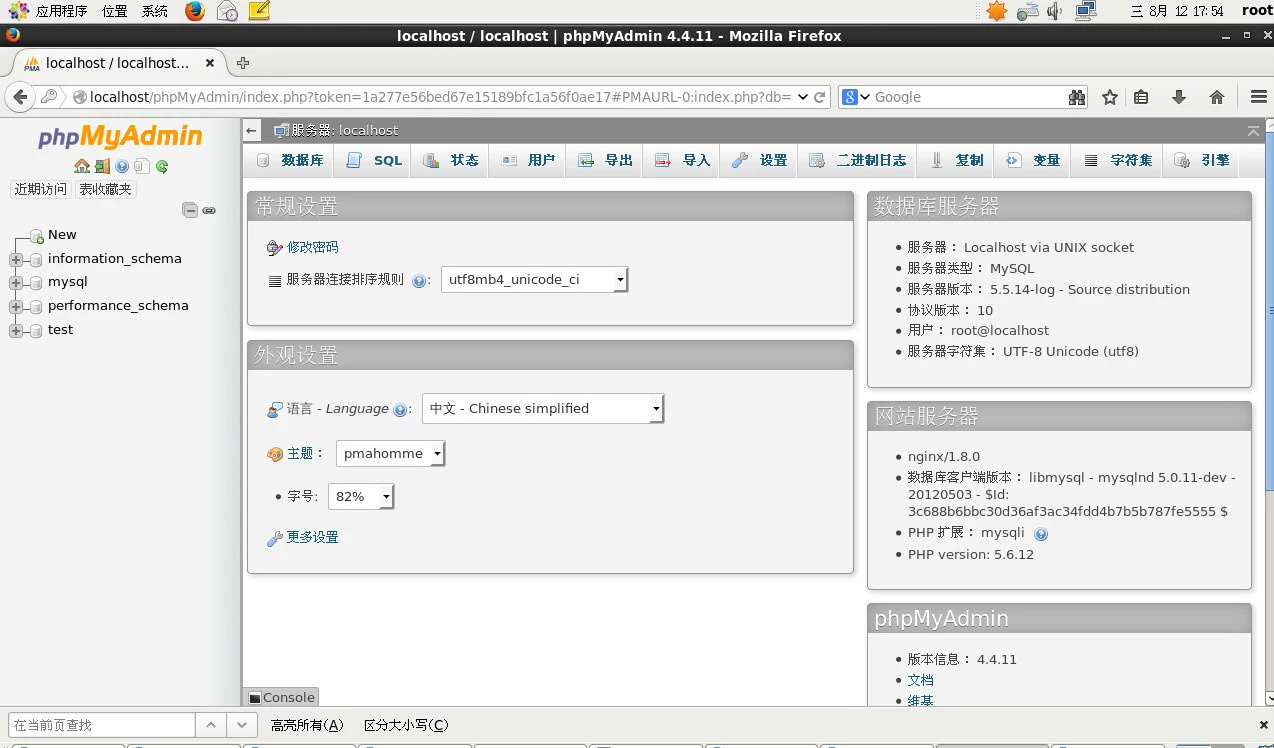
With phpMyAdmin, you can test the connection of MySQL and it can also be equivalent to installing a Mysql management tool**. The test results are as follows, indicating that you have configured the entire environment**
Recommended Posts