CentOS7.3 64 bit, build Zabbix3.4
One, system environment
[ root@ecs-5c78-0001 ~]# cat /etc/redhat-releaseCentOS Linux release 7.3.1611 (Core)
In order to facilitate testing, stop and start the firewall without starting the firewall, and adjust the production environment as needed
[ root@ecs-5c78-0001 ~]# systemctl stop firewalld.service[ root@ecs-5c78-0001 ~]# systemctl disable firewalld.service
Close selinux
[ root@ecs-5c78-0001 ~]# sed -i 's/SELINUX=enforcing/SELINUX=disabled/' /etc/selinux/config[ root@ecs-5c78-0001 ~]# grep SELINUX=disabled /etc/selinux/configSELINUX=disabled[ root@ecs-5c78-0001 ~]# setenforce 0setenforce: SELinux is disabled
Second, the installation and configuration of the database
1、 Before installation, check whether there is MySQL or MariaDB installed using rpm in the system
[ root@ecs-5c78-0001~]# rpm -qa | grep mysql
[ root@ecs-5c78-0001~]# rpm -qa | grep mariadb
mariadb-libs-5.5.52-1.el7.x86_64
2、 If you need to uninstall, execute the command: rpm -e software name, when the execution fails, you can use: rpm -e --nodeps software name to force uninstall, and then use it after uninstall
rpm -qa | grep mysql or rpm -qa | grep mariadb to view the results.
[ root@ecs-5c78-0001~]# rpm -e mariadb-libs-5.5.52-1.el7.x86_64
error: Failed dependencies:
	libmysqlclient.so.18()(64bit) is needed by(installed) postfix-2:2.10.1-6.el7.x86_64
	libmysqlclient.so.18(libmysqlclient_18)(64bit) is needed by(installed) postfix-2:2.10.1-6.el7.x86_64
[ root@ecs-5c78-0001~]# rpm -e --nodeps mariadb-libs-5.5.52-1.el7.x86_64
Install mariadb
[ root@ecs-5c78-0001~]# yum install mariadb-server mariadb –y
Start the database and set it to boot
[ root@ecs-5c78-0001 ~]# systemctl start mariadb[ root@ecs-5c78-0001 ~]# systemctl enable mariadbCreated symlink from /etc/systemd/system/multi-user.target.wants/mariadb.service to /usr/lib/systemd/system/mariadb.service.
Other database operation commands
[ root@ecs-5c78-0001 ~]# systemctl restart mariadb #restart[ root@ecs-5c78-0001 ~]# systemctl stop mariadb #stop
Three, Zabbix3.4 installation and configuration
1、 Install zabbix (the http:// link here will be updated, you can directly open the website to query the latest RPM package link, and then use rpm -ivh to install)
[ root@ecs-5c78-0001 ~]# rpm -ivh http://repo.zabbix.com/zabbix/3.4/rhel/7/x86_64/zabbix-release-3.4-1.el7.centos.noarch.rpmRetrieving http://repo.zabbix.com/zabbix/3.4/rhel/7/x86_64/zabbix-release-3.4-1.el7.centos.noarch.rpmPreparing... ################################# [100%]Updating / installing... 1:zabbix-release-3.4-1.el7.centos ################################# [100%]
[ root@ecs-5c78-0001~]# yum install zabbix-server-mysql zabbix-web-mysql -y
2、 Create database
[ root@ecs-5c78-0001 ~]# mysqlWelcome to the MariaDB monitor. Commands end with ; or \g.Your MariaDB connection id is 2Server version: 5.5.56-MariaDB MariaDB ServerCopyright (c) 2000, 2017, Oracle, MariaDB Corporation Ab and others.Type 'help;' or '\h' for help. Type '\c' to clear the current input statement.MariaDB [(none)]> create database zabbix character set utf8 collate utf8_bin;Query OK, 1 row affected (0.00 sec)MariaDB [(none)]> grant all privileges on zabbix.* to zabbix@localhost identified by 'zabbix';Query OK, 0 rows affected (0.00 sec)MariaDB [(none)]> exitBye
3、 Import the database (here zabbix-mysql-3.4.5 note that the version number will be updated)
[ root@ecs-5c78-0001~]# zcat /usr/share/doc/zabbix-server-mysql-3.4.5/create.sql.gz |mysql -uzabbix -pzabbix zabbix
4、 Configure database user and password
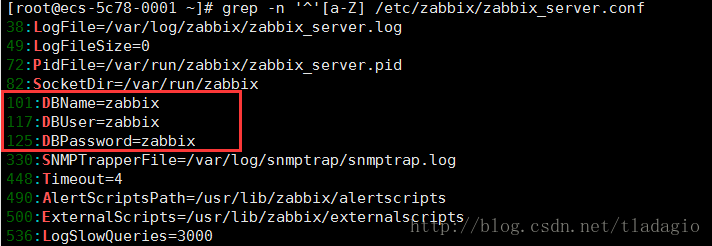
[ root@ecs-5c78-0001~]# vim /etc/zabbix/zabbix_server.conf
5、 Modify the following configuration
DBName=zabbix
DBUser=zabbix
DBPassword= changed to》》DBPassword=zabbix
Save and exit: wq
6、 Start zabbix server and set to boot
[ root@ecs-5c78-0001~]# systemctl start zabbix-server.service
[ root@ecs-5c78-0001~]# systemctl enable zabbix-server.service
Created symlink from/etc/systemd/system/multi-user.target.wants/zabbix-server.service to /usr/lib/systemd/system/zabbix-server.service.
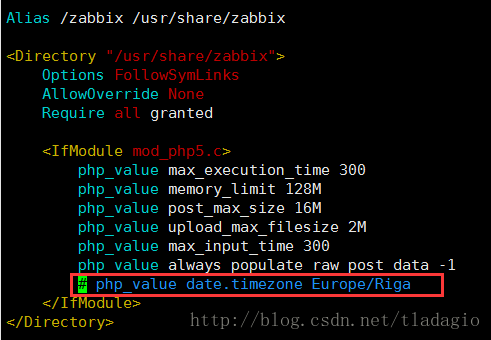
7、 Edit zabbix front-end PHP configuration, change the time zone
[ root@ecs-5c78-0001~]# vim /etc/httpd/conf.d/zabbix.conf
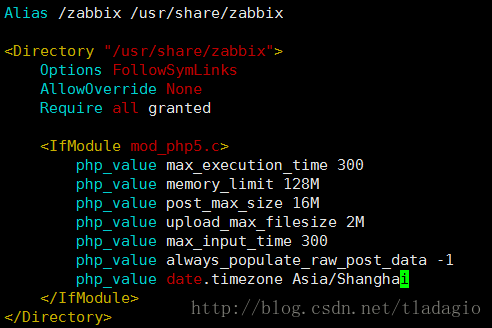
php_value date.timezone Europe/Riga is changed to "" php_value date.timezone Asia/Shanghai
Save and exit: wq
Change to the following
8、 Selinux configuration
[ root@ecs-5c78-0001 ~]# setsebool -P httpd_can_connect_zabbix onsetsebool: SELinux is disabled.[ root@ecs-5c78-0001 ~]# setsebool -P httpd_can_cetwork_connect_db onsetsebool: SELinux is disabled.
9、 Start httpd and set to boot
[ root@ecs-5c78-0001~]# systemctl start httpd
[ root@ecs-5c78-0001~]# systemctl enable httpd
Created symlink from/etc/systemd/system/multi-user.target.wants/httpd.service to /usr/lib/systemd/system/httpd.service.
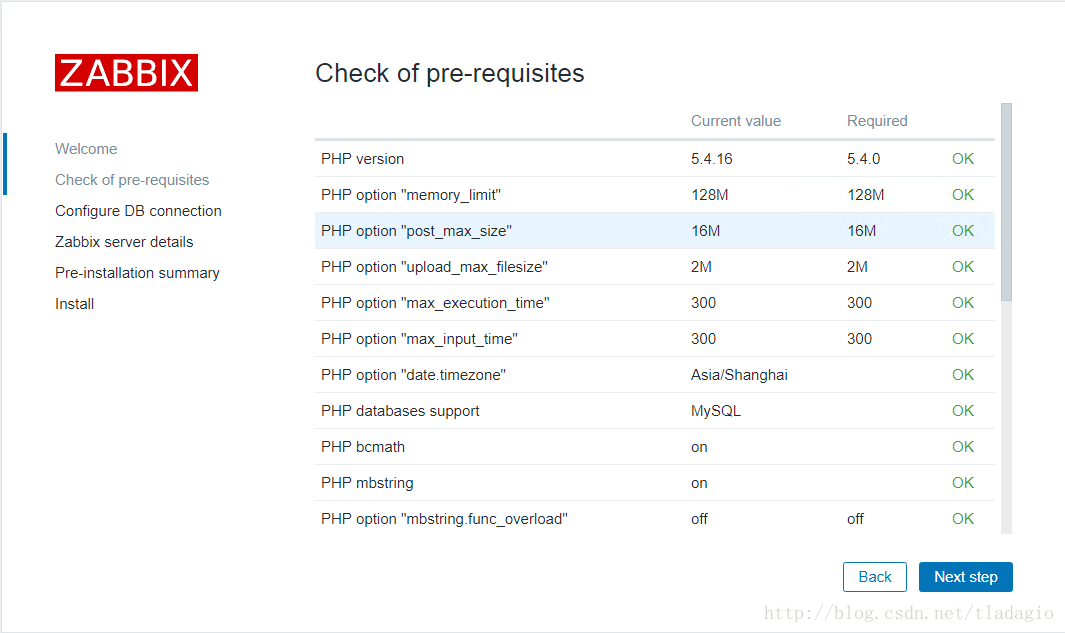
Fourth, configure Zabbix Web information
- Browser login local IP: http://192.168.2.216/zabbix/
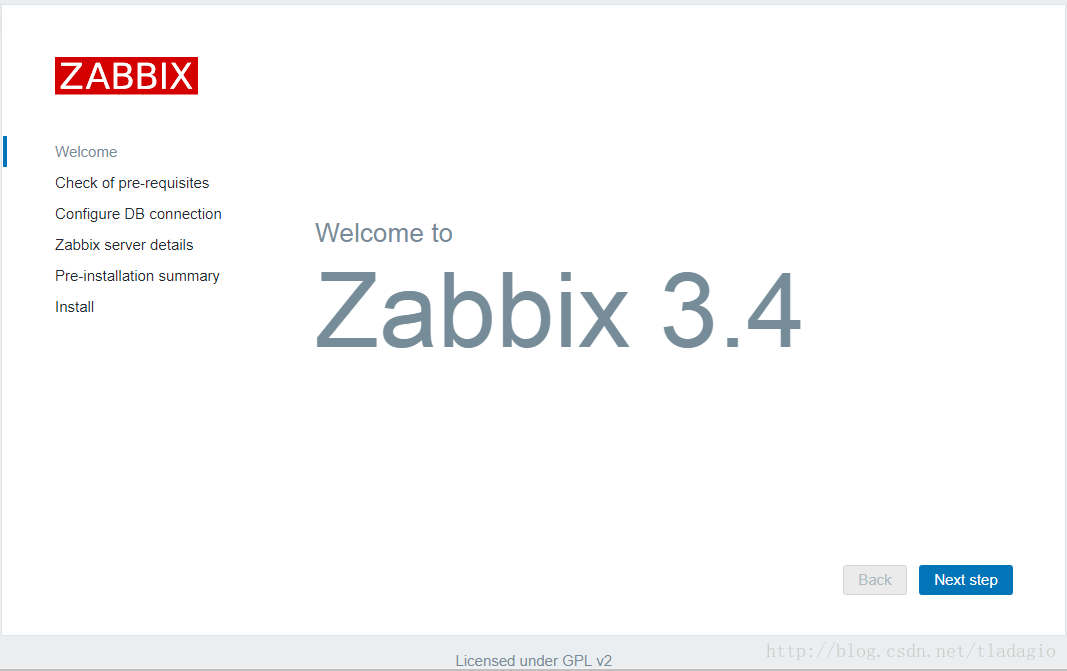
- Click: Next step
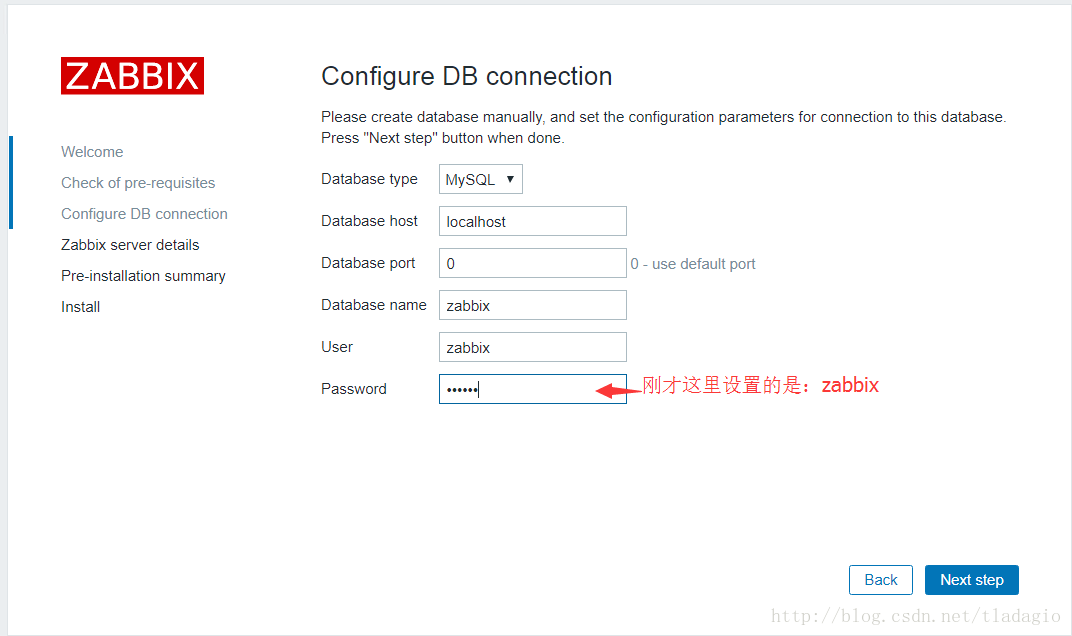
- Click: Next step
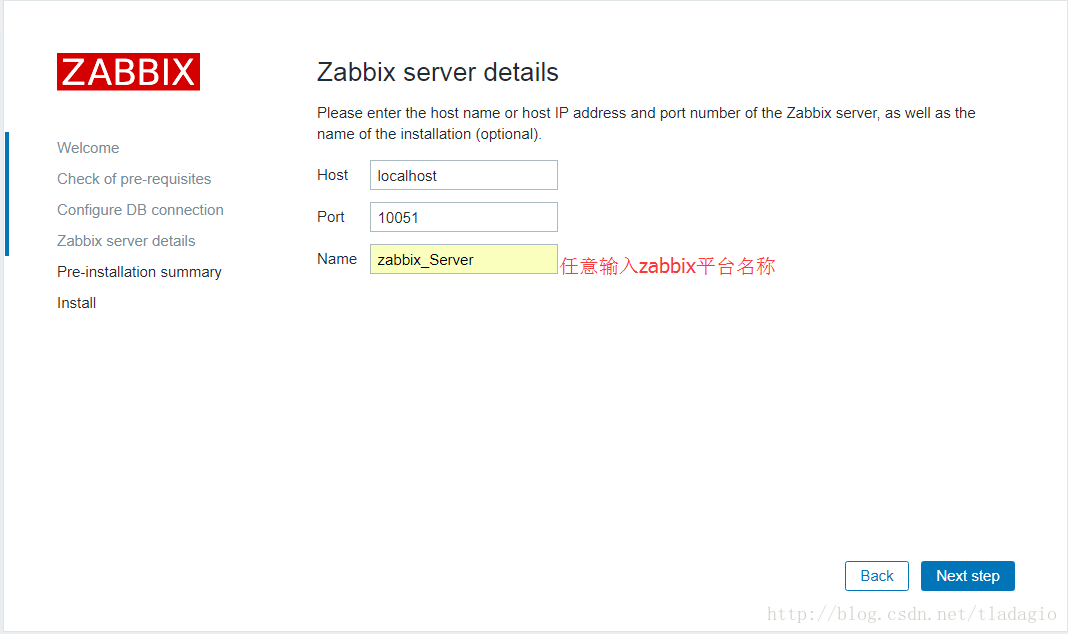
- Click: Next step
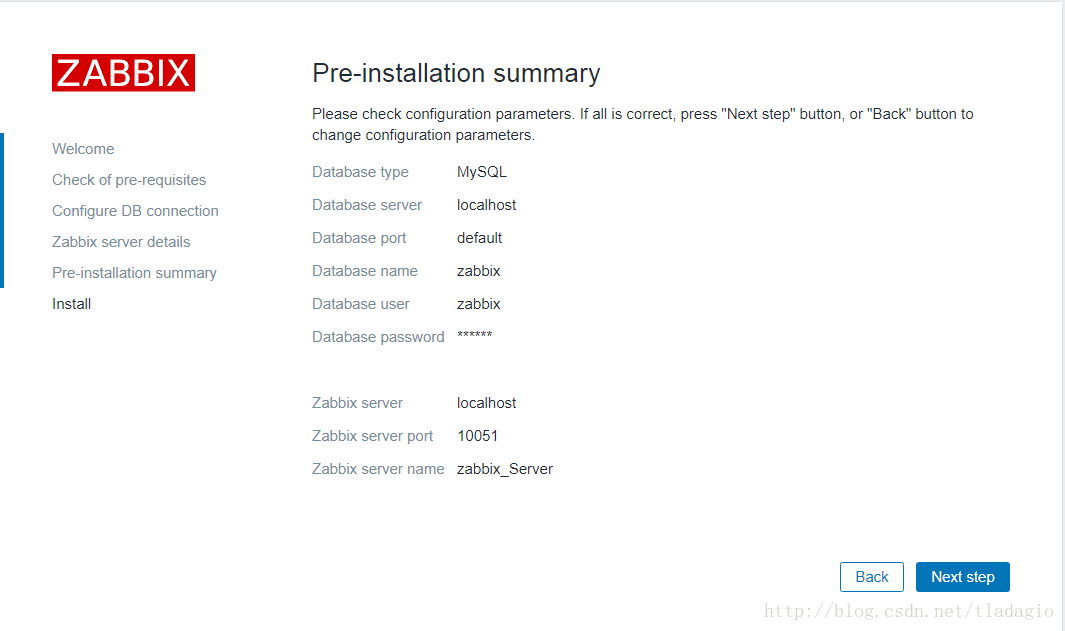
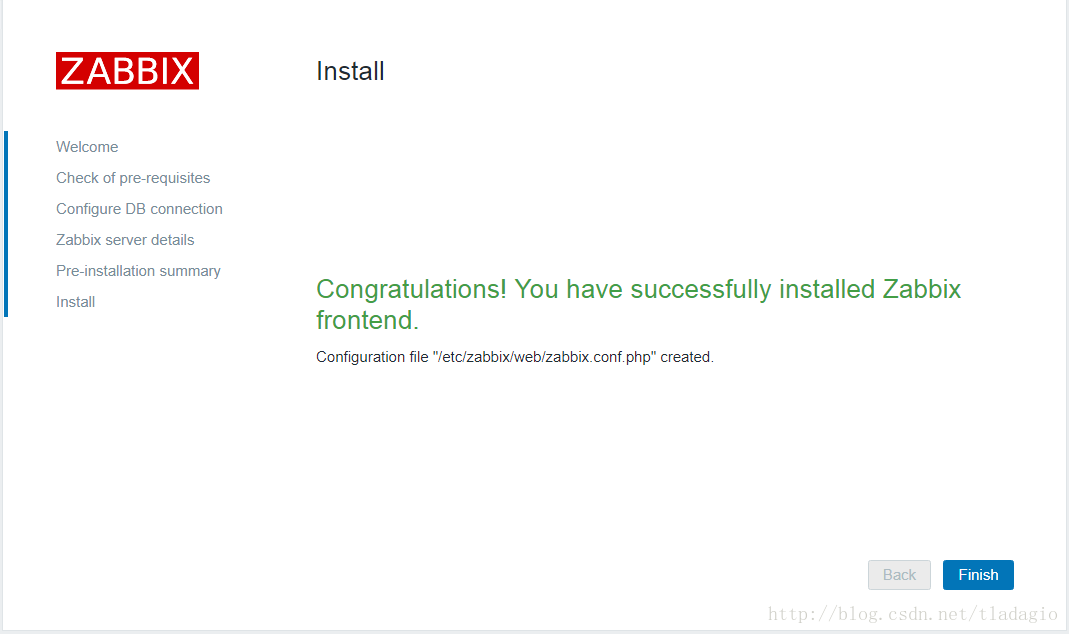
- Confirm the input information, click Next step
- Click Finish to generate the configuration file in: /etc/zabbix/web/zabbix.conf.php
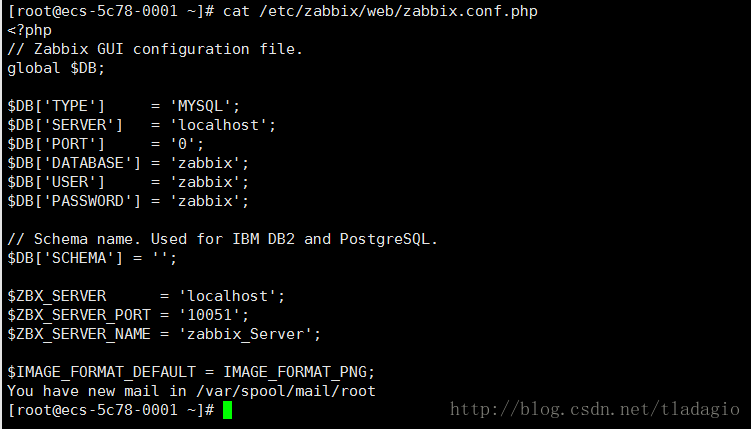
View the configuration file:
cat /etc/zabbix/web/zabbix.conf.php
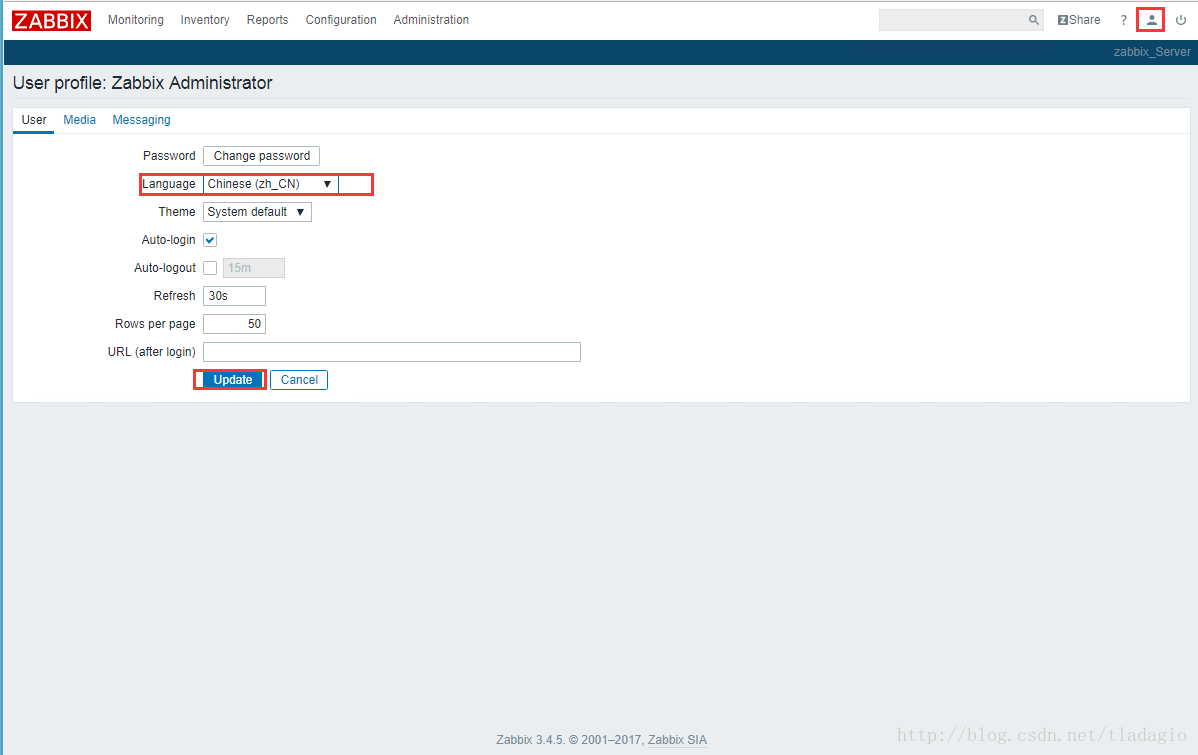
Log in to Zabbix3.4, default user name: Admin default password: zabbix
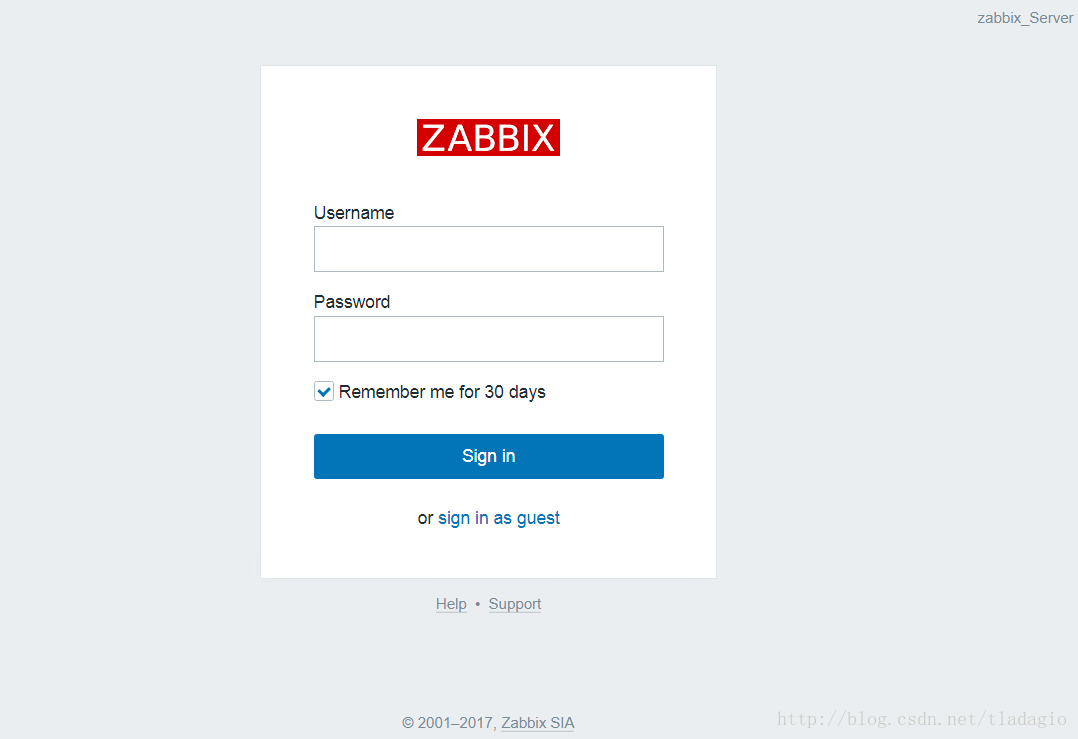
log in page
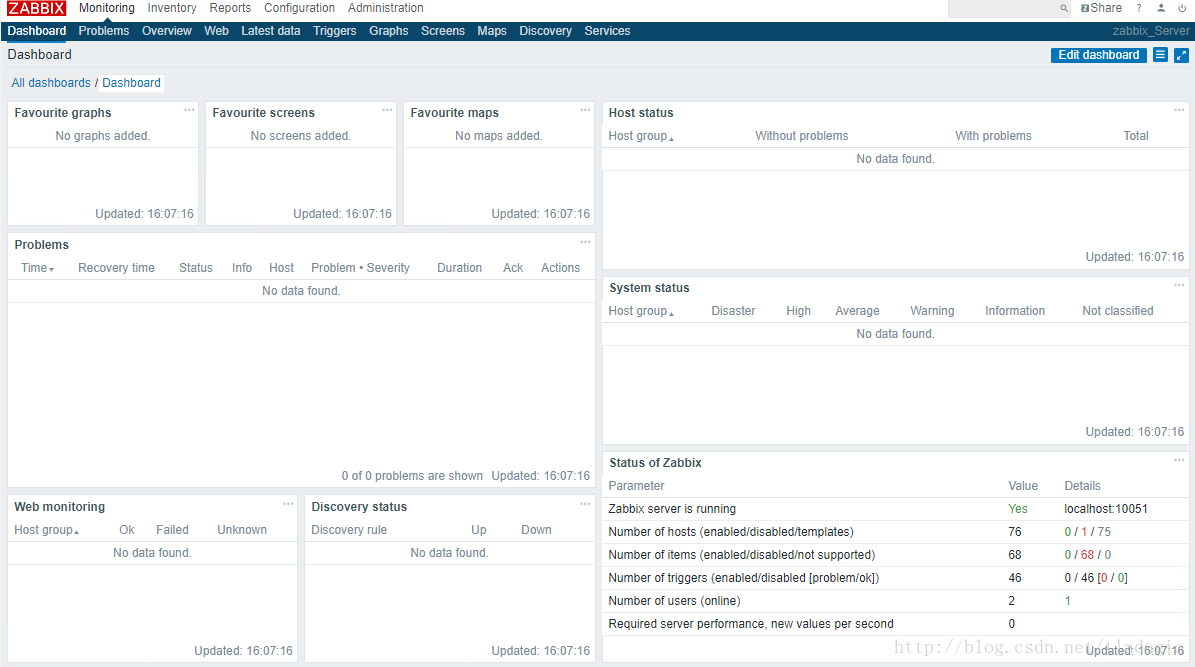
Change to Chinese
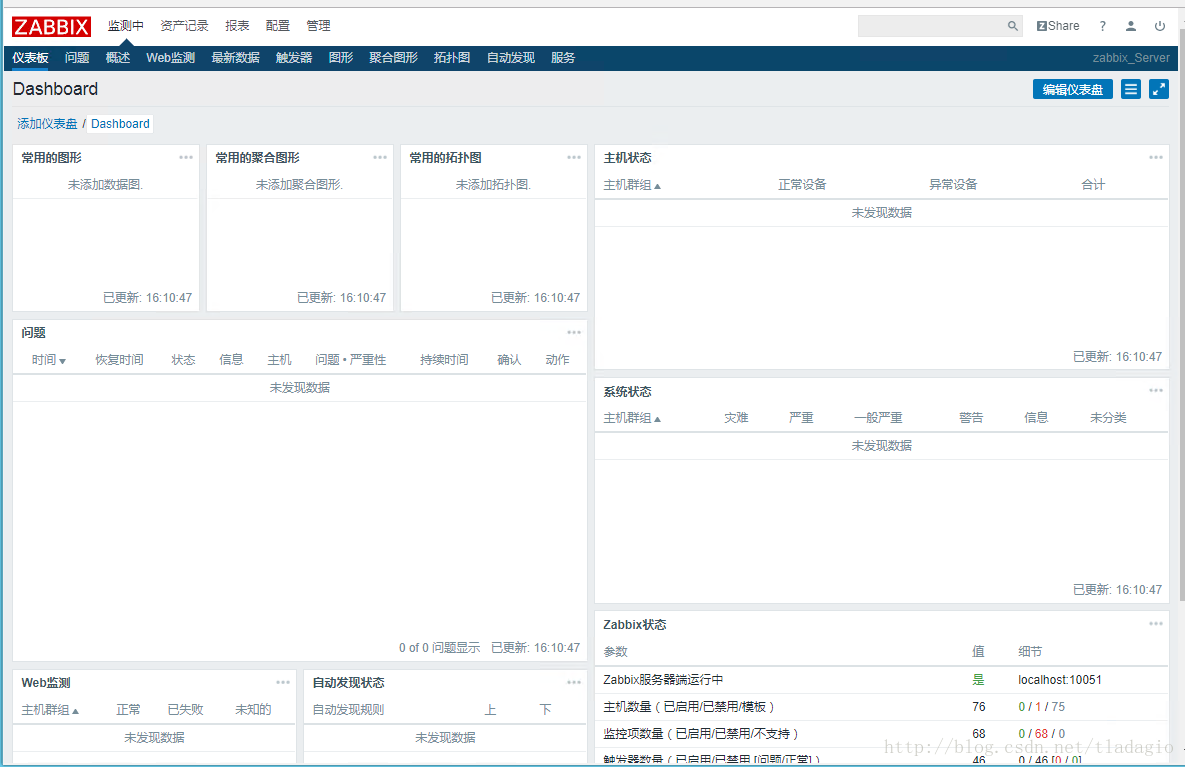
Zabbix server-side installation is complete!
Five, install and set up Zabbix-agent
Install zabbix-agent
[ root@ecs-5c78-0002~]#  rpm -ivh  https://mirrors.aliyun.com/zabbix/zabbix/3.4/rhel/7/x86_64/zabbix-release-3.4-1.el7.centos.noarh.rpm
Retrieving https://mirrors.aliyun.com/zabbix/zabbix/3.4/rhel/7/x86_64/zabbix-release-3.4-1.el7.centos.noarch.rpm
Preparing...                          ################################# [100%]
Updating / installing...1:zabbix-release-3.4-1.el7.centos  ################################# [100%][root@ecs-5c78-0002~]#  yum install zabbix-agent –y
Or use the link provided by the official website, and then rpm -ivh to install: rpm -ivh http://repo.zabbix.com/zabbix/3.4/rhel/7/x86_64/zabbix-agent-3.4.0-1.el7.x86_64 .rpm
Configure zabbix-agent
[ root@ecs-5c78-0002~]# vim /etc/zabbix/zabbix_agentd.conf
Modify server IP address
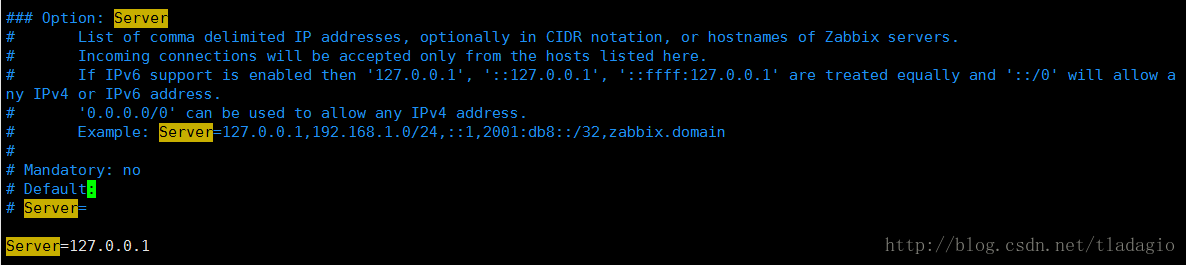
Modify it to the IP address of the zabbix-server server
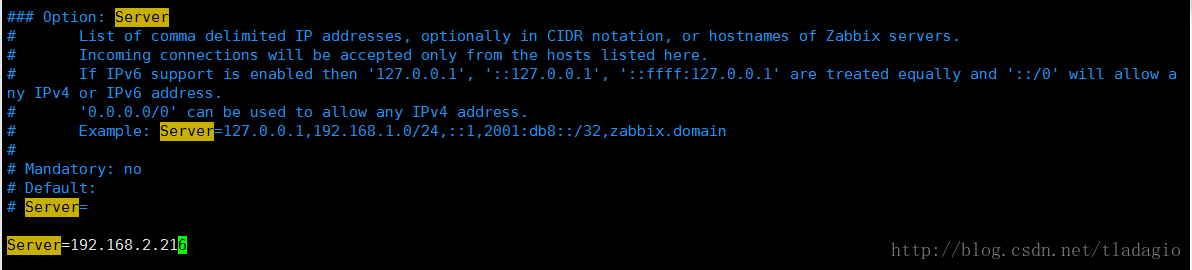
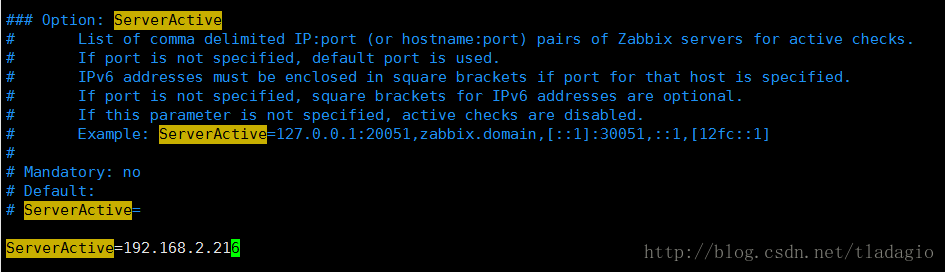
Modify ServerActive IP address
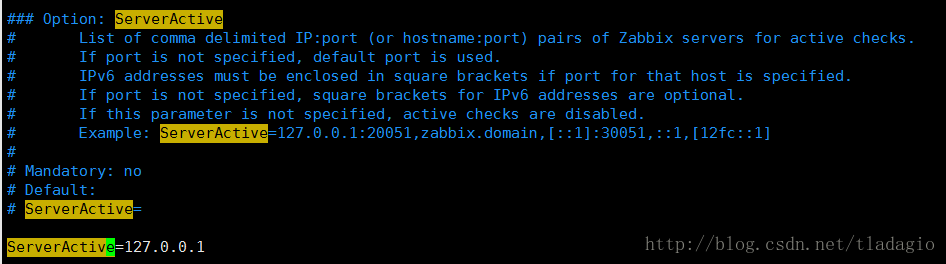
Change to the IP address of the zabbix-server server
Start zabbix-agent and set boot to start
[ root@ecs-5c78-0002~]# systemctl start zabbix-agent.service
[ root@ecs-5c78-0002~]# systemctl enable zabbix-agent.service
Created symlink from/etc/systemd/system/multi-user.target.wants/zabbix-agent.service to /usr/lib/systemd/system/zabbix-agent.service.
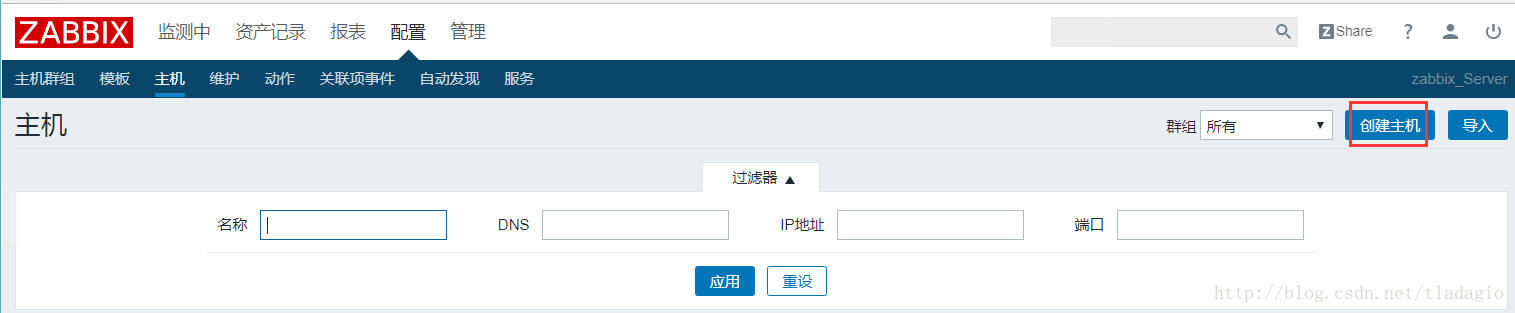
Six, Zabbix-server add monitoring host####
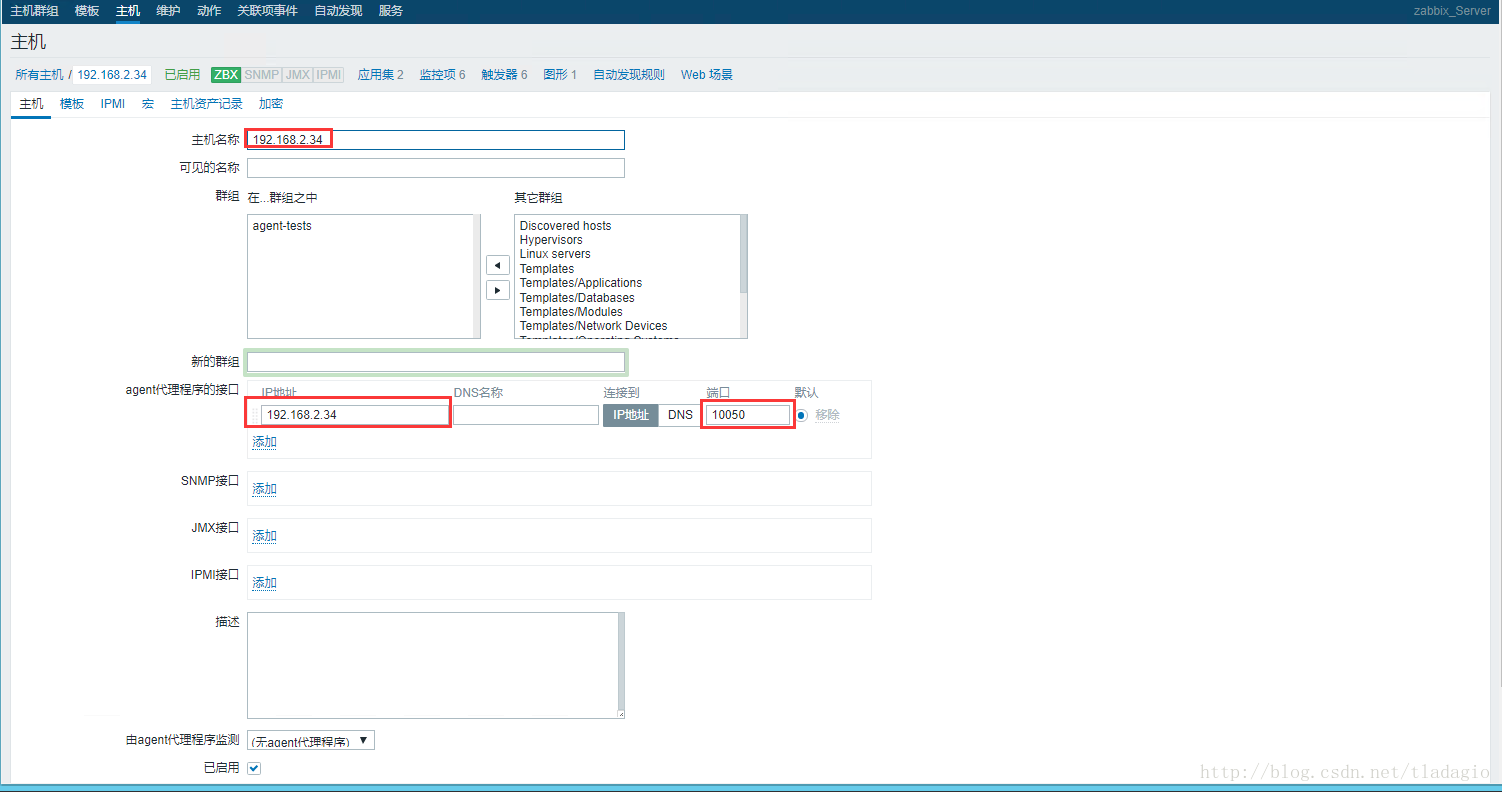
Manually add monitoring host
Specify zabbix-agent machine IP
Add a monitoring template, only when the template is added will the host be truly monitored
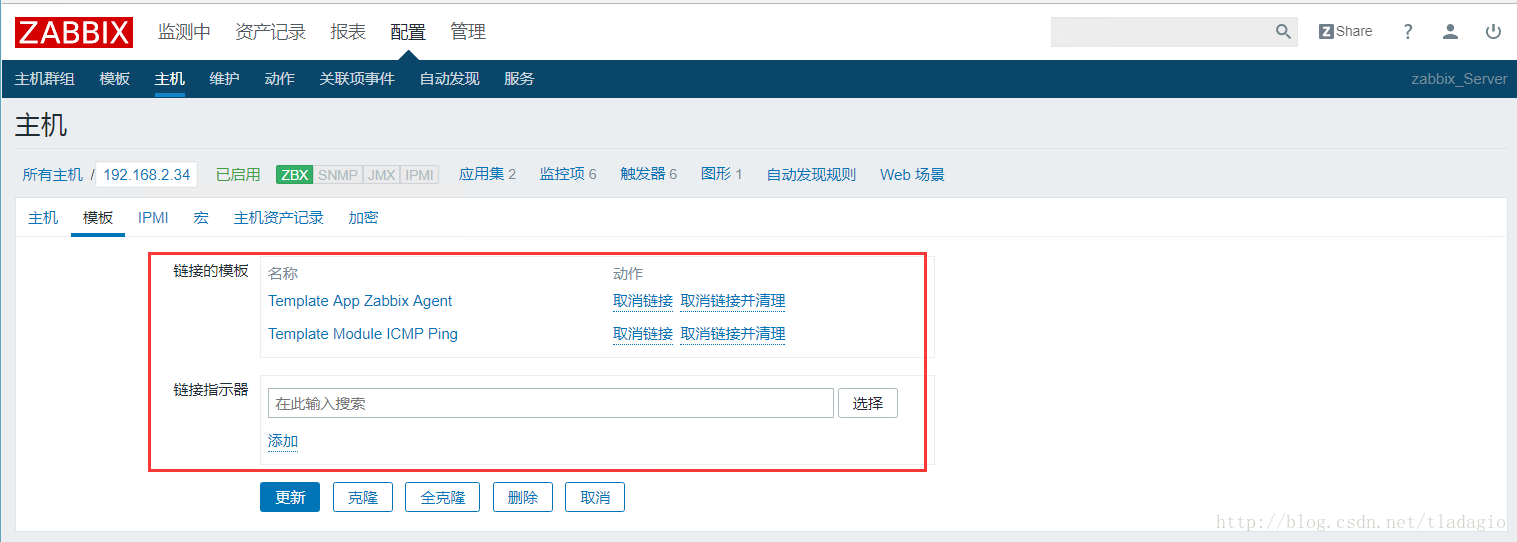
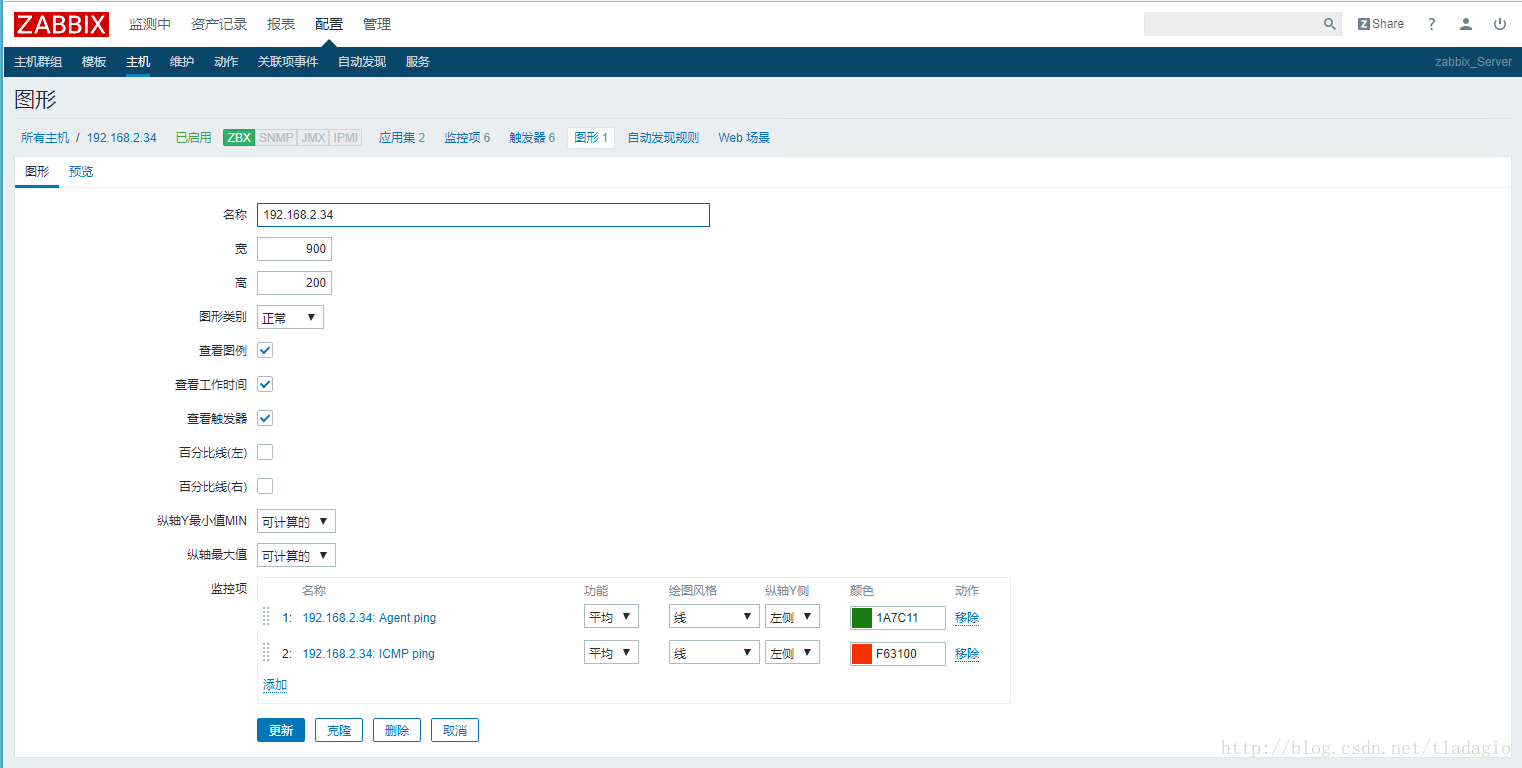
Add graphics to observe the data
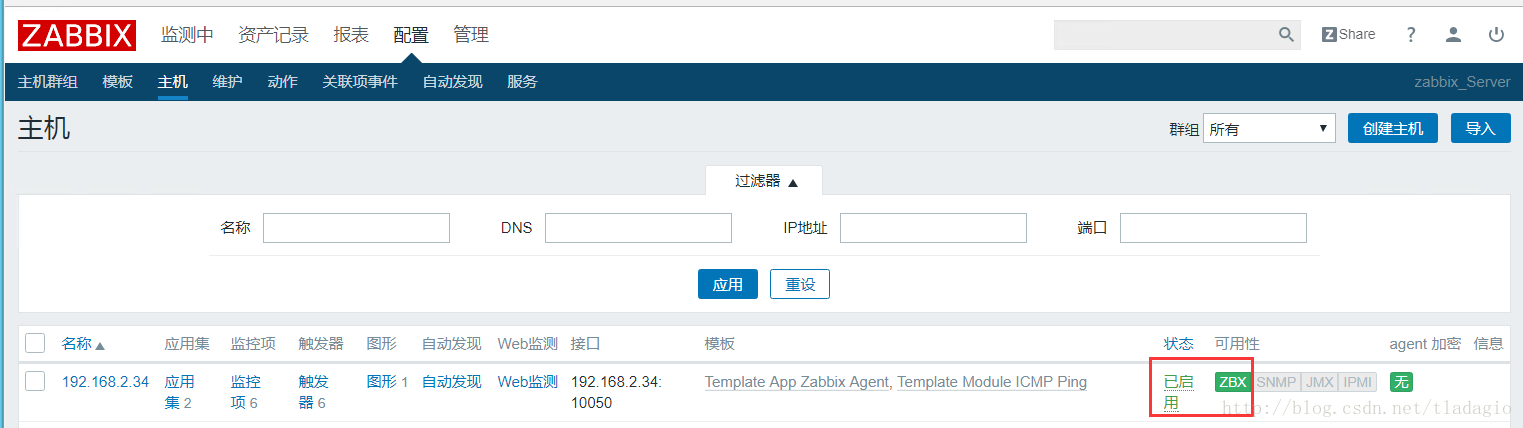
Monitoring is successful (the client must close the firewall or allow the port, or the ZBX icon will report an error in red)
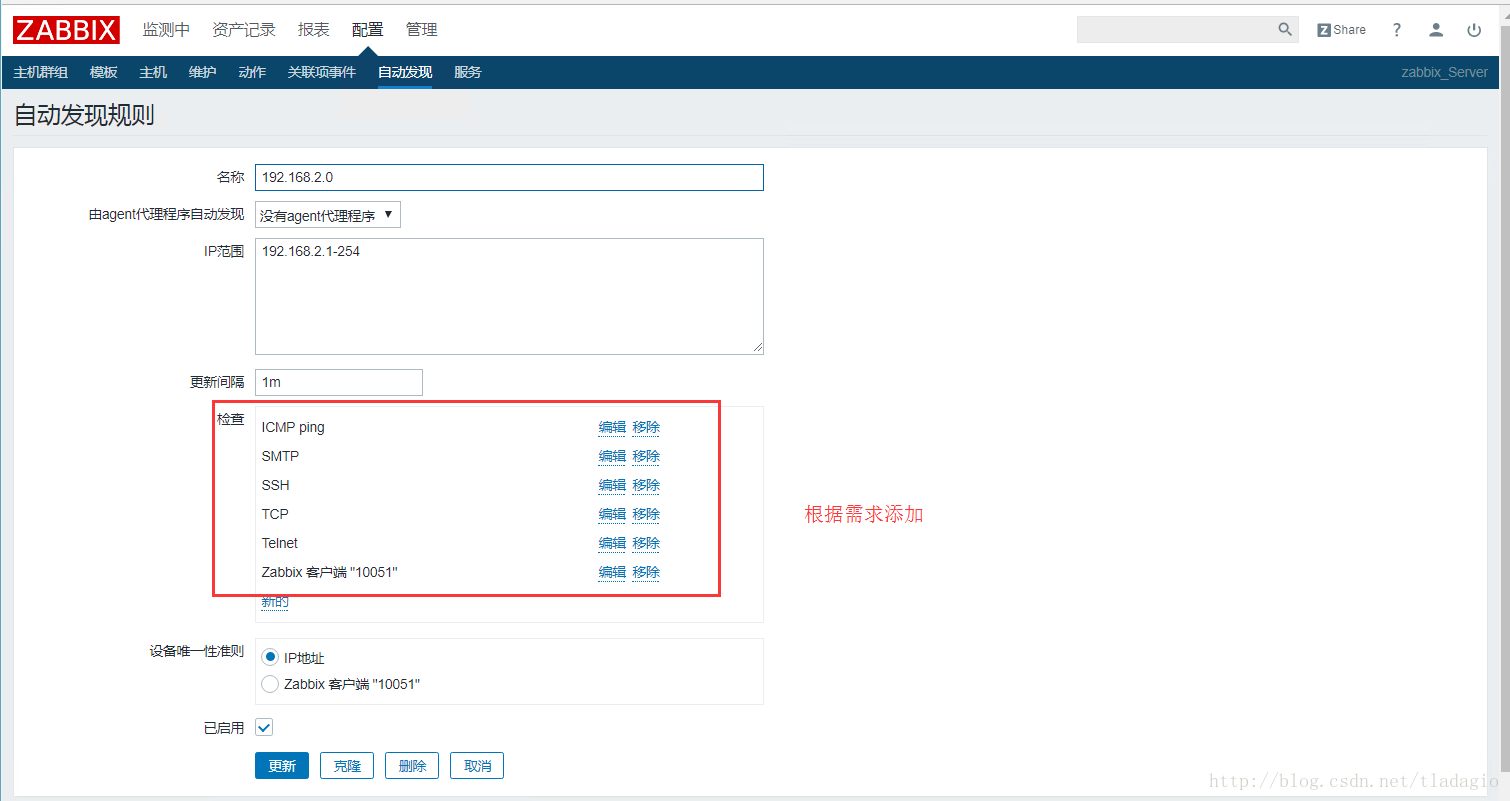
Automatically discover hosts

Add discovery rule
View automatically discovered hosts
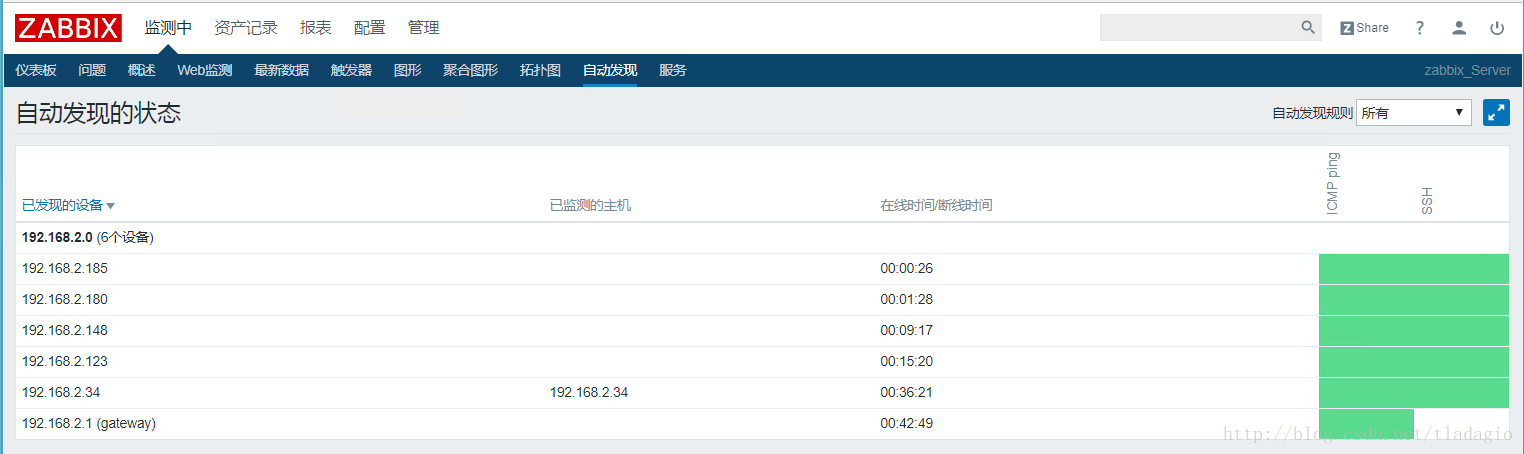
At this point, zabbix simple monitoring is deployed.
Centos 7 build zabbix 3.4.5
( adsbygoogle = window.adsbygoogle || []).push({});
Recommended Posts