Centos7 install k8s cluster 1.15.0 version
Version description##
- Date: 2019.7.17
- OS:CentOS7
- Docker:18.09.7
- K8S: 1.15.0
Pre-installation instructions##
Using kubeadm to install k8s is much easier than installing the components one by one before. It's just that because of the domestic network problems, Google's things have been walled, so it feels more laborious to install. So the key to installing ks is how to pull the image, there are four ways to solve it:
- If there is an agent, configure the agent directly for docker, the installation is very smooth
- If there is no agent, find a domestic warehouse such as Alibaba Cloud, download the image, and then change the image tag to google
- If a colleague or another machine has already downloaded the image, use docker's save and load commands to import
- Compile the ks source code directly and mark it as a docker image. This method is not suitable for novices.
There is a graphical installation of k8s project on github, which has been officially certified by CNCF. Image interface installation k8s
Machine Planning##
| Machine name | ip address | role | components installed by yum |
|---|---|---|---|
| k8s-master | 10.1.69.101 | master | docker、kubelet、kubeadm、kubectl |
| k8s-node1 | 10.1.69.102 | node | docker、kubelet、kubeadm |
| k8s-node2 | 10.1.69.103 | node | docker、kubelet、kubeadm |
Friendly reminder: Install under the virtual machine, it is best to fix the IP address. Especially the master node, because the IP address is required for installation, and the domain name cannot be used. If the IP address changes next time, the cluster may become unavailable
Ready to work##
1. Install prerequisite software###
yum install -y wget vim net-tools epel-release
2. Close swap
swapoff -a

# Permanently disable, open/etc/fstab commented out the swap line.
sed -i 's/.*swap.*/#&/'/etc/fstab
3. Close selinux
# Temporarily disable selinux
setenforce 0
# Permanently close modification/etc/sysconfig/selinux file settings
sed -i 's/SELINUX=permissive/SELINUX=disabled/'/etc/sysconfig/selinux
sed -i "s/SELINUX=enforcing/SELINUX=disabled/g"/etc/selinux/config
4. Turn off the firewall###
systemctl disable firewalld
systemctl stop firewalld
Install Docker and configure proxy##
1. Configure yum source###
## Configure default source
## Backup
mv /etc/yum.repos.d/CentOS-Base.repo /etc/yum.repos.d/CentOS-Base.repo.backup

## Download Aliyuan
wget -O /etc/yum.repos.d/CentOS-Base.repo http://mirrors.aliyun.com/repo/Centos-7.repo

## Refresh
yum makecache fast

## Configure k8s source
cat </etc/yum.repos.d/kubernetes.repo
[ kubernetes]
name=Kubernetes
baseurl=https://mirrors.aliyun.com/kubernetes/yum/repos/kubernetes-el7-x86_64
enabled=1
gpgcheck=0
EOF

## Rebuild yum cache
yum clean all
yum makecache fast
yum -y update

Copy code
2. Install docker
yum -y install yum-utils device-mapper-persistent-data lvm2
yum-config-manager --add-repo http://mirrors.aliyun.com/docker-ce/linux/centos/docker-ce.repo
yum -y install docker-ce
systemctl enable docker
systemctl start docker
3. Ensure that the cgroup driver used by kubelet is consistent with that of Docker###
cat >/etc/docker/daemon.json <Copy code
4. Set up docker proxy (core step-if there is a proxy)
No agent performs step 5
mkdir /etc/systemd/system/docker.service.d
touch /etc/systemd/system/docker.service.d/http-proxy.conf

[ Service]
Environment="HTTP_PROXY=http://xxx"
Environment="HTTPS_PROXY=http://xxx"
Environment="NO_PROXY=localhost,127.0.0.1,localaddress,.localdomain.com"

systemctl daemon-reload && systemctl restart docker
5. Pull the mirror image from the domestic warehouse (core step-if there is no agent)
## View the images required for cluster initialization and the corresponding dependent version numbers, the ones listed are the images that need to be downloaded
kubeadm config images list
Copy code
#! /bin/bash

## Use the following script to download the domestic mirror and modify the tag to google's tag
set-e

KUBE_VERSION=v1.15.0
KUBE_PAUSE_VERSION=3.1
ETCD_VERSION=3.3.10
CORE_DNS_VERSION=1.3.1

GCR_URL=k8s.gcr.io
ALIYUN_URL=registry.cn-hangzhou.aliyuncs.com/google_containers

images=(kube-proxy:${KUBE_VERSION}
kube-scheduler:${KUBE_VERSION}
kube-controller-manager:${KUBE_VERSION}
kube-apiserver:${KUBE_VERSION}
pause:${KUBE_PAUSE_VERSION}
etcd:${ETCD_VERSION}
coredns:${CORE_DNS_VERSION})for imageName in ${images[@]};do
 docker pull $ALIYUN_URL/$imageName
 docker tag  $ALIYUN_URL/$imageName $GCR_URL/$imageName
 docker rmi $ALIYUN_URL/$imageName
done
6. Configure network proxy (optional)
 ## Configuration/etc/profile file, especially https, replace xxx with the proxy address of yourself or your company
 http_proxy=xxx
 https_proxy=xxx
 HTTP_PROXY=xxx
 HTTPS_PROXY=xxx
Copy code
Start installing k8s
1. Install kubeadm, kubelet, etc.###
yum -y install kubelet kubeadm kubectl kubernetes-cni
systemctl enable kubelet && systemctl start kubelet
2. Cluster initialization###
## The master node executes:
sudo kubeadm init \
 - - apiserver-advertise-address 10.1.69.101 \
 - - kubernetes-version=v1.15.0 \
 - - pod-network-cidr=10.244.0.0/16
Copy code
Friendly reminder: If the image is not pulled in advance, this step will be slower. If the proxy is configured, execute: kubeadm config images pull, pull the image separately
If kubeadm reset is uninstalled and then installed, an error may be reported. Add this parameter: --ignore-preflight-errors=all
Get a reply:
(... Omit)
mkdir -p $HOME/.kube
sudo cp -i /etc/kubernetes/admin.conf $HOME/.kube/config
sudo chown $(id -u):$(id -g) $HOME/.kube/config

## Save the command, if it is lost, it is difficult to retrieve it. Needed when a node joins
kubeadm join 10.1.69.101:6443--token ou5pvo.qseafc4s8licblzy \
 - - discovery-token-ca-cert-hash sha256:de9c10f11c50c074f212698b9d514fc12a9c1c4ffe70961aff89ac5e585f0663
Copy code
3. Copy configuration, use ### for kubectl
mkdir -p $HOME/.kube
sudo cp -i /etc/kubernetes/admin.conf $HOME/.kube/config
sudo chown $(id -u):$(id -g) $HOME/.kube/config
4. Install flannel network###
sudo kubectl apply -f https://raw.githubusercontent.com/coreos/flannel/master/Documentation/kube-flannel.yml

## Check if the flannal is installed successfully

sudo kubectl -n kube-system get po -l app=flannel -o wide
Copy code
5. Node node joins the cluster##
Other nodes execute:
kubeadm join 10.1.69.101:6443--token ou5pvo.qseafc4s8licblzy \
 - - discovery-token-ca-cert-hash sha256:de9c10f11c50c074f212698b9d514fc12a9c1c4ffe70961aff89ac5e585f0663
Clean installation##
- If there are any problems during the installation, you can reset and reinstall
sudo kubeadm reset
Dashboard plugin installation##
1. Download the plugin and configure
- Download the yaml file to the local
wget https://raw.githubusercontent.com/kubernetes/dashboard/v1.10.1/src/deploy/recommended/kubernetes-dashboard.yaml - Configure the dashboard interface to be accessible outside the virtual machine
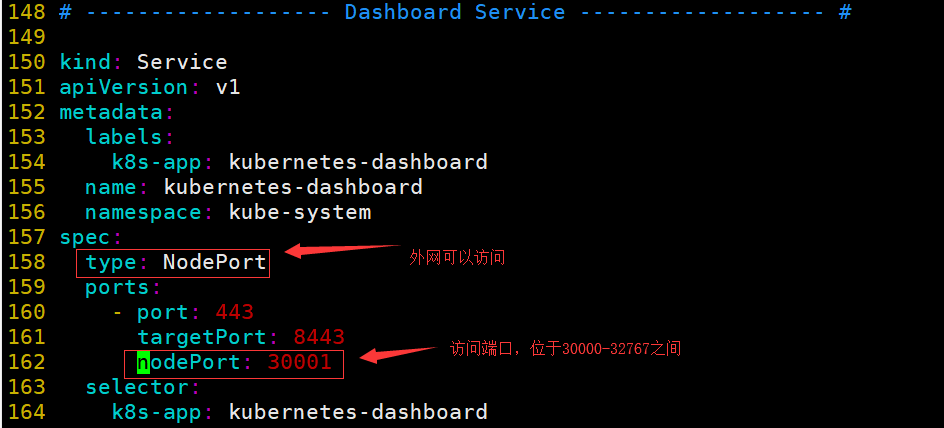
-
Configure access control (otherwise all kinds of unauthorized access)
-
K8S enabled RBAC access control policy after version 1.6
-
vim add dashboard-rbac.yaml file, the content is as follows
apiVersion: v1 kind: ServiceAccount metadata: name: dashboard namespace: kube-system --- kind: ClusterRoleBinding apiVersion: rbac.authorization.k8s.io/v1beta1 metadata: name: dashboard subjects: - kind: ServiceAccount name: dashboard namespace: kube-system roleRef: kind: ClusterRole name: cluster-admin apiGroup: rbac.authorization.k8s.io
2. Perform installation
- start installation
sudo kubectl apply -f kubenetes-dashboard.yaml sudo kubectl appy -f dashboard-rbac.yaml - Check whether the dashboard is installed successfully
It takes a certain amount of time to download the image. If the pod is running, the installation is successful. kubectl get pod -n kube-system |grep kubernetes-dashboard
3. Login interface view###
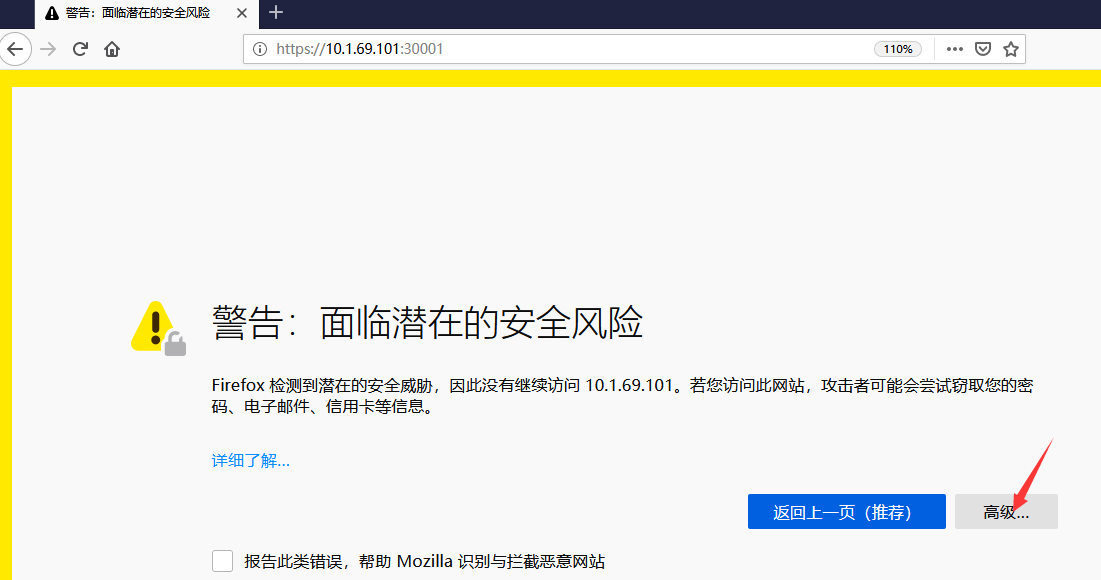
- Use Firefox to view the dashboard page (chrome cannot access the insecure https)
Note: The address in the url must use https! ! !
- Enter the input token interface
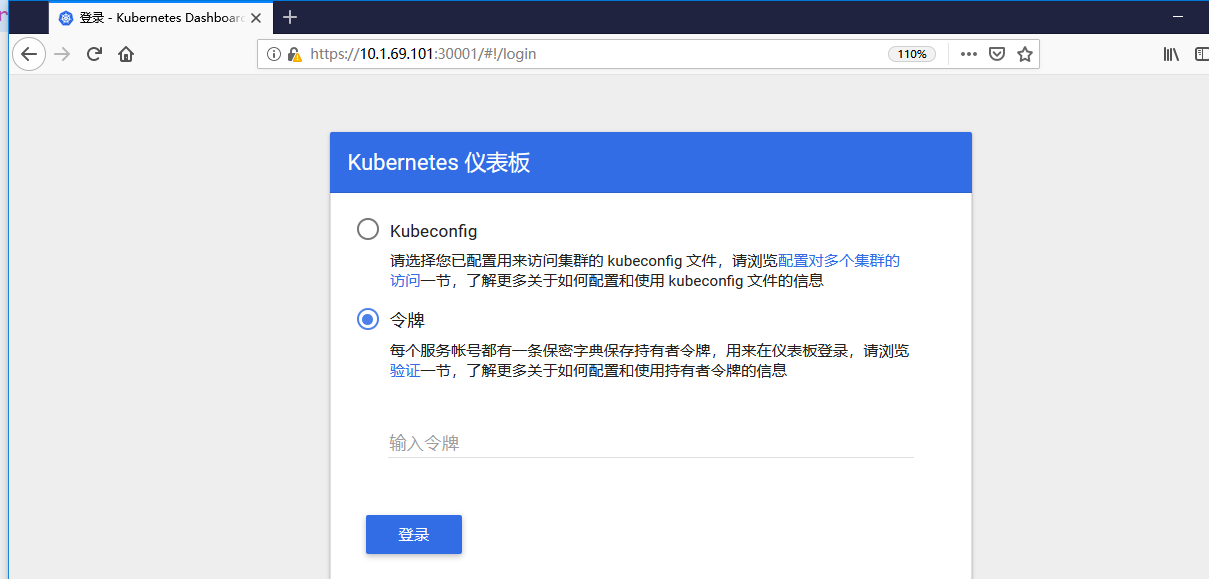
- Get token command
Get the login interface token kubectl -n kube-system describe $(kubectl -n kube-system \ get secret -n kube-system -o name | grep namespace) | grep token
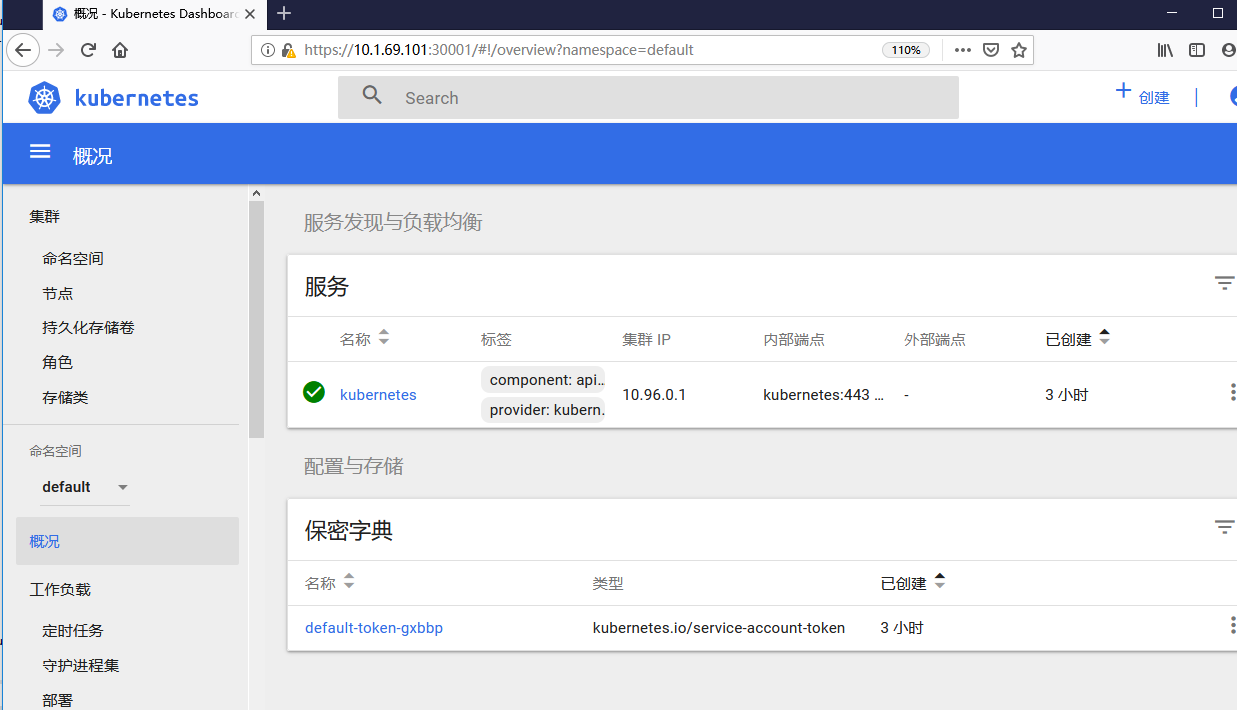
- Enter dashboard homepage
- If the token of the dashboard expires, the following script will regenerate the config file #!/bin/bash TOKEN=(kubectl−nkube−systemdescribesecretdefault|awk′1=="token:"{print
Problems encountered##
- Load reports an error when importing a mirror, and cannot find the tmp file.
The image tag is not specified when exporting save
- The kubelet is unhealthy due to a misconfiguration of the node in some way (required cgroups disabled
When kubeadm init, the address of apiserver is wrong
- [ ERROR FileContent--proc-sys-net-bridge-bridge-nf-call-iptables]: /proc/sys/net/bridge/bridge-nf-call-iptables contents are not set to 1
echo "1">/proc/sys/net/bridge/bridge-nf-call-iptables
- NetworkPlugin cni failed to set up pod, network: failed to set bridge addr: "cni0" already has an IP address different from
kubeadm reset, reset node, rejoin
Recommended Posts