centos 6.5 install zabbix 4.4
1. Installation environment
In this environment, stand-alone deployment is used.
Operating system: centos 7.5 x64
zabbix-server, Mysql, php, nginx are all on the same server. They are all installed using Yum!
Official installation document:
https://www.zabbix.com/download?zabbix=4.4&os_distribution=centos&os_version=7&db=mysql
Here, Nginx is mainly used to publish front-end pages
Two, install Mysql
Install and start mysql5.6 and initialize database information
# rpm -ivh http://repo.mysql.com/yum/mysql-5.6-community/el/6/x86_64/mysql-community-release-el6-5.noarch.rpm
# yum install -y mysql-community-server
# systemctl start mysqld
# /sbin/chkconfig mysqld on #boot
# service mysqld start  #Start the database
Initialize database information
# mysql_secure_installation #Initialize database information
Output:

NOTE: RUNNING ALL PARTS OF THIS SCRIPT IS RECOMMENDED FOR ALL MySQL
  SERVERS IN PRODUCTION USE!  PLEASE READ EACH STEP CAREFULLY!In order to log into MySQL to secure it, we'll need the currentpassword for the root user.  If you've just installed MySQL, andyou haven't set the root password yet, the password will be blank,so you should just press enter here.

Enter current password forroot(enter for none): #Press Enter for the first time and OK, successfully used password, moving on...

Setting the root password ensures that nobody can log into the MySQL
root user without the proper authorisation.

Set root password?[Y/n] #Whether to set the root user password, enter y and press Enter or directly press Enter New password: #Set the password of the root user Re-enter newpassword: #Enter the password you set again Password updated successfully!Reloading privilege tables..... Success!By default, a MySQL installation has an anonymous user, allowing anyone
to log into MySQL without having to have a user account created forthem.  This is intended only for testing, and to make the installation
go a bit smoother.  You should remove them before moving into a
production environment.

Remove anonymous users?[Y/n] #Whether to delete anonymous users,It is recommended to delete in the production environment, so press Enter directly
 ... Success!Normally, root should only be allowed to connect from'localhost'.  This
ensures that someone cannot guess at the root password from the network.

Disallow root login remotely?[Y/n] #Whether to prohibit root remote login,Choose Y according to your needs/n and press enter,Proposal to ban
 ... Success!By default, MySQL comes with a database named 'test' that anyone can
access.  This is also intended only for testing, and should be removed
before moving into a production environment.

Remove test database and access to it?[Y/n] #Whether to delete the test database,Enter directly- Dropping test database...
ERROR 1008(HY000) at line 1: Can't drop database 'test'; database doesn't exist
 ... Failed!  Not critical, keep moving...- Removing privileges on test database...... Success!Reloading the privilege tables will ensure that all changes made so far
will take effect immediately.

Reload privilege tables now?[Y/n] #Whether to reload the permission table and press Enter
 ... Success!All done!  If you've completed all of the above steps, your MySQLinstallation should now be secure.

Thanks for using MySQL!
Three, install and configure zabbix server
Install Zabbix repository
# rpm -Uvh https://repo.zabbix.com/zabbix/4.4/rhel/7/x86_64/zabbix-release-4.4-1.el7.noarch.rpm
# yum clean all
Install Zabbix server, front-end, proxy
# yum -y install epel-release
# yum -y install zabbix-server-mysql zabbix-web-mysql zabbix-agent zabbix-nginx-conf
# yum clean all
Create the initial database
# mysql -uroot -p
password
mysql> create database zabbix character set utf8 collate utf8_bin;
mysql> grant all privileges on zabbix.* to zabbix@localhost identified by 'password';
mysql> quit;
Note: The zabbix user password specified here is password, please modify it according to the actual situation.
Import the initial structure and data. You will be prompted to enter the newly created password.
# zcat /usr/share/doc/zabbix-server-mysql*/create.sql.gz | mysql -uzabbix -p zabbix
Configure database
Edit the file /etc/zabbix/zabbix_server.conf
DBPassword=password
Configure php
Edit the file /etc/php.ini
date.timezone = Asia/Shanghai
Configure nginx
Edit the configuration file /etc/nginx/nginx.conf
Comment out the default configuration
 # server {
 # listen       80 default_server;
 # listen       [::]:80 default_server;
 # server_name  _;
 # root         /usr/share/nginx/html;

 # # Load configuration files for the default server block.
 # include /etc/nginx/default.d/*.conf;

 # location / {
    #    }

 # error_page 404 /404.html;
 #  location = /40x.html {
    #    }

 # error_page 500 502 503 504 /50x.html;
 #  location = /50x.html {
    #    }
    #}
Start zabbix server and agent process
Start zabbix server and agent process, and make it start when the system starts:
# systemctl restart zabbix-server zabbix-agent nginx php-fpm
# systemctl enable zabbix-server zabbix-agent nginx php-fpm
Now your zabbix server is up and running!
Fourth, configure Zabbix front end
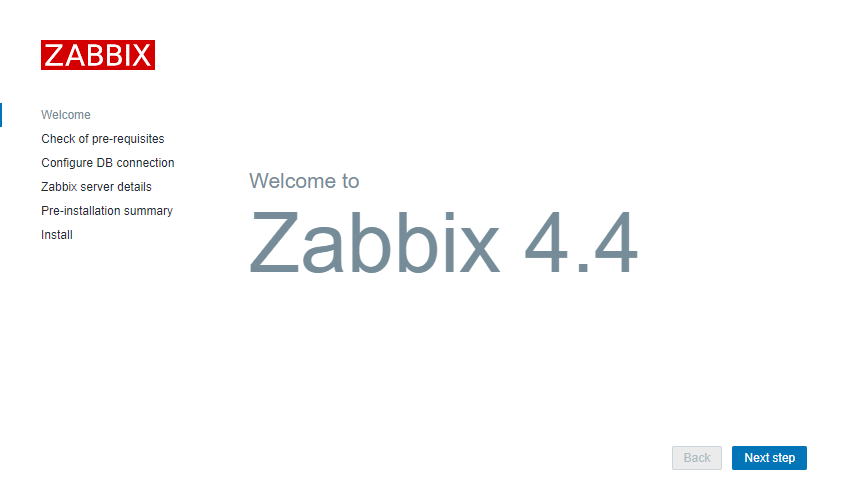
Connect to the newly installed zabbix front end: http://server ip
Follow the steps described in the zabbix documentation: install the front end
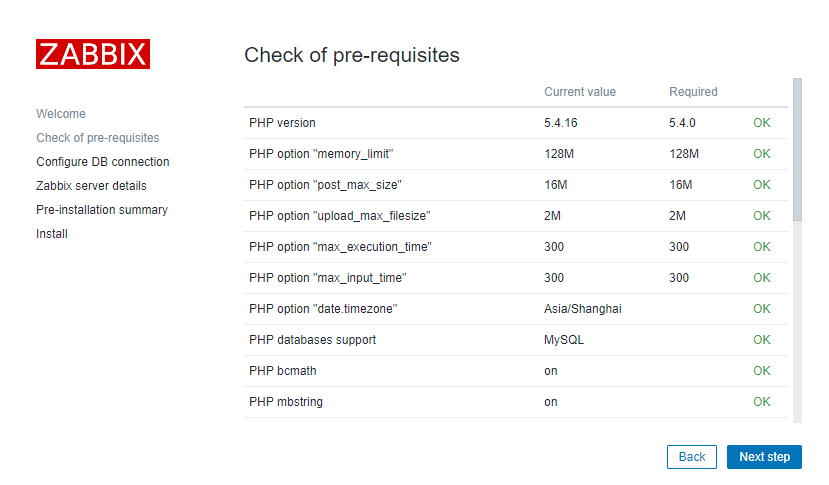
Make sure the configuration is passed
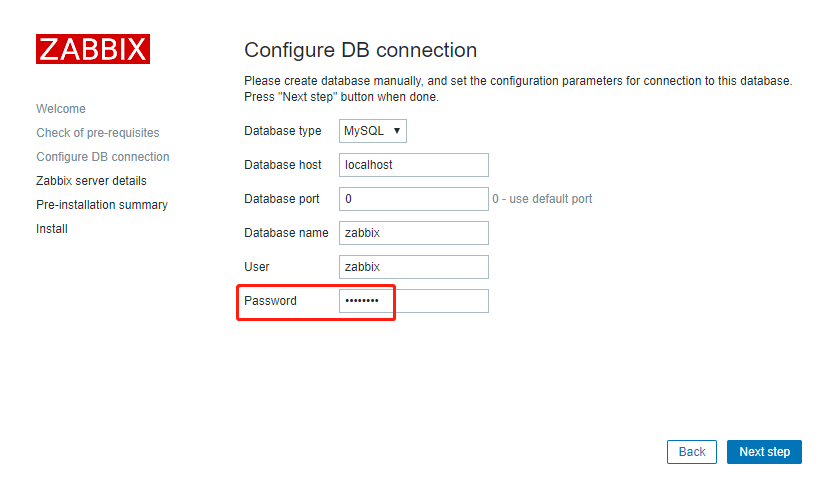
Enter the database password of the zabbix user
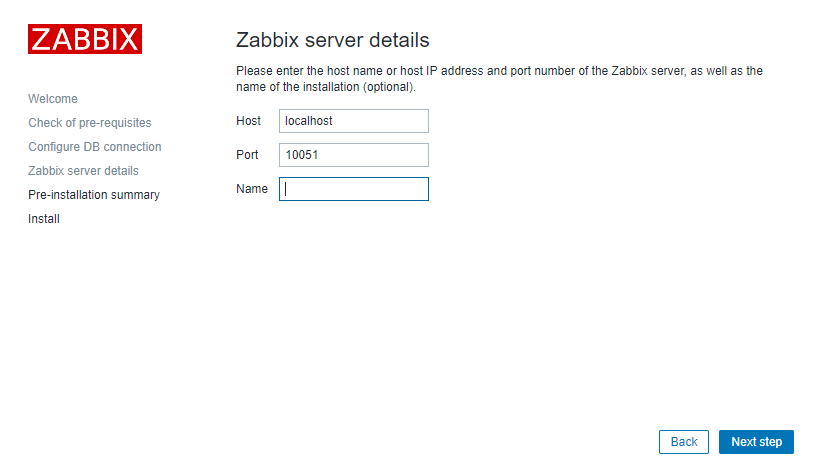
Keep default
Five, start using zabbix
The default user name: Admin, password: zabbix
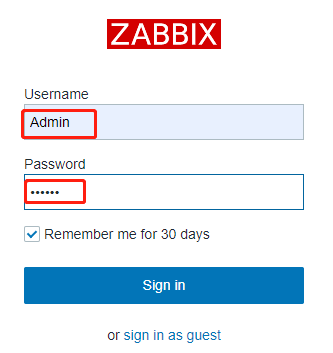
After logging in, the effect is as follows:

Click on the little man icon on the right and set the language to Chinese
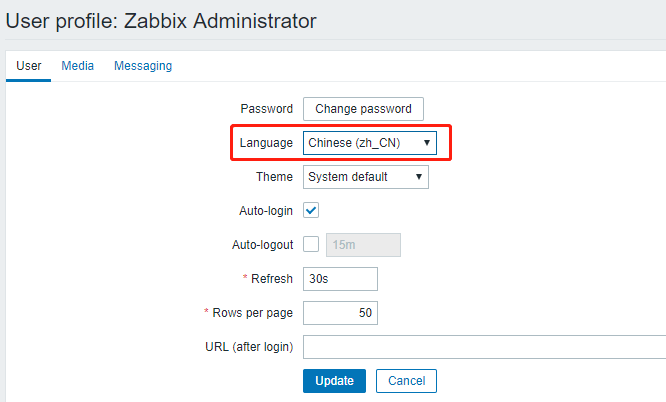
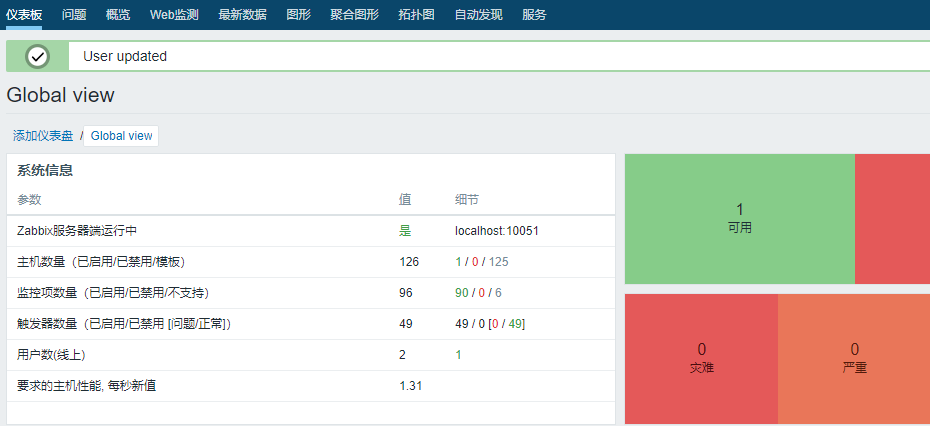
The effect is as follows:
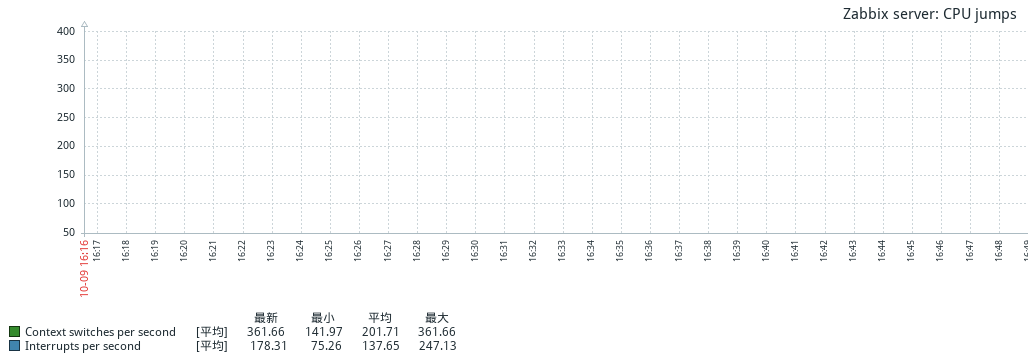
Six, the solution to the Chinese garbled characters in the monitoring chart
# yum -y install wqy-microhei-fonts
# \ cp /usr/share/fonts/wqy-microhei/wqy-microhei.ttc /usr/share/fonts/dejavu/DejaVuSans.ttf
Restart zabbix-server and nginx
# systemctl restart zabbix-server
# systemctl restart nginx
Check the chart, whether the Chinese is normal
Reference link for this article:
https://www.zabbix.com/download?zabbix=4.4&os_distribution=centos&os_version=7&db=mysqlhttps://blog.csdn.net/qq_32786873/article/details/78846008https://blog.csdn.net/solaraceboy/article/details/84974363
Recommended Posts