Centos7 installation is actually very simple
Prepare the system image:
Operating system version: centos7.6
Operating system download address: https://www.centos.org/download/
1. Start the installation
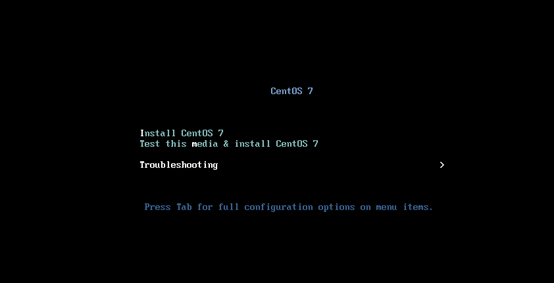
1. Enter to select the first Install CentOS7 and press Enter directly to install, enter the following interface##
2 . Select the language of the installation process, the default is fine##

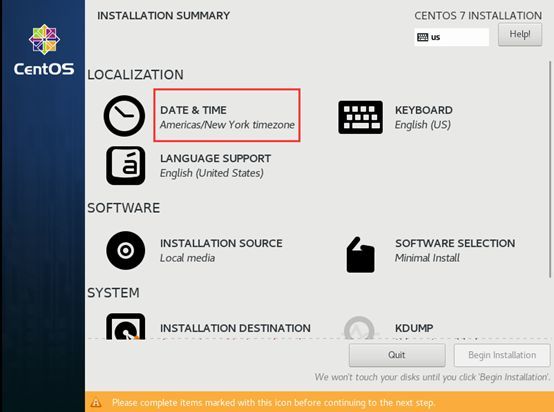
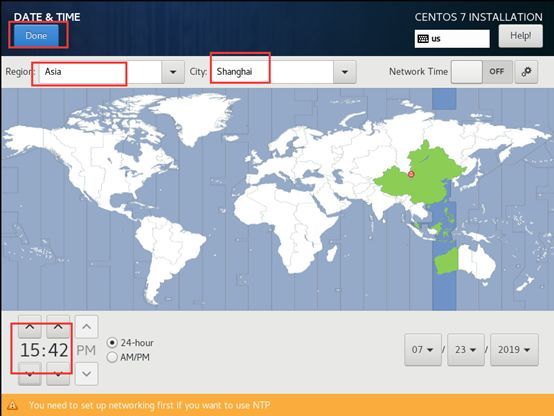
3. Set time zone time##
4. Select Shanghai as the time zone, click done to complete##
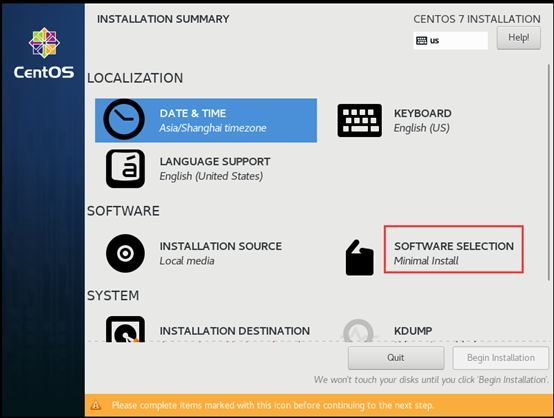
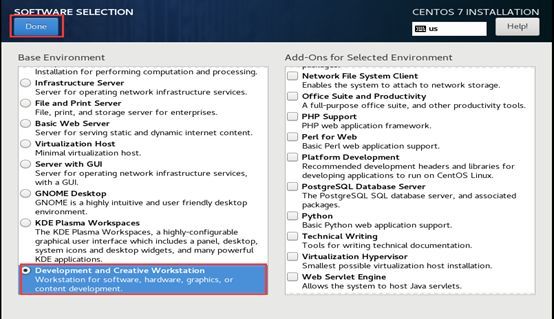
5. Select the software to be installed##
6. Select Development andCreative Workstation
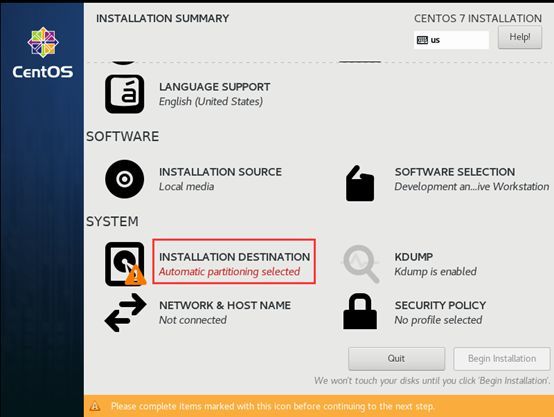
7. Choose installation location##
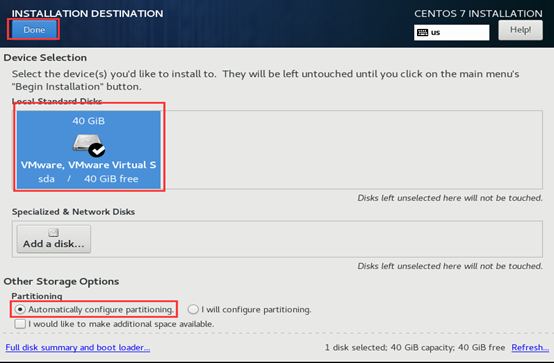
8. Select the disk where the system is installed, and partition automatically##
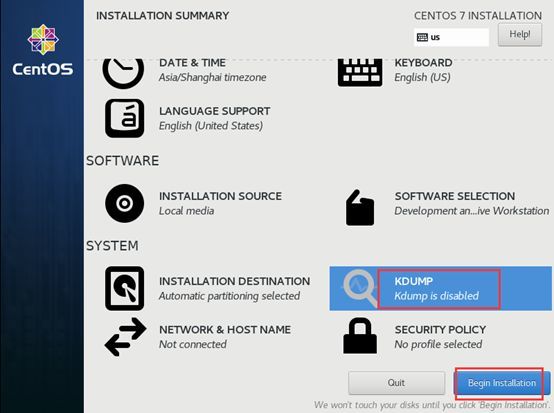
9. Close KDUMP and start to install the system##
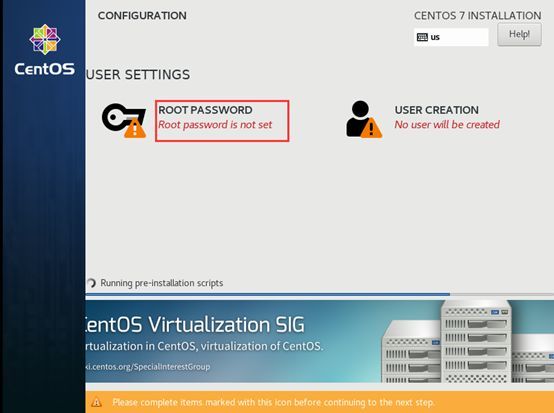
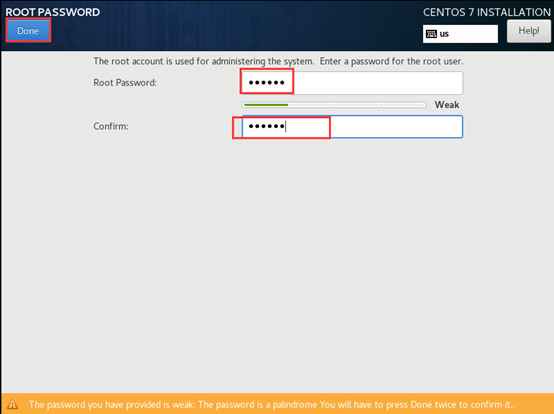
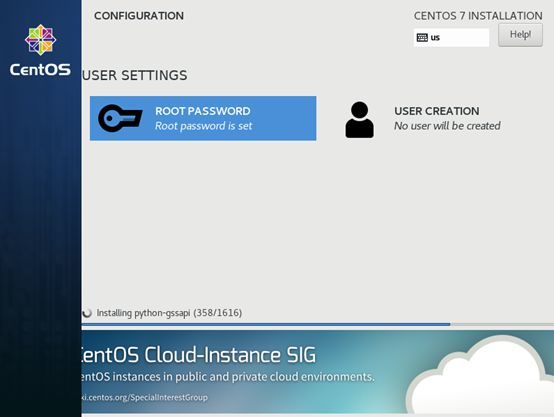
10. Set root password, 123.com
2.11. Wait for the system to be installed and restart the system##
2. Simple configuration
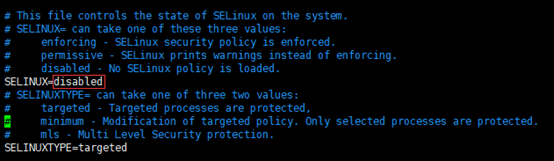
1. Close selinux
[ root@localhost ~]# vim /etc/selinux/config
2. Turn off the firewall##
[ root@localhost ~]# systemctl stopfirewalld
[ root@localhost ~]# systemctl disablefirewalld

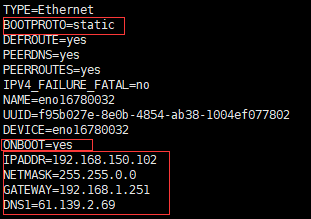
3. Configure IP address##
[ root@localhost ~]# vim/etc/sysconfig/network-scripts/ifcfg-eno16780032
Restart network service
[ root@localhost ~]# systemctl restart network.service
Recommended Posts