Graphical centos installation detailed process
table of Contents###
-
- Essential software
-
- Graphical Vmwear configuration
-
- Install centos
-
3.1 Language, time
-
3.2 Software selection
-
3.3 Network and host
-
3.4 Partition
-
3.5 Set user
-
- Reboot
1. Essential Software#
- Software: VMwear is recommended, I use VMwear 14;
- Mirror: CentOS7, if there is no mirror, you can download it from Official Website;
2. Graphic Vmwear configuration#
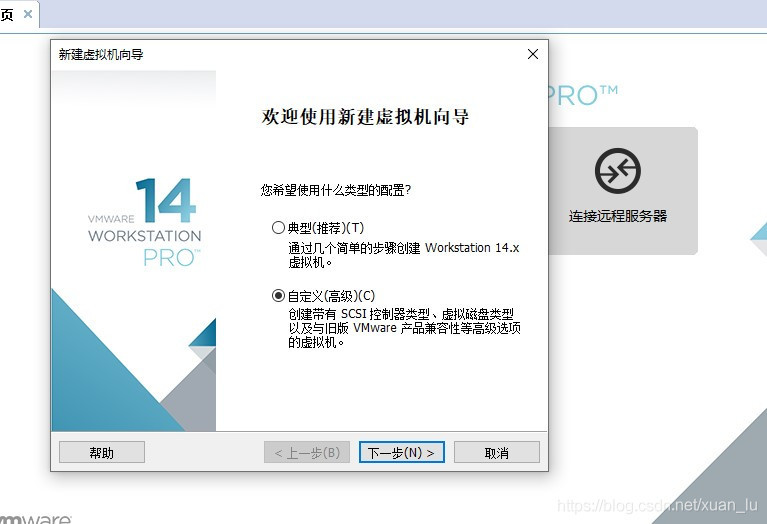
- Create a new virtual machine and select a custom configuration;
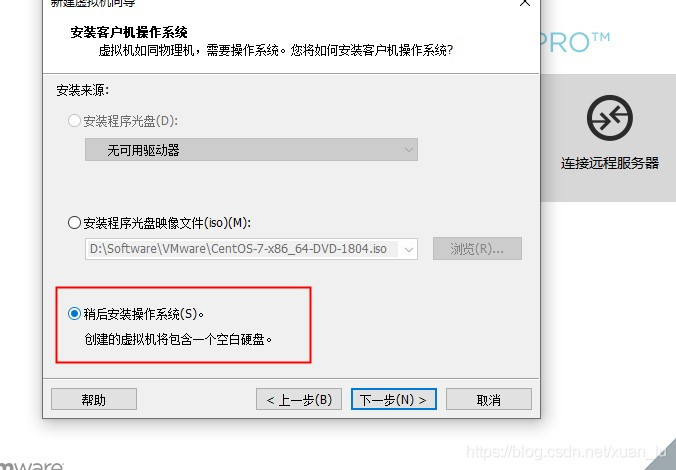
- Choose to install the operating system later on this page;
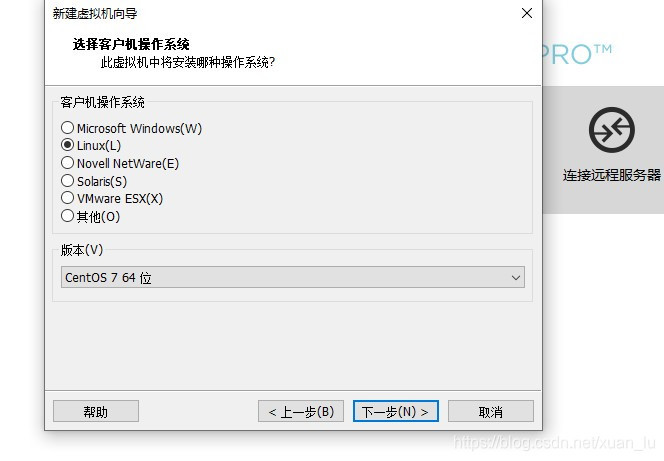
- Linux system is selected by default
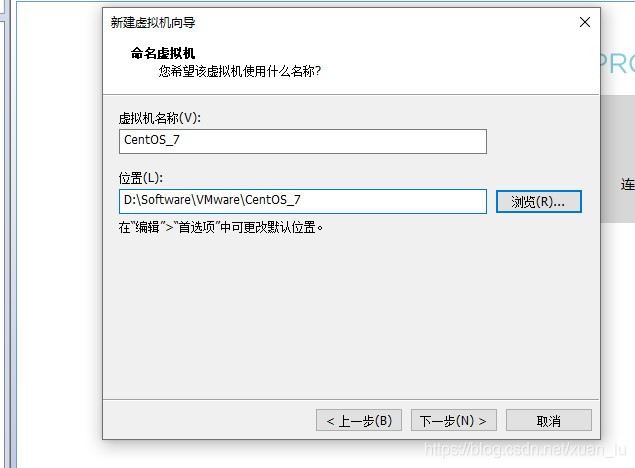
- Set the name and installation directory of the virtual machine;
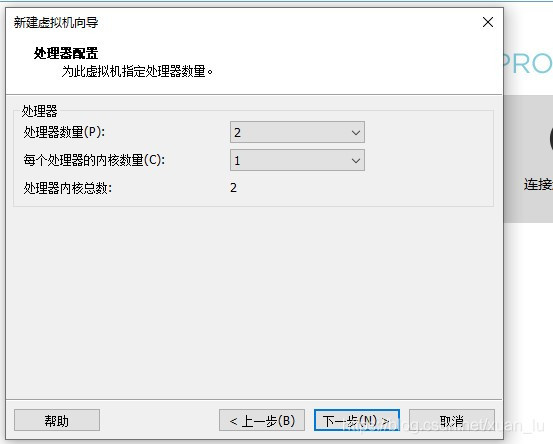
- Set the number of processors and cores according to your own computer configuration and requirements;
- Set the virtual machine memory size; the memory is allocated according to actual needs, the local [host] (https://cloud.tencent.com/product/cdh?from=10680) is 8G running memory, so choose to allocate 2G memory to the virtual machine;

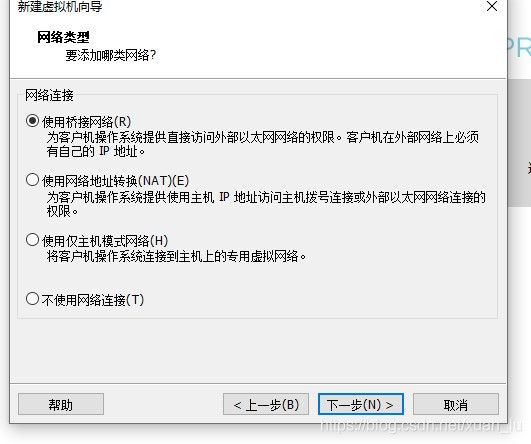
- Choose Bridged Network;
Bridge: If you select the bridge mode, the virtual machine and the host have a level relationship on the network, which is equivalent to connecting to the same switch.
NAT: NAT mode means that the virtual machine must pass through the host before it can communicate with the outside world.
Host only: the virtual machine is directly connected to the host
- Choose default
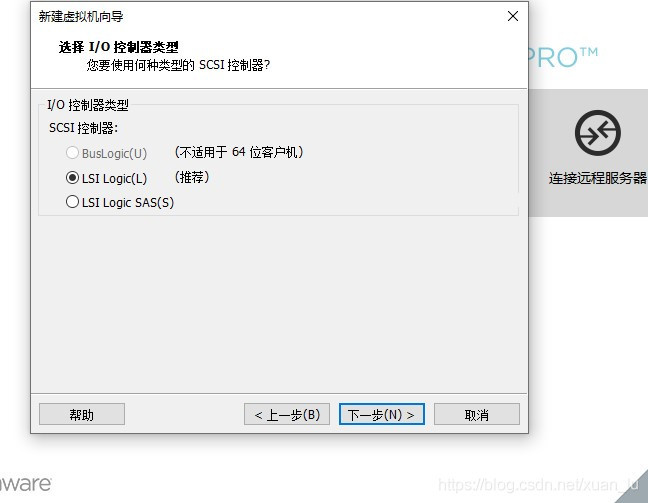
- Default option
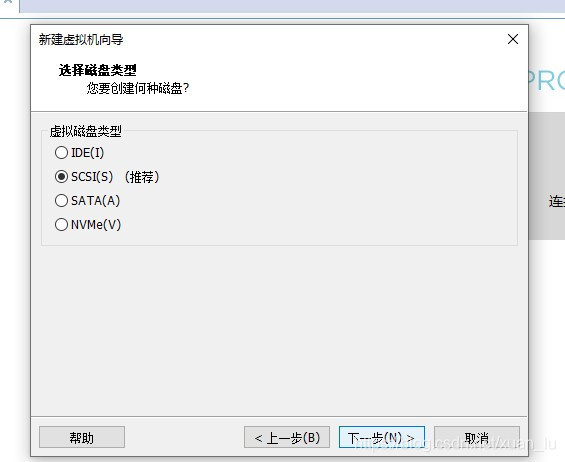
- Choose the default, next;
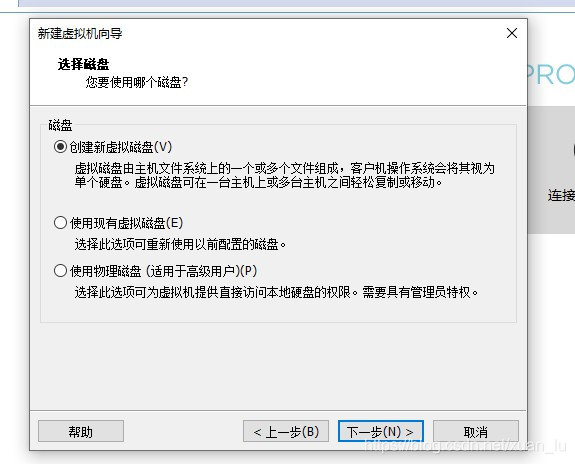
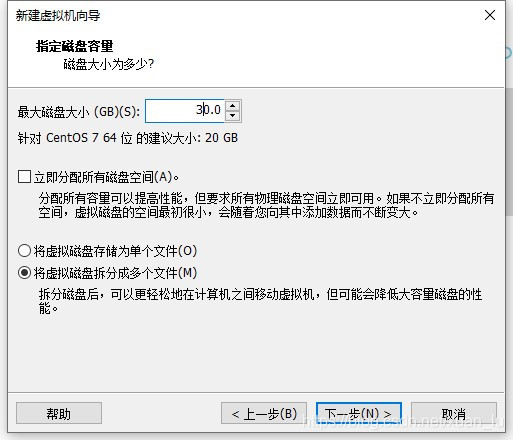
- Set the disk size, pay attention to here do not check Allocate all disk space immediately, choose to split into multiple files;
- Disk name, the default is fine;
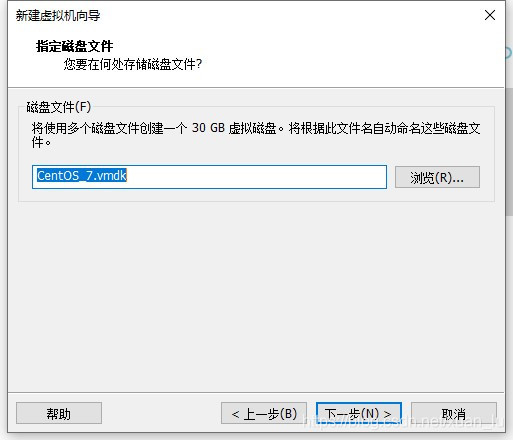
- next;
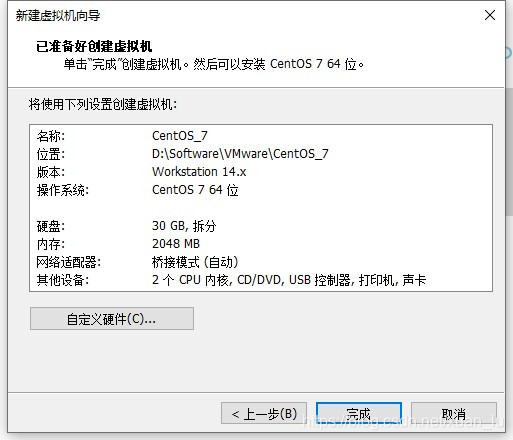
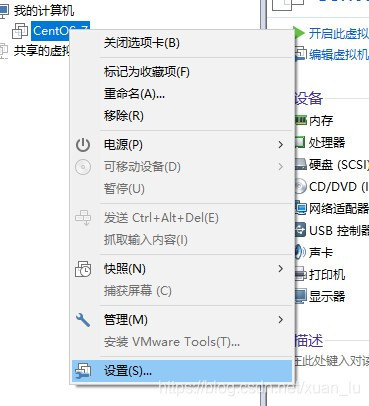
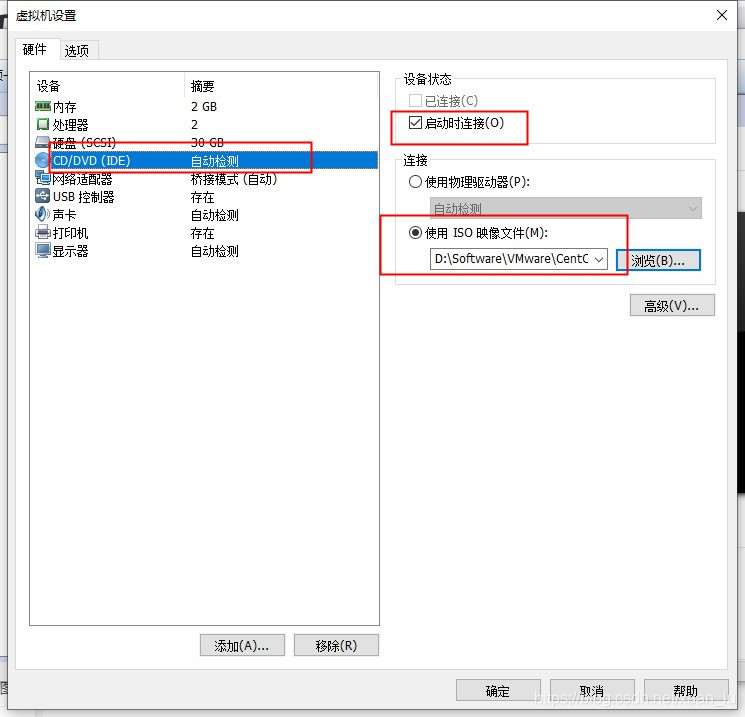
- Configure centos mirror; select settings;
Select CD/DVD—>Select to use ISO image file, and finally select Browse to find the downloaded image file. Connect at startup must be checked;
3. Install centos
After turning on the virtual machine, enter the installation page and wait for the installation to complete. . . ;
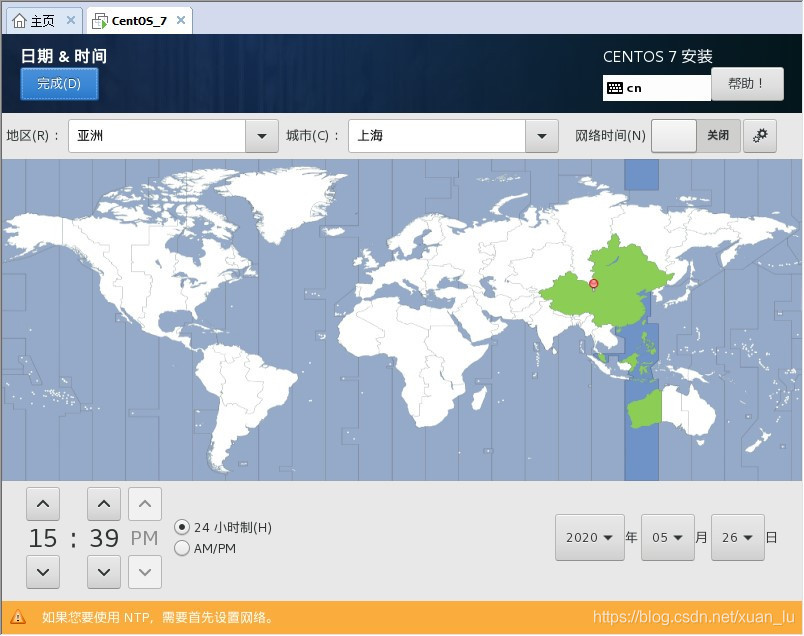
3.1 Language, time##
-
After installing the image, the first choice is to use the language, here I choose the Chinese option;
-
Select the Shanghai time zone and set the network time to open;
3.2 Software selection##
- Choose GUI server

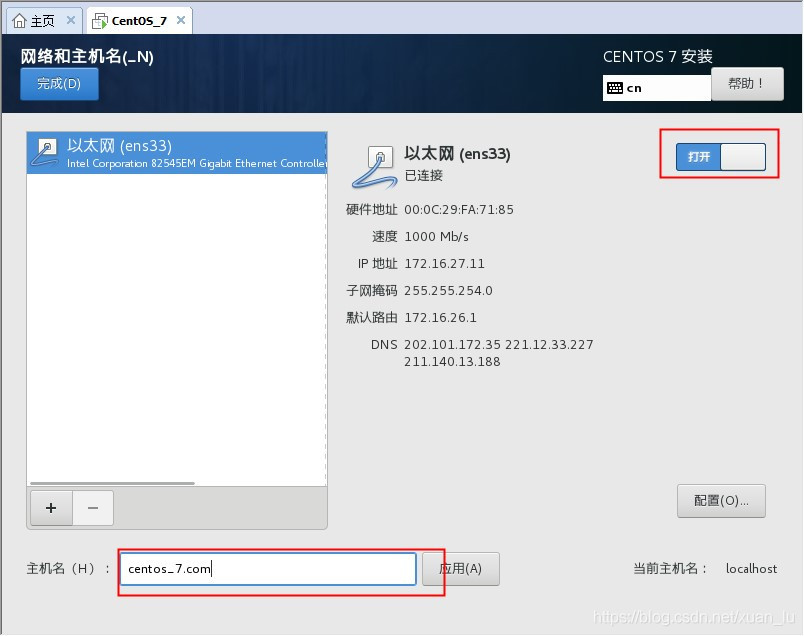
3.3 Network and Host##
- Set the host name and apply it, turn on the Ethernet switch;
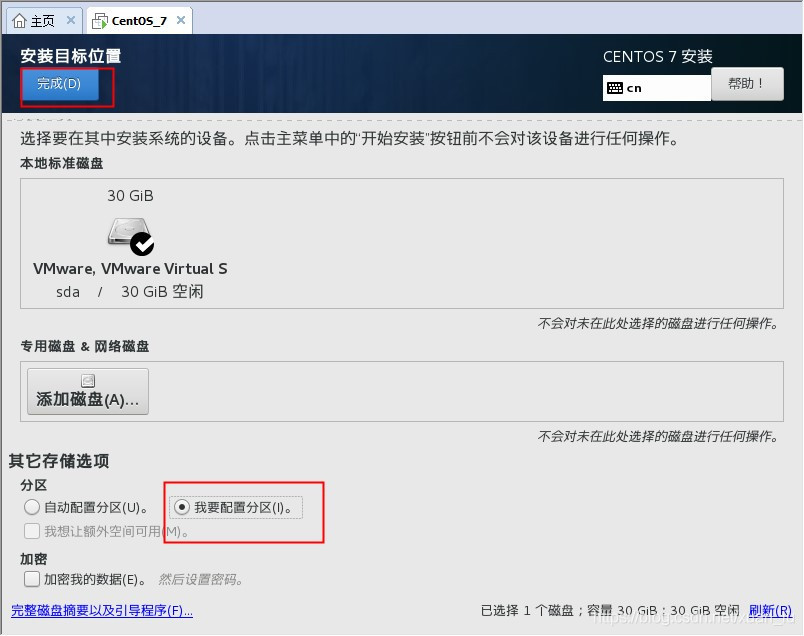
3.4 Partition##
- Select I want to configure partition and click the Finish button;
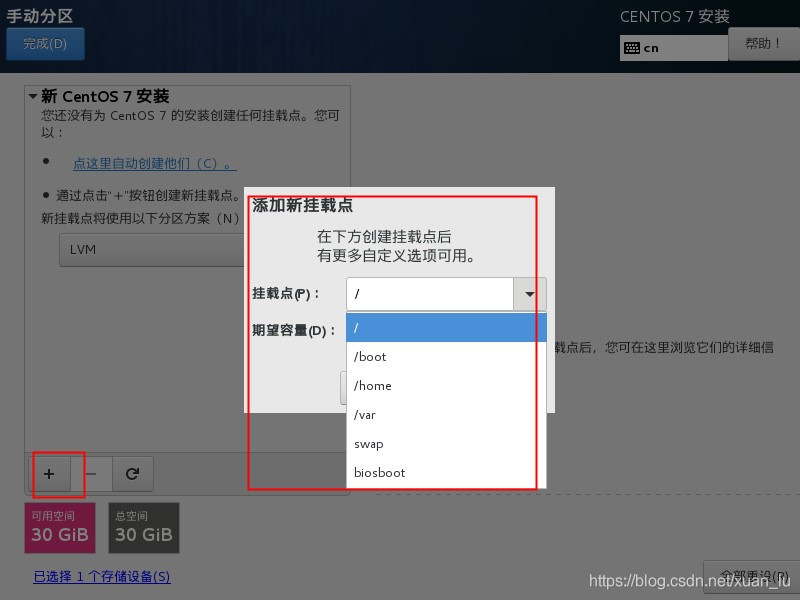
- Enter the partition page, select the + sign on the lower left side, enter to add a new mount point, here you only need to configure /boot;swap;/ three partition sizes;
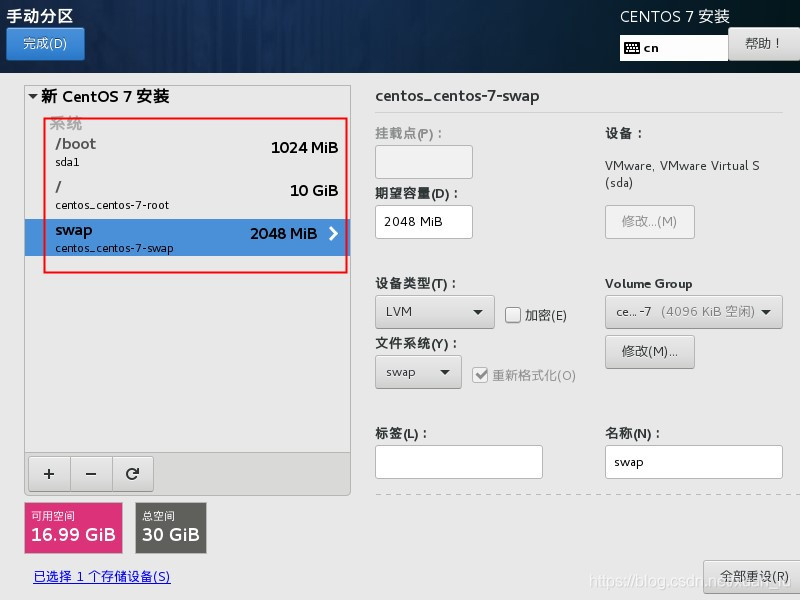
- The configuration is complete, and the specific data is shown in the figure;
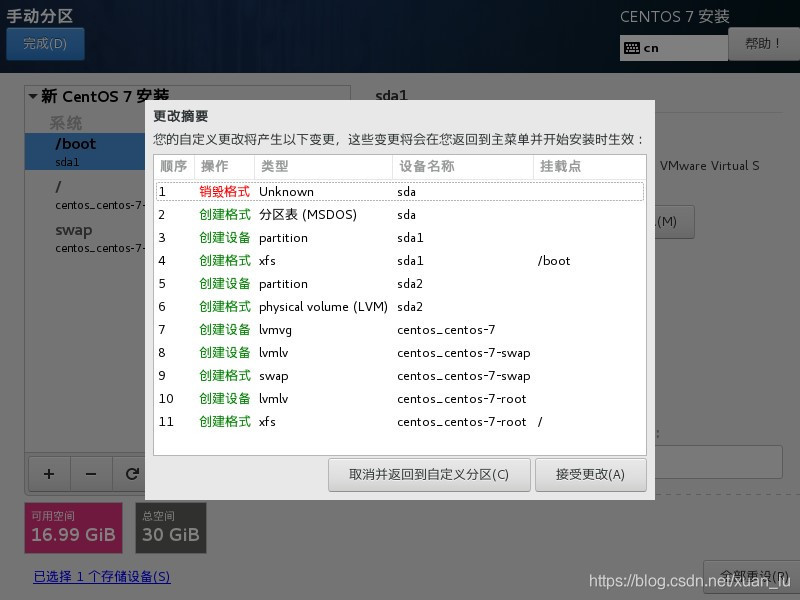
- After clicking the Finish button, enter the page as shown in the figure and select Receive Changes;
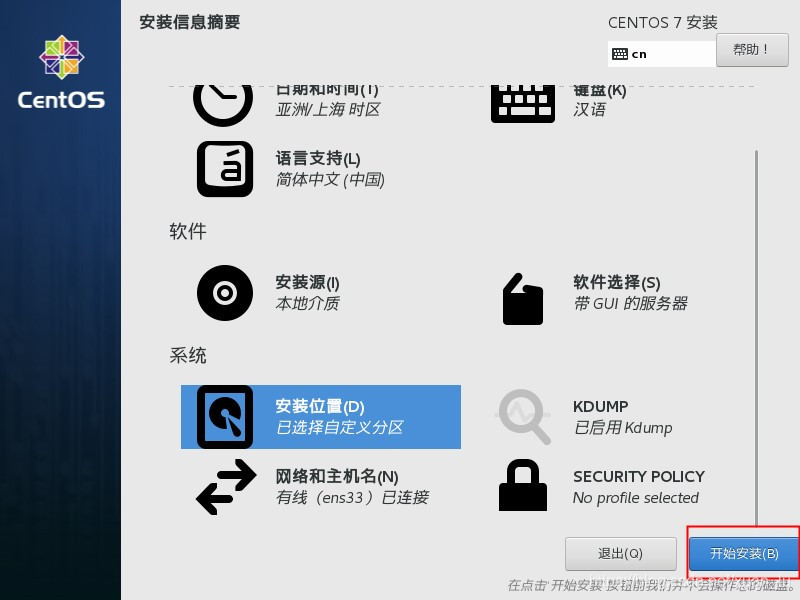
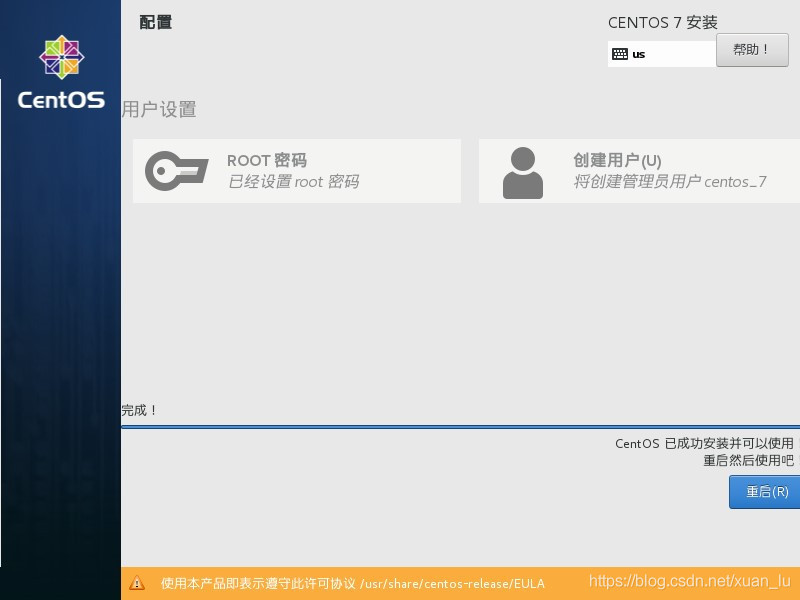
3.5 Set up user##
- After the basic settings are completed, select the Start Installation button, and complete the installation with the progress bar;
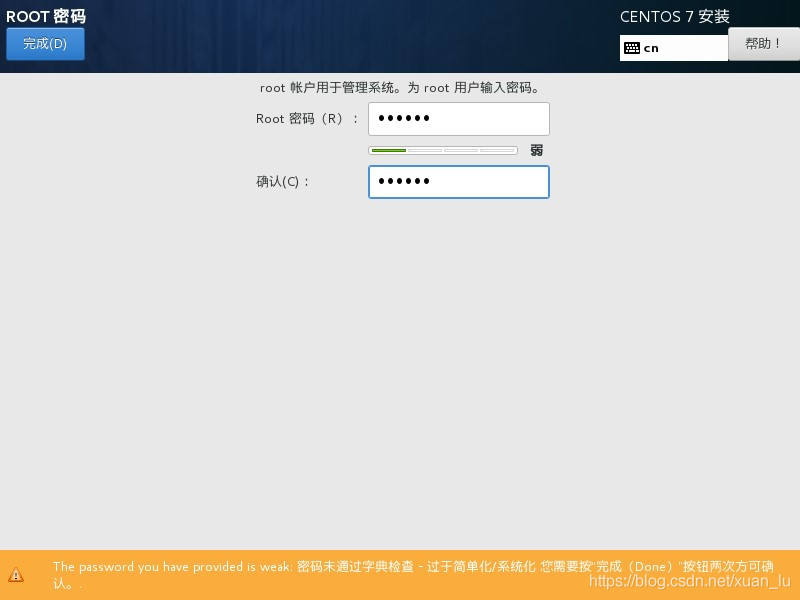
- During the installation process, the root password and user can be set according to;
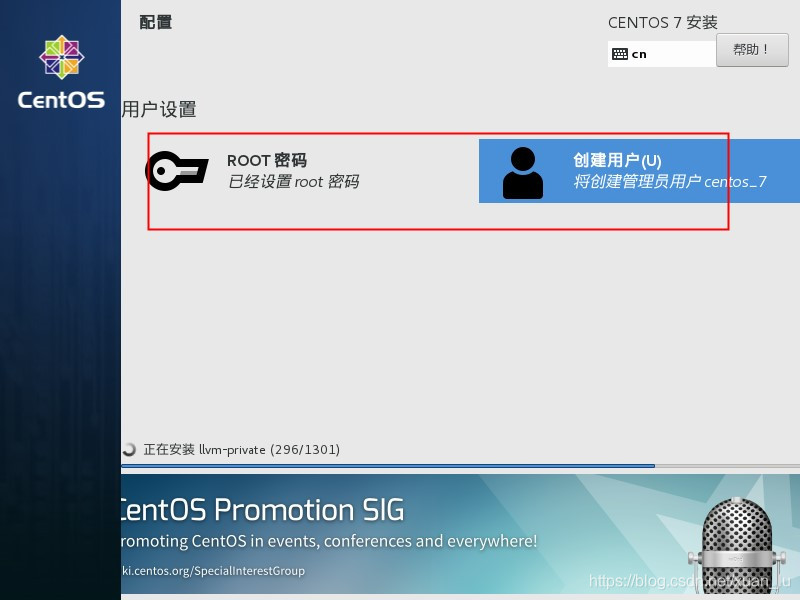
- Set the root password;
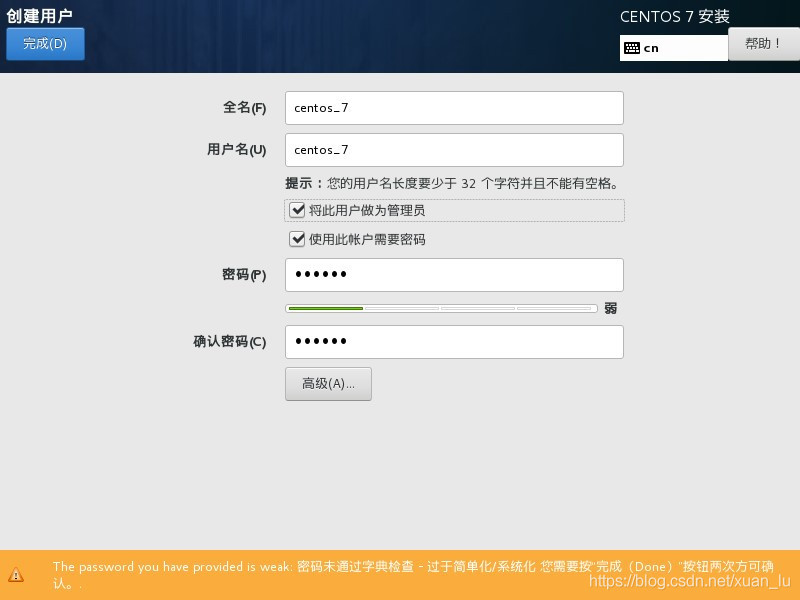
- Set a new user and password, whether as an administrator, you can set it according to your wishes;
4. Restart#
- After installing the system, choose to restart the virtual machine;
Summarizing the installation process, it is not easy, I hope you can support it manually.
Recommended Posts