Raspberry Pi: install centOS without a display
One, install centOS;
Second, ssh connects to Raspberry Pi;
Three, Linux root directory expansion;
Fourth, install the latest version of git;
- Access to the Raspberry Pi from the Internet;
Raw materials: one Raspberry Pi 3B+, one network cable, 32g memory card, one win10 computer, one mobile phone hotspot.
Due to budget constraints, I bought a bare metal Raspberry Pi, but I want to experience the Linux experience on the Raspberry Pi and do some interesting experiments later.
I checked a lot of information on the Internet, and kept trial and error, and finally formed a complete installation tutorial, using the Raspberry Pi as the backup of the github warehouse.
Enter the topic below:
One, install centos system:
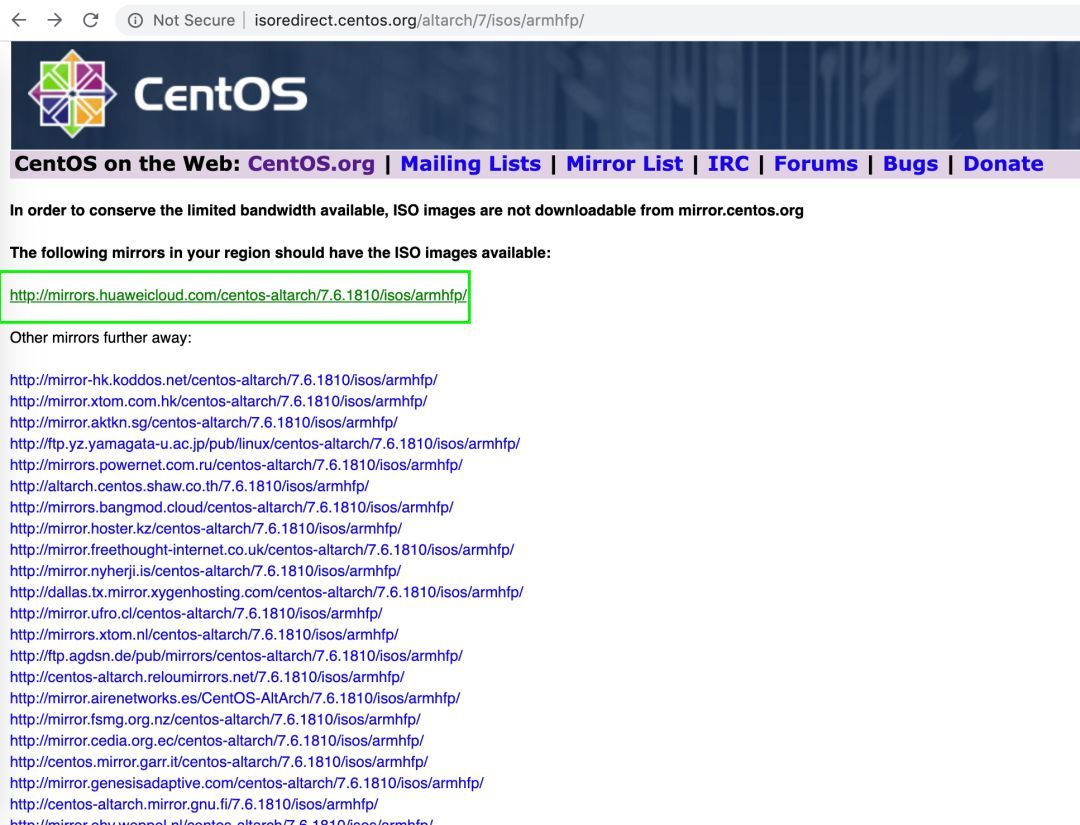
1 , Download the centos system,
http://isoredirect.centos.org/altarch/7/isos/armhfp/
Enter the above URL and click on the first link:
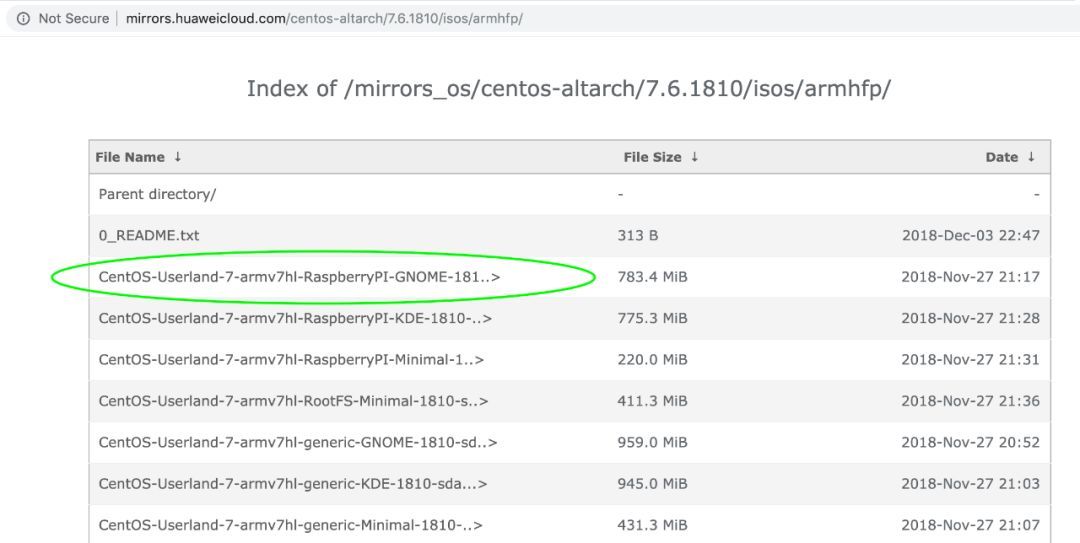
2 , When downloading the system, you need to format the memory card, here is formatted with SDFormatter software.
3 After the formatting is complete, burn the system to the memory card. Use the win32diskimager tool here. Note that the img format under win32diskimager is changed to "." To recognize the raw format system files downloaded above.
4 , Create an empty folder named ssh in the boot directory of the burned SD card to prepare Putty to connect to the Raspberry Pi.
Second, ssh connects to Raspberry Pi:
1 , Connect both ends of the network cable to the laptop and Raspberry Pi;
2 , Set the computer to share the network, Settings->Network->wlan->Network and Sharing Center->wlan->Properties->Sharing->Allow other users to connect through it->OK;
3 , Cmd command line mode, enter: arp -a to view the Raspberry Pi IP address; you can also use Advanced IP Scanner to scan the IP; you can also download the fing to scan the Raspberry Pi IP on your mobile phone, provided that the mobile computer is connected to the same WiFi, that is Within the same LAN.
4 , The solution I took here is to first connect the computer to the Raspberry Pi through a network cable, then the computer connects to the WiFi hotspot opened by the phone, an old tablet phone connects to the phone hotspot, scans the Raspberry Pi IP through fing, and the computer scans through Advanced IP Scanner Raspberry Pi IP, two ways to obtain IP.
5 , After obtaining the Raspberry Pi IP, the computer downloads putty and connects to the Raspberry Pi.
6 , After connecting to the Raspberry Pi, the computer turns on 360WiFi, and then operates the Raspberry Pi through putty to connect to this 360wifi. The operation is as follows:
nmcli  d  wifi  #Check the surrounding wifi

nmcli d wifi connect yourSSID password 'yourpassword'  #Connect to wifi

nmcli d  show wlan0  #View the status of wlan0
7 , The old tablet phone is connected to the 360wifi of the computer, and the IP address of the new LAN of the Raspberry Pi is obtained through fing.
8 , Turn off the mobile phone hotspot WiFi.
9 , The computer is connected to the Internet, at this time, you can connect to the Raspberry Pi through the fing software of the tablet phone, of course, you can also connect the Raspberry Pi to the computer putty. The premise is that the devices are in the same local area network.
10 In this way, the mobile phone hotspot is used as a transition, and the purpose of connecting the mobile phone and the computer to the Raspberry Pi is finally achieved.
Three, Linux root directory expansion:
df -l
Linux entered the above command and found that the utilization rate of the root directory of the Raspberry Pi reached 99%. This problem was also discovered when I tried to install git and found that I could not download git.
Enter the following commands in the Linux terminal in turn:
fdisk /dev/mmcblk0

p

d

3

n

p

3

p

w

reboot

resize2fs /dev/mmcblk0p3

df -h
Enter w (save and exit), #reboot restart the Raspberry Pi, enter # resize2fs /dev/mmcblk0p3, you can use #df -h to check the correct capacity after expansion!
For details, please refer to: https://www.jianshu.com/p/1d39434bd685.
Fourth, install the latest version of git;
Centos comes with Git, 7.x version comes with git 1.8.3.1, you need to use yun remove git to uninstall before installing the new version.
Enter the following commands in sequence:
//Install dependent packages:
yum install curl-devel expat-devel gettext-devel openssl-devel zlib-devel
yum install gcc perl-ExtUtils-MakeMaker

//Download and install git:
cd /usr/src
wget https://www.kernel.org/pub/software/scm/git/git-2.22.0.tar.gz
tar xzf git-2.22.0.tar.gz
cd git-2.22.0
make prefix=/usr/local/git all
make prefix=/usr/local/git install
# Create soft connection
cd /usr/bin
ln -s  /usr/local/git/bin/git git

git --version
- Access to the Raspberry Pi from the Internet;
http://service.oray.com/question/2680.html
dpkg -i phddns_rapi_3.0.3.armhf.deb
According to the tutorial given by Peanut Shell, you will find that the Raspberry Pi hardware is an arm framework, and the Peanut Shell has not developed a corresponding version. The editor only tested it on the CentOS of the Raspberry Pi. Interested friends You can go to ubuntu or other linux versions of raspberry pie to check.
In the future, I have time to try other ways to achieve intranet penetration and connect the Raspberry Pi to the external network.
Reference:
https://mp.weixin.qq.com/s/fvQoByEHoIZRDgl8WsJ2gQ
http://blog.sina.cn/dpool/blog/s/blog_cf59c1810102wlri.html
https://blog.csdn.net/liuzhe465/article/details/76691345?utm_source=app
https://www.jianshu.com/p/1d39434bd685
https://blog.csdn.net/u010071211/article/details/81629835
http://service.oray.com/question/2680.html
Recommended Posts